
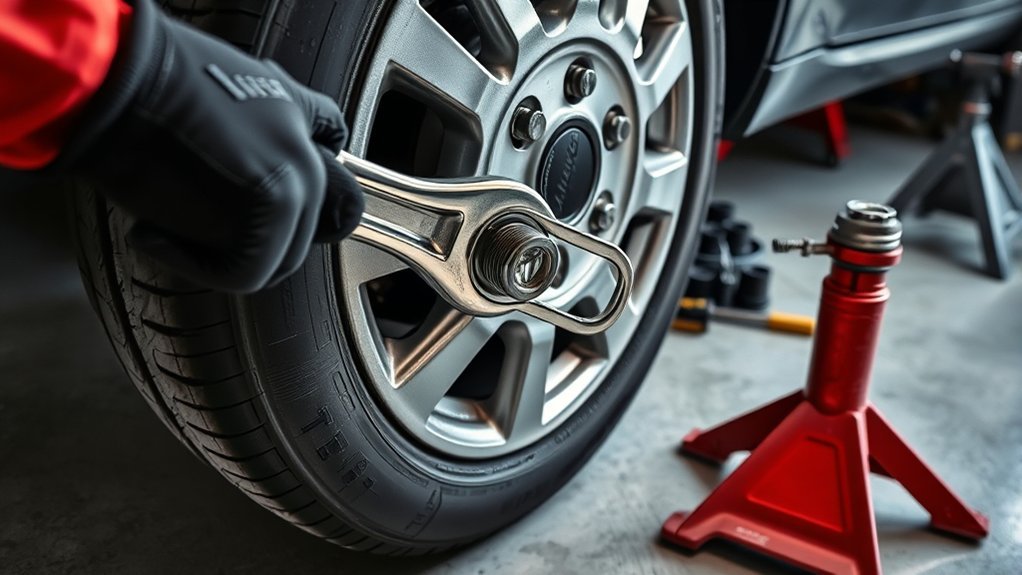
Use a breaker bar, lug wrench, or impact wrench with the correct socket to remove lug nuts. Start with the vehicle parked on level ground, the parking brake set, and the wheel still touching the ground. Break each lug nut loose with steady pressure, then raise the vehicle only after the nuts have started to move. For reinstallation, always finish with a torque wrench set to the vehicle manufacturer’s specification.
Quick Answer
The best tool to remove lug nuts is a breaker bar with the correct six-point socket. A lug wrench works in a pinch, and an impact wrench helps with stubborn nuts. Loosen the nuts while the tire is on the ground, then reinstall them with a torque wrench to the owner’s manual spec.
Key Takeaways
- Use a breaker bar, lug wrench, or impact wrench with the correct socket size.
- Crack lug nuts loose while the tire is still on the ground so the wheel does not spin.
- Use steady pressure instead of jumping, bouncing, or jerking the tool.
- Use impact-rated sockets with impact tools, not chrome hand-tool sockets.
- Tighten lug nuts in a crisscross pattern with a torque wrench set to the owner’s manual spec.
At a Glance
| Time Required | 10 to 30 minutes for one wheel, longer if lug nuts are rusted or swollen |
| Difficulty | Easy to moderate, depending on rust, torque, and tool access |
| Tools Needed | Breaker bar or lug wrench, correct socket, torque wrench, wheel chocks, jack, jack stands, gloves, safety glasses, optional penetrating oil and impact wrench |
| Cost | Usually $0 if your vehicle kit has a lug wrench; about $20 to $150+ for better hand tools or a torque wrench |
Warning: Never crawl under a vehicle supported only by a jack. If you are on a narrow shoulder, soft ground, a steep slope, or a busy road, call roadside assistance instead of trying to remove the wheel yourself.
Gather Your Lug Nut Tools
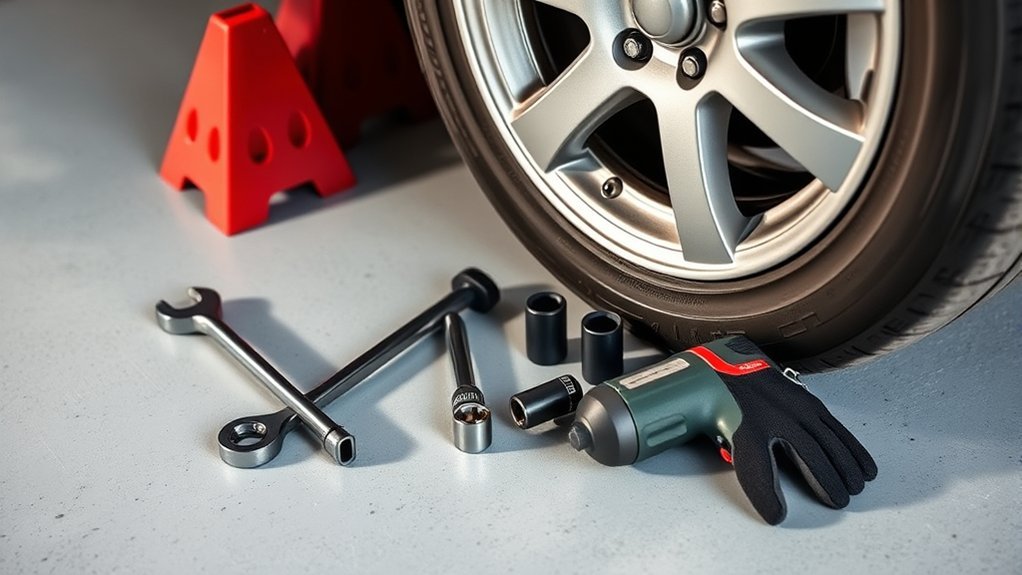
Before you start, gather the right lug nut tools. A breaker bar gives you the most controlled manual leverage. A lug wrench or tire iron works for roadside tire changes. An impact wrench can help with stubborn nuts, but it should be used with care and with impact-rated sockets only.
Choose a socket that fits snugly over the lug nut. Common passenger-vehicle sizes include 17 mm, 19 mm, 21 mm, 22 mm, and 13/16 inch, but you should match the socket to your actual lug nuts. A loose socket can round the corners and make the job harder.
If your vehicle has locking lug nuts, find the wheel-lock key before lifting the vehicle. Without that key, a standard socket will not fit the locking nut. Also check that your tire choice matches your driving style, because tire service is a good time to inspect the whole wheel and tire setup.
[Products Worth Considering]

Upgrade your wheels with MIKKUPPA closed-end lug nuts designed for reliable fit and corrosion resistance. The one-piece, cold-forged and heat-treated steel construction helps resist rust and stripping, while the integrated finish delivers a durable black appearance. Built to OEM standards with a conical 60-degree seat, these nuts provide a secure solution for compatible Ford, Honda, Jeep, and Chevrolet models.

This 1/2-inch drive breaker bar delivers powerful leverage for loosening and tightening stubborn lug nuts and automotive fasteners. The 180-degree flex head helps you reach tight spaces at the angle you need, making tire and brake jobs easier. A spring-loaded ball detent design holds 1/2-inch sockets securely while the chrome-moly head provides durable strength for everyday use.

These M14x1.5 closed-end chrome lug nuts are a one-piece replacement designed for secure fitment on compatible GM, Ford, and select Chrysler/Dodge models. Featuring a 60-degree conical seat and anti-rust chrome plating, they help resist corrosion and maintain a bright look for everyday driving. Built for long-term durability, they include OEM-style part references and are backed by 12 months of support.
Set Up the Vehicle Safely
Park on firm, level ground before loosening lug nuts. Shift into Park for an automatic transmission or first gear for a manual transmission, set the parking brake, and turn on the hazard lights if you are near traffic. Place wheel chocks behind the wheels that will stay on the ground.
Keep the tire touching the ground while you break the lug nuts loose. This prevents the wheel from spinning and gives you better control. Do not remove the nuts yet. Just turn each one about a quarter to half turn so it starts moving.
Once the lug nuts are loose, use the vehicle’s correct jack point and lift the vehicle only high enough to remove the wheel. If you will work near or under the vehicle, support it with jack stands rated for the vehicle’s weight.
Note: Tire and wheel maintenance matters because the tire is the only part of the vehicle that contacts the road. NHTSA’s TireWise program reports tire maintenance guidance and tire-related crash data, including 511 tire-related traffic deaths in 2024.
Loosen Lug Nuts Safely
Fit your breaker bar, lug wrench, or impact socket fully over the first lug nut. Turn counterclockwise on most modern passenger vehicles. Use slow, steady pressure instead of jerking the tool. Sudden force can slip the socket, round the nut, or hurt your wrist.
Work in a star or crisscross pattern. You do not need to fully remove one nut before starting the next. Break each nut loose a little, then move across the wheel. This keeps load changes more even across the wheel face and helps you work with better control.
If a lug nut does not move, stop and check the socket fit. Make sure the socket is seated all the way down and is not riding on a plastic cap or damaged outer shell. Wear safety glasses and gloves, especially if the nuts are rusty or you are using an impact wrench.
Pro Tip: Push down on the end of a breaker bar with controlled body weight only if your stance is stable. Do not jump on the bar. If the nut suddenly breaks free, you need room to keep your balance.
Use an Impact Wrench When Needed
If the lug nuts still will not budge with hand tools, an impact wrench can apply short, high-torque blows that help break rust and static friction. For many passenger vehicles, a 1/2-inch drive impact wrench is the most practical choice. A smaller 3/8-inch impact may work if it has enough removal torque and the correct socket.
Always use impact-rated sockets with an impact wrench. Standard chrome sockets are made for hand tools and can crack or chip under impact loads. Keep your face and hands out of the direct line of the socket, and use short trigger pulls instead of holding the trigger down for long bursts.
An impact wrench is useful for removal, but it is not the right tool for final tightening. Once the wheel goes back on, finish with a torque wrench so the lug nuts match the manufacturer’s spec. Regular proper tire maintenance can also help you catch wheel, tire, and hardware problems before they become roadside issues.
[Products Worth Considering]

The Trivd Frol 1/2" air impact wrench delivers high performance torque up to 1500 ft-lbs with a twin hammer impact mechanism for strong, balanced blows. It features an ergonomic grip, compact lightweight design, and quick-stop control with 3 forward speeds up to 8000 RPM plus a reverse speed. Built for demanding automotive repair and tire shop work, the rear exhaust helps keep debris away from the surface.

Upgrade your wheels with MIKKUPPA M12x1.5 mag seat lug nuts built for secure, corrosion-resistant performance. These closed-end chrome lug nuts are a direct replacement for select Toyota models, including Camry, Corolla, RAV4, Sienna, Avalon, Highlander, Matrix, Venza, and Prius. Triple-chromium plating and cold-forged, heat-treated steel help deliver strength for daily driving and replacement needs.

This spare tire tool kit is designed for the 2004 to 2018 Ford F-150 to help you loosen and tighten wheel lug nuts and manage the spare tire and provided jack functions from underneath the vehicle. It includes the lug nut wrench and extension pieces plus a convenient storage carrying case for organized transport. The jack itself is not included.
Handle Stuck Lug Nuts
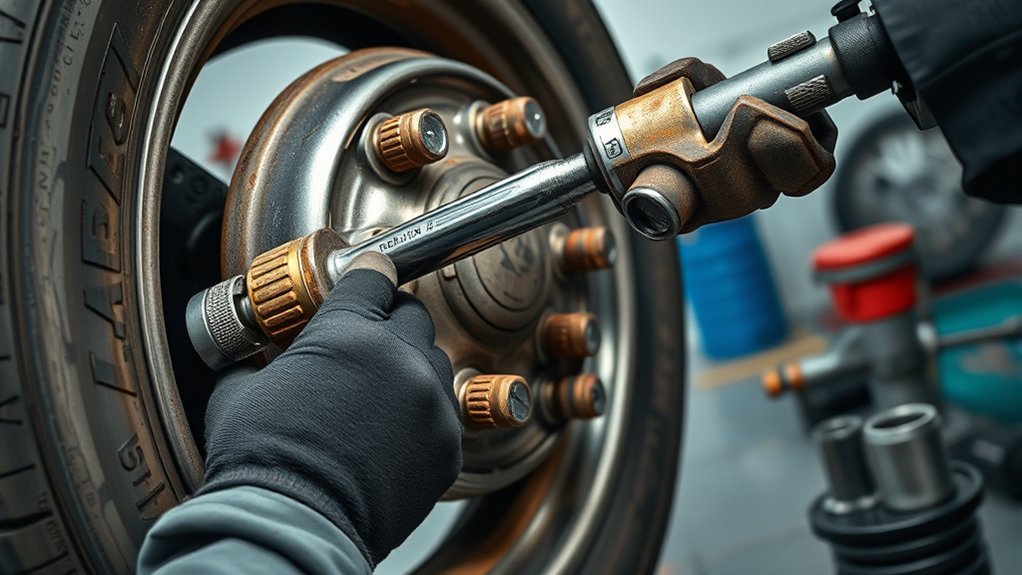
When a lug nut will not move, do not force it blindly. First, confirm that you are turning the correct direction and using the correct socket. Then spray penetrating oil around the base of the nut and let it soak for 15 to 30 minutes. Tap the side of the nut lightly with a hammer to help the oil work into the threads, but avoid hard blows that could damage the stud or wheel.
After the soak, try a breaker bar again with steady pressure. If you have an impact wrench, use short bursts and check progress often. If the lug nut rounds off, the stud starts turning, or the nut feels like it is stretching instead of loosening, stop and get professional help.
Checking proper tire pressure does not prevent rusted lug nuts, but routine tire checks are a smart time to inspect lug nuts for missing caps, swelling, corrosion, or obvious damage.
[Products Worth Considering]

The 22800 wheel stud installer makes replacing wheel studs quick and secure, saving time and effort during tire service. It uses a ratchet or impact wrench to pull new studs firmly into place, helping when existing studs are too long. Compatible with most automotive wheels and light-duty truck wheel studs, it’s designed for easy, tool-assisted installation.

The Dr.Roc spare tire tool kit helps you release, lower, or raise your spare tire with reliable extension tools and a lug nut wrench. It is made from rustproof automotive-grade steel and includes an organized carry case for convenient storage. Designed for compatibility with select GM models from the late 1990s through 2019, it uses upgraded extension components to install and remove spare tires with less hassle.

This car D-wheel lock nut key provides an anti-theft solution for D-shaped wheel lock bolts, helping keep your wheels secure. It features a flower-shaped internal pattern that resists micro-adjustment theft while allowing removal and mounting of compatible locking nuts. Made for reliable performance under high torque, it’s easy to use with standard socket wrench turning for quick tire maintenance and emergency repairs.
Breaker Bar Leverage
A breaker bar gives you more leverage than a short ratchet or factory lug wrench. Place the socket fully on the lug nut, keep the handle as level as possible, and pull or press counterclockwise with smooth force. The longer handle multiplies your effort without needing speed.
If you use a pipe extension, use it only on a breaker bar that is in good condition. Do not use a pipe on a torque wrench, ratchet, or weak socket. Extra leverage can break tools or wheel studs if the lug nut is badly seized.
Warning: Stop if the socket slips, the nut rounds, the stud turns with the nut, or the vehicle shifts. More force is not always safer. A tire shop can remove damaged lug nuts with extraction tools.
Penetrating Oil Soak
Penetrating oil can help free stuck lug nuts by working into rusted threads and the contact area at the base of the nut. Apply it around the nut, wait 15 to 30 minutes, then try again with controlled torque. For heavy rust, repeat the soak and give it more time.
Wipe away extra oil before reinstalling the wheel. Do not lubricate wheel studs before final torquing unless your vehicle or wheel manufacturer specifically says to do so. Lubrication can change the clamping force created at a given torque setting.
Impact Wrench Bursts
If soaking has not freed the lug nut, an impact wrench can deliver short bursts that shock the fastener loose. Use an impact-rated six-point socket, keep the tool square to the nut, and use short trigger pulls. Check the nut after each burst instead of letting the tool hammer nonstop.
Removal torque can be higher than the original tightening torque because rust, dirt, and heat cycles add resistance. That is why patience matters. If the fastener is stuck badly enough to damage the nut or stud, let a professional remove it before the wheel hardware fails.
Use Impact Sockets and Leverage
Use impact sockets when you use an impact wrench, and use hand-tool sockets only with hand tools. Impact sockets are built to handle hammering loads. A six-point socket is usually the safest choice for lug nuts because it grips the flats of the nut better than a twelve-point socket.
For hand removal, use a longer breaker bar before you try extreme force. Longer leverage gives you more torque with less strain, but it also increases the risk of broken studs or tool failure. Keep your body out of the fall path in case the nut breaks free suddenly.
Wheel service is also a good time to look at tread wear, sidewall condition, and tire age. Tires with improved wet traction can support safer driving, but they still need correct installation and torque.
Remove the Wheel Step by Step
- Park on level ground, set the parking brake, turn on hazards if needed, and chock the opposite wheels.
- Remove the hubcap or wheel cover if it blocks access to the lug nuts.
- Fit the correct socket or lug wrench fully over the first lug nut.
- Break each lug nut loose about a quarter to half turn while the tire is still on the ground.
- Lift the vehicle at the correct jack point and support it safely if needed.
- Finish removing the lug nuts by hand or with the tool.
- Pull the wheel straight off the hub. If it sticks, tap the tire sidewall gently with your palm or rubber mallet while keeping clear of the vehicle’s pinch points.
Tighten Lug Nuts With a Torque Wrench
When the wheel goes back on, start every lug nut by hand. This helps prevent cross-threading. Snug the nuts in a star or crisscross pattern while the wheel is still raised, then lower the tire until it lightly touches the ground and cannot spin.
Set a calibrated torque wrench to the value listed in your owner’s manual or wheel documentation. Continental Tires notes that the correct torque depends on the car model, wheel size, wheel type, and number of lug nuts, and that the owner’s handbook or vehicle documentation should be used for the correct setting.
Tighten in stages. For example, you can tighten all nuts to about half the final torque, then repeat the crisscross pattern at the full spec. Stop when the torque wrench clicks or signals the set value. Do not force it past the click. Correct lug nut selection also matters because the seat shape and thread must match the wheel and vehicle.
Correct Torque Specs
Correct torque matters because loose lug nuts can let the wheel wobble or work free, while over-tightening can stretch studs, damage threads, or distort brake and wheel parts. Many passenger vehicles fall near 80 to 100 lb-ft, but that is only a general range. Your exact number must come from the owner’s manual, service information, or aftermarket wheel documentation.
Do not rely on “good and tight.” Do not rely on an impact wrench for final tightening. Use the torque wrench for the final pass and store it properly afterward so it stays accurate.
Star Pattern Tightening
- Hand-thread each lug nut until it turns smoothly and sits snug.
- Use a crisscross or star sequence, moving across the wheel instead of around it in a circle.
- Tighten in stages so the wheel seats evenly against the hub.
- Finish with the torque wrench set to the manufacturer’s specified value.
- Stop when the wrench clicks or signals the set torque.
This pattern helps distribute clamping force evenly across the wheel. It also reduces the chance of pulling the wheel off-center while tightening.
Recheck After Driving
After a wheel has been removed and reinstalled, recheck the lug nut torque after the first short drive period. Continental recommends retorquing after about 50 kilometers, and many tire shops use a similar short-distance follow-up after tire service.
Use the same star pattern and the same torque value from the owner’s manual. If a lug nut turns far before the wrench clicks, or if one feels different from the rest, inspect the wheel, nut, and stud before driving farther.
Set the Correct Lug Nut Torque

Set the lug nuts to the vehicle manufacturer’s specified torque. You can usually find that value in the owner’s manual, tire-changing section, service manual, or wheel documentation. If you have aftermarket wheels, follow the wheel maker’s instructions when they differ from the factory wheel setup.
- Check the correct torque value before tightening.
- Make sure the wheel sits flat against the hub.
- Start the lug nuts by hand to avoid cross-threading.
- Tighten in a star pattern in two stages.
- Use the torque wrench for the final pass.
- Recheck torque after the first short drive period recommended by your tire shop or vehicle documentation.
Precise torque helps prevent vibration, wheel damage, loose hardware, and premature wear. It also supports consistent wear by keeping the wheel seated correctly.
When to Stop and Get Help
Stop and call a professional if the lug nut is rounded, the wheel-lock key is missing, the stud spins, the stud bends, or the vehicle is unstable. Also stop if the wheel is stuck to the hub and will not release with light tapping on the tire sidewall. A repair shop can use proper extraction tools without risking more damage.
Do not use heat near tires, valve stems, brake parts, or painted wheels unless you are trained and have the correct equipment. Heat can damage nearby parts and create a fire risk. For most drivers, penetrating oil, time, the correct socket, and professional help are safer than a torch.
Frequently Asked Questions
Can I remove lug nuts with a torque wrench?
No. A torque wrench is for tightening fasteners to a measured value, not for breaking stuck lug nuts loose. Using it for removal can damage its calibration or internal mechanism. Use a breaker bar, lug wrench, or impact wrench for removal, then use the torque wrench for final tightening.
How much torque do I need to take off a lug nut?
There is no single removal torque number. A lug nut tightened to 80 or 100 lb-ft may need more force to remove if it is rusted, dirty, cross-threaded, or over-tightened. Use the correct socket and steady leverage. For installation, use the exact torque spec from your owner’s manual.
What power tool do you use to take off lug nuts?
Use an impact wrench with an impact-rated socket. A 1/2-inch drive impact wrench is common for lug nuts because it can deliver strong removal torque. Use short bursts, keep the socket square to the nut, and never use an impact wrench as the final torque tool when reinstalling the wheel.
How do I get a lug nut out of a lug nut removal tool?
Clamp the removal tool securely, spray penetrating oil around the stuck nut, and let it soak. Tap the tool lightly with a rubber mallet, then try turning the nut backward with a socket wrench. If it still will not release, take the tool and nut to a tire shop so the tool is not damaged.
Should I loosen lug nuts before jacking up the car?
Yes. Break the lug nuts loose while the tire is still on the ground. The ground keeps the wheel from spinning and makes the first turn safer. Do not fully remove the nuts until the vehicle is raised and safely supported.
Conclusion
The safest way to remove lug nuts is to use the right tool in the right order. Start with the vehicle secure, break the nuts loose while the tire is on the ground, use a snug socket, and apply steady pressure. If rust wins, use penetrating oil, short impact-wrench bursts, or professional help instead of reckless force.
When the wheel goes back on, do not guess. Start the nuts by hand, tighten in a crisscross pattern, finish with a torque wrench, and recheck after the first short drive period. That simple process protects the wheel, studs, brakes, and everyone riding with you.
Sources
- NHTSA TireWise — tire safety, maintenance context, and tire-related crash data.
- Continental Tires: Retorquing Wheels — retorque timing, correct torque guidance, crisscross sequence, and loose lug nut risks.
- Toyota Owners Manuals — example of where drivers can find vehicle-specific owner documentation.
- NIOSH Eye Safety — eye protection context for work involving flying particles or tool-related debris.
