
How to Loosen Lug Nuts on a Tire: Step-by-Step Guide
To loosen lug nuts, keep the wheel on the ground, set the parking brake, and chock the tires. Fit the correct lug wrench or socket snugly on each nut, then turn counterclockwise with steady pressure. If a nut won’t move, use penetrating oil and a breaker bar or jack-handle extension for more leverage. Work in a star pattern and test each nut for resistance. Stay with it, and you’ll cover the full removal process.
Key Takeaways
- Keep the tire on the ground, set the parking brake, and use wheel chocks for stability and safety.
- Use a lug wrench or socket that fits snugly, and turn the nuts counterclockwise to loosen them.
- Apply steady pressure; if nuts are stuck, use a breaker bar or penetrating oil for extra leverage.
- Loosen lug nuts in a star pattern to reduce stress on the wheel and avoid uneven pressure.
- Stop if a nut slips or strips, and inspect the studs and nuts for damage before proceeding.
What You Need to Loosen Lug Nuts
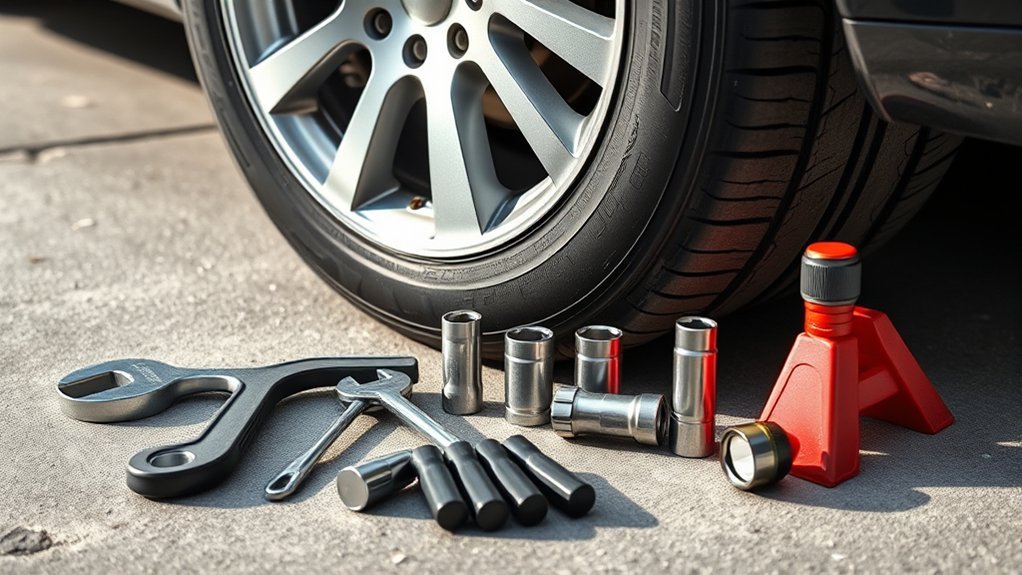
To loosen lug nuts safely and efficiently, you’ll need a lug nut wrench or socket set that matches the nut size exactly, plus a breaker bar for extra leverage if the nuts are over-tightened. Make sure the fit is snug so you don’t round the fasteners or waste energy fighting slip. If the nuts are seized, apply penetrating oil such as WD-40 and give it time to work into rust or corrosion before you try again. Wear safety gloves to improve grip and protect your hands, and use safety goggles to block debris if a nut breaks free suddenly. You can turn a wrench into a breaker bar by adding a jack handle for more leverage, but keep control of the tool. A torque wrench isn’t for loosening; you’ll use it later to verify proper tightening when reinstalling. With the right tools, you take command of the job and work with precision. Additionally, having a reliable spare tire kit can enhance your preparedness for roadside emergencies.
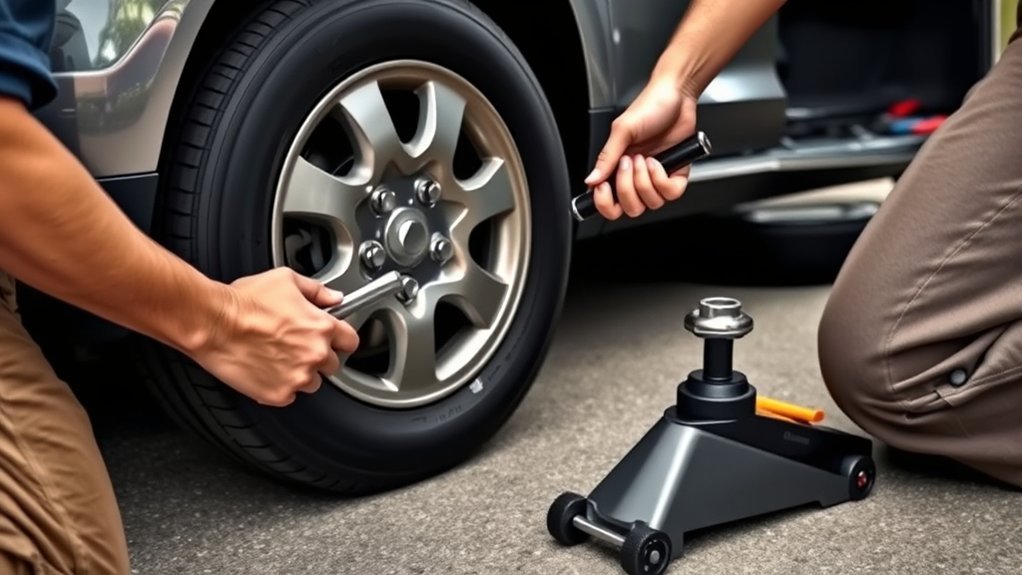
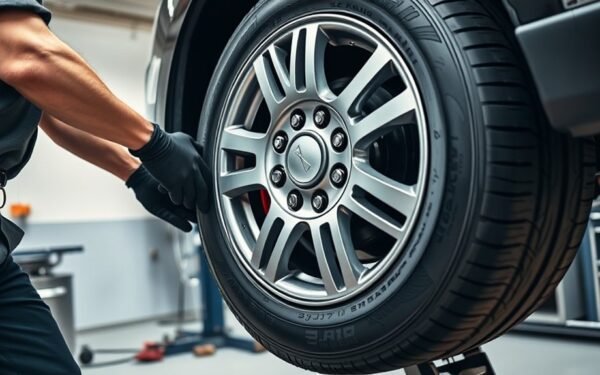
Set the Vehicle Before Loosening Lug Nuts
Keep the tire on the ground and set the vehicle on a flat, stable surface so it can’t shift while you work. Engage the parking brake and use wheel chocks or blocks behind the tires to keep the vehicle stationary. Don’t start loosening lug nuts with the vehicle jacked up, and make sure the lug wrench fits the nuts exactly. Additionally, ensure that the vehicle’s tire selection criteria aligns with your needs for safety and longevity.
Keep Tire on Ground
Set the vehicle on a flat, stable surface and leave the tire on the ground while you loosen the lug nuts. This keeps tire friction high and preserves ground stability, so lug nut mechanics work in your favor instead of against you. You can use the vehicle’s weight to resist the wrench, which makes the fasteners easier to break free. Apply force straight downward on the wrench handle for controlled leverage. Don’t jack up the vehicle yet; lifting early lets the wheel wobble and reduces your mechanical advantage. Keep the car in gear or engage the parking brake so it stays put while you work. Stay alert for any movement, and don’t let the tire lose contact with the ground until the nuts are loosened.
Stabilize Vehicle Position
Park the vehicle on a flat, stable surface and engage the parking brake before you touch the lug nuts. These parking surface considerations cut unwanted movement and keep the vehicle grounded while you work. For strong vehicle stability tips, follow these tire safety precautions:
- Confirm the ground is level, firm, and free of debris.
- Apply the parking brake fully and verify it holds.
- Place wheel chocks to block rolling, based on which tires you’re servicing.
- Check that the wheel sits steady, with no wobble, before loosening.
This setup gives you control, reduces risk, and protects your freedom to work efficiently. Don’t raise the vehicle yet; keep its weight on the tires until the lug nuts break free.
Avoid Jacked-Up Loosening
Before you loosen the lug nuts, make sure the vehicle stays on the ground and isn’t supported by a jack. Park on a flat, stable surface so the chassis won’t shift as you work. Keeping the tire loaded lets the wheel press the nuts in place, giving you better leverage and less wobble. This stability importance cuts jacked up risks and keeps the task controlled. Don’t raise the vehicle first; an elevated tire can move, forcing you to fight the tool instead of the fastener. Hold the lug nut wrench firmly, brace your body, and apply steady force in the correct direction. These safety measures help you loosen the nuts cleanly, with less strain and more command over the job.
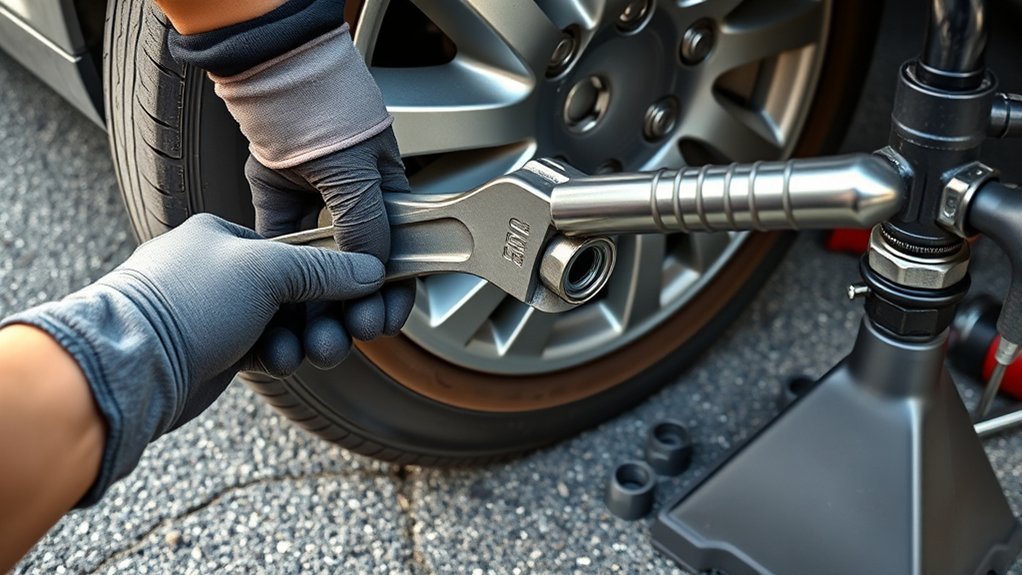
Fit the Lug Wrench Correctly
Slide the lug wrench onto the lug nut so the socket matches the nut size, usually 19 mm or 21 mm, and sits fully seated with a firm fit. You need this match to protect the edge profile and keep control while you work.
- Confirm the lug nut type before you push; different lug nut types need the right socket shape.
- Inspect wrench materials so the tool doesn’t flex under load.
- Press the wrench straight on until it bottoms out; don’t start if it rocks or slips.
- Turn counterclockwise with steady force, following torque specifications and the lefty-loosey rule.
A precise fit gives you cleaner leverage and less wasted effort. If you’re using an extension, make sure it’s locked to the wrench so the connection stays solid. When the wrench grips fully, you loosen the nut with authority, not struggle. That’s how you keep the job controlled and move toward freedom from stuck hardware. Additionally, using a well-fitted wrench can enhance tire maintenance effectiveness during routine checks.
Make a Breaker Bar With the Jack Handle
Remove the pin that secures the jack handle so you can detach it cleanly. Fit the lug nut wrench into the hollow end of the jack handle, then seat it firmly on the lug nut before you apply force. The longer handle gives you extra leverage and torque, so you can loosen tight lug nuts with less risk of slipping or damage. Using this method can be particularly helpful in severe weather conditions, where cold temperatures can make lug nuts more difficult to loosen.
Remove Jack Pin
Locate the pin that secures the jack handle, then remove it so you can detach the handle from the jack. Use careful pin removal techniques to keep the hardware intact and maintain jack handle safety. Once free, you can turn the handle into a compact breaker bar that helps you reclaim control over stubborn lug nuts.
- Find the retaining pin.
- Pull it straight out.
- Separate the handle from the jack.
- Keep the pin nearby.
Next, insert the correct lug nut wrench into the handle’s end and verify a firm fit. A secure connection improves leverage mechanics and reduces slip risk. Work only on a stable surface, with the vehicle safely supported on the tire. This setup lets you apply more torque with less strain, giving you practical freedom against overtightened lug nuts.
Fit Wrench Handle
With the jack handle pinned free, fit the lug nut wrench securely into the handle’s end to make a longer breaker bar. Choose a wrench that matches your lug nut and handle fit; different wrench types can affect grip and control. Push it on fully so the connection stays rigid during torque application. Align the socket squarely on the lug nut before you pull, because a misfit can slip and injure you. Wear safety gear, including gloves and eye protection, to keep your hands and face protected while you work. The extended handle gives you more leverage, so you can apply force with less strain and loosen over-tightened lug nuts without damaging the wheel or threads. Move deliberately, keep your stance stable, and let the tool do the work.
Add Extra Leverage
Detach the jack handle from the jack by pulling the pin, then insert the lug nut wrench snugly into the handle’s end to turn it into a breaker bar. This setup gives you breaker bar benefits: more leverage, cleaner torque application, and better control over stubborn fasteners.
- Check that the vehicle sits stable on the ground before you force anything.
- Use the jack handle as a rigid extension, not a flexing tool.
- Apply gradual, bouncing pressure; don’t yank.
- Stop if the lug nut slips or the wrench shifts.
These extension techniques help you break over-tightened lug nuts without fighting them head-on. You’re using mechanical advantage to reclaim motion with less strain, more precision, and less risk of damage.
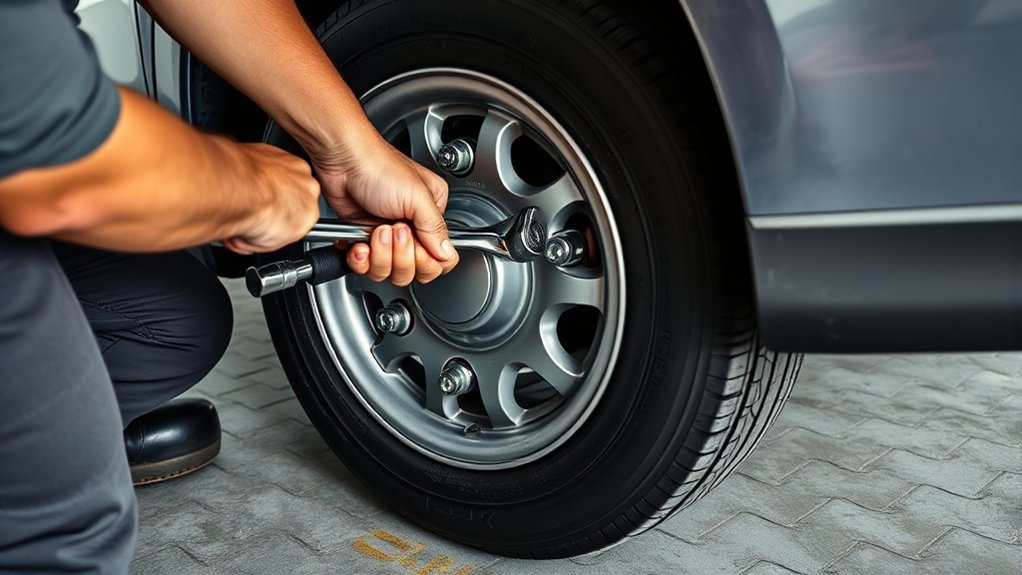
Loosen Lug Nuts With Steady Pressure
Set the lug nut wrench securely on the nut and keep a firm grip so you can transfer force cleanly. Use proper hand positioning techniques so your wrist stays aligned with the handle, and let leverage mechanics work for you instead of against you. Push down on the wrench in a controlled, steady motion; don’t jerk, yank, or twist suddenly. If the nut resists, add a small bouncing motion with your body weight to build force gradually without shocking the tool or the fastener. Adjust your grip as torque changes so you keep stability and control throughout the pull. Pause often to check for vehicle movement or wobbling, because safety precautions matter when you’re working under load. When you stay deliberate, you free the nut with less strain, less risk, and more command over the job. Additionally, having a tubeless tire repair kit on hand can be a lifesaver for unexpected punctures during your work.
Handle Stuck Lug Nuts
When a lug nut won’t budge, increase leverage with a breaker bar made from a jack handle and your lug nut wrench, then apply steady force with a controlled bouncing motion to help break it free. Keep the vehicle stable on the ground so it can’t wobble while you work; that’s one of the key safety precautions. If the nut still resists, use lubrication techniques: spray penetrating oil at the threads, wait a few minutes, then try again.
- Extend leverage with the jack handle.
- Bounce, don’t jerk, to avoid rounding the nut.
- Let penetrating oil work on rust and corrosion.
- Watch for common mistakes like rushed, uneven force.
Stay methodical and calm. You’re not fighting the wheel; you’re reclaiming control with precision. If one nut loosens, move on deliberately and keep your approach consistent across the wheel. Additionally, ensure your vehicle is equipped with quality all-season tires to provide optimal performance during tire changes.
Test Each Lug Nut for Tightness
Start by testing each lug nut individually with your wrench, applying moderate force to gauge how easily it turns. This quick check tells you which fasteners resist movement and helps you respect lug nut importance before you apply more leverage. Feel for the tightest nut first; that one usually demands the most control. Compare each lug nut against the others, and note any that barely move or won’t budge after a few tries. Don’t force it hard right away; stripping threads is one of the common mistakes that wastes time and can damage the wheel. If a nut stays stuck, mark it and continue testing the rest. Your goal is to identify resistance, not to remove anything yet. Keep torque specifications in mind, since overloading beyond them can cause trouble. Remember that choosing the right tire type can also influence how tight lug nuts can become over time. After you’ve checked all of them, return to the tightest nut with your breaker bar for better leverage and precise force, then proceed with confidence.
Remove Lug Nuts in a Safe Pattern
With the vehicle securely on the ground and stable, loosen the lug nuts in a star or crisscross pattern so the pressure comes off the wheel evenly and you don’t risk warping the brake rotor. Use the right tool selection so you can apply controlled force without slipping. Follow these safety precautions and stay deliberate: break each nut loose only slightly, then move to the opposite nut to keep the wheel balanced. Recheck the others as you go so nothing shifts.
- Start at one lug nut, then go to the one opposite it.
- Loosen each nut just enough to release initial tension.
- Inspect the remaining nuts after each turn for security.
- Avoid common mistakes like removing one nut fully before the others.
This method keeps the wheel stable, reduces stress on components, and gives you clean, efficient control. Move with purpose, work evenly, and you’ll free each lug nut without creating unnecessary trouble. Additionally, proper tire selection can enhance your vehicle’s performance, making it crucial to choose the right tires for your driving conditions.
Free a Lug Nut That Will Not Budge
If a lug nut won’t budge, attach the lug wrench to a jack handle to create a breaker bar and increase leverage and torque. Keep the vehicle stable with weight on the tire, then apply steady pressure with a controlled bouncing motion to break the nut loose without damaging the wheel. If the nut still resists, add penetrating oil and let it sit for 10 to 15 minutes before trying again. Consider using a quick-setting adhesive to secure the lug nut after loosening for added peace of mind.
Breaker Bar Leverage
When a lug nut won’t budge, you can turn the jack handle into a breaker bar for extra leverage: remove the pin, insert the lug nut wrench into the handle, and use the longer lever to increase torque. This simple conversion improves breaker bar materials performance through lever mechanics, giving you more force with less effort.
- Detach the jack handle cleanly.
- Seat the wrench firmly in the handle.
- Apply torque in controlled pulses.
- Test each nut one by one.
Keep the wrench aligned so torque application stays efficient. Use brief bouncing motions to break resistance without stripping the nut. Stay mindful of the vehicle’s stability; keep it secure on the ground while you work. With methodical pressure, you can free stubborn lug nuts and reclaim movement.
Safe Loosening Technique
Before you apply force, make sure the vehicle’s weight is still on the tire so it can’t wobble; then detach the jack handle and use it as a makeshift breaker bar by inserting the lug wrench for added leverage. Stand squarely, keep both feet planted, and don’t jack the vehicle while you work. These safe loosen techniques let you control torque applications without losing stability. Grip the wrench firmly, then apply a short bouncing motion to free the nut instead of a sudden jerk. Test each lug nut one at a time, because some will break loose sooner than others. If a fastener resists, reset your hand position for better leverage and repeat the motion. Follow these safety precautions to stay steady, protect the wheel, and reclaim control.
Remove the Wheel Safely
Set the vehicle on a flat, stable surface, engage the parking brake, and make sure it cannot roll before you start loosening the lug nuts. Check that your lug wrench fits each nut securely so you don’t strip the heads. Work one lug nut at a time, and test its tightness with controlled force.
- Use a breaker bar or jack handle if the nuts resist.
- Keep your stance stable and your grip firm.
- Loosen each nut gradually to maintain control.
- Remove the wheel only after every nut spins free.
Once the wheel is off, set it aside safely and inspect the hub, studs, and tire area. This is where tire maintenance basics matter: note uneven wear, damaged threads, or debris. Follow safe lifting practices if you need to raise the vehicle again, and remember wheel alignment tips when you reinstall. You’re not just removing a wheel—you’re taking command of your maintenance with precision and freedom. Additionally, consider the importance of choosing the right tires, as they can significantly impact your vehicle’s performance and safety.
Frequently Asked Questions
How Often Should Lug Nuts Be Checked for Tightness?
You should check lug nuts after every wheel installation, then again after 25–100 miles, and during routine lug nut maintenance. Use proper tools like a torque wrench to confirm tightness, not guesswork. Follow safety precautions by parking on level ground and inspecting each nut for even torque. You’ll protect your wheels, preserve control, and keep your mobility independent. Recheck before long trips, after impacts, or whenever you hear vibration.
Can I Use an Impact Wrench Instead of a Lug Wrench?
Yes, you can use an impact wrench instead of a lug wrench, and it offers impact wrench advantages like speed and less manual effort. As one of several lug wrench alternatives, it’s practical for stubborn fasteners. You should still use safety precautions explained: set the correct torque, wear eye protection, and avoid over-tightening. You’ll gain control, efficiency, and freedom from unnecessary strain while servicing your wheel.
What Torque Should Lug Nuts Be Tightened To?
You should tighten lug nuts to the vehicle maker’s torque specifications, usually 80–140 lb-ft, but always verify your exact model. One stripped stud can disable your wheel—about 1 in 5 roadside wheel failures trace to improper torque. Use a calibrated torque wrench for wheel maintenance, tighten in a star pattern, and follow safety precautions. You’re freeing yourself from guesswork and preventing warping, loosening, or dangerous wheel separation.
Should I Lubricate Lug Nuts Before Loosening Them?
No, you shouldn’t lubricate lug nuts before loosening them. Lubrication can reduce friction unpredictably, change torque readings, and let the wrench slip. If you face Lug nut corrosion, use a penetrating oil on the stud-to-nut interface, not grease on the threads. The Lubrication benefits apply mainly to removal of seized fasteners, but Safety precautions matter: support the vehicle, use the correct socket, and apply steady force.
Are All Lug Nut Sizes the Same on Every Vehicle?
No, you can’t treat lug nuts like identical keys in a vast metal forest. You’ll find different sizes, thread pitches, Lug nut shapes, and Lug nut materials across vehicles. Vehicle specifications dictate the correct fit, torque, and seat type. You should check your owner’s manual or use a socket gauge before loosening anything. Match the exact spec, and you’ll work safely, efficiently, and without dependence on guesswork.
Conclusion
Now you’re ready to finish the job with care. Keep the wheel steady, loosen each lug nut in a safe pattern, and stop if one feels stuck or damaged. Use firm, controlled pressure so the wrench doesn’t slip and your knuckles stay clear. If a nut won’t budge, treat it like a stubborn seed in hard soil—apply the right leverage, not brute force. With patience and the right tools, you’ll remove the wheel safely.
Related Articles
How to Use a Tire Machine: Complete Step-by-Step Guide
Learn how to use a tire machine step by step, avoid costly mistakes, and discover the key trick that makes bead seating easier.
Read More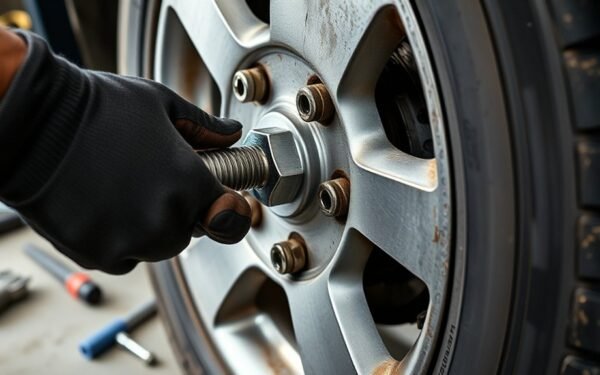
How to Loosen Tire Bolts: Techniques That Work Every Time
Jacked-up? Learn the quickest ways to loosen tire bolts safely, even when they’re stuck, and discover the one trick most drivers miss.
Read More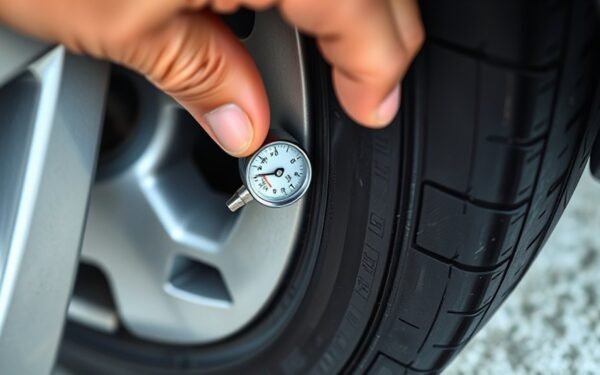
How to Use a Tire Gauge: Step-by-Step Guide for Accurate PSI Readings
Using a tire gauge correctly reveals your true PSI, but the key step most drivers miss can change everything.
Read More