
How to Patch a Honda Accord Tire: A Full Repair Guide
Patching a tire on your Honda Accord involves several key steps. First, gather essential tools like a tire repair kit, jack, and lug wrench. Assess the damage; it should be less than 1/4 inch. Clean the puncture, then widen it with a reamer for a snug plug fit. Coat the plug with rubber cement, insert it, and inflate the tire to the recommended pressure. Watch for leaks using soapy water. Continuing on will reveal common mistakes to avoid and signs for professional help.
Is DIY Tire Repair Safe for Your Honda Accord?
Regular inspections of your tires can help identify potential issues early, preventing the need for complex repairs or replacements. While DIY repairs can be effective, improper methods might compromise your tire’s structural integrity, leading to uneven wear or sudden failures. If you’re uncertain about the damage, it’s wise to consult a professional to guarantee your safety and maintain your Accord’s performance. Additionally, using essential tools like a tire plug kit and portable air pump can make repairs more effective and safer.
Must-Have Tools for Patching Your Tire
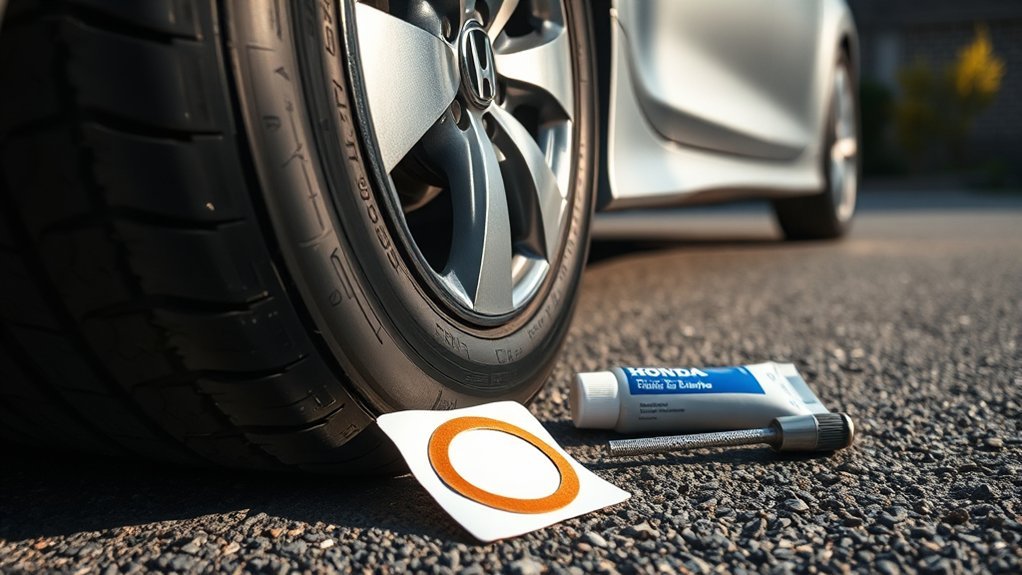
To effectively patch your tire, you’ll need a few essential tools. A tire repair kit, complete with plugs and a reamer, is vital, along with rubber cement for a secure seal. Don’t forget a jack, lug wrench, and a tire pressure gauge to guarantee safety and proper inflation after the repair. Additionally, ensure you have safety gloves and eye protection to prevent injuries while working on your tire.
Essential Repair Tools
When patching a Honda Accord tire, having the right tools is vital for a successful repair. Start with a tire repair kit, which should include a plug insertion tool, reamer, and rubber cement. These are important for effective patching techniques. You’ll also need a tire pressure gauge to confirm your tire is inflated to the manufacturer’s recommended pressure post-repair. A jack and lug wrench are necessary for safely lifting your vehicle and removing the tire. Don’t forget soapy water to check for leaks after your repair. Before diving in, inspect the overall condition of the tire to verify it’s suitable for DIY tire maintenance. Being equipped with these tools makes the process smoother and more reliable.
Safety Equipment Needed
While you might be focused on the tools for patching a tire, don’t overlook the importance of safety equipment. Implementing safety precautions guarantees a smooth and secure repair process. Here’s what you need:
- Safety gloves: Protect your hands from sharp tools and materials.
- Flashlight: Illuminate the tire area, making it easier to locate and assess punctures.
- Jack and lug wrench: Safely lift the vehicle and remove the tire, granting you access to the damage.
Wearing proper protective gear not only safeguards you but also enhances your confidence during the repair. Always prioritize safety to liberate your efforts in tackling tire issues effectively. Following these guidelines will empower you to complete the task safely and efficiently.
Step-by-Step Guide to Repairing Your Tire
To repair your Honda Accord tire, start by gathering essential tools like a tire repair kit, jack, and lug wrench. Next, follow a precise procedure to guarantee a successful patch. This guide will walk you through each step, from locating the puncture to checking for leaks after the repair. Additionally, be sure to track tire pressure regularly, as maintaining proper PSI can prevent further leaks and ensure optimal performance.
Essential Tools Required
Patching a Honda Accord tire requires specific tools to confirm a safe and effective repair. Here’s what you’ll need:
- Tire repair kit (includes plug insertion tool, reamer, and rubber cement)
- Jack and lug wrench (for safely lifting the vehicle and removing the tire)
- Tire pressure gauge (to confirm proper inflation after the repair)
Repairing Procedure Steps
Start by gathering your tools and inspecting the tire for damage. Conduct a puncture assessment to identify the hole; it should be less than 1/4 inch in diameter and not on the sidewall or shoulder. Next, remove any debris or the object causing the puncture. Use the reamer to clean and widen the hole, ensuring a secure fit for the plug. Coat the plug with rubber cement, then insert it into the hole until it’s snug. Trim any excess material flush with the tire surface. After patching, inflate the tire to the recommended pressure. Finally, apply soapy water to the repair area to check for leaks, confirming the effectiveness of your repair techniques.
Mistakes to Avoid When Repairing Tires
When repairing a tire, it’s essential to steer clear of common mistakes that can jeopardize your safety. Many DIY enthusiasts fall for tire repair myths, leading to potentially dangerous situations. Here are key errors to avoid:
- Ignoring puncture size: Don’t attempt repairs on punctures larger than 1/4 inch. These require professional attention.
- Patch sidewall damage: Avoid working on the sidewall or shoulder; damage here can compromise the tire’s integrity.
- Neglecting proper cleaning: Always clean and widen the hole with a reamer. Skipping this step can prevent a snug plug fit, resulting in leaks.
Additionally, be cautious with rubber cement; excess can ruin the repair. Remember, repeated repairs weaken the tire structure and increase the risk of sudden failure. By steering clear of these pitfalls, you’ll guarantee a safer driving experience. Also, be aware that a professional assessment is crucial to determine if a tire is repairable and safe for continued use.
Recognizing Tire Damage That Needs Expert Attention
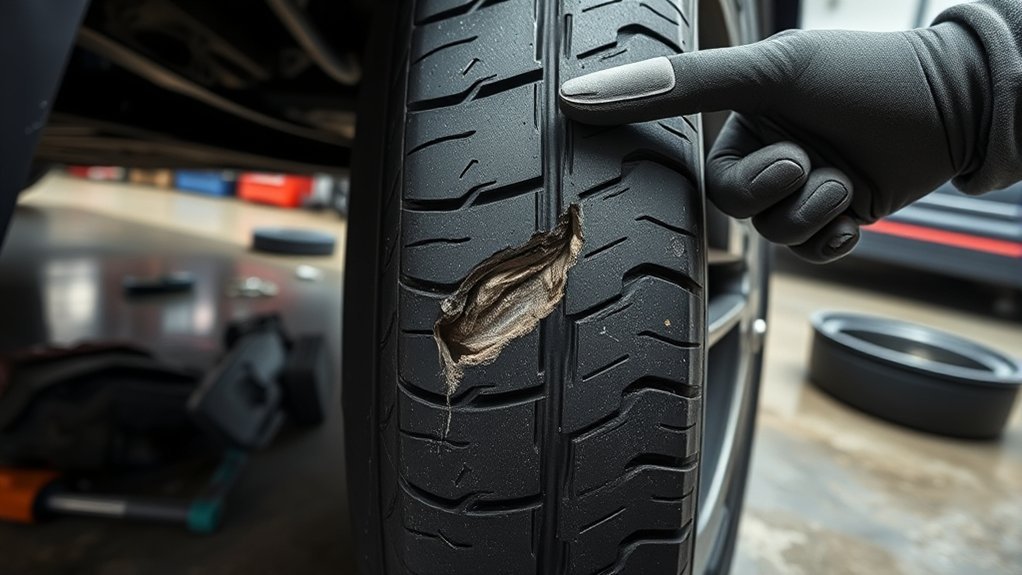
Even after avoiding common repair mistakes, it’s crucial to recognize when a tire’s damage warrants expert attention. Start with a thorough sidewall inspection; look for visible cuts, gashes, or bulges. These signs indicate severe damage that needs immediate professional help. If you spot punctures larger than 1/4 inch in diameter, don’t hesitate to consult an expert, as they can greatly compromise tire safety. Multiple punctures or damage on the tire’s shoulder also necessitate a professional evaluation to guarantee overall safety. Internal damage, such as exposed cords or wires, is a clear signal for immediate inspection to prevent potential tire failure. Regularly checking for tire wear can help catch issues early, reducing the risk of severe damage that requires expert intervention. Additionally, being aware of signs of tire cupping can further assist in maintaining your tire’s integrity and safety. Stay vigilant, and don’t ignore these warning signs to maintain your tire’s integrity and safety.
How Can You Spot Damage That Needs Professional Help?
How can you tell if your tire needs professional help? Watch for severe damage that signals a need for expert evaluation. Here are some key indicators:
- Visible cuts, gashes, or bulges on the sidewall
- Punctures larger than 1/4 inch in diameter
- Exposed wires or cords indicating internal damage
Utilizing effective tire maintenance tips, regularly inspect your tires to spot these issues early. If you see multiple punctures on a single tire, it’s essential to consult a professional; this compromises structural integrity. Employ damage assessment techniques to evaluate any uncertainty. When you’re in doubt, always err on the side of caution. A tire that appears unsafe could lead to serious safety risks. Additionally, be aware that a sidewall bulge indicates unrecoverable structural failure, which requires immediate replacement. Remember, your well-being on the road is worth the extra step of professional help.
Frequently Asked Questions
How to Patch a Tire With a Tire Repair Kit?
To patch a tire with a tire repair kit, first clean the puncture, insert the plug after applying rubber cement, trim excess material, inflate to recommended pressure, and check for leaks. Follow these tire maintenance tips for effective DIY tire repair.
What Is a Honda Tire Repair Kit?
A Honda tire repair kit includes essential tire repair tools like a plug insertion tool and rubber cement, making it crucial for tire maintenance. Keep it handy for quick fixes during emergencies and guarantee all components are ready.
Is It Better to Plug or Patch a Nail in a Tire?
It’s better to patch a nail in a tire for ideal tire safety. Patching maintains structural integrity and minimizes air leaks, while plugging might compromise performance. Always prioritize effective repair techniques for lasting results.
How Much Does It Usually Cost to Patch a Car Tire?
It usually costs between $10 and $30 to patch a car tire. For cost comparison, check local shops and consider DIY options. Remember, effective tire maintenance tips can save you money in the long run.
Conclusion
Patching your Honda Accord’s tire can seem intimidating, but with the right tools and guidance, it’s totally manageable. You might worry about safety, but a proper DIY repair can be just as reliable as a professional fix when done correctly. Always make sure you follow the steps meticulously, and don’t hesitate to seek help if you’re uncertain. With this guide, you’re equipped to tackle minor tire repairs and keep your Accord rolling smoothly and safely.
Related Articles

How to Clean and Protect Honda Accord Lug Nuts
Optimize your Honda Accord lug nuts' longevity with simple cleaning techniques and protective measures—discover the essential steps to keep them in top shape.
Read More
Honda Accord Wheel Alignment: When and Why It Matters
When your Honda Accord's wheels are misaligned, it can lead to costly issues—learn how to spot the signs and maintain optimal performance.
Read More
How Often Should You Balance Honda Accord Tires
Learn how often to balance your Honda Accord tires for optimal performance and safety, and discover the signs that indicate it's time for a check.
Read More