

A tire plug can help you get your Toyota RAV4 moving again after a small nail or screw punctures the tread, but it should be treated as a temporary roadside repair. Before you plug anything, confirm the damage is in the tread area, the tire was not driven flat, and the puncture is not larger than 1/4 inch. For a permanent repair, have the tire removed, inspected, and repaired from the inside by a trained tire technician.
Quick Answer
To plug a Toyota RAV4 tire, park safely, confirm the puncture is only in the tread, remove the nail or screw, ream the hole, insert a rubber tire plug, trim the excess, inflate the tire to the PSI on the driver-door placard, and check for leaks with soapy water.
Key Takeaways
- Only plug a small puncture in the tread area; never plug a sidewall, shoulder, large cut, bulge, or tire that was driven flat.
- Use the cold tire pressure listed on your RAV4 tire information placard, not the maximum pressure molded into the tire sidewall.
- A plug-only repair is for temporary roadside use. The industry-recognized permanent repair is a plug-patch installed from inside the tire after inspection.
- If your RAV4 has Toyota’s emergency tire puncture repair kit instead of a spare, follow the owner’s manual because that kit uses sealant, not a rubber plug.
At a Glance
| Time Required | 15–30 minutes for a temporary roadside plug |
| Difficulty | Moderate DIY task |
| Tools Needed | Tire plug kit, pliers, reamer, insertion tool, air pump, tire gauge, soapy water, gloves, eye protection, and a utility knife |
| Cost | Low if you already have a plug kit; professional repair or tire replacement varies by tire condition |
Common Tire Issues and Solutions
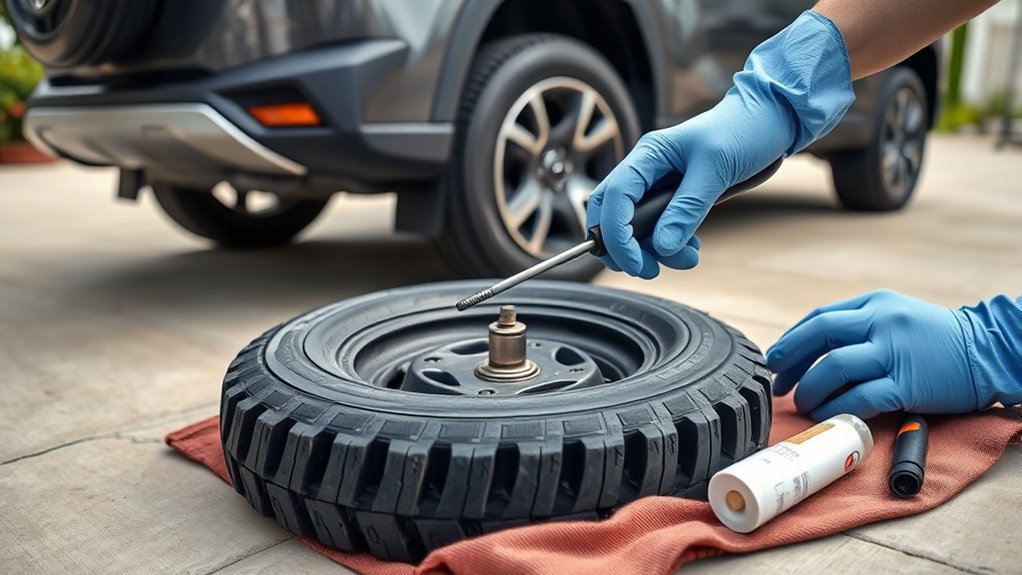
Common Toyota RAV4 tire problems include nails, screws, glass, low pressure, slow leaks around the valve stem, bead leaks, and impact damage from potholes. A plug kit can help with one specific problem: a small puncture through the center tread caused by an object such as a nail or screw.
It is not safe to plug every leak. Damage in the sidewall or shoulder, a long cut, visible cords, a bulge, a puncture larger than 1/4 inch, or a tire that was driven on while flat usually means the tire needs professional inspection and likely replacement. The U.S. Tire Manufacturers Association recommends repairs only when the injury is in the tread area and no larger than 1/4 inch.
Warning: Do not continue driving on a flat tire. Toyota warns that even a short drive on a flat can damage the tire and wheel beyond repair and may lead to an accident.
Understanding the Importance of a Tire Repair Kit
A tire repair kit can reduce the time you spend stuck on the roadside, especially when the puncture is small and easy to reach. A basic plug kit usually includes sticky rubber plugs, a spiral reamer, an insertion tool, and sometimes rubber cement. You will still need a tire inflator or compressor, a tire pressure gauge, and a way to check for leaks.
Some RAV4 models and trims may have a spare tire, while others may use an emergency tire puncture repair kit. Toyota’s emergency kit is different from a rubber plug kit: it uses sealant and a compressor for temporary repair of certain tread punctures. If your RAV4 has the factory sealant kit, follow your Toyota owner’s manual and tell the tire shop afterward that sealant was used.
[Products Worth Considering]

This AUTOWN flat tire repair kit is designed for quick, reliable puncture repairs using a plug kit and spiral probe tool to simplify installation. Built for durability and safe handling, it offers strong adhesion and flexibility to help maintain tire air tightness. With a portable storage case and a multi-vehicle approach, it’s suitable for cars, motorcycles, ATVs, tractors, lawn mowers, RVs, jeeps, and trucks.
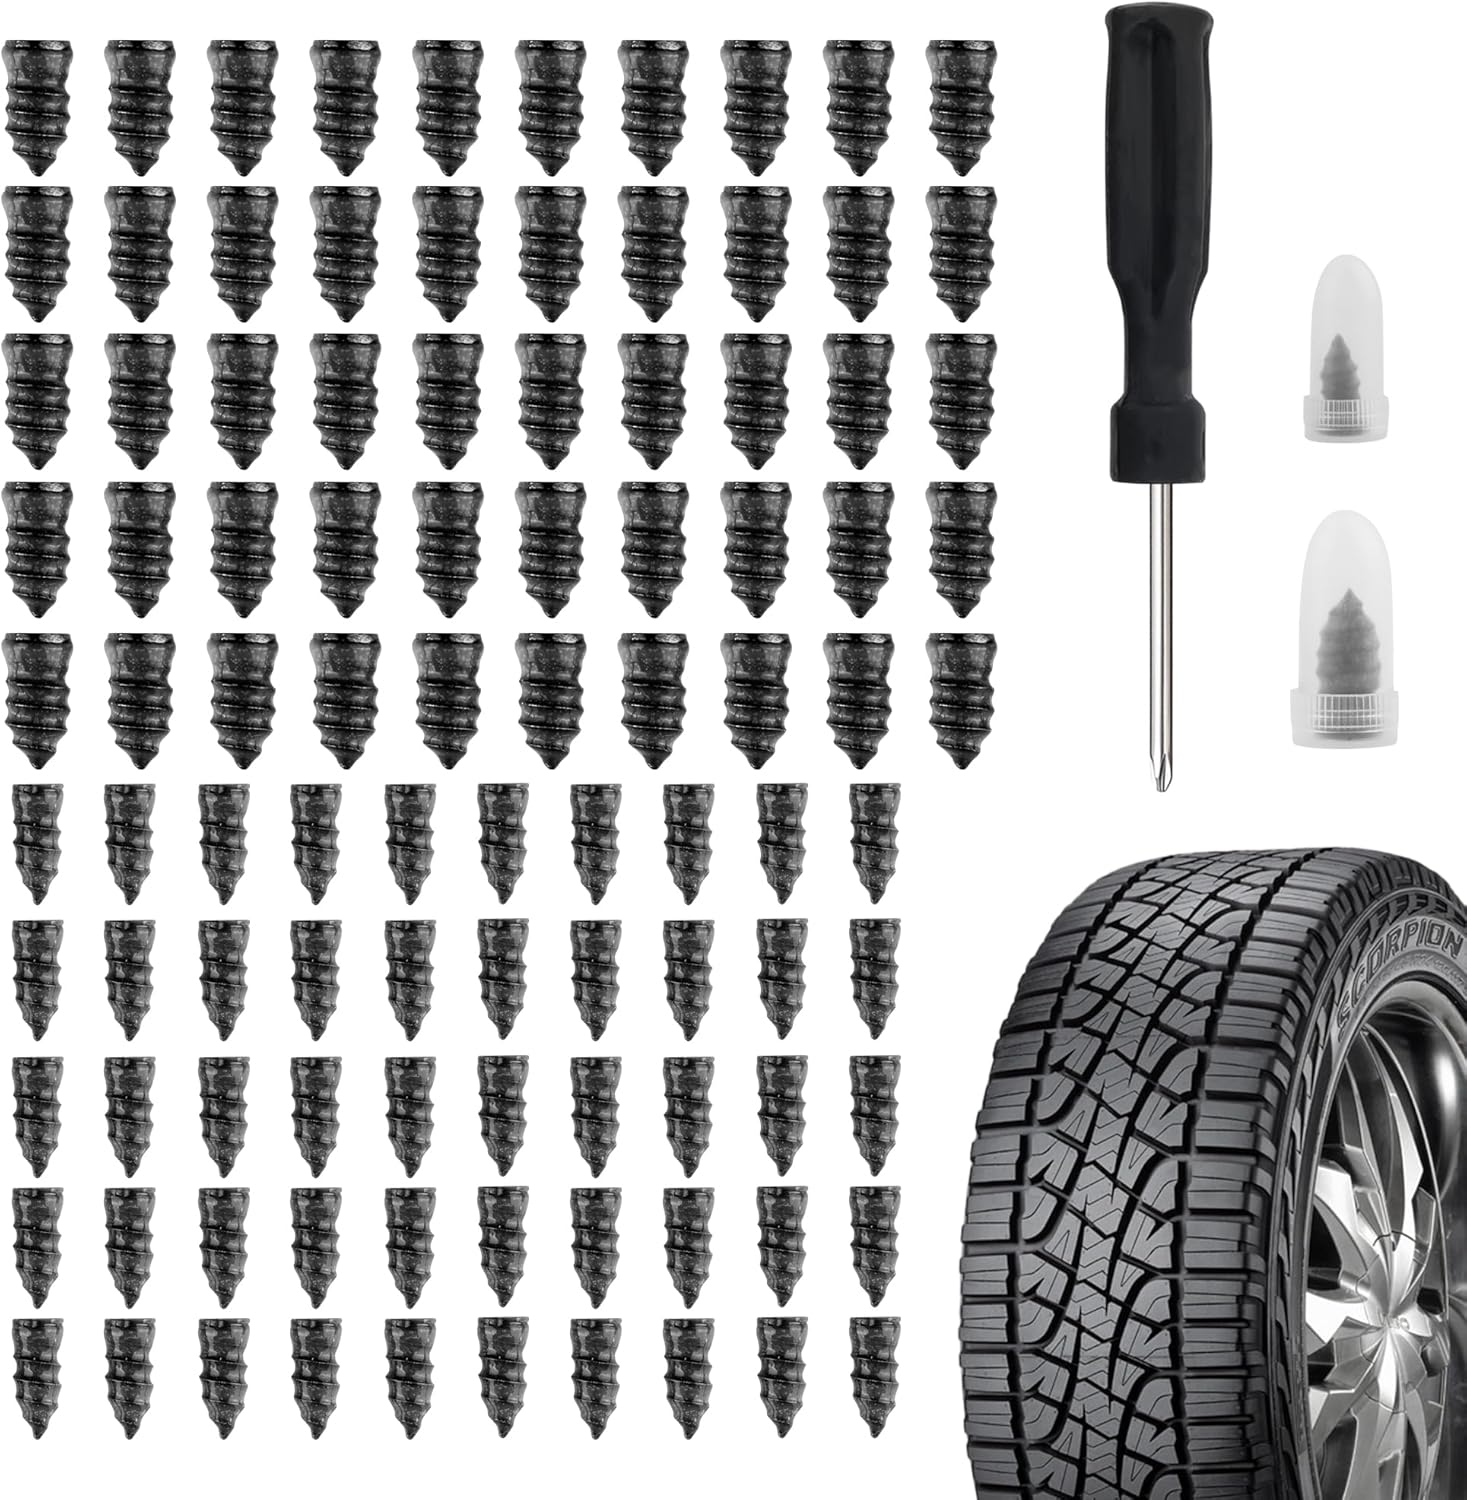
Salior’s tire plug kit provides a fast, reliable self-service fix for punctured or leaking tires without the need for flaring tools. Choose the correct plug size, then screw the nail into the puncture using the included screwdriver for an enhanced seal. The set is durable and convenient for on-the-go maintenance across multiple vehicle types.

This tire repair kit provides fast emergency puncture repair without removing the tire from the rim, helping you get back on the road quickly. Its screw plug system is designed for punctures in both tread and sidewall and includes a complete patch plug tool set with essential accessories. A portable storage bag makes it easy to carry for cars, trucks, SUVs, motorcycles, and heavy-duty applications.
Emergency Roadside Preparedness
Keep your repair items together where you can reach them quickly. A good emergency tire setup for a RAV4 includes a tire plug kit, portable compressor, tire gauge, flashlight, gloves, safety glasses, reflective triangle, wheel chocks, and a small bottle of soapy water. Check the kit occasionally because plugs can dry out, glue can expire, and sealant bottles have a limited shelf life.
Cost-Effective Tire Solutions
A plug kit can be useful for a temporary DIY fix, but it should not replace a proper inspection. Professional tire repair is often much cheaper than replacing a repairable tire, and it gives the technician a chance to inspect the inside liner for hidden damage. That matters because a plug installed from the outside may stop air loss but cannot confirm whether the tire’s internal structure is still safe.
Identifying the Right Tools for the Job
To plug a RAV4 tire safely, gather everything before you start. Working with half the tools missing can leave the tire underinflated or the plug poorly seated.
| Tool | Purpose | Why It Matters |
|---|---|---|
| T-handle insert tool | Pushes the rubber plug into the puncture | Helps seat the plug tightly |
| T-handle spiral probe or reamer | Cleans and sizes the puncture hole | Prepares the tread for sealing |
| Needle-nose pliers | Removes the nail, screw, or debris | Keeps the puncture path clear |
| Tire inflator or compressor | Refills the tire after repair | Restores pressure to the placard PSI |
| Tire pressure gauge | Checks the final pressure | Prevents underinflation or overinflation |
| Soapy water | Reveals bubbles at the leak | Confirms whether the plug is sealing |
| Utility knife or blade | Trims extra plug material | Leaves the tread surface cleaner |
| Gloves and safety glasses | Protects hands and eyes | Reduces injury risk during roadside work |
Pro Tip: Do a quick practice run at home with your kit before you need it. Knowing how the reamer and insertion tool feel makes a roadside repair much less stressful.
[Products Worth Considering]
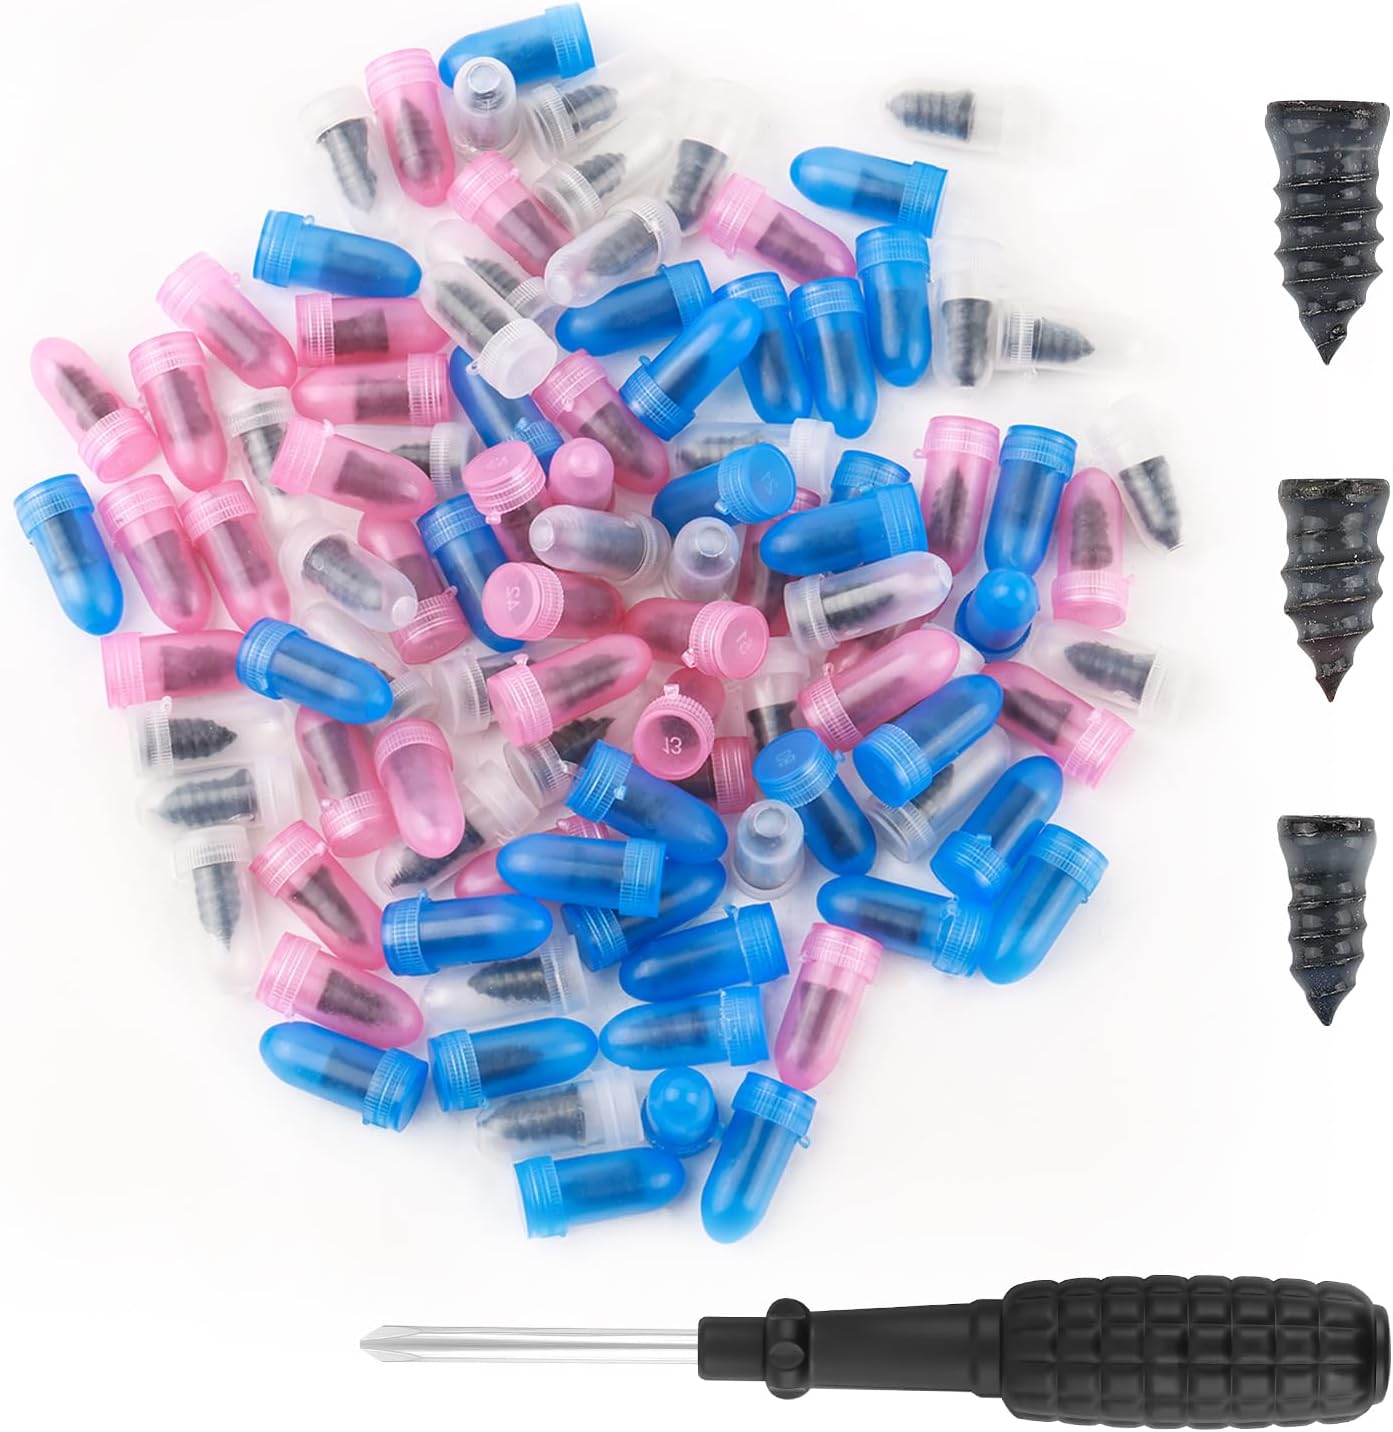
This 100-piece tire repair screw plug kit provides a fast, self-service solution for punctures on the road. Choose the correct plug size, insert it into the break, and screw it in to help seal the puncture and temporarily restore tire pressure. Thickened threads and rubber-wrapped plugs improve bite and sealing while remaining compact and easy to carry.

Vigorder rubber cement glue delivers superior adhesion and cures quickly within about 30 seconds for seamless rubber bonding. Once cured, it helps provide a strong, durable, waterproof seal that holds up to vehicle weight, pressure, and heat. Suitable for cars, motorcycles, trucks, bicycles, and off-road tires, it’s designed for emergency patch and maintenance repairs.
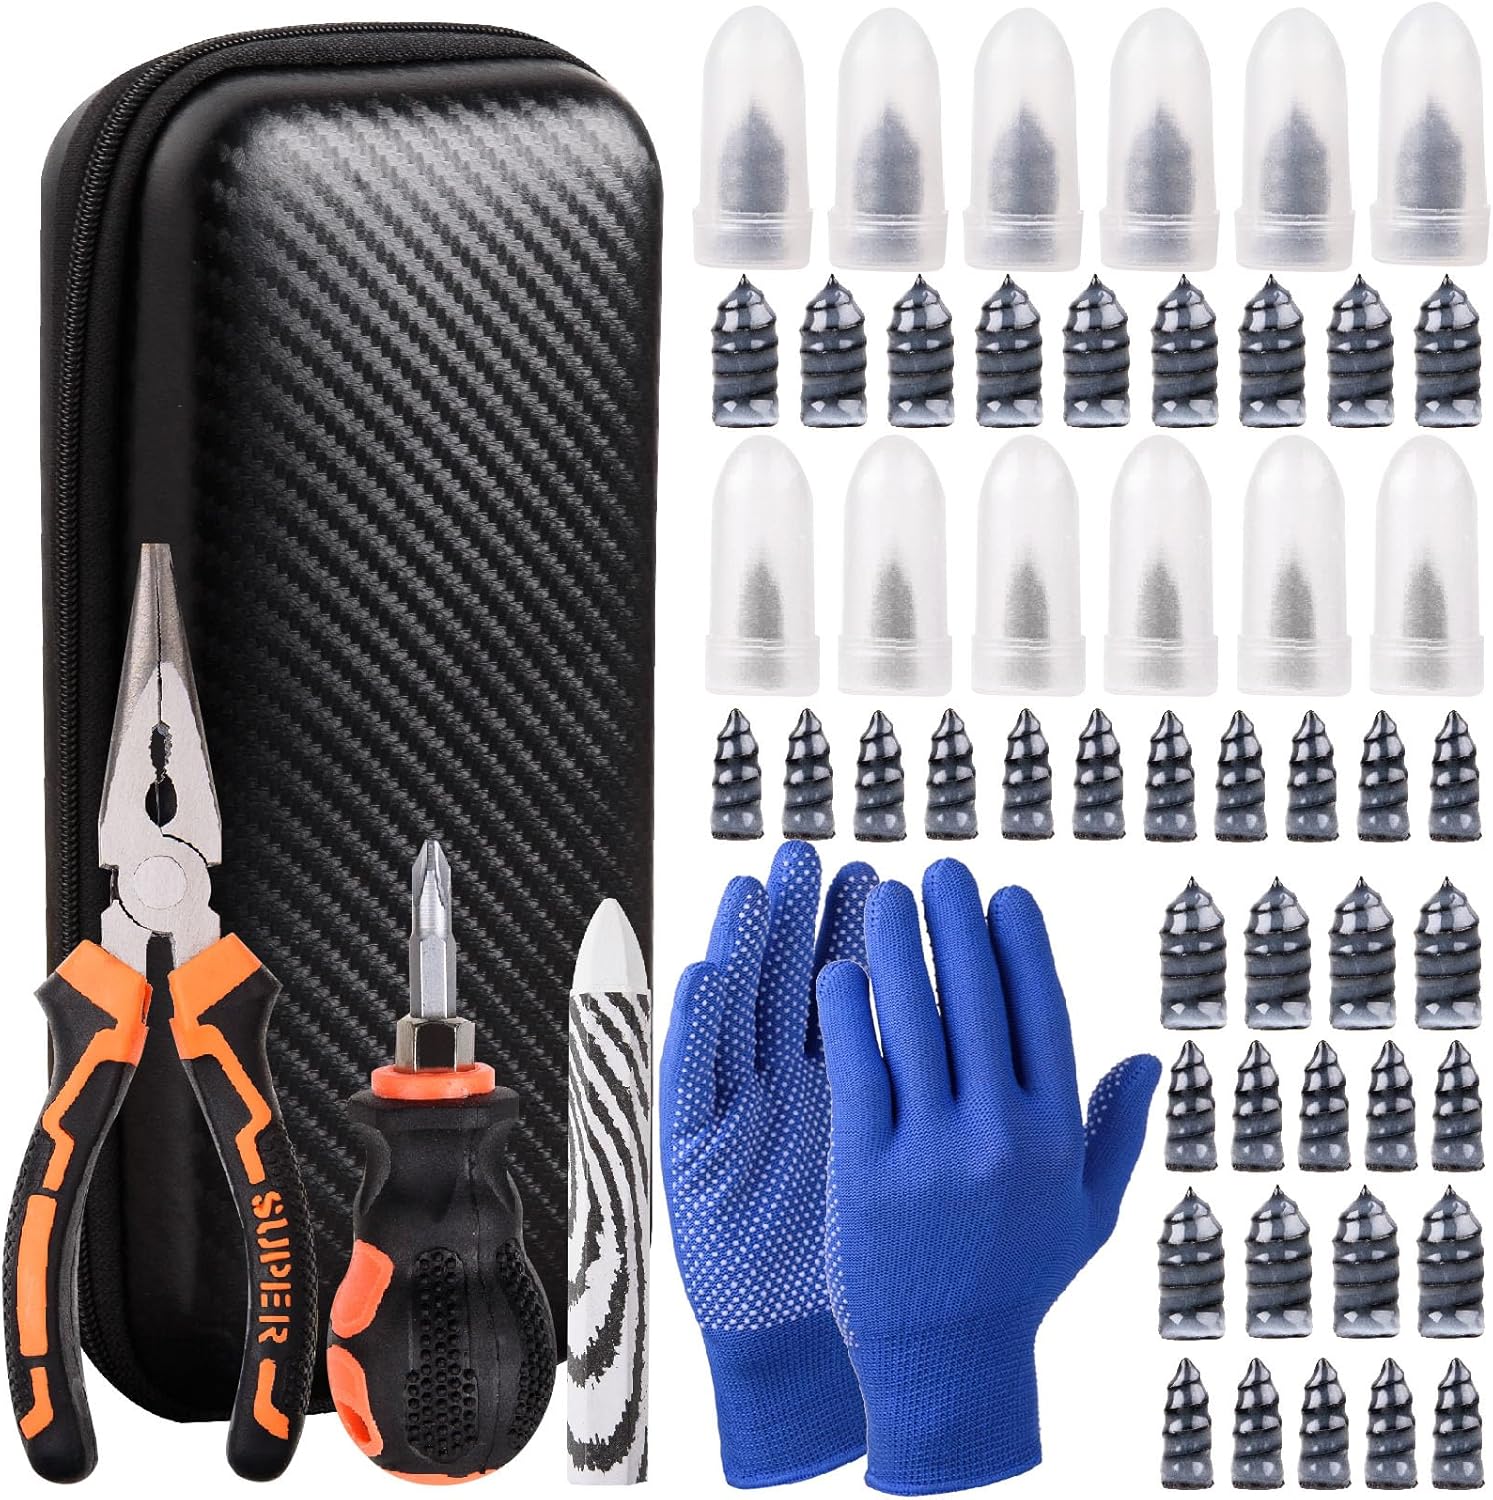
This tire sidewall puncture repair kit fixes flats fast without removing the tire, helping you get back on the road in minutes. It includes self-tapping repair nails, essential tools, gloves, and a portable storage bag for convenient roadside use. Designed for tubeless tires, it helps create a tight, leak-resistant seal for cars, motorcycles, trucks, SUVs, and ATVs.
Stay Safe: Get Ready for the Repair
Before touching the tire, move the RAV4 as far from traffic as possible. Choose a hard, flat surface, shift to Park, set the parking brake, turn on the hazard lights, and place a reflective triangle if you have one. If the location is unsafe, call roadside assistance instead of trying to work near moving traffic.
Essential Safety Gear
Wear gloves to protect your hands from steel belts, sharp road debris, and plug cement. Use safety glasses when pulling debris or reaming the puncture because small pieces can fly loose. A flashlight or headlamp is also helpful, even during the day, because punctures can hide deep in the tread grooves.
Identify a Safe Location
Look for a stable spot before starting the repair. Avoid soft shoulders, steep slopes, blind curves, and narrow lanes. If you need to remove the wheel for better access, follow the jacking instructions in your Toyota owner’s manual and never put any part of your body under a vehicle supported only by a jack.
Check If the Tire Can Be Plugged
Before using a plug, inspect the tire carefully. A plug is only suitable when all of these are true:
- The puncture is in the tread area, not the sidewall or shoulder.
- The puncture is no larger than 1/4 inch, or 6 mm.
- The tire has not been driven flat or severely underinflated.
- There are no bulges, cracks, exposed cords, or large cuts.
- The puncture does not overlap a previous repair.
- The tire is not losing air from the valve stem, bead, or wheel damage.
If any of those checks fail, install the spare if your RAV4 has one, use the Toyota emergency kit only if the manual says the damage qualifies, or call for roadside help.
A plug can get you moving, but a plug by itself is not considered a permanent tire repair by major tire repair guidelines.
How to Plug a Tire: Step-by-Step Guide
Follow these steps only for a small tread puncture. Work slowly and keep the tire as clean as possible so the plug can seal properly.
1. Locate the Puncture
Look for a nail, screw, staple, or piece of debris in the tread. If you cannot see the leak, spray soapy water over the tread and valve stem. Bubbles usually show where air is escaping. Mark the spot with chalk or a piece of tape so you do not lose it.
2. Check the Location and Size
Confirm the damage is in the tread area and not near the shoulder where the tread curves into the sidewall. If the puncture is large, angled toward the shoulder, or paired with visible sidewall damage, stop and get professional help.
3. Remove the Object
Use needle-nose pliers to pull the nail or screw straight out. If the object is difficult to remove, twist gently while pulling. Keep your face and hands away from the puncture path because air may escape quickly.
4. Ream the Hole
Push the spiral probe or reamer into the puncture and move it in and out several times. This cleans the hole and roughens the rubber so the plug can grip. Keep the tool aligned with the same angle as the puncture instead of forcing a new path.
5. Load the Plug
Thread one rubber plug halfway through the insertion tool so both ends are even. If your kit includes rubber cement and the instructions call for it, coat the plug lightly. Do not use random adhesives or household sealers because they are not designed for tire repairs.
6. Insert the Plug
Push the loaded insertion tool into the puncture until about half an inch of plug remains above the tread. This may take firm pressure. Pull the tool straight out with a quick motion, leaving the plug in the tire.
7. Trim the Excess
Use a utility knife to trim the plug close to the tread surface. Do not pull on the plug while trimming. A small amount of material above the tread is normal and will wear down as the tire rolls.
8. Inflate the Tire
Inflate the tire to the cold tire pressure listed on the tire and loading information label inside the driver’s door area. The NHTSA TireWise guide also recommends using the vehicle placard or owner’s manual for the correct pressure rather than the tire sidewall maximum.
9. Check for Leaks
Spray soapy water around the plug and valve stem. If bubbles keep forming, the repair is not sealing. Do not keep driving on a leaking repair; use the spare, call roadside assistance, or have the vehicle towed.
10. Drive Carefully to a Tire Shop
After a plug-only repair, drive cautiously and avoid highway speeds, hard braking, and sharp turns. Have the tire inspected as soon as possible. A trained technician should remove the tire from the wheel, inspect the inside liner, and decide whether a proper plug-patch repair or replacement is needed.
Ensuring a Secure Plug Fit During Repair

A secure plug fit depends on proper preparation. The hole needs to be clean, the plug needs to match the puncture, and the insertion tool must follow the original puncture path. If the plug slides in too easily, the puncture may be too large for a safe temporary plug. If the plug will not enter at all, do not force it so hard that you damage the tire further.
- Clean the puncture: Use the spiral probe to remove debris and prepare the rubber.
- Use the right plug: A standard rubberized cord should fit snugly in a small tread puncture.
- Insert with firm pressure: Push straight along the puncture path, then pull the tool out quickly.
- Check with soapy water: Bubbles after inflation mean the tire still leaks.
Note: If the TPMS warning light stays on after inflation, recheck all four tires when they are cold. If pressure is correct and the warning remains, have the system checked.
Inflating the Tire: Getting Back on the Road
Once the plug is installed, connect your inflator securely to the valve stem and add air in short bursts. Check the pressure with a gauge instead of guessing by tire shape. RAV4 tire pressure varies by model, tire size, and load, so use the sticker on your vehicle rather than assuming a universal PSI.
After inflation, reinstall the valve cap. Toyota notes that missing valve caps can allow dirt or moisture into the valve, which may cause air loss. Recheck the tire pressure after a short drive and again the next morning when the tire is cold.
Avoid These Common Tire Plugging Mistakes
A rushed plug repair can fail quickly. Avoid these common mistakes:
- Plugging the sidewall or shoulder: These areas flex heavily and are not safe plug locations.
- Ignoring tire size and damage limits: A puncture larger than 1/4 inch needs professional evaluation.
- Skipping the leak test: Always use soapy water after inflation.
- Using the wrong pressure: Inflate to the RAV4 placard pressure, not the sidewall maximum.
- Driving normally after a plug: Treat the plug as temporary until a tire professional inspects it.
- Forgetting hidden internal damage: A tire driven flat may look fine outside but be damaged inside.
Plug vs. Patch vs. Toyota Sealant Kit
These repair options are often confused, but they are not the same:
| Repair Type | How It Works | Best Use | Limitations |
|---|---|---|---|
| Rubber plug | Inserted from outside the tire into the puncture | Temporary roadside repair for small tread punctures | Does not inspect or seal the inner liner as a permanent repair |
| Patch only | Applied inside the tire over the puncture | Not usually recommended by itself for puncture injuries | Does not fill the injury channel through the tread |
| Plug-patch combination | Fills the puncture and seals the inner liner from inside | Permanent repair when the tire qualifies | Requires tire removal and technician inspection |
| Toyota sealant kit | Injects sealant and inflates the tire with a compressor | Temporary repair on eligible tread punctures for vehicles without a spare | Single-use sealant; the tire must still be inspected or replaced |
The Tire Industry Association explains that a plug by itself or a patch by itself is not an acceptable permanent repair because the injury path and inner liner both need to be addressed.
[Products Worth Considering]

This screw-in tire plug kit offers quick, DIY tire repairs for punctures from nails, screws, and sharp debris. Simply screw the vacuum tire mending nail into the puncture for a fast roadside fix, designed to create a strong, air-tight seal. It fits most tubeless tires for cars, trucks, motorcycles, and more, helping you avoid costly replacements until professional service is available.

Wykodra tire plugs provide quick vulcanizing repairs for tubeless tires, helping you seal punctures and get back on the road. The industrial-strength rubber creates a long-lasting, leak-resistant bond and is designed for emergency fixes without removing the tire. Choose between two standard plug sizes with color-matched options for small to larger damage across many vehicles and off-road uses.

AUTOWN’s 68-piece tire repair kit helps you fix punctures and plug flats quickly and effectively. It includes a T-handle and spiral probe tool for easy insertion, while the steel patch and plug materials are designed for strong adhesion and long-lasting airtight performance. The compact case makes it convenient for roadside repairs across a wide range of vehicles.
Signs You Need Professional Tire Help

Some tire problems should not be handled with a DIY plug. Get professional help if you notice any of these signs:
| Sign | Action Required |
|---|---|
| Puncture in the sidewall or shoulder | Replace or professionally evaluate the tire immediately |
| Puncture larger than 1/4 inch | Do not plug; have the tire inspected |
| Multiple punctures or overlapping repairs | Have a technician evaluate tire integrity |
| Visible cracks, cords, bubbles, or bulges | Stop driving and replace the tire if recommended |
| Persistent air loss after plugging | Do not rely on the plug; get professional service |
| Vibration, pulling, or thumping after repair | Have the tire and wheel checked before highway driving |
Frequently Asked Questions
What can I temporarily plug a tire with?
Use a proper tubeless tire plug kit with rubberized plug cords, a reamer, and an insertion tool. Do not use screws, glue, tape, wood, or improvised materials. A plug is only suitable for a small tread puncture and should be followed by professional inspection.
How does the Toyota tire repair kit work?
Toyota’s emergency tire puncture repair kit, used on vehicles without a spare tire, typically uses sealant and a compressor. It is designed for temporary repair of certain nail or screw punctures through the tread. Follow the owner’s manual exactly, and have the tire repaired or replaced afterward.
Is a tire plug a temporary fix?
Yes. A plug installed from outside the tire should be treated as a temporary roadside fix. A permanent repair requires removing the tire from the wheel, inspecting the inside, and installing a proper combination repair when the tire qualifies.
Can I plug a RAV4 tire without removing the wheel?
Sometimes, yes, if the puncture is visible and easy to reach in the tread. Removing the wheel can make the job easier, but only do that if you can safely jack the vehicle on a hard, flat surface and follow Toyota’s jacking instructions.
How far can I drive after plugging a tire?
Drive only as far as needed to reach a tire shop or safe service location. Keep your speed down, avoid aggressive driving, and stop if the tire loses pressure, vibrates, or feels unstable.
Should I remove the nail before using Toyota’s factory sealant kit?
Not unless your Toyota owner’s manual tells you to. Toyota’s emergency puncture repair kit instructions commonly say not to remove the nail or screw before using the sealant because removing it can widen the hole and prevent a temporary seal.
Conclusion
Plugging a tire on your Toyota RAV4 can be a useful temporary solution when the puncture is small, centered in the tread, and caused by a nail or screw. The key is knowing when not to plug: sidewall damage, shoulder damage, large punctures, bulges, cracks, and tires driven flat need professional attention. After any DIY plug, inflate the tire to the placard pressure, check for leaks, drive carefully, and schedule a proper tire inspection as soon as possible.
Sources
- U.S. Tire Manufacturers Association — Tire Repair Basics — repairable puncture location, 1/4-inch injury limit, and internal inspection guidance
- Tire Industry Association — Tire Repair — plug-only and patch-only repair limitations
- NHTSA TireWise — tire pressure, tire safety, and placard-based inflation guidance
- Toyota 2025 RAV4 Owner’s Manual — If You Have a Flat Tire — Toyota emergency puncture repair kit and flat-tire safety instructions
- Toyota 2020 RAV4 Owner’s Manual — Tire Inflation Pressure — Toyota guidance on correct inflation pressure and frequent air loss

