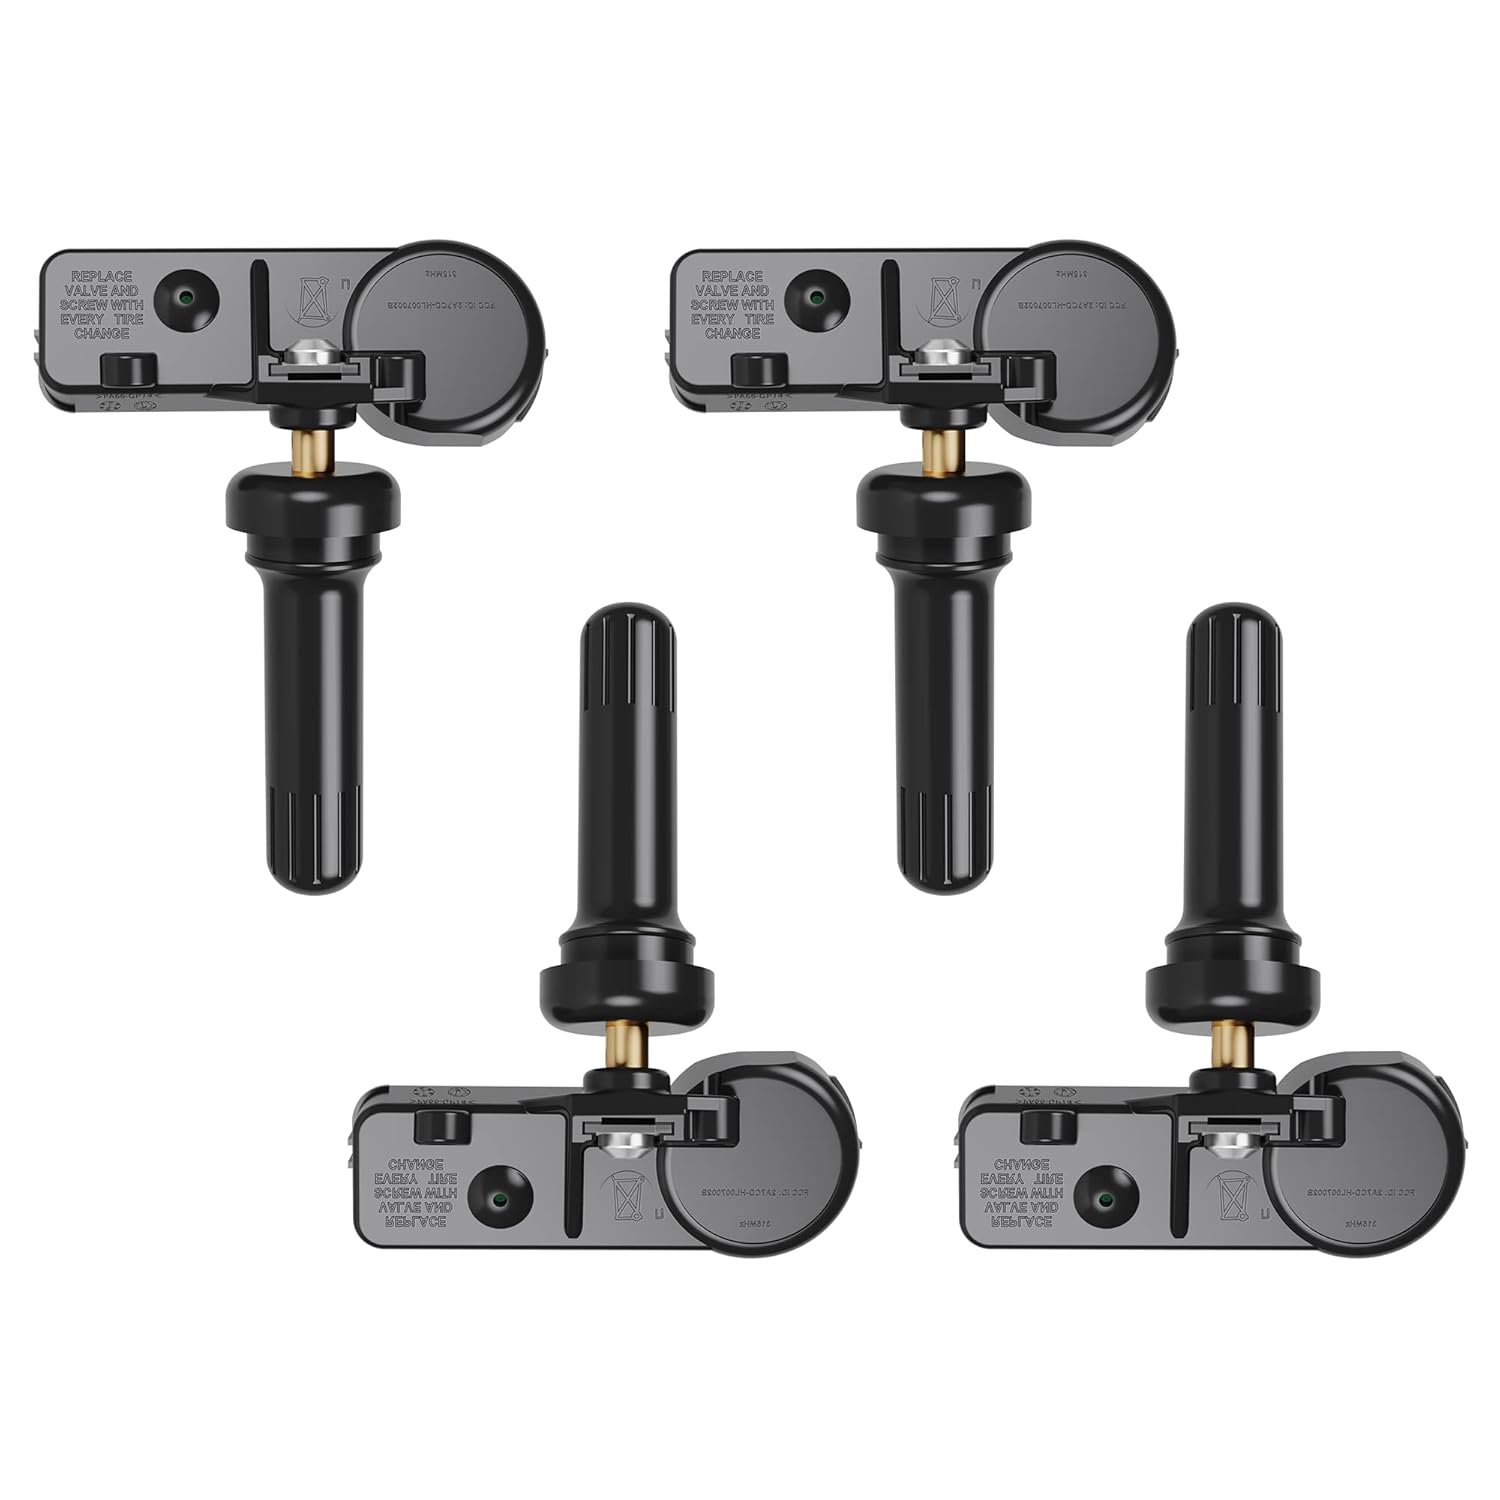
Installing TPMS sensors on aftermarket wheels takes more than fitting a sensor through a valve hole. You first need to confirm that your vehicle uses direct TPMS, match the sensor to the vehicle and wheel, install the correct new service parts, mount the tire without striking the sensor, inflate the tire correctly, and complete the vehicle-specific relearn or registration procedure.
Quick Answer
To install TPMS sensors on aftermarket wheels, confirm the vehicle uses direct TPMS, verify the sensor protocol and wheel fit, install the sensor with the correct new service kit, torque its hardware to the sensor maker’s specification, mount and inflate the tire, check for leaks, then complete the exact relearn procedure required by your vehicle.
Key Takeaways
- Confirm that your vehicle uses direct TPMS. Indirect systems do not have pressure sensors mounted inside each wheel.
- Match the sensor to the exact vehicle protocol and make sure the aftermarket wheel accepts its valve-stem design, angle, sealing surface, and sensor-body clearance.
- When servicing a reusable TPMS sensor, install the correct new valve/service-pack components when required instead of reusing old sealing hardware.
- Use the sensor manufacturer’s specified torque. Generic torque values are unsafe because TPMS valve designs differ.
- Mount the tire carefully so the bead or tire-changing head does not strike or trap the TPMS sensor.
- Inflate the tires to the vehicle manufacturer’s recommended cold pressure, check for leaks, and complete the exact stationary, OBD, or auto/drive relearn required by your vehicle.
At a Glance
| Time Required | About 60–120 minutes for four wheels in a properly equipped shop; the relearn method and tire service can change the total time. |
| Difficulty | Intermediate to advanced because tire demounting, bead seating, lifting, torque control, and TPMS programming/relearning may be required. |
| Tools Needed | Jack and approved stands, wheel-lug torque wrench, inch-pound or low-range TPMS torque tool as specified, valve-core tool, tire changer/bead-breaking equipment, air supply, pressure gauge, leak-detection solution, and a compatible TPMS activation/programming/relearn tool when required. |
| Cost | Service-pack parts are commonly inexpensive; Schrader estimates about $5–$10 per wheel for many service kits and roughly $50–$100 each for replacement sensors, depending on the vehicle, before applicable mounting or programming labor. |
Warning: Never loosen a TPMS valve nut or begin sensor removal while the tire is pressurized. Tire and wheel assemblies store significant energy. Fully deflate the tire first, support the vehicle with approved stands, and use proper tire-changing equipment. If you do not have training and equipment for tire demounting, mounting, and bead seating, have a qualified tire shop perform those portions of the job.
What You Need for TPMS Installation

To install TPMS sensors on aftermarket wheels, gather the tools and parts before the tires are mounted. At minimum, you may need a wheel-lug torque wrench, the correct low-range torque tool for the TPMS hardware, a valve-core tool, an accurate tire-pressure gauge, a jack and approved stands, tire-changing equipment, an air supply, and a TPMS activation or diagnostic tool.
If you plan to install TPMS sensors by transferring factory units, verify the sensor application before removing anything. The sensor must work with your exact vehicle and physically fit the new wheel.
You should also have the correct TPMS service kit. Depending on the sensor design, that may include a new rubber stem, grommet, mounting nut, valve core, sealing cap, screw, or related parts. Schrader’s TPMS service guidance recommends replacing applicable service-pack components when the tire is removed rather than repeatedly reusing old sealing hardware.
Never guess a TPMS sensor torque. Clamp-in valve nuts, sensor screws, and valve cores have application-specific requirements. Use the value supplied by the sensor, wheel, or vehicle manufacturer and a tool that can accurately measure that low torque.
[Products Worth Considering]

The UYYE TPMS relearn tool helps activate and relearn tire pressure monitor sensors quickly, typically in minutes. It supports TPMS learn mode resetting using a simple three-step process: enter learn mode, position the tool near the valve stem, and press the learn button. Designed for specific GM models, it streamlines sensor programming and reduces trips to dealers or tire shops.
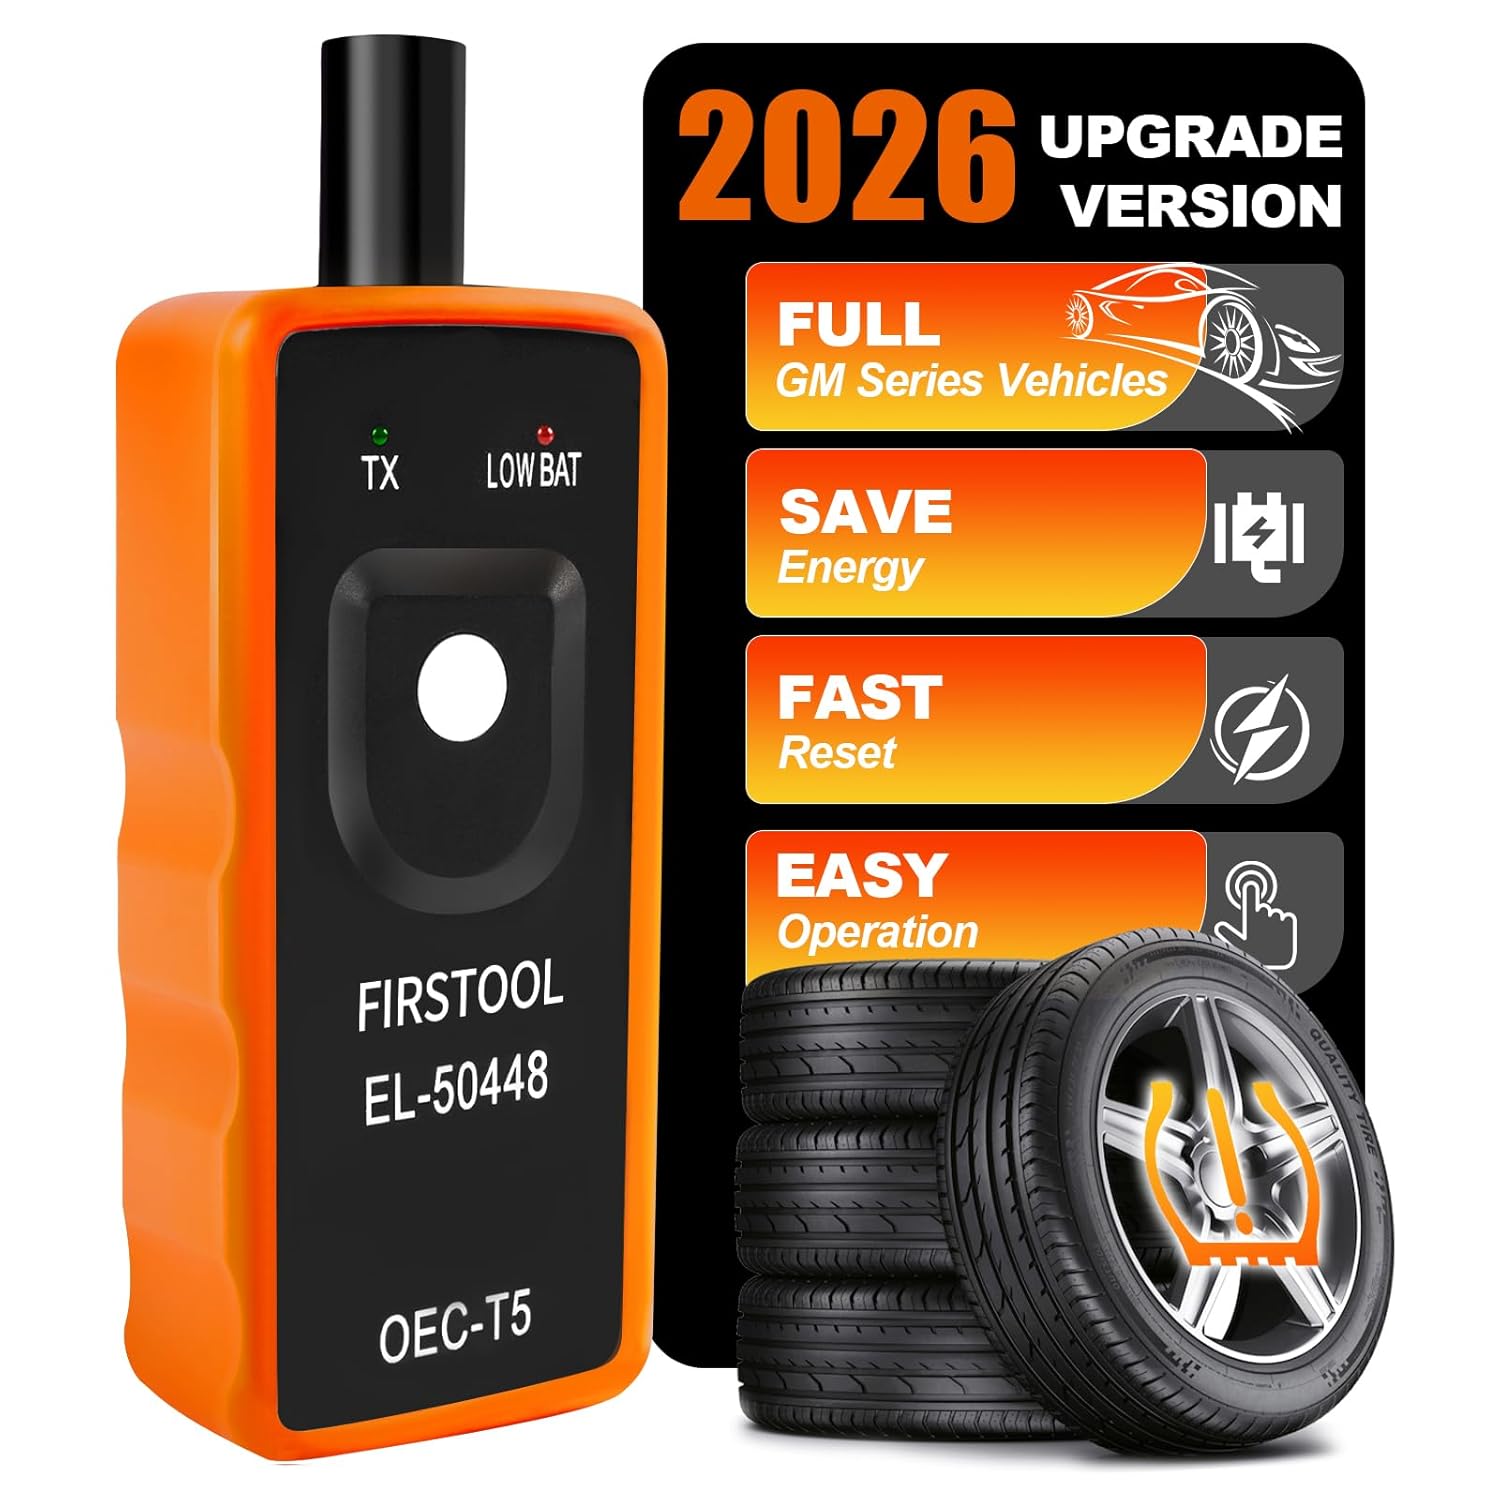
This TPMS relearn tool helps you quickly activate, match, and reset GM tire pressure sensors to keep the vehicle monitoring system working properly. It clears tire pressure alarms and dashboard warning lights after sensor replacement or tire rotation, and supports learning for common 315/433 MHz TPMS sensors. Designed for simple one-button operation, it can help you avoid unnecessary trips to repair shops.

Replace worn or missing TPMS sensors with a pre-programmed 4-pack designed for compatible GM vehicles. These 315MHz sensors provide real-time tire pressure monitoring and alert you if pressure is too high, too low, or if a rapid air leak occurs. Most installations are ready with minimal relearn effort after mounting, helping improve safety and driving confidence.
Confirm Your Vehicle Uses Direct TPMS
Before buying sensors, make sure your vehicle actually has direct TPMS. Direct systems use pressure sensors mounted in or on the wheels. Indirect systems estimate pressure loss through wheel-speed and other vehicle data and therefore do not have a pressure sensor to transfer into each aftermarket wheel.
NHTSA explains both direct and indirect TPMS. If your vehicle has an indirect system, the sensor-installation steps in this guide do not apply; follow the vehicle manufacturer’s calibration or reset procedure instead.
Note: Programming a sensor and relearning the vehicle are not the same job. A programmable universal sensor may first need the correct vehicle protocol written to it. The vehicle may then need to learn or register that sensor’s ID. A direct-fit sensor can already contain the correct protocol yet still require a vehicle relearn.
Can Your TPMS Sensors Work With New Wheels?
Your factory TPMS sensors can often move to new aftermarket wheels, but compatibility has two separate parts: the sensor must communicate with the vehicle, and its valve/sensor assembly must physically fit the wheel.
[Products Worth Considering]

Masoll Gen 2 external TPMS sensors are a DIY replacement set of 4 for select GM vehicles made after 2006, helping you shut off the TPMS warning light quickly. Simply screw the sensors onto the tire valves and sync to your car ECU using the included EL-50448 relearn tool. Dual-frequency 315/433 MHz design provides OEM-level performance with accurate readings and replaceable batteries for about two years.

Replace worn or malfunctioning GM TPMS sensors with this 433MHz pre-programmed sensor set designed for compatibility with many Chevrolet, Buick, GMC, and Cadillac models. It includes guidance for proper OBDII relearning/pairing after installation and supports reliable long-term operation with a high-performance CR2032 battery. Quality tested for durability and performance to help restore accurate tire pressure monitoring.

Autel MX TPMS sensors combine 315MHz and 433MHz in a single easy-to-install press-in design for faster tire service. They support wireless programming with strong signal performance, and the sensors are clone-able for streamlined replacement. Built for reliability and tested to SAE standards, each sensor includes a series number for quality control.
Check Sensor and Vehicle Compatibility
Start with the exact year, make, model, and trim of the vehicle. Confirm that the replacement or reusable sensor supports the vehicle’s required communication protocol and application. Do not choose a sensor only because it operates on a commonly used radio frequency; protocol and application coverage also matter.
Replacement choices generally fall into two groups:
- Vehicle-specific or direct-fit sensors: designed for a defined group of vehicle applications and typically supplied with the appropriate protocol already configured.
- Programmable or universal sensors: designed to cover many vehicles but may need a compatible programming tool to load or clone the appropriate application data.
Universal sensors can simplify inventory, but “universal” does not mean every sensor works with every vehicle. Verify coverage with the sensor manufacturer’s current application information before installation.
Check Wheel and Valve-Stem Compatibility
Next, inspect the aftermarket wheel. The TPMS valve assembly must match the wheel’s valve-hole size and shape, sealing surface, wall thickness, mounting angle, and internal clearance.
Check that:
- The valve stem fits the wheel’s valve hole correctly.
- The grommet or rubber stem can seal against the wheel surface.
- The sensor body can sit in its intended position without contacting the wheel barrel incorrectly.
- The sensor does not project into a position where the tire bead can strike it during mounting.
- The outer valve stem does not create an obvious clearance problem with the rim design.
A sensor that communicates perfectly with the vehicle can still be the wrong choice if its stem or housing does not fit the aftermarket wheel.
Understand Relearning Requirements Before Installation
A TPMS relearn teaches or registers sensor information with the vehicle after sensor replacement, wheel changes, or other TPMS service when the application requires it.
Do not assume that newer vehicles always need one method and older vehicles another. Bartec identifies three common direct-TPMS relearn methods:
- Stationary relearn: the vehicle is placed in a learn mode and sensors are activated in a specified sequence.
- OBD relearn: a compatible scan/TPMS tool writes sensor IDs or related information to the vehicle through the diagnostic connection.
- Auto or drive relearn: the vehicle learns the sensors while it is driven under the conditions specified by the manufacturer.
Some programmable sensors can also clone an existing sensor ID. On supported applications, cloning may reduce or eliminate a separate vehicle-side relearn when switching wheel sets, but you must follow the sensor and vehicle manufacturer’s instructions.
Pro Tip: Before mounting the tires, use a compatible TPMS tool to activate or scan every sensor you plan to install. Catching a dead, incompatible, or incorrectly programmed sensor before tire mounting can save you from having to demount the tire again.
When to Reuse TPMS Sensors or Replace Them
You can often reuse existing TPMS sensors when they are compatible with the new wheels, physically undamaged, free from severe corrosion, and still transmitting correctly. Age matters, but there is no universal rule requiring replacement at five years.
Direct TPMS sensors commonly use sealed batteries that cannot be serviced separately. Battery life varies by design and operating conditions; a general working range of roughly 5–10 years is more realistic than treating five years as an automatic replacement point.
[Products Worth Considering]

The AICEL TPMS relearn tool helps you quickly reset or relearn tire pressure sensors after replacement, tire rotation, or resolving tire pressure alarms. It provides an activation reset function so your vehicle’s TPMS can operate optimally, saving time and money on frequent visits to an auto shop. Designed for easy use on most vehicles, it works by placing the tool near the valve stem and using the learn button.

Replace your worn or missing TPMS sensors with pre-programmed, direct-fit sensors for compatible Ford, Lincoln, and select Mazda models. Each sensor comes ready to activate with a scan tool, helping restore accurate tire pressure monitoring and trouble-free installation. Built with a long-life CR2032 battery and tested before factory release, this set provides dependable performance with a one-year warranty.

This GM TPMS relearn and reset tool (EL-50448) helps you activate and reset OE/OEM compatible tire pressure sensors for many Chevrolet, GMC, Buick, and Cadillac vehicles. It includes a pre-installed 9V alkaline battery for ready-to-use performance and features a one-button design for quick DIY TPMS relearn. Use it to clear the TPMS warning light, set the correct dashboard tire pressure, and test sensor operation.
Reuse Existing Sensors
Reusing the factory sensors can make sense when they still test correctly and fit the aftermarket wheels. Before transfer:
- Activate or scan the sensor if you have a compatible TPMS tool.
- Inspect the sensor housing and valve area for cracks, impact damage, corrosion, or contamination.
- Confirm the sensor and valve design fit the aftermarket wheel.
- Install the correct new service-pack components required by that sensor design.
- Confirm the vehicle’s relearn or registration requirements before mounting the tire.
Do not reuse an old grommet, valve core, mounting nut, rubber stem, or other one-time-use service component simply because it appears acceptable. Using the correct new service kit helps prevent slow leaks and corrosion.
Replace With New Sensors
New sensors are the better choice when the old sensors fail activation, have damaged housings or stems, show significant corrosion, are incompatible with the aftermarket wheel, or are old enough that another tire removal could soon be required for battery failure.
| Choice | Best When | Main Consideration |
|---|---|---|
| Reuse existing sensors | Sensors test correctly and fit the new wheels | Use new applicable service-kit parts and consider remaining battery life |
| Install direct-fit replacements | You want an application-specific sensor | Vehicle registration or relearn may still be required |
| Install programmable sensors | The sensor maker supports your vehicle and wheel setup | Programming equipment and the correct protocol are required |
Schrader’s replacement guidance notes that replacement sensor cost varies by application and estimates approximately $50–$100 each for many vehicles. That makes it worth considering sensor age while the tires are already off the wheels, but age alone should not replace actual compatibility and diagnostic checks.
Remove the Old TPMS Sensors Safely
Begin by securing the vehicle on a level surface, following the vehicle manufacturer’s lifting procedure, loosening the wheel fasteners as appropriate, and supporting the vehicle with approved stands.
Remove the wheel, remove the valve cap, and use a valve-core tool to fully deflate the tire. Confirm that pressure is completely released before loosening TPMS valve hardware or breaking the tire bead.
When breaking the bead and removing the tire, identify the sensor’s position first. Keep the bead-breaking equipment and tire-changing tools from striking the valve or sensor housing.
After the tire is safely dismounted, remove the sensor according to its design. Clamp-in sensors generally use a retaining nut at the valve stem, while snap-in assemblies use a rubber valve design that requires its own removal procedure.
Handle any sensor you intend to reuse carefully. Dropping the sensor, twisting the valve assembly, damaging its housing, or contaminating its pressure port can create a failure that may not be obvious until the tire is remounted.
Install TPMS Sensors on the New Wheels
Before installing the TPMS sensor, clean the valve-hole sealing area and confirm that the correct valve/service kit is being used.
To install TPMS sensors correctly, position the sensor exactly as specified by its manufacturer. The sensor housing should sit against or near the wheel surface in the intended orientation without being forced into place.
Installing a Clamp-In TPMS Sensor
For a clamp-in sensor:
- Install the correct new grommet and other service components.
- Insert the valve assembly through the wheel from the inside.
- Seat the grommet correctly against the wheel.
- Hold the sensor in its specified position while starting the retaining nut by hand.
- Tighten the nut with an appropriate low-range torque wrench to the exact sensor manufacturer’s specification.
- Install the specified valve core and sealing cap.
For aluminum TPMS stems, use the valve-core type specified by the manufacturer. TPMS manufacturers commonly specify nickel-plated valve cores for aluminum stems because unsuitable dissimilar metals can promote galvanic corrosion.
Installing a Snap-In TPMS Sensor
Snap-in TPMS sensors use a rubber valve assembly rather than an external clamp nut. Use a new compatible valve stem when specified, assemble it to the sensor according to the sensor manufacturer’s instructions, and use the proper valve-pull tool to draw the stem straight through the wheel hole without twisting or damaging it.
Do not substitute a generic valve stem merely because it fits the hole. The stem, attachment screw, sensor housing, and wheel application must all be compatible.
Mount the Tire Without Damaging the Sensor
Installing the sensor is only part of the job. The tire bead must pass over the wheel without hitting or trapping the sensor.
HELLA’s TPMS tire-fitting guidance stresses positioning the tire-changing equipment so the bead does not trap the sensor between the tire and rim.
The exact starting position depends on the tire changer and sensor design, so follow the sensor and equipment manufacturer’s mounting instructions rather than relying on one universal clock position.
Use suitable tire-mounting lubricant on the tire bead where required, but avoid smearing mounting compound onto the sensor or its pressure opening.
Mount both beads carefully and watch the sensor area as the wheel rotates. If the bead begins to push directly against the valve or sensor housing, stop and reposition before continuing.
Warning: Never continue forcing a tire bead past a TPMS sensor if the bead, mounting head, or tool is contacting the sensor. A cracked housing or damaged valve can cause TPMS failure or loss of tire pressure after the vehicle is returned to service.
Inflate the Tire and Check for Leaks
After mounting, seat and inflate the tire using proper tire-service procedures and equipment. Set the final pressure according to the vehicle manufacturer’s recommended cold tire inflation pressure, normally shown on the driver’s door or door-jamb placard and in the owner’s manual.
Do not use the maximum pressure molded on the tire sidewall as the vehicle’s normal inflation target. NHTSA recommends using the vehicle manufacturer’s specified cold pressure.
Apply an approved leak-detection solution around the TPMS valve stem, grommet/sealing area, and valve core. Persistent bubbling indicates an air leak that must be corrected before the wheel is installed.
Also activate or scan the TPMS sensor again if your tool allows it. Confirm that the sensor responds and reports plausible pressure before completing the job.
TPMS is a warning system, not a replacement for checking tire pressure. Set the tires to the vehicle’s specified cold pressure even when no TPMS warning light is showing.
Reinstall the Wheel and Torque the Lug Nuts
Clean and inspect the wheel-to-hub mounting surfaces as required, then lift the wheel onto the hub and make sure it seats flush.
Start every lug nut or wheel bolt by hand to reduce the risk of cross-threading. Snug the fasteners in the sequence specified for the vehicle, then lower or stabilize the wheel as required by the manufacturer’s torque procedure.
Use a calibrated torque wrench to tighten the fasteners to the vehicle or wheel manufacturer’s specified value. A crisscross or star-type sequence is commonly used on multi-lug wheels to promote even clamping, but always follow the procedure for your exact vehicle and wheel.
Do not use an impact wrench as the final torque-setting tool.
If the aftermarket wheel manufacturer specifies a lug-nut re-torque after a particular driving distance, follow that instruction. Do not assume the same re-torque interval applies to every wheel.
Relearn the TPMS Sensors
Once the wheels are installed and all tires are correctly inflated, complete the required TPMS relearn or sensor-ID registration procedure.
First check the owner’s manual, service information, or a current TPMS application database for the exact year, make, and model. Do not substitute a relearn procedure from a similar model unless the manufacturer specifies that it is the same.
Stationary Relearn
With a stationary procedure, the vehicle is placed into TPMS learn mode and the sensors are activated in a specific order. The vehicle may confirm each successful sensor with a horn chirp, lamp change, message, or other indication depending on the model.
OBD Relearn
An OBD relearn typically requires a compatible TPMS/scan tool. The tool reads or activates the sensors, connects to the vehicle’s diagnostic system, and writes the necessary sensor IDs or registration information to the control module.
Automatic or Drive Relearn
Some vehicles can learn sensors automatically while driving. The required speed, distance, and driving time vary. Follow the vehicle-specific procedure rather than simply driving until the light disappears.
After the relearn, verify that each installed sensor communicates correctly and that any displayed tire positions match the actual wheels.
Note: A sensor can be physically installed correctly but still fail to register if it has the wrong vehicle protocol, was not programmed correctly, has a weak/dead battery, or the wrong relearn procedure is being used.
Common TPMS Issues and Fixes
If the TPMS warning remains after installation, diagnose the symptom instead of repeatedly performing the same relearn.
| Symptom | Likely Causes | What to Check |
|---|---|---|
| Solid low-pressure light | One or more tires are below the required pressure, or the system has not yet completed its reset/relearn | Check every tire cold against the vehicle placard, then follow the vehicle’s reset/relearn procedure |
| Light flashes after startup and then stays on | TPMS system malfunction on vehicles using a combined malfunction indicator | Check sensor communication, programming, IDs, compatibility, battery condition, and TPMS diagnostic trouble codes |
| One sensor gives no signal | Wrong sensor, incorrect programming, dead battery, damaged sensor, or tool incompatibility | Activate the sensor with a compatible tool and verify its application |
| Pressure slowly drops | Valve core, grommet, rubber stem, bead, or wheel sealing leak | Leak-test the valve and wheel; replace incorrect or damaged service parts |
| Dash shows the wrong wheel position | Position IDs were not relearned after rotation or wheel installation | Perform the vehicle-specific position/relearn procedure |
| New sensor will not register | Incorrect protocol, unprogrammed universal sensor, wrong ID-registration method, or unsupported sensor | Verify the exact sensor application and programming/relearn instructions |
Under the current U.S. TPMS requirements in 49 CFR §571.138, a combined TPMS malfunction telltale flashes for at least 60 seconds but no more than 90 seconds when a qualifying malfunction is detected, then remains illuminated while the malfunction exists.
If the warning light remains after you confirm correct pressure and sensor communication, scan the TPMS control system for diagnostic trouble codes when the vehicle supports that function. A professional TPMS tool can often identify whether the problem is a sensor, registration, communication, or system fault.
Using TPMS With Seasonal Wheel Sets
If you regularly switch between summer, winter, or off-road wheel sets, installing a dedicated sensor set in each wheel set is often more practical than transferring the same sensors twice a year.
Whether the vehicle remembers more than one set of sensor IDs depends on the vehicle. Some vehicles require a relearn each time the wheels are changed, while some programmable sensors can clone existing IDs on supported applications.
If you keep the original sensors in the factory wheels, you also avoid repeated tire demounting simply to move sensors between wheel sets.
Professional Installation and TPMS Compliance
Aftermarket wheels should not be treated as a reason to disable a functioning TPMS. In the United States, NHTSA has explained that manufacturers, distributors, dealers, and motor vehicle repair businesses are subject to the federal “make inoperative” provision when servicing safety equipment.
NHTSA’s TPMS interpretation for tire-service businesses specifically addresses aftermarket wheel sets and functioning TPMS sensors. Professional installers should ensure that the finished setup complies with applicable requirements rather than disabling the system or warning indicator.
Frequently Asked Questions
Can You Add TPMS Sensors to Aftermarket Wheels?
Yes. Most aftermarket wheels can use TPMS sensors when the wheel has a compatible valve hole and enough clearance for the sensor body. You also need a sensor that supports your exact vehicle’s TPMS protocol and relearn requirements.
How Do You Install TPMS Sensors on New Wheels?
Confirm vehicle and wheel compatibility, install the correct sensor and new service components, torque the TPMS hardware to the sensor manufacturer’s specification, mount the tire without striking the sensor, inflate it to the vehicle’s recommended cold pressure, leak-test the valve, install the wheel, and complete the required relearn.
How Do You Program TPMS Sensors on New Wheels?
Programming applies mainly to programmable or universal sensors. A compatible TPMS programming tool loads or clones the vehicle-specific protocol into the sensor. After that, the vehicle may still need a separate stationary, OBD, or drive relearn to register the sensor IDs.
Can You Remove TPMS Sensors and Put Them on New Wheels?
Yes, if the existing sensors work correctly and physically fit the new wheels. Install the appropriate new service-pack components during the transfer and complete any relearn required by the vehicle.
Do All Aftermarket Wheels Need TPMS Sensors?
A vehicle with direct TPMS normally needs compatible working sensors in the wheels for the original monitoring system to function correctly. A vehicle with indirect TPMS does not use individual pressure sensors inside the wheels and instead follows a calibration or reset process.
How Long Do TPMS Sensors Last?
Battery-powered direct TPMS sensors often last roughly 5–10 years, but actual life depends on the sensor and operating conditions. Because many sensor batteries are sealed, the complete sensor is generally replaced when the battery fails.
Why Is My TPMS Light Flashing After Installing New Wheels?
A flashing TPMS indicator that later stays on usually points to a system malfunction rather than simply low tire pressure on vehicles using a combined malfunction telltale. Check sensor compatibility, programming, sensor IDs, relearn completion, sensor condition, and TPMS diagnostic trouble codes.
Conclusion
Installing TPMS sensors on aftermarket wheels correctly comes down to four things: compatibility, careful mechanical installation, correct tire pressure, and the right vehicle-specific relearn. Verify the sensor and wheel before mounting, use new applicable service parts, torque TPMS hardware only to the specified value, protect the sensor while mounting the tire, and check the valve for leaks.
Once the wheels are installed, set the tires to the vehicle’s recommended cold pressure and complete the required stationary, OBD, or auto/drive relearn. If the warning light remains on or flashes, diagnose the pressure, sensor communication, programming, IDs, and TPMS fault codes instead of ignoring the warning.
Sources
- Electronic Code of Federal Regulations — 49 CFR §571.138 — current U.S. TPMS performance, warning, malfunction, and replacement-wheel requirements.
- National Highway Traffic Safety Administration — TireWise — correct cold tire pressure, TPMS basics, and direct-versus-indirect system information.
- Schrader TPMS Solutions — Service Kits — service-pack components, sealing parts, valve cores, corrosion, and replacement practices.
- Schrader TPMS Solutions — TPMS Replacement — sensor/service-kit replacement guidance and typical cost ranges.
- Bartec USA — TPMS Relearns — stationary, OBD, and auto/drive relearn methods.
- HELLA TechWorld — Programming and Training TPMS Sensors — TPMS installation and tire-mounting precautions.