
If a nail or screw punctures the tread of your Toyota 4Runner tire, a plug kit can help you make a temporary roadside repair and get to a safer place or tire shop. It is not a full professional repair. Use a plug only for a small tread puncture, avoid sidewall or shoulder damage, and have the tire inspected as soon as possible.
Quick Answer
To plug a 4Runner tire in an emergency, park safely, confirm the puncture is in the tread, remove the object, ream the hole, insert a tire plug, trim the excess, inflate to the pressure shown on your tire placard, and check for leaks. Treat the plug as temporary and get a professional repair.
Key Takeaways
- A roadside tire plug is a temporary fix for a small tread puncture, not a permanent repair.
- Do not plug sidewall damage, shoulder damage, large punctures, visible cords, bulges, or tires that have been driven flat.
- Use the tire pressure listed on your 4Runner’s tire information placard or owner’s manual, not the maximum PSI printed on the tire sidewall.
- After plugging, test with soapy water, monitor pressure closely, and drive cautiously to a tire shop.
- A proper tire repair requires the tire to be removed from the wheel, inspected inside, and repaired with a plug/stem plus patch.
At a Glance
| Time Required | 15–30 minutes once the vehicle is safely parked and the puncture is found |
| Difficulty | Moderate roadside task; skip it if the location, weather, traffic, or tire damage makes the repair unsafe |
| Tools Needed | Tire plug kit, reaming tool, insertion tool, needle-nose pliers, air compressor, tire pressure gauge, gloves, eye protection, soapy water, marker, and jack or spare tools if needed |
| Cost | Low if you already carry a plug kit and compressor; otherwise varies by kit, compressor, and professional follow-up repair |
Warning: A string plug installed from outside the tire is an emergency measure. The U.S. Tire Manufacturers Association says a plug alone is not an acceptable permanent repair. Have the tire demounted, inspected, and properly repaired or replaced by a trained tire technician.
Understanding the Basics of Tire Plugging
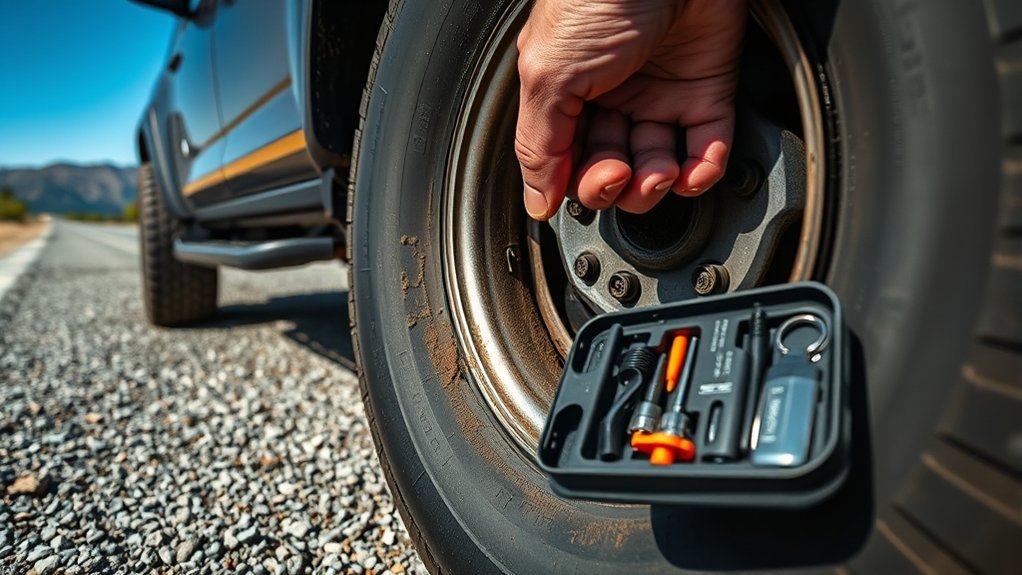
Tire plugging is a practical emergency solution for a small puncture in the tread area of your 4Runner’s tire. It works by pushing a sticky rubber plug into the puncture channel so the tire can hold air long enough for you to reach a safer place or a tire shop.
The important limit is this: plugging is not the same as a proper permanent repair. A proper repair normally requires the tire to be removed from the wheel so the inside can be inspected for hidden damage. Then the injury channel is filled and the inner liner is sealed with a patch or combination repair unit.
Use a tire plug only when the puncture is small, straight, and located in the tread area. Do not plug a sidewall, shoulder, or belt-edge injury. Do not plug a tire that has a bulge, exposed cords, cracking, severe tread wear, or damage caused by driving on it while flat.
| Damage Type | Emergency Plug? | What to Do |
|---|---|---|
| Small nail or screw in the center tread | Usually possible as a temporary fix | Plug, inflate, leak-test, and drive cautiously to a tire shop |
| Sidewall puncture or cut | No | Install the spare or call roadside assistance |
| Shoulder or edge-of-tread damage | No | Do not repair on the roadside; replace or professionally inspect |
| Puncture larger than 1/4 inch / 6 mm | No | Use the spare or call for help |
| Tire driven flat, bulging, or showing cords | No | Stop driving and replace the tire |
Essential Tools for Tire Repair on a 4Runner
When you are away from a shop, the right tools can turn a flat tire into a controlled roadside stop instead of a long delay. Store your tire tools where you can reach them quickly, and check them before long trips or trail runs.
| Tool | Purpose |
|---|---|
| Tire plug kit | Provides rubber plugs, a reaming tool, and an insertion tool for a temporary tread puncture repair. |
| Portable air compressor or tire inflator | Reinflates the tire after plugging so you can check whether the repair holds pressure. |
| Tire pressure gauge | Confirms the tire is inflated to the pressure listed on the tire placard or owner’s manual. |
| Needle-nose pliers | Removes the nail, screw, thorn, or metal object that caused the leak. |
| Soapy water in a spray bottle | Shows air leaks by forming bubbles around the puncture or plug. |
| Marker or chalk | Marks the puncture before you remove the object. |
| Gloves and eye protection | Protects your hands and eyes from steel belts, debris, and road grime. |
| Jack, wheel chock, and spare tire tools | Needed if the puncture is hard to access or the tire must be replaced with the spare. |
Note: A plug kit does not replace your spare tire. If the tire has unsafe damage or will not hold air, use the spare or call roadside assistance instead of forcing a plug repair.
[Products Worth Considering]

TP-M13W combination repair unit kit includes wrapped stems with matching patches for fast, reliable tire repairs. It’s suitable for both radial and bias ply tires and is designed for chemical or heat vulcanization. Gray vulcanizing gum with blue backing helps create a strong bond, with the stem portion wrapped for added effectiveness.

This tire repair kit provides fast emergency puncture repair without removing the tire from the rim, helping you get back on the road quickly. Its screw plug system is designed for punctures in both tread and sidewall and includes a complete patch plug tool set with essential accessories. A portable storage bag makes it easy to carry for cars, trucks, SUVs, motorcycles, and heavy-duty applications.
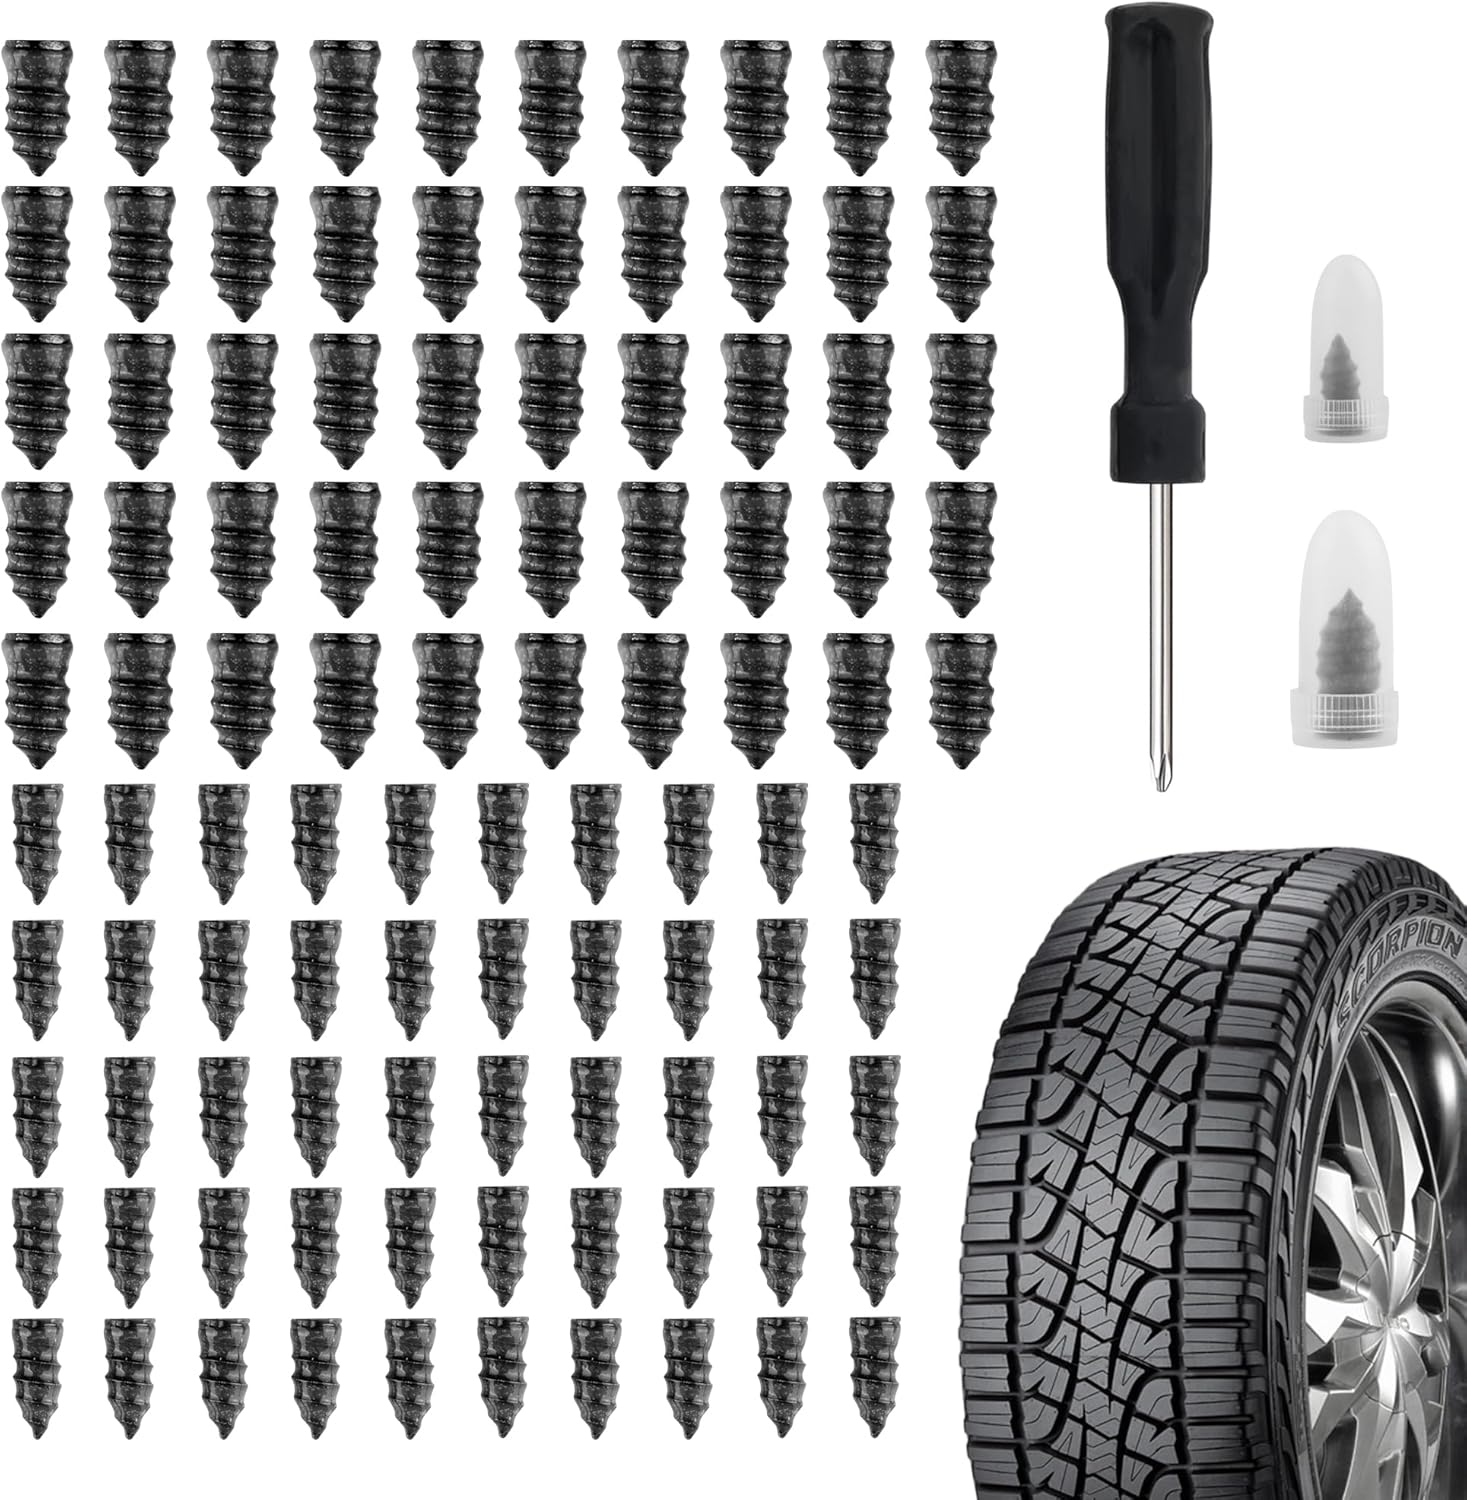
Salior’s tire plug kit provides a fast, reliable self-service fix for punctured or leaking tires without the need for flaring tools. Choose the correct plug size, then screw the nail into the puncture using the included screwdriver for an enhanced seal. The set is durable and convenient for on-the-go maintenance across multiple vehicle types.
Preparing Your Vehicle for Tire Repair
Before touching the tire, make the scene safe. A plug repair is never worth the risk of working too close to moving traffic, soft ground, a steep shoulder, or poor visibility.
Safety Precautions First
Park your 4Runner on a hard, level surface as far from traffic as possible. Shift to Park, set the parking brake, turn on the hazard lights, and place reflective triangles or flares if you carry them. If you need to lift the vehicle, use the jack only at the correct jacking points listed in your Toyota owner’s manual.
- Never crawl under a vehicle supported only by a jack.
- Chock the wheel diagonally opposite the flat tire if you have a wheel chock.
- Keep passengers away from traffic and off the shoulder.
- Do not attempt a plug repair on a hot, busy, narrow, or unstable roadside.
Essential Tools Checklist
Gather everything before removing the puncturing object. Once the object comes out, the tire may lose air faster.
- Tire plug kit: rubber plugs, reaming tool, and insertion tool.
- Air compressor: required to restore pressure after the plug is installed.
- Pliers: useful for removing nails, screws, and trail debris.
- Pressure gauge: needed for an accurate PSI reading.
- Soapy water: the fastest way to confirm whether air is still escaping.
- Gloves and eye protection: basic protection for roadside repairs.
How to Identify a Tire Leak?
Start by visually inspecting the tread. Look for nails, screws, sharp stones, metal shards, or a shiny object stuck between tread blocks. Do not pull the object out until your plug is loaded and your compressor is ready.
If the leak is not obvious, spray the tire with soapy water and watch for bubbles. Rotate the tire slowly so you can inspect the full tread surface. Bubbles forming in one spot usually mark the leak. Use chalk or a marker so you do not lose the puncture location.
If the bubbles come from the sidewall, bead area, valve stem, or shoulder of the tire, do not install a tread plug. Those problems need a spare tire, roadside assistance, or a tire shop.
If the puncture is not clearly in the tread area, do not plug it. The safe choice is to install the spare or have the tire inspected.
How to Use a Tire Plug Kit Effectively

A tire plug kit is simple, but the order matters. Work quickly, keep the plug centered in the puncture channel, and stop if the hole is too large or the plug will not seat firmly.
[Products Worth Considering]
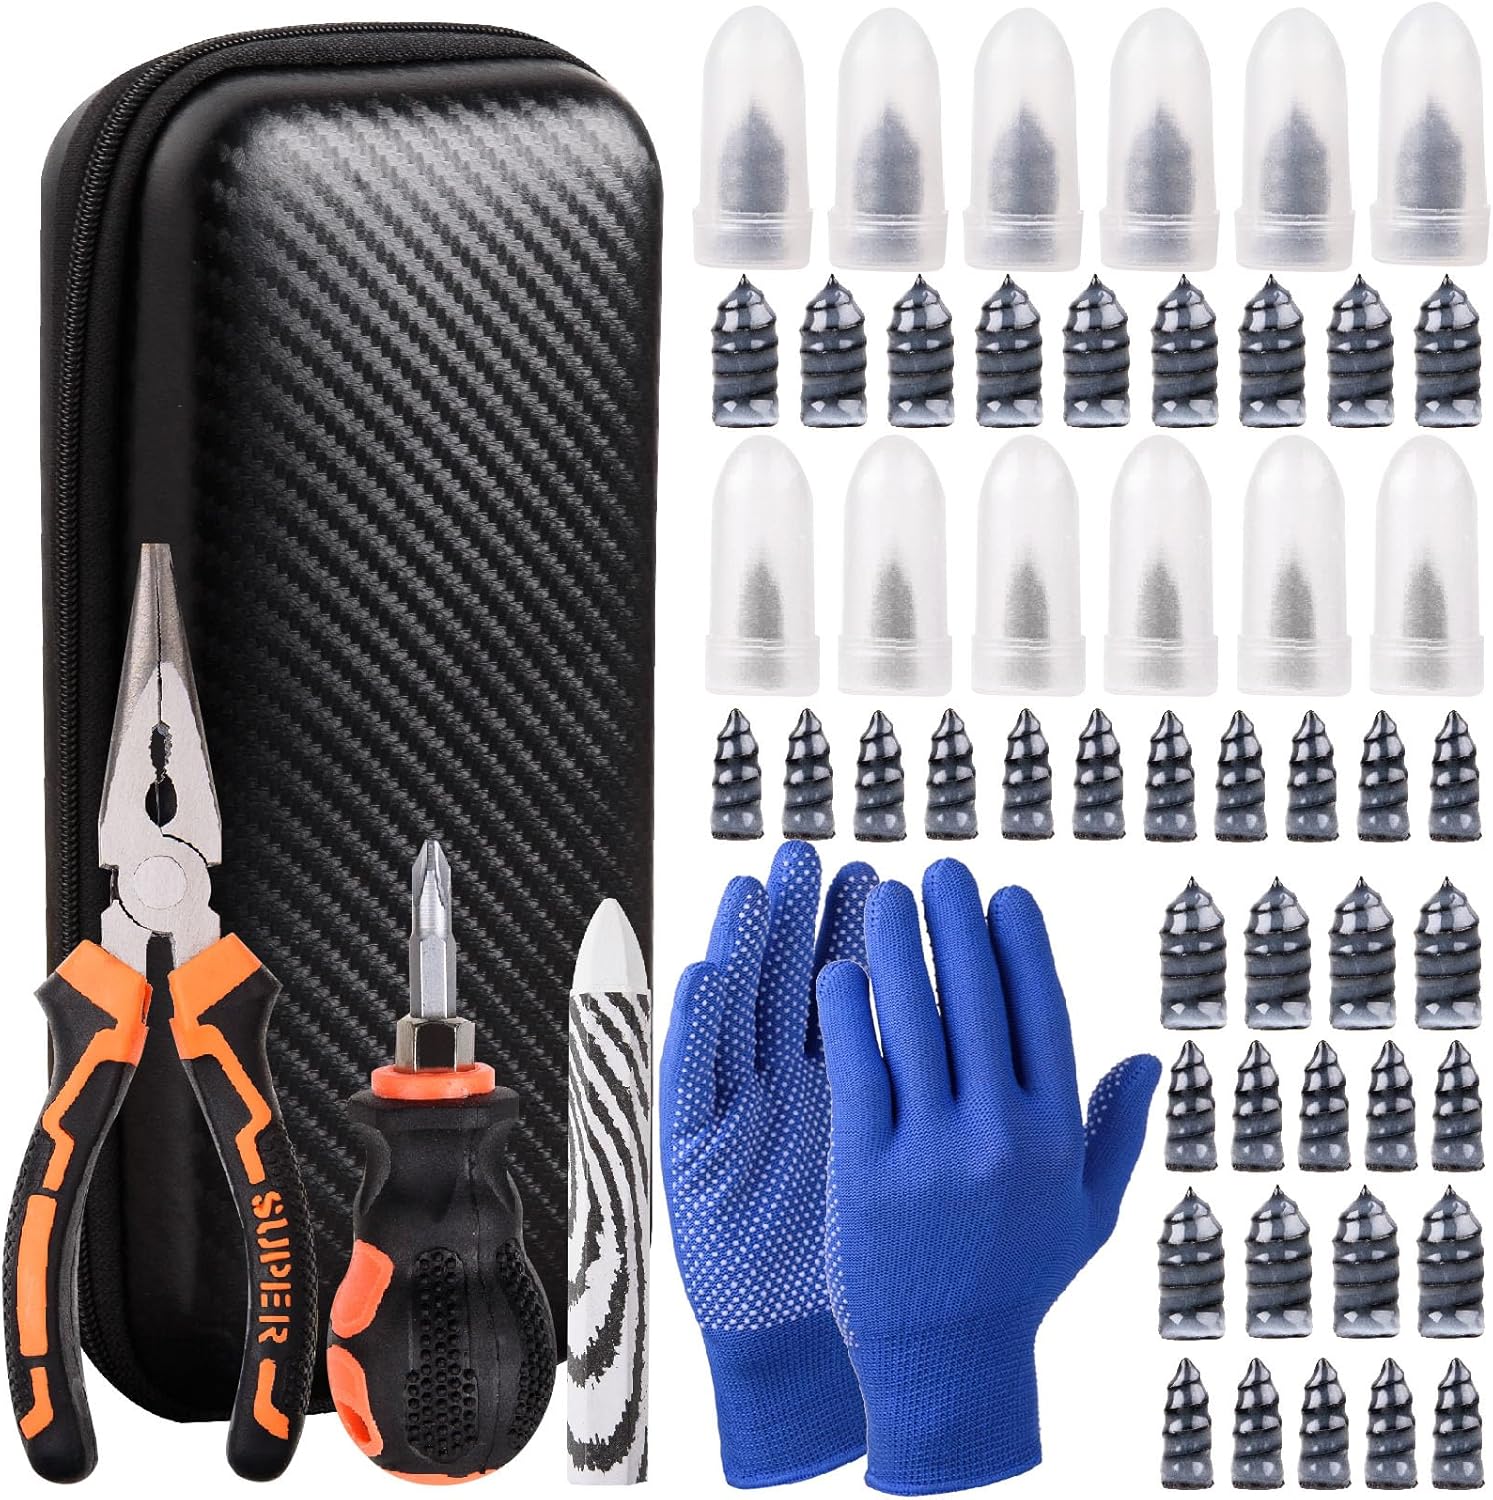
This tire sidewall puncture repair kit fixes flats fast without removing the tire, helping you get back on the road in minutes. It includes self-tapping repair nails, essential tools, gloves, and a portable storage bag for convenient roadside use. Designed for tubeless tires, it helps create a tight, leak-resistant seal for cars, motorcycles, trucks, SUVs, and ATVs.

This AUTOWN flat tire repair kit is designed for quick, reliable puncture repairs using a plug kit and spiral probe tool to simplify installation. Built for durability and safe handling, it offers strong adhesion and flexibility to help maintain tire air tightness. With a portable storage case and a multi-vehicle approach, it’s suitable for cars, motorcycles, ATVs, tractors, lawn mowers, RVs, jeeps, and trucks.

This screw-in tire plug kit seals punctures fast using the included screwdriver, letting you repair tread damage without removing the tire or using messy glue. It includes two plug sizes for different puncture types and uses high-density rubber for an airtight, heat-resistant temporary seal that helps you reach a tire shop safely. Compact and universal, it works on tubeless tires across cars, trucks, motorcycles, tractors, and more.
Essential Tools Required
You need the plug insertion tool, reaming tool, rubber plug, pliers, air compressor, pressure gauge, and soapy water. Some kits include rubber cement or lubricant. If yours does, follow the kit instructions because products vary.
Step-by-Step Plugging Process
- Confirm the tire is repairable as an emergency plug. The puncture must be in the tread area, not the sidewall or shoulder.
- Mark the puncture. Circle it with chalk or a marker before removing the object.
- Load the plug. Thread one plug halfway through the eye of the insertion tool so the two ends are even.
- Remove the object. Pull the nail or screw straight out with pliers while keeping track of its angle.
- Ream the hole. Push the reaming tool into the puncture at the same angle as the object. Move it in and out several times to clean and size the channel.
- Insert the plug. Push the loaded insertion tool into the hole until only a short amount of plug remains outside the tread.
- Pull the tool out sharply. The plug should stay in the tire while the tool comes out.
- Trim the excess. Cut the plug ends nearly flush with the tread using a utility knife or side cutters.
- Inflate the tire. Use your compressor and pressure gauge.
- Leak-test the repair. Spray soapy water on the plug and watch for bubbles.
Pro Tip: If the plug slides in with almost no resistance, the puncture may be too large for a safe temporary plug. Stop and use the spare tire or call for help.
Inflating Your Tire to the Correct Pressure
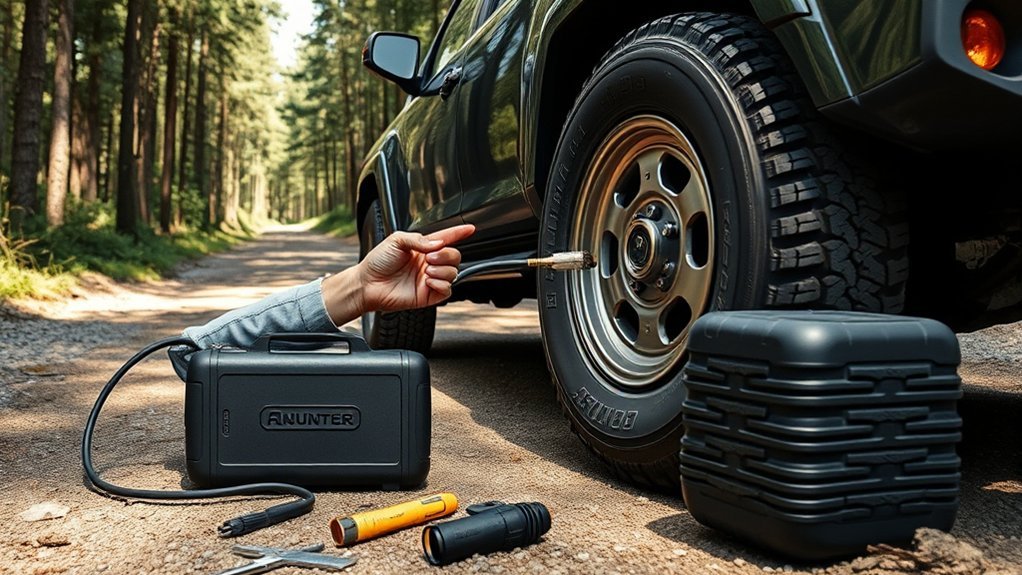
Inflate the tire to the cold pressure shown on your 4Runner’s tire information placard or in the owner’s manual. The placard is usually on the driver’s door jamb. Do not use the maximum PSI molded into the tire sidewall as your target; that number is the tire’s maximum pressure rating, not the vehicle’s recommended inflation pressure.
The National Highway Traffic Safety Administration recommends checking tire pressure at least once a month, including the spare, and measuring pressure when the tire is cold. A cold tire reading is taken after the vehicle has been parked for several hours or before it has been driven far.
After a roadside repair, the tire may be warm, so use the placard pressure as your guide to get safely moving, then recheck and adjust the pressure when the tire is cold. If the tire cannot reach or hold pressure, do not drive on it.
[Products Worth Considering]

Use this tire repair rubber screw kit for fast, self-service flat fixes on the road. Choose the matching short or long nail size and twist it into the puncture without removing the tire from the rim. Compact storage keeps the emergency set organized for cars, motorcycles, electric bikes, and bicycles, helping you seal tubeless leaks quickly and reliably.

This 61-piece tire repair screw kit helps you fix punctures quickly by aligning the screw plugs and twisting clockwise, finishing the repair in seconds. The self-sealing plugs create a reliable seal for many roadside situations without needing a jack, wrench, or glue. It includes two plug sizes and a screwdriver in a portable case, making it a convenient option for cars, motorcycles, trucks, bikes, ATVs, and tractors.

Wykodra tire plugs provide quick vulcanizing repairs for tubeless tires, helping you seal punctures and get back on the road. The industrial-strength rubber creates a long-lasting, leak-resistant bond and is designed for emergency fixes without removing the tire. Choose between two standard plug sizes with color-matched options for small to larger damage across many vehicles and off-road uses.
Checking for Leaks After Plugging Your Tire
Leak-checking is not optional. A plug that looks fine can still leak under pressure, especially if the puncture angle was unusual or the tire has hidden damage.
Inspect Plug Integrity Thoroughly
Spray soapy water over the plug and surrounding tread. If bubbles grow around the repair, air is escaping. Try pressing around the plug with gloved fingers and watch for new bubbles. If bubbling continues, do not keep driving on the tire.
Monitor Air Pressure Regularly
Check the pressure immediately after the repair, again after a short slow drive, and again when the tire is cold. If pressure drops, the plug is not holding or another leak exists. Your tire pressure monitoring system can help alert you, but it is not a substitute for a manual pressure gauge.
Visual Check for Bubbles
Rotate the tire enough to inspect the entire repaired section. Bubbles at the plug mean the repair is leaking. Bubbles at the valve stem, bead, or another tread location mean the tire has a separate problem that a plug will not solve.
When to Call for Help With Your 4Runner’s Tire?
Call for roadside assistance, install the spare, or go straight to a tire shop if the tire damage is outside the repairable tread area or if the situation is unsafe. A 4Runner can handle rough roads, but a damaged tire can still fail quickly.
Do not attempt a plug repair if you see any of these problems:
- Sidewall puncture, slice, bubble, or cracking.
- Shoulder damage near the edge of the tread.
- Puncture larger than 1/4 inch / 6 mm.
- Visible steel belts, cords, or torn rubber.
- Two punctures close together or an old repair in the same area.
- Tread worn to the wear bars or very low tread depth.
- The tire was driven flat or looks overheated.
- The tire loses air rapidly after plugging.
The Tire Industry Association explains that a proper repair requires internal inspection. That matters because outside damage can hide inner-liner damage that you cannot see from the roadside.
Safety Tips to Remember During Tire Repairs
Safety comes before the repair. If you cannot create a stable workspace, skip the plug and call for help.
- Park on a hard, level surface away from traffic.
- Use hazard lights and reflective warning devices when available.
- Set the parking brake and keep the transmission in Park.
- Wear gloves and eye protection.
- Do not kneel or sit in a live traffic lane.
- Do not put any part of your body under the vehicle while it is supported only by a jack.
- Drive slowly and cautiously after the repair, and avoid hard braking, sharp turns, heavy loads, and high-speed driving.
Warning: If the plug leaks, the tire shakes, the TPMS warning returns, or the 4Runner pulls to one side, stop driving as soon as it is safe. Reinflate only if the tire is still structurally sound; otherwise use the spare or call for help.
Preventing Future Tire Problems: Maintenance Tips
Good tire habits reduce the chance of being stuck on the side of the road. Check your tire pressure at least once a month, including the spare, and before long highway trips or trail days. Inspect tread for uneven wear, cuts, cracks, nails, screws, and embedded debris.
Rotate tires according to your Toyota maintenance schedule or tire manufacturer’s guidance. Keep valve caps installed, check the spare tire pressure, and replace tires that are worn, aged, cracked, or repeatedly losing air.
For a 4Runner used off-road, inspect tires after rocky trails, aired-down driving, or recovery work. Look closely at the shoulder and sidewall areas because those are common damage zones and are not safe candidates for a plug repair.
Frequently Asked Questions
What can I use as an emergency plug for a tire?
Use a proper tire plug kit made for tubeless tires. Do not use duct tape, random rubber strips, or improvised materials. If you do not have a plug kit, install the spare tire or call roadside assistance.
Is a tire plug permanent?
No. A roadside string plug should be treated as temporary. A proper permanent repair requires the tire to be removed from the wheel, inspected inside, and repaired with a plug or stem plus an inner patch.
Can I plug a sidewall puncture on a 4Runner?
No. Sidewall and shoulder damage should not be plugged. The sidewall flexes heavily while driving, and a plug cannot restore the tire’s structure. Use the spare or replace the tire.
How far can I drive after plugging a tire?
Drive only as far as needed to reach a safe place or tire shop. Keep speed moderate, avoid heavy loads and sharp maneuvers, and recheck pressure often. If the tire loses air, stop driving.
Do I need to remove the wheel to plug the tire?
Not always. If the puncture is easy to reach in the tread, you may be able to plug it with the wheel on the vehicle. If access is poor or the tire damage is unclear, use the spare and have the tire inspected.
What PSI should I inflate my 4Runner tire to after plugging it?
Use the cold tire pressure listed on your 4Runner’s tire information placard or in the owner’s manual. Do not use the maximum PSI printed on the tire sidewall as the target pressure.
Conclusion
Knowing how to plug a tire on your 4Runner can help you handle a small tread puncture in an emergency, especially on a trip, trail, or remote road. The key is knowing the limits. Plug only a small tread puncture, inflate and leak-test carefully, and treat the repair as temporary. If the tire has sidewall damage, shoulder damage, rapid air loss, bulging, exposed cords, or low tread, skip the plug and use the spare or call for help.
A safe roadside plug gets you moving. A professional inspection and proper repair keep you safe for the miles after that.
Sources
- U.S. Tire Manufacturers Association: Tire Repair Basics — repairable tread-area limits, 1/4-inch / 6 mm maximum injury, and plug-plus-patch repair guidance.
- Tire Industry Association: Tire Repair — why on-wheel string plugs are temporary and why internal inspection matters.
- NHTSA Tire Safety Checklist — monthly pressure checks, cold tire pressure, placard guidance, and tire inspection basics.
- NHTSA TireWise — tire safety, maintenance, recalls, and consumer tire information.
- Toyota Owners: 2022 4Runner Manuals and Warranties — official owner’s manual access for model-specific tire and emergency procedures.