
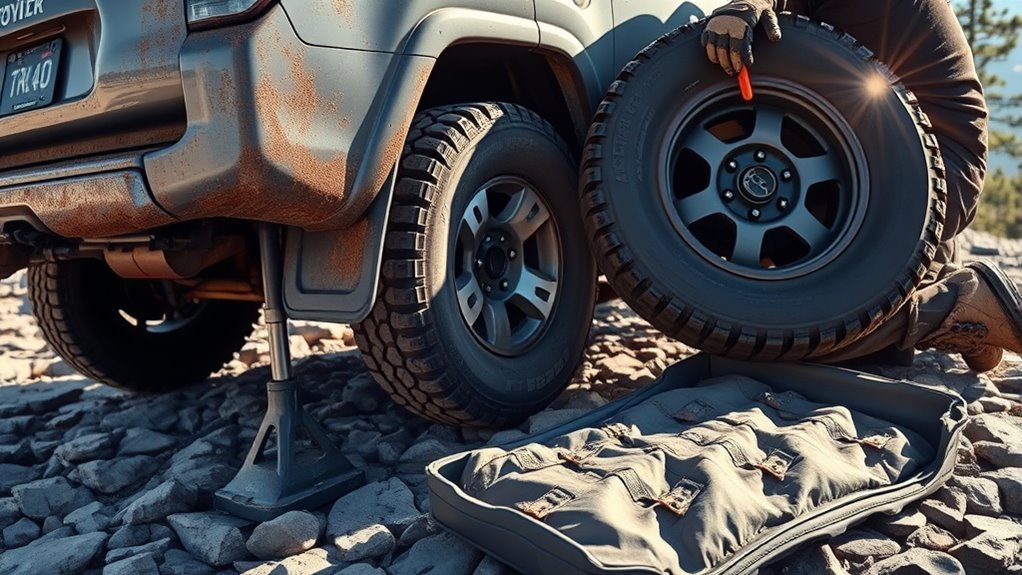
A flat tire on a Toyota 4Runner is manageable if you slow down, set the vehicle up safely, and use the factory-approved jack points. The process is simple: secure the SUV, lower the spare, loosen the lug nuts before lifting, jack at the correct point, swap the tire, hand-thread the nuts, lower the vehicle, and torque the wheel to the correct specification for your model year and wheel type.
Quick Answer
To change a 4Runner tire, park on firm, level ground, turn on hazards, set the parking brake, chock the opposite wheels, lower the spare, loosen the lug nuts one turn, jack only at Toyota-approved points, swap the tire, hand-thread the nuts, lower the vehicle, and torque in a star pattern to the owner’s-manual spec.
Key Takeaways
- Use the factory jack only at the approved front frame rail or rear axle housing points for your model year.
- Break the lug nuts loose while the tire is still on the ground, then remove them only after the tire is lifted.
- Do not use a universal torque guess. Confirm the exact wheel-nut torque in your 4Runner owner’s manual, especially on 2025+ models or aftermarket wheels.
- A trail plug is a temporary mobility fix, not a substitute for a proper demounted tire inspection and repair.
At a Glance
| Time Required | 20–45 minutes, depending on terrain, weather, and how familiar you are with the tool kit |
| Difficulty | Moderate; the steps are straightforward, but jacking an SUV demands care |
| Tools Needed | Spare tire, factory jack, jack handle extension, lug wrench, wheel chocks, tire-pressure gauge, torque wrench, gloves, flashlight; optional compressor and tire plug kit for trail emergencies |
| Cost | Usually $0 if your spare and factory tools are already in the vehicle; repair or replacement costs vary by tire and shop |
Locate Your Spare Tire and Tools in the 4Runner

Your first priority is finding the spare tire, jack, jack handle extension, and lug wrench before you are kneeling in mud or working in the dark. On many 4Runners, the spare tire is stored under the rear of the vehicle, while the jack and tool bag are accessed from the rear cargo area. Toyota’s owner-manual procedure for a flat tire also points owners to the spare, jack, and tool bag locations before starting the tire change.
Lift the rear deck board or cargo-floor cover and look for the tool bag, jack handle pieces, and factory jack. If your 4Runner has wheel locks, find the wheel lock key before loosening anything. Newer Toyota procedures note that the wheel-lock key may be stored separately, so confirm its location before you need it on the shoulder or trail.
Assemble the jack handle extension, insert it into the spare-tire lowering screw, and turn counterclockwise to lower the spare fully to the ground. Pull the tire out and remove the holding bracket. If the cable or bracket binds, stop and straighten the tire instead of forcing the mechanism.
Pro Tip: Practice lowering and raising the spare at home once. You will learn where every tool lives, confirm the spare is usable, and avoid discovering a stuck lowering mechanism during an actual flat.
[Products Worth Considering]

Get back on the road fast with this compact tire plug repair kit for tubeless tires. It includes self-vulcanizing rubber plugs, T-handle rasp and insert tools, and a storage box that fits in your glove compartment for easy access. Also included are a 4-way valve steam tool set with valve cores and caps for added roadside convenience.

This spare tire tool kit is designed for the 2004 to 2018 Ford F-150 to help you loosen and tighten wheel lug nuts and manage the spare tire and provided jack functions from underneath the vehicle. It includes the lug nut wrench and extension pieces plus a convenient storage carrying case for organized transport. The jack itself is not included.

The Dr.Roc spare tire tool kit helps you release, lower, or raise your spare tire with reliable extension tools and a lug nut wrench. It is made from rustproof automotive-grade steel and includes an organized carry case for convenient storage. Designed for compatibility with select GM models from the late 1990s through 2019, it uses upgraded extension components to install and remove spare tires with less hassle.
Find Level Ground and Prepare to Jack
Move as far away from traffic as safely possible. On a trail, choose the firmest, flattest spot available and avoid soft sand, mud, loose gravel, steep side slopes, or unstable rocks. Turn on the hazard lights, shift to Park, set the parking brake fully, shut off the engine, and have passengers stand clear of the vehicle.
Chock the tire diagonally opposite the flat tire. For example, if the left front tire is flat, chock the right rear tire. Press each chock firmly against the tread, not just near the tire. If you do not have purpose-built chocks, use a solid rock or block of wood as a temporary backup, but do not trust small loose stones.
Warning: Never put any part of your body under a 4Runner supported only by a jack. A jack is for lifting, not supporting. If you must work underneath the vehicle, use properly rated jack stands on stable ground.
- Confirm the ground is firm by stepping on it; if your boot sinks, the jack can sink too.
- Set the parking brake and keep the transmission in Park before loosening lug nuts.
- Chock the opposite wheels before lifting the vehicle.
- Keep hands, feet, and tools out from under the vehicle while it is on the jack.
Jack Your 4Runner at the Correct Front or Rear Point
Use the jack points shown in your Toyota owner’s manual for your exact model year. On the common 2010–2024 4Runner procedure, the front jack point is under the chassis frame side rail, and the rear jack point is under the rear axle housing. When lifting the rear, the groove at the top of the jack must fit the axle housing securely.
Front Jacking Location
For a front flat, slide the factory jack under the chassis frame side rail at the approved front jacking point. Make sure the jack saddle sits squarely and has full contact before you apply lifting force. If the jack leans, shifts, or sits on a rounded edge, lower it and reposition.
- Place the jack on firm, level ground.
- Align the jack head with the approved front jacking point.
- Raise slowly and watch for movement before the tire leaves the ground.
Rear Axle Positioning
For a rear flat, position the jack under the rear axle housing. Seat the groove at the top of the jack against the axle housing so the jack cannot slide sideways. Chock the opposite front wheel before lifting. Raise the vehicle only high enough for the flat tire to clear the ground and for the inflated spare to fit.
Ground Stability Essentials
Stability matters more than speed. If the jack starts tilting, the vehicle shifts, or the ground compresses, stop immediately and lower the vehicle. On dirt or sand, a wide jack base can help spread the load, but it does not make unstable terrain safe.
Note: A Hi-Lift jack can be useful for recovery, but it should not be treated as a simple replacement for the factory jack unless you have proper rated lift points, a stable base, training, and room to operate it safely.
Loosen and Remove the Flat Tire Safely
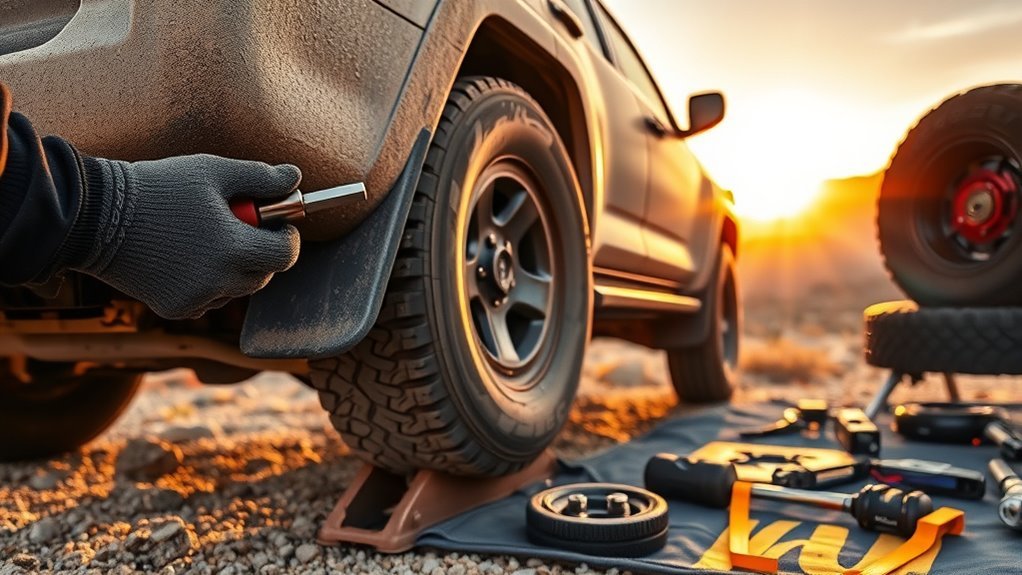
Loosen the lug nuts before lifting the vehicle. The tire’s contact with the ground prevents the wheel from spinning while you apply leverage. Use the factory lug wrench or a properly fitting socket, and loosen each lug nut about one turn in a star pattern. Do not remove the lug nuts yet.
If your wheel has a center cap, ornament, or wheel lock, remove it according to the owner’s manual. Use the correct tool so you do not crack the cap or round off the wheel-lock key.
Once the lug nuts are loose, jack the vehicle until the flat tire is slightly off the ground. Remove the lug nuts and place them in a pocket, cup holder, magnetic tray, or another secure spot where they cannot roll into dirt. Pull the tire straight toward you and set it down with the finished wheel face up to avoid scratches.
| Safety Check | Why It Matters |
|---|---|
| Loosen lug nuts before lifting | The tire stays planted and will not spin while you break the nuts loose. |
| Use a star pattern | Even pressure reduces the chance of uneven seating when the spare goes on. |
| Keep your body out of the drop zone | If the jack slips, the vehicle can drop suddenly. |
| Store lug nuts immediately | Dirty, missing, or cross-threaded lug nuts can turn a simple flat into a tow. |
Mount the Spare Tire and Hand-Tighten the Lug Nuts
Before lifting the spare into place, wipe dirt, mud, rust flakes, or gravel off the wheel hub and wheel contact surface. Toyota’s flat-tire procedure warns that debris on the wheel contact surface can let wheel nuts loosen while the vehicle is moving.
Align Spare Properly
Lift the spare tire onto the wheel studs and push it flat against the hub. Align the holes carefully so the wheel seats evenly. Do not hang the wheel on one stud or force it at an angle.
- Line up the spare tire with the studs.
- Push the wheel fully against the hub.
- Install each lug nut by hand before using the wrench.
Hand-Tighten First
Thread every lug nut by hand. If a nut does not spin on smoothly, back it off and try again. Do not force it with the wrench because cross-threading can damage the stud. On factory-style lug nuts, make sure the tapered end faces inward toward the wheel seat unless your owner’s manual or wheel manufacturer specifies a different style.
Tighten the lug nuts lightly in a star pattern while the tire is still off the ground. The goal is to seat the wheel evenly, not to apply final torque yet.
Lower Then Torque
Lower the 4Runner slowly until the spare just touches the ground and the wheel cannot spin. Now tighten the lug nuts in a star pattern. Lower the vehicle completely, remove the jack, and use a calibrated torque wrench for the final pass.
Note: Lug-nut torque is not universal across every 4Runner year and wheel type. Many 2010–2024 U.S. 4Runner owner-manual procedures list about 81 ft-lbf (110 N·m), while many service charts round similar applications to 83 ft-lbf. The redesigned 2025+ 4Runner can use different wheel-specific torque values. Always confirm the exact value in your owner’s manual or wheel manufacturer instructions before final tightening.
Lower Your 4Runner and Tighten the Lug Nuts Fully
With the tire touching the ground, tighten each lug nut in a star pattern, moving across the wheel instead of around it in a circle. Make two or three gradual passes rather than trying to hit full torque in one pull. This seats the wheel evenly against the hub.
After the final torque pass, lower the 4Runner completely and remove the jack. Re-check each lug nut one more time with the torque wrench. If you changed the tire off-road or on rough ground, drive slowly at first and stop in a safe place to inspect the wheel again.
Re-check torque after a short drive or within the distance recommended by your wheel or tire installer. If you feel vibration, hear clicking, or notice wobble, stop immediately and inspect the wheel.
Stow the Flat Tire, Jack, and Tools
Do not leave the flat tire, jack, or tool bag loose in the cargo area. Lay the flat tire in the underbody spare location with the outer face positioned as directed by your owner’s manual, reinstall the holding bracket, and raise the tire evenly. Make sure nothing is trapped between the tire and the underbody.
Secure the jack and tools back in their original storage points. A loose jack or lug wrench can become a projectile in a crash or a loud rattle on the trail. Check the spare tire’s pressure as soon as possible, and repair or replace the damaged tire promptly so your 4Runner is ready for the next flat.
Some spares may not have a tire-pressure monitoring sensor. If the tire pressure warning light stays on after installing the spare, check pressure manually with a gauge and follow the owner’s manual instructions for your model year.
What If Your Spare Is Flat or Missing?
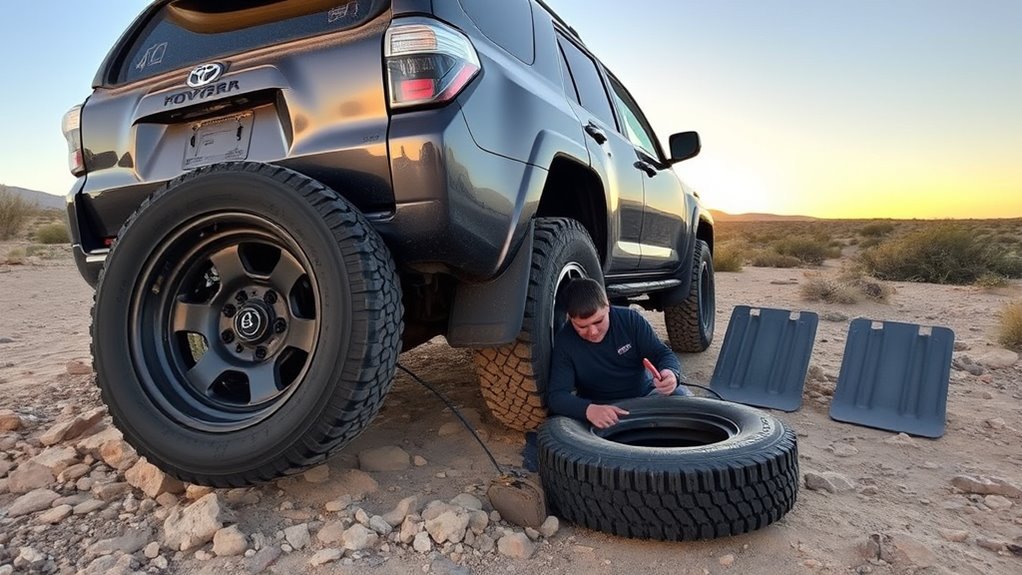
If the spare is flat, missing, or unsafe, stop and reassess before you remove the damaged wheel. Your best option depends on the damage, your location, and whether you have a compressor, plug kit, or reliable help nearby.
- Inflate the spare: Use a portable compressor if the spare is low but not damaged. Inspect the sidewall, tread, and valve stem before mounting it.
- Temporarily plug the primary tire: Only consider this for a small puncture in the repairable tread area, and treat it as a temporary trail fix until the tire can be inspected properly.
- Call for help: If the damage is in the sidewall, the wheel is bent, the tire is shredded, or you cannot lift the vehicle safely, use roadside assistance, a recovery service, or an emergency communicator.
Warning: Do not continue driving on a flat tire. Even a short distance can destroy the tire, damage the wheel, and make the vehicle harder to control.
[Products Worth Considering]

Yieokei Tesla jack pads are molded rubber lifting pucks designed for 2016-2026 Model 3/Y/S/X, including Juniper, to fit securely in the jack hole. They cushion the underframe and help position the jack precisely at the factory jack points to reduce risk of battery, paint, or chassis damage. The set also includes a tire repair tool kit for emergency roadside fixes and comes with a portable storage case to keep everything organized.

This tire repair kit provides fast emergency puncture repair without removing the tire from the rim, helping you get back on the road quickly. Its screw plug system is designed for punctures in both tread and sidewall and includes a complete patch plug tool set with essential accessories. A portable storage bag makes it easy to carry for cars, trucks, SUVs, motorcycles, and heavy-duty applications.
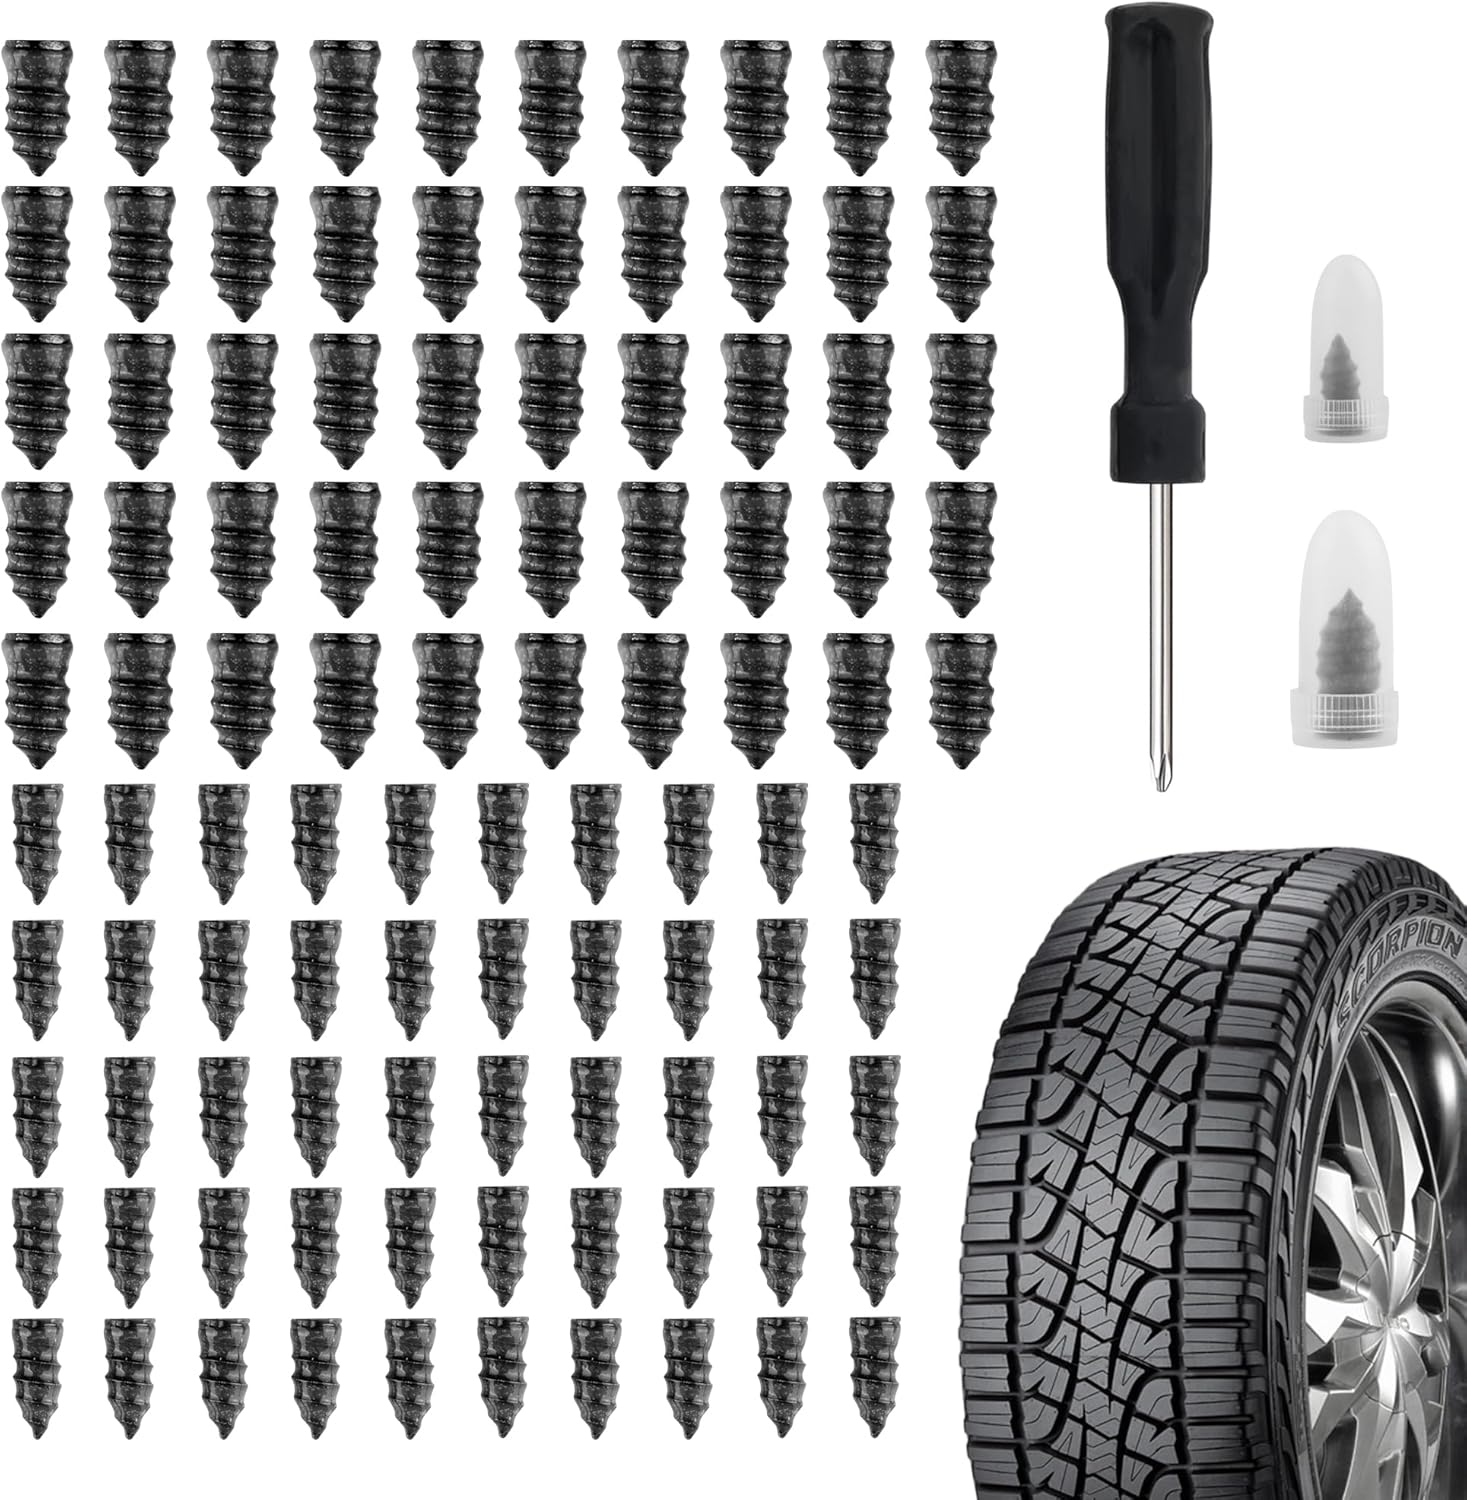
Salior’s tire plug kit provides a fast, reliable self-service fix for punctured or leaking tires without the need for flaring tools. Choose the correct plug size, then screw the nail into the puncture using the included screwdriver for an enhanced seal. The set is durable and convenient for on-the-go maintenance across multiple vehicle types.
Plug a Damaged Tire Using a Trail Repair Kit
A trail repair kit can get you moving again, but it has limits. The U.S. Tire Manufacturers Association recommends repair only when damage is limited to the tread area and the puncture is no larger than 1/4 inch (6 mm). The Tire Industry Association also warns that shoulder and sidewall damage is not repairable.
Use a plug kit only when the puncture is in the repairable tread area and the tire is otherwise intact. Remove the object, ream the puncture, insert the plug according to the kit instructions, trim excess plug material, and inflate the tire. Check for leaks with soapy water if available. If bubbles appear, the repair is not holding.
A plug-only trail repair should be treated as temporary. A proper permanent repair requires the tire to be removed from the wheel so a technician can inspect the inside for hidden damage and use an approved repair method. If the tire has sidewall damage, shoulder damage, exposed cords, a large puncture, a cut, or damage from driving while flat, replace it instead of plugging it.
[Products Worth Considering]

This AUTOWN flat tire repair kit is designed for quick, reliable puncture repairs using a plug kit and spiral probe tool to simplify installation. Built for durability and safe handling, it offers strong adhesion and flexibility to help maintain tire air tightness. With a portable storage case and a multi-vehicle approach, it’s suitable for cars, motorcycles, ATVs, tractors, lawn mowers, RVs, jeeps, and trucks.

The 22800 wheel stud installer makes replacing wheel studs quick and secure, saving time and effort during tire service. It uses a ratchet or impact wrench to pull new studs firmly into place, helping when existing studs are too long. Compatible with most automotive wheels and light-duty truck wheel studs, it’s designed for easy, tool-assisted installation.

Wykodra tire plugs provide quick vulcanizing repairs for tubeless tires, helping you seal punctures and get back on the road. The industrial-strength rubber creates a long-lasting, leak-resistant bond and is designed for emergency fixes without removing the tire. Choose between two standard plug sizes with color-matched options for small to larger damage across many vehicles and off-road uses.
Frequently Asked Questions
Can I use a Hi-Lift jack instead of the factory jack?
Yes, but only if you have proper rated lift points, a stable base, and experience using a Hi-Lift safely. A Hi-Lift can shift quickly and damage body panels if used incorrectly. For a normal tire change, the factory jack at Toyota-approved jack points is usually the safer choice.
What torque spec should I use for 4Runner lug nuts?
Use the wheel-nut torque listed in the owner’s manual for your exact model year and wheel type. Do not rely on a generic range. Many 2010–2024 U.S. 4Runner procedures list about 81 ft-lbf, while some service charts round similar values to 83 ft-lbf. Newer 2025+ models and aftermarket wheels may use different specs.
Should I chock the wheels before jacking?
Yes. Chock the tire diagonally opposite the flat before lifting the vehicle. Chocks help stop the 4Runner from rolling or shifting as the weight transfers onto the jack.
How long can I drive on a spare tire?
Follow the warning molded into the spare tire sidewall and the owner’s manual. If your spare is a temporary or compact spare, keep speed at or below the marked limit, commonly 50 mph, and drive only far enough to repair or replace the main tire. If it is a matching full-size spare, still check pressure, load rating, tread depth, and TPMS status before extended driving.
Is it safe to repair sidewall punctures?
No. Sidewall and shoulder damage should not be plugged or patched for road use. The sidewall flexes constantly and carries major load, so a repair there can fail suddenly. Replace the tire.
Where are the 4Runner jack and tire tools stored?
They are usually stored in the rear cargo area under or beside the cargo-floor panels, while the spare tire is carried under the rear of the vehicle. Exact locations vary by model year and trim, so check your owner’s manual and practice removing the tools before you need them.
Can I keep off-roading after installing the spare?
Avoid it unless the spare is a matching, properly inflated full-size tire and the trail is mild. A mismatched spare can affect traction, braking, stability control, and drivetrain behavior. The safest move is to exit the trail, repair the damaged tire, and restore your normal wheel-and-tire setup.
Conclusion
Changing a 4Runner tire is mostly about preparation and discipline: know where the spare and tools are, park on stable ground, chock the wheels, use the correct jack points, hand-thread the lug nuts, and torque the wheel to the exact owner’s-manual specification. Once the spare is installed, secure the flat tire and tools, check tire pressure, and get the damaged tire professionally inspected or replaced. Good trail self-sufficiency starts before the flat happens.
Sources
- Toyota Owners — 2024 4Runner Manuals & Warranties — owner-manual reference point for model-specific procedures and specifications
- Toyota Owners — 2025 4Runner Hybrid “If You Have a Flat Tire” — spare, jack, tool, and flat-tire procedure reference
- U.S. Tire Manufacturers Association — Tire Repair Basics — tread-area and 1/4-inch puncture repair limits
- Tire Industry Association — Tire Repair — non-repairable sidewall/shoulder damage guidance
- NHTSA TireWise — tire safety, inflation, maintenance, and tire-related crash awareness
- AAA Club Alliance — How Far Can You Drive on a Spare Tire? — temporary-spare speed and use guidance

