
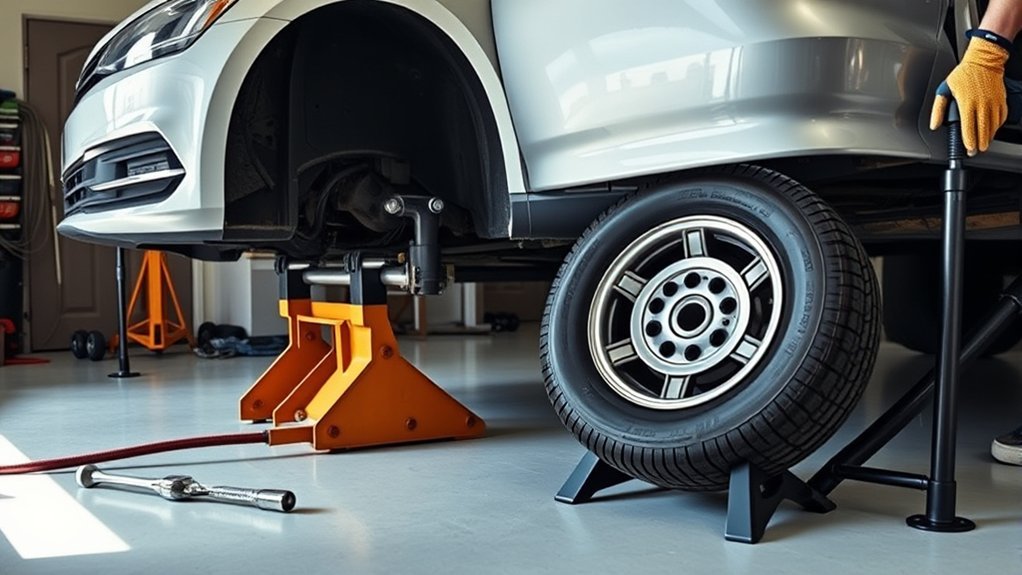
You can rotate tires with one lifting jack, but a jack should not be the only thing supporting the vehicle during routine tire service. The safe method uses a properly rated jack, enough jack stands for the wheels that must be raised, wheel chocks, and the lift and support points specified by your vehicle manufacturer. The exact tire-movement pattern also matters because directional, staggered, front-wheel-drive, rear-wheel-drive, and all-wheel-drive setups are not rotated the same way.
Quick Answer
To rotate tires with one jack, use that jack only to lift the vehicle and transfer the load to properly rated jack stands at manufacturer-approved support points. Choose the rotation pattern from your owner’s manual, move the tires to their correct positions, hand-start the lug nuts, lower the vehicle safely, and torque every fastener to the specified value.
Key Takeaways
Key Takeaways
- “One jack” should mean one lifting jack plus secure jack stands, not a vehicle left supported by the jack alone.
- Park on a hard, level surface, set the parking brake, chock the wheels that remain on the ground, and use only manufacturer-approved lift and support points.
- Check the owner’s manual before choosing a rotation pattern; same-side rotation is mainly used for same-size directional tires, not every non-staggered setup.
- Different front and rear tire sizes may prevent front-to-rear rotation, while some staggered non-directional setups may allow only axle-by-axle side-to-side movement.
- Hand-start the lug nuts, tighten them evenly in the appropriate cross or star sequence, and use a torque wrench set to the exact vehicle or wheel manufacturer’s specification.
At a Glance
| Time Required | About 60–90 minutes for a careful DIY job; vehicle design and experience can change the time. |
| Difficulty | Intermediate; you must understand your vehicle’s lift points, support points, wheel fasteners, and tire pattern. |
| Tools Needed | Properly rated floor jack, enough rated jack stands for the planned lift, wheel chocks, lug wrench or breaker bar, torque wrench, tire-pressure gauge, gloves, and owner’s manual. |
| Cost | No labor cost if you already own the required equipment; purchasing suitable lifting and torque tools adds to the cost. |
Warning: Never improvise a lift point or leave a vehicle supported only by a maintenance jack while you work around it. If your owner’s manual does not identify suitable lifting and support locations for the procedure you plan to use, have the tires rotated professionally.
What Do You Need to Rotate Tires With One Jack?
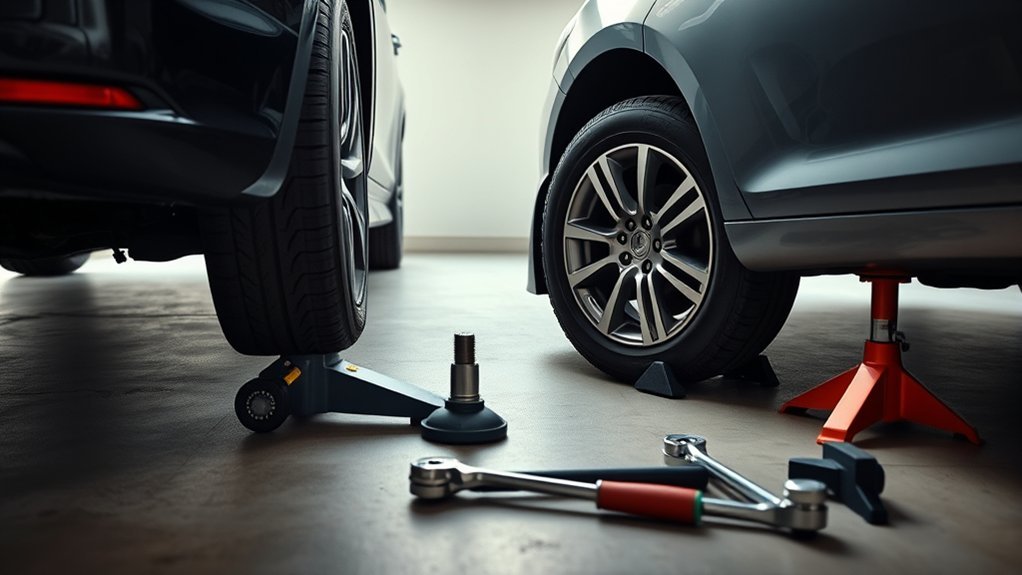
To rotate tires with one jack, you need a jack with enough rated capacity for your vehicle, properly rated jack stands, wheel chocks, a lug wrench or breaker bar, a torque wrench, a tire-pressure gauge, and the owner’s manual. Gloves and a small brush for cleaning loose debris from the wheel-mounting area are also useful.
The jack lifts the vehicle; the approved support system holds it while you perform the work.
One lifting jack can be enough equipment to raise the vehicle sequentially, but that does not mean one jack can safely support every tire-rotation pattern by itself. Cross-rotation and some front-to-rear procedures require more than one wheel to be unloaded at the same time. You therefore need enough approved support points and jack stands for the positions that must remain raised.
Inspect the jack and stands before starting. Do not use equipment with visible bending, cracks, leaks, damaged locking parts, or a capacity that is too low for the load. OSHA’s jack-safety rule states that after a load is raised, it must be secured rather than simply left on the lifting jack. See OSHA 29 CFR 1910.244.
A matching full-size spare can be part of a manufacturer-approved five-tire rotation on some vehicles. A compact temporary spare is different and should not be treated as a normal road tire in a four-tire rotation pattern. Check the vehicle and tire manufacturer’s instructions before including any spare.
Pro Tip: Before loosening anything, write down the four original wheel positions—LF, RF, LR, and RR—and mark the tires with removable tape or chalk. It makes a cross-pattern rotation much harder to mix up.
[Products Worth Considering]
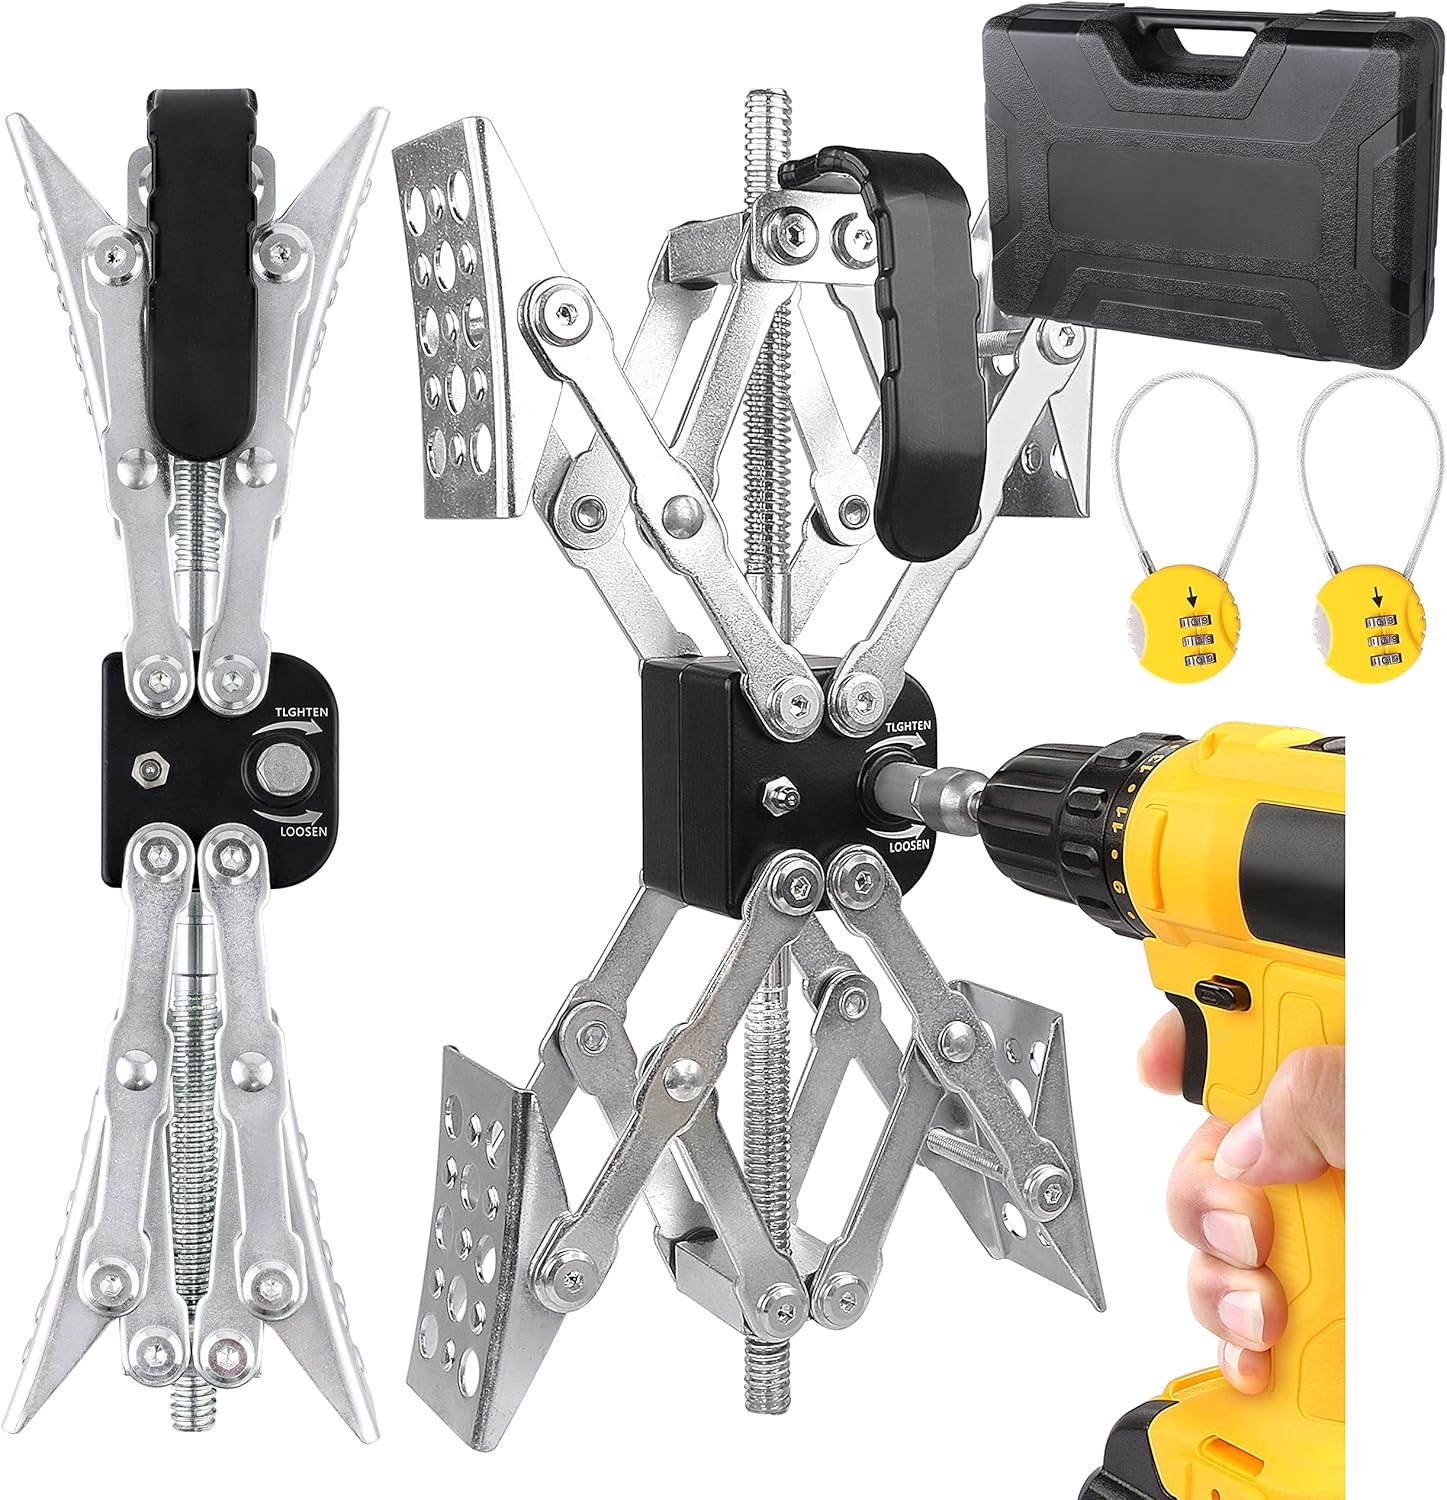
Lock the Maxchock X-style wheel stabilizers between tandem tires to reduce sway and keep your RV travel trailer secure while camping. The adjustable design fits a wide range of wheel gaps, and included hardware lets you install quickly with a power drill. Built from heavy-gauge steel with zinc plating, the chocks include locks and an organizer case for safer, more convenient use.

This 1/2-inch drive breaker bar delivers powerful leverage for loosening and tightening stubborn lug nuts and automotive fasteners. The 180-degree flex head helps you reach tight spaces at the angle you need, making tire and brake jobs easier. A spring-loaded ball detent design holds 1/2-inch sockets securely while the chrome-moly head provides durable strength for everyday use.

The Trivd Frol 1/2" air impact wrench delivers high performance torque up to 1500 ft-lbs with a twin hammer impact mechanism for strong, balanced blows. It features an ergonomic grip, compact lightweight design, and quick-stop control with 3 forward speeds up to 8000 RPM plus a reverse speed. Built for demanding automotive repair and tire shop work, the rear exhaust helps keep debris away from the surface.
How to Park and Chock the Vehicle
Before you lift the vehicle, park on a hard, flat, stable surface where the jack and stands cannot sink, lean, or slide. Avoid loose gravel, soft soil, damaged pavement, or an incline.
Set the parking brake as directed by the vehicle manufacturer. Put an automatic transmission in Park or a manual transmission in the specified gear before lifting.
Then chock the wheels that will remain on the ground. Chock placement changes as different corners are lifted, so reassess the setup whenever you reposition the jack.
Parking Surface Check
Start by checking the ground, not the tires. The jack and each stand need a firm, level base. If a support can sink or tilt, do not lift the vehicle there.
Leave enough space around the car to move the jack and carry each wheel safely. Keep children, pets, passengers, and unnecessary tools away from the work zone.
Read the lifting section of the owner’s manual before positioning the jack. The correct point may be a pinch weld, frame location, subframe point, axle location, or another reinforced area depending on the vehicle. Do not assume that a point used on another car is suitable for yours.
Set Parking Brake
Apply the parking brake fully before lifting. Confirm that the vehicle is stationary before placing the jack.
Parking-brake operation varies by vehicle, especially with electronic parking brakes, service modes, and some all-wheel-drive or hybrid systems. If the manual gives special instructions for tire service, follow them.
Do not use the parking brake as a substitute for chocks or stands. It is one part of the vehicle-stability setup.
Chock Opposite Wheels
Place wheel chocks tightly against tires that remain on the ground so the vehicle cannot roll as load transfers during lifting. Depending on which corner or axle is being raised, chocking both sides of an appropriate grounded tire may provide additional security.
| Check | Requirement |
|---|---|
| Surface | Hard, flat, and stable |
| Placement | At wheels that remain on the ground, positioned to resist vehicle movement |
| Contact | Chock seated snugly against the tire |
| Inspection | Recheck whenever the jack or support arrangement changes |
If a chock moves, the vehicle shifts, or a stand begins to lean, stop. Lower the vehicle safely and reset the entire lifting arrangement.
Where to Place the Jack Safely
Place the jack only at a manufacturer-approved lifting point. A reinforced support point is designed to carry load in a specific way; nearby sheet metal, suspension arms, plastic trim, exhaust components, batteries, fuel-system components, and other convenient-looking locations may not be suitable.
The owner’s manual is the first reference. Some vehicles also provide separate service information for using a floor jack and jack stands.
[Products Worth Considering]

The SEESII cordless impact wrench delivers high tightening and loosening power for fast wheel bolt and industrial bolt work. Its brushless motor and variable-speed 3 forward/2 reverse modes help you control precision installs and stubborn nut removal. A dual-battery system with rapid charging and an included storage case make it ready for home, car, and jobsite use.

These M14x1.5 closed-end chrome lug nuts are a one-piece replacement designed for secure fitment on compatible GM, Ford, and select Chrysler/Dodge models. Featuring a 60-degree conical seat and anti-rust chrome plating, they help resist corrosion and maintain a bright look for everyday driving. Built for long-term durability, they include OEM-style part references and are backed by 12 months of support.

Universal magnetic jack pad with aluminum grooved design to protect vehicle pinch welds during lifting. Durable nylon pad inserts are upgraded and secured with screws to resist damage and keep in place. Designed to fit most single vehicle pinpoint welds for safer, stable jacking when changing tires, repairs, or performing oil changes.
Jack Point Locations
Identify both the lifting points and the support points before raising the first corner. They are not always interchangeable.
- Open the owner’s manual to the tire-changing or lifting section.
- Identify the approved point for the jack you are using.
- Identify where an approved stand may support the vehicle after lifting.
- Check whether enough physical space exists for both the jack and stand.
- Do not begin a multi-corner rotation if the manual does not give you a safe support plan.
The emergency jack supplied with some vehicles may be intended primarily for changing a disabled tire. Routine four-wheel maintenance can require a different lifting method, so do not assume the emergency procedure automatically authorizes lifting several corners for a rotation.
Wheel Chock Placement
Before each lift, confirm which tires will remain on the ground and position the chocks to resist movement. Do not blindly leave the chocks in their original locations if the support arrangement changes.
After raising a corner, position the stand at an approved support point and lower the vehicle gently until the stand takes the load. Verify that the stand is straight, fully seated, and locked before proceeding.
Never crawl under the vehicle during a routine tire rotation. If any part of the job would require you to put your body under the vehicle, use the support procedure specified for that work and understand that the consequences of support failure are severe.
Can You Rotate These Tire Patterns?
You can rotate many tire setups, but there is no single pattern that is correct for every vehicle. NHTSA advises owners to check the vehicle manual for both the recommended pattern and interval. Some vehicles with different front and rear sizes may not permit conventional rotation at all. See NHTSA TireWise.
| Setup | Common Rotation Approach | Important Limitation |
|---|---|---|
| Same-size, non-directional FWD | Often forward-cross | Vehicle/tire manufacturer’s pattern overrides generic guidance. |
| Same-size, non-directional RWD | Often rearward-cross | Check the manual before crossing tires. |
| Same-size, non-directional AWD/4WD | May use rearward-cross or X-pattern | Follow the vehicle maker’s exact pattern and tread-depth requirements. |
| Same-size directional tires | Front-to-rear on the same side | Keep the directional arrow pointing in the correct rolling direction. |
| Staggered, non-directional tires | Front-to-rear is normally unavailable; side-to-side may be possible on each axle | Only if the wheel/tire specifications and manufacturer permit it. |
| Staggered directional tires | Often no practical four-wheel rotation | Different axle sizes and rotation direction can prevent repositioning. |
Bridgestone describes forward-cross, rearward-cross, and X-pattern rotations for suitable same-size, non-directional tires, while Michelin notes that directional tires normally stay on the same side and move front to rear. See Bridgestone’s tire-rotation guidance and Michelin’s tire-rotation guide.
Note: “Directional” and “asymmetric” do not mean the same thing. A directional tire normally has a rotation arrow on its sidewall. An asymmetric tire usually has markings such as “Outside.” Check the actual sidewall markings and manufacturer instructions before moving it.
How to Choose the Correct Rotation Pattern Before Lifting
Decide where every tire is going before you loosen the first lug nut. Do not make the pattern up after the vehicle is already on stands.
- Check whether all four tires and wheels are the same size.
- Look for a rotation arrow on each tire sidewall.
- Check whether the wheels have different front/rear widths or offsets.
- Read the vehicle manufacturer’s rotation diagram.
- If the tire manufacturer’s instructions conflict with a generic diagram, resolve the difference before proceeding.
If you cannot confidently identify the setup, have a tire professional determine the correct pattern. Moving a directional tire to a position where it rolls backward or fitting a staggered wheel to the wrong axle can create an incorrect vehicle configuration.
How to Rotate Cross-Pattern Tires With One Jack
A cross-pattern rotation is the main reason the phrase “one jack” can be misleading. In a forward-cross, rearward-cross, or X-pattern, tires move between several wheel positions. You normally cannot complete the whole sequence by simply removing one tire, installing another, and immediately lowering that corner unless a matching spare is being used as part of an approved procedure.
If your vehicle manufacturer provides suitable floor-jack and stand-support locations, you can use one lifting jack sequentially to transfer the vehicle onto enough jack stands for the wheel positions that need to be unloaded. The exact lift order is vehicle-specific and should come from the manufacturer’s service or owner’s information rather than a generic internet sequence.
- Choose the correct rotation pattern and mark each tire’s destination.
- Break the lug nuts loose slightly while the tires are still on the ground.
- Chock the grounded wheels and lift only at an approved point.
- Transfer the load to an approved stand position.
- Repeat only where the vehicle manufacturer permits until the wheels required for your chosen pattern can be removed safely.
- Remove the wheels and place each one at its new marked position.
- Inspect the tires, wheels, studs or bolts, and mounting surfaces before installation.
- Reinstall each wheel and hand-start every lug nut or bolt.
- Lower the vehicle in the reverse safe sequence and torque the wheel fasteners to specification.
Warning: Do not invent a central, side, differential, suspension, or subframe lift point simply because it appears strong. If your manufacturer does not approve that point, do not use it.
[Products Worth Considering]

This professional wheel and rim cleaning brush set lifts brake dust, grime, and dirt with soft, scratch-free microfiber and synthetic wool fibers. The rim brush bends up to 360 degrees for easy access to hard-to-reach areas around spokes, lips, and faces. Ideal for thorough cleaning of car, truck, motorcycle, bicycle, RV, and more wheel and tire surfaces.

The Dr.Roc spare tire tool kit helps you release, lower, or raise your spare tire with reliable extension tools and a lug nut wrench. It is made from rustproof automotive-grade steel and includes an organized carry case for convenient storage. Designed for compatibility with select GM models from the late 1990s through 2019, it uses upgraded extension components to install and remove spare tires with less hassle.

Upgrade your wheels with MIKKUPPA closed-end lug nuts designed for reliable fit and corrosion resistance. The one-piece, cold-forged and heat-treated steel construction helps resist rust and stripping, while the integrated finish delivers a durable black appearance. Built to OEM standards with a conical 60-degree seat, these nuts provide a secure solution for compatible Ford, Honda, Jeep, and Chevrolet models.
How to Swap Front and Rear Tires
A simple front-to-rear swap on the same side is appropriate mainly when the tire and vehicle specifications call for that pattern, such as many same-size directional-tire setups. It is not the default pattern for every non-staggered vehicle.
Directional tires normally have an arrow showing their intended rolling direction. Michelin states that directional tires should remain on the same side when rotated front to rear. Confirm that all four tires involved are the correct size for their destination before moving them.
Front-Rear Swap Basics
If your manual specifies a same-side front-to-rear pattern, plan to exchange the front and rear wheel on one side without leaving the car inadequately supported.
- Confirm that the front and rear tires are the same approved size.
- Check the rotation arrow and other sidewall markings.
- Loosen the relevant lug nuts slightly while the tires are on the ground.
- Lift and support the required points exactly as the vehicle manufacturer permits.
- Move the front wheel to the rear and the rear wheel to the front on that same side.
- Hand-start the fasteners, seat the wheels correctly, and repeat on the opposite side if required.
- Lower the vehicle safely and torque the fasteners to specification.
Do not perform this swap if the front and rear wheel or tire sizes differ unless your vehicle manufacturer specifically approves the move.
Safe Jack Placement
Use only the designated lifting point for the jack and the designated support point for the stand. The jack saddle should sit squarely against the approved point, and the jack should roll or articulate as designed while the vehicle rises rather than being forced sideways.
Raise the vehicle slowly. Stop immediately if the jack tilts, the vehicle moves, a chock shifts, or the support point begins to deform.
Once an approved stand carries the load, verify that its base is flat and that the saddle is fully seated. Never treat a second hydraulic jack as a substitute for a stand simply because it is available.
Tire Rotation Pattern
For same-size directional tires, front-to-rear rotation on the same side is commonly appropriate:
- Left front moves to left rear.
- Left rear moves to left front.
- Right front moves to right rear.
- Right rear moves to right front.
For same-size non-directional tires, do not automatically use this pattern. Your vehicle may specify forward-cross, rearward-cross, X-pattern, or another sequence.
How to Lift the Other Side
Do not move the jack to another side until the vehicle is safely supported at every point that must remain raised and the remaining grounded wheels are chocked appropriately.
Before the next lift, check the approved lift point, support-point location, chock placement, and stand stability again. Load distribution changes each time another corner rises.
Position the jack squarely under the approved point and raise the vehicle slowly. Watch the existing stands while lifting. If any stand starts to lean, slide, unload unexpectedly, or move at its base, stop and lower the vehicle safely.
When the next support point reaches the required height, place the additional stand exactly where the manufacturer permits. Lower the jack gently until the stand carries its share of the load.
Do not remove a wheel until you are satisfied that the entire support arrangement is stable.
Single-Jack Safety Tips for Stable Lifting
A single lifting jack leaves little room for improvisation. Use equipment that is correctly rated and in good condition, and make the owner’s manual your reference for every lifting point.
- Inspect the jack and stands before use.
- Work only on a hard, level surface.
- Chock the wheels that remain on the ground.
- Loosen wheel fasteners slightly before lifting so you are not applying high loosening force to a raised vehicle.
- Raise the vehicle slowly and watch for movement.
- Transfer the load to approved stands before routine wheel-removal work.
- Never exceed the jack or stand manufacturer’s rated capacity.
- Do not put any part of your body underneath an inadequately supported vehicle.
If your only jack is the vehicle’s emergency jack, read its instructions carefully. A jack supplied for roadside flat-tire replacement may have restrictions that make it unsuitable for a multi-corner maintenance rotation.
What to Inspect While the Wheels Are Off
A tire rotation is a useful time to inspect components that are harder to see with the wheels installed.
- Tread: Compare wear across the center and both shoulders. Look for cupping, feathering, flat spots, cuts, exposed cords, embedded objects, or abnormal differences between tires.
- Sidewalls: Check for bulges, deep cuts, cracking, or impact damage.
- Wheels: Look for obvious bends, cracks, corrosion, or damage around the lug seats.
- Fasteners: Check studs, bolts, and nuts for damaged threads or obvious corrosion. Do not force a fastener that will not start smoothly by hand.
- Mounting surfaces: Remove loose debris that would prevent the wheel from seating flat. Follow the manufacturer if corrosion treatment is required.
- Brakes and suspension: If you notice leaks, loose parts, damaged boots, broken components, or unusual brake wear, stop and have the vehicle inspected.
Do not lubricate wheel studs, bolts, or lug-nut seats unless the vehicle or wheel manufacturer specifically instructs you to do so. Lubrication can change the relationship between applied torque and clamping force.
Why Rotation Won’t Fix Alignment Wear
If the tires show uneven shoulder wear, feathering, cupping, or another abnormal pattern, moving them to different positions does not repair the condition that caused the wear.
Rotation can redistribute normal position-related wear, but it cannot correct a mechanical, alignment, inflation, or balance problem.
Abnormal wear can be associated with wheel alignment, worn steering or suspension parts, incorrect tire pressure, wheel imbalance, damaged components, or other vehicle-specific problems. The wear pattern alone is not enough to diagnose the exact cause.
If one tire is wearing much faster than the others, have the vehicle inspected rather than repeatedly rotating the problem to a new position.
A tire that is already damaged or worn beyond its service limit also cannot be made safe by rotation.
How to Tighten Lug Nuts Properly
Correct wheel-fastener torque is vehicle-specific. Do not use a generic 80, 90, or 100 ft-lb setting unless that is the exact specification for your vehicle and wheel combination.
Michelin recommends hand-starting the fasteners and using the vehicle manufacturer’s torque specification. See Michelin’s tire-changing guidance.
- Make sure the wheel is fully seated against the hub.
- Start every lug nut or wheel bolt by hand to avoid cross-threading.
- Snug the fasteners gradually in the appropriate star or crisscross sequence.
- Lower the vehicle as required by the manufacturer’s procedure so the wheel cannot rotate while final torque is applied.
- Set a calibrated torque wrench to the exact specified value.
- Torque the fasteners in the correct sequence until the wrench indicates the setting has been reached.
Do not use an impact wrench as the final torque-measuring tool unless the manufacturer provides a procedure that specifically allows it. An impact tool can be useful for removal or controlled preliminary installation, but final clamping force should be established with the specified torque procedure.
Some vehicle or wheel manufacturers recommend checking wheel-fastener torque again after a specified driving distance following wheel removal. Follow that instruction when it applies rather than assuming one universal re-torque interval.
If a fastener feels gritty, binds, will not thread by hand, spins without tightening, or appears damaged, stop and repair the problem before driving.
Check Tire Pressure After the Rotation
Check tire pressure after the wheels are installed. Use the vehicle manufacturer’s recommended cold inflation pressure from the Tire and Loading Information label or owner’s manual, not the maximum pressure molded into a regular tire’s sidewall.
NHTSA recommends checking the vehicle’s specified tire pressure and maintaining the tires according to the vehicle manufacturer’s information. See NHTSA TireWise.
Some vehicles specify different pressures for the front and rear axles. If so, adjust each tire to the pressure required for its new position after rotation.
When to Rotate Tires for Best Wear
Use the interval in the vehicle owner’s manual or the applicable tire manufacturer’s instructions. NHTSA notes that when rotation is recommended, a common interval is about 5,000 to 8,000 miles, or sooner when unusual wear appears. This is general guidance, not a replacement for the schedule specified for your vehicle.
Some vehicles with different front and rear tires may have limited rotation options or no normal rotation procedure. Always check before moving the wheels.
| Condition | Action |
|---|---|
| Owner’s manual gives a rotation interval | Follow that interval |
| No more specific interval is available | NHTSA notes 5,000–8,000 miles when rotation is recommended |
| Uneven or abnormal wear appears | Inspect the cause instead of relying only on rotation |
| Different front and rear tire sizes | Check whether rotation is permitted before moving any wheel |
| Directional tires | Maintain the required rolling direction |
When Should You Stop and Use a Professional?
DIY tire rotation is not worth forcing when the lifting or wheel setup is unclear. Stop and use a qualified tire or automotive service provider if:
- You cannot identify the approved floor-jack and stand-support points.
- You do not have enough properly rated stands for the rotation pattern.
- The jack or stands cannot sit flat and securely.
- Your vehicle has an unusual staggered, directional, dually, performance, or specialty setup you cannot verify.
- A lug nut or bolt is seized, damaged, or cross-threaded.
- The wheel is stuck to the hub and cannot be removed with normal safe methods.
- You find a tire bulge, exposed cord, severe cracking, significant wheel damage, or another condition that may make the vehicle unsafe to drive.
- The vehicle shifts or any support point deforms during lifting.
Roadside conditions are another reason to avoid a maintenance rotation. Perform routine tire service in a controlled work area rather than on a traffic shoulder or other hazardous location.
Frequently Asked Questions
Can I Do a Tire Rotation With Just One Jack?
Yes, if “one jack” means one device used for lifting and you also use enough properly rated jack stands or another manufacturer-approved support method. A complete rotation may require more than one wheel to be unloaded at once, so the jack alone is not a safe substitute for stands. Follow the vehicle manufacturer’s lift and support instructions.
Is It Okay to Use Only One Jack Stand?
One correctly rated stand can support one approved support point when a vehicle-specific procedure requires only that point to remain raised. However, one stand is usually not enough for a four-tire rotation in which two or more wheel positions must be unloaded at the same time. Use enough stands for the planned procedure rather than leaving another corner supported only by the jack.
How to Rotate Tires With No Jack Stand?
For routine tire rotation, do not design a multi-corner procedure around a vehicle held only by a jack. The emergency jack supplied with a car may permit one roadside wheel change when used exactly as the owner’s manual describes, but a four-wheel maintenance rotation is different. If you cannot provide the approved support required for your rotation pattern, use a professional service.
What Is the Easiest Way to Rotate Tires at Home?
The easiest safe DIY setup is a suitable floor jack, enough rated jack stands for the required wheel positions, wheel chocks, a lug wrench, and a calibrated torque wrench. Confirm the rotation pattern and lift/support points before starting. If the vehicle does not provide a straightforward approved support method, having a tire shop perform the rotation is easier and safer.
Can Directional Tires Be Cross-Rotated?
Normally, no. Same-size directional tires are generally moved front to rear while staying on the same side so the sidewall rotation arrow continues to point in the correct rolling direction. Moving a directional tire to the opposite side would normally require demounting and remounting the tire on the wheel if the tire manufacturer permits it.
Can You Rotate Staggered Tires?
Sometimes. If the front and rear tires or wheels are different sizes, they normally cannot be moved front to rear. A non-directional staggered setup may permit left-to-right rotation on each axle, while a staggered directional setup may offer no useful rotation at all. Check the vehicle and tire manufacturer’s instructions.
Sources
- National Highway Traffic Safety Administration — TireWise — rotation intervals, manufacturer guidance, tire sizing, inflation, and limitations on rotating different-size tires.
- Michelin — Tire Rotation Guide — directional-tire and staggered-fitment rotation guidance.
- Bridgestone — Tire Rotation — forward-cross, rearward-cross, X-pattern, and other common rotation patterns.
- Michelin — How to Change a Car Tire — safe wheel removal, hand-starting fasteners, cross-pattern tightening, and manufacturer-specified torque.
- Occupational Safety and Health Administration — 29 CFR 1910.244 — jack capacity, inspection, and securing a load after it has been raised.
Conclusion
You can rotate tires with one jack when the jack is used for lifting and the vehicle is then supported safely at manufacturer-approved points. The most important steps are choosing the correct rotation pattern before starting, using enough rated stands, keeping grounded wheels chocked, and refusing to improvise lift points.
After the wheels are moved, hand-start every fastener, tighten in the proper cross or star sequence, and use a torque wrench set to the exact specification for your vehicle and wheels. Check tire pressure for each new position and inspect abnormal wear instead of assuming rotation will correct an alignment, suspension, balance, or inflation problem. If the support arrangement or rotation pattern is unclear, professional tire service is the safer option.

