
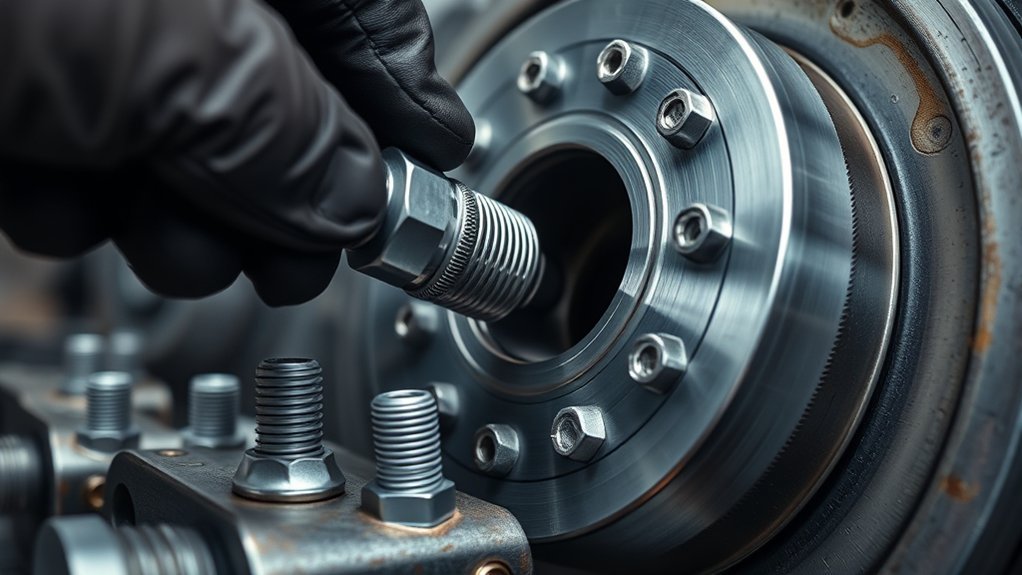
To torque bolts correctly, start with the exact specification for the assembly, including the torque value, tightening sequence, fastener condition, and whether the threads must be dry, lubricated, or treated with threadlocker. Hand-start every fastener, use a suitable calibrated torque wrench, tighten evenly in the specified stages, and stop at the required torque or angle.
Quick Answer
To torque a bolt correctly, verify the manufacturer’s torque specification and thread condition first. Hand-start the fastener, use a torque wrench whose rated range covers the target, follow the specified tightening sequence and stages, pull the wrench smoothly, and stop as soon as the required torque or torque-angle step is reached.
Key Takeaways
- Use the torque value, tightening sequence, lubricant condition, and reuse instructions specified for the exact assembly.
- Choose a torque wrench whose documented working and accuracy range includes the required torque.
- Clean and inspect the fasteners, then hand-start them before applying significant torque.
- Tighten multi-fastener joints evenly in the sequence and stages required by the manufacturer.
- Never keep tightening after reaching the specified torque or torque-angle endpoint.
- Measure or compensate for prevailing fastener drag only when the applicable procedure specifically tells you to do so.
At a Glance
| Time Required | About 10–30 minutes for a typical small multi-fastener assembly; complex or safety-critical jobs may take longer. |
| Difficulty | Beginner to intermediate, depending on the assembly and fastening procedure. |
| Tools Needed | Correct torque wrench, proper socket or bit, manufacturer/service torque data, and suitable thread-cleaning tools. |
| Cost | Varies by the required torque wrench and materials; consumable cost may be minimal if the correct tools are already available. |
Why Proper Torque Matters
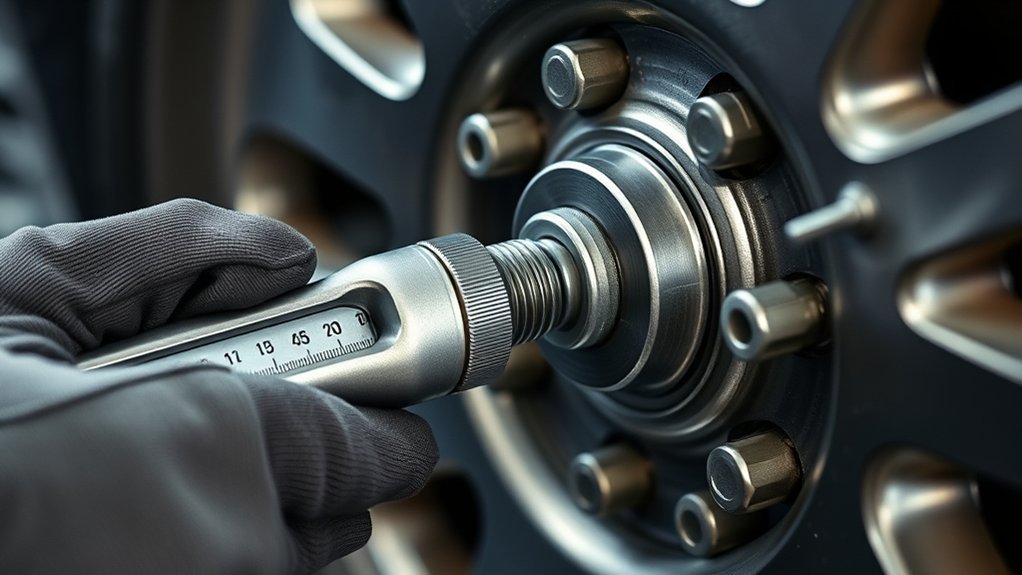
Proper tightening creates the preload that holds a bolted joint together. The torque wrench is a controlled way of producing that preload, but the relationship between torque and clamping force is affected by thread condition, coatings, lubrication, bearing surfaces, and the fastener itself.
If you under-tighten a fastener, the joint may loosen, move, leak, or experience damaging cyclic loads. If you over-tighten it, you may permanently stretch the bolt, strip threads, distort the joint, damage a gasket, or break the fastener.
That is why you should treat the published torque specification as part of a complete procedure rather than as a number by itself. The same numerical torque may not produce the same preload when the thread or lubricant condition changes.
Warning: For wheels, brakes, steering, suspension, engines, pressure-containing equipment, aircraft, lifting equipment, or other safety-critical assemblies, use the manufacturer’s current service procedure. Do not substitute a generic torque chart or this guide for application-specific instructions.
In aviation maintenance, for example, the FAA’s AC 43.13-1B states that its general repair practices are used when manufacturer instructions are unavailable and must not conflict with manufacturer data. The same manufacturer-first principle is sensible whenever incorrect bolt tightening could create a safety risk.
Before You Start: Find the Exact Torque Procedure
Before choosing a wrench or cleaning a bolt, find the instructions for the exact component you are assembling. A complete torque procedure may specify much more than a final number.
- The torque value and unit, such as N·m, lb-ft, or lb-in.
- The tightening sequence for multiple fasteners.
- Whether tightening is done in one pass or several stages.
- Whether threads must be dry, lubricated, plated, sealed, or treated with threadlocker.
- Whether a torque-plus-angle method is required.
- Whether the bolt, nut, washer, or locking device can be reused.
- Whether a post-installation or post-service torque check is required.
Never assume that a value from a similar-looking bolt applies to your assembly. Bolt diameter alone is not enough because material, strength grade, thread pitch, joint design, coating, lubricant, and required preload can all change the correct specification.
Note: Double-check the units before setting the wrench. Confusing lb-in with lb-ft or using the wrong N·m conversion can produce a major torque error.
Choose the Right Torque Wrench
Choose a torque wrench whose documented working range includes the required torque. Do not assume that every wrench is equally accurate throughout its entire printed scale. Check the tool manufacturer’s accuracy specification, certificate, and operating instructions.
ISO 6789-1:2017 covers conformance and marking requirements for hand torque tools, including indicating and setting types. ISO 6789-2:2017 addresses calibration methods and measurement uncertainty for hand torque tools.
This means you do not need to favor a beam, dial, click, electronic, or other style simply because of its operating principle. What matters is that the tool is suitable for the job, is in serviceable condition, and meets the required accuracy.
Use a drive size and socket that fit the fastener properly. A wrench that is physically too large for a low-torque job may be difficult to control, while an undersized wrench can be overloaded.
If your torque wrench has been overloaded, damaged, or subjected to an event that its manufacturer says can affect accuracy, have it inspected or calibrated before relying on it for critical work. Follow the tool manufacturer’s calibration interval rather than assuming one interval applies to every wrench.
Pro Tip: Before starting, compare the required torque with the wrench’s stated operating range and confirm the unit on both the service specification and the wrench.
[Products Worth Considering]

The Trivd Frol 1/2" air impact wrench delivers high performance torque up to 1500 ft-lbs with a twin hammer impact mechanism for strong, balanced blows. It features an ergonomic grip, compact lightweight design, and quick-stop control with 3 forward speeds up to 8000 RPM plus a reverse speed. Built for demanding automotive repair and tire shop work, the rear exhaust helps keep debris away from the surface.

This 1/2-inch drive breaker bar delivers powerful leverage for loosening and tightening stubborn lug nuts and automotive fasteners. The 180-degree flex head helps you reach tight spaces at the angle you need, making tire and brake jobs easier. A spring-loaded ball detent design holds 1/2-inch sockets securely while the chrome-moly head provides durable strength for everyday use.

The SEESII cordless impact wrench delivers high tightening and loosening power for fast wheel bolt and industrial bolt work. Its brushless motor and variable-speed 3 forward/2 reverse modes help you control precision installs and stubborn nut removal. A dual-battery system with rapid charging and an included storage case make it ready for home, car, and jobsite use.
Prep Bolts, Threads, and Lubricant
Before you torque any fastener, inspect the bolt, nut, threaded hole, washer, and bearing surface. Dirt, rust, damaged threads, incorrect hardware, or a partially cross-threaded bolt can change the torque response and make a normal wrench reading misleading.
Replace fasteners that the service procedure identifies as single-use. Also replace hardware that is cracked, badly corroded, visibly stretched, stripped, galled, or otherwise outside its allowable condition.
[Products Worth Considering]

This car D-wheel lock nut key provides an anti-theft solution for D-shaped wheel lock bolts, helping keep your wheels secure. It features a flower-shaped internal pattern that resists micro-adjustment theft while allowing removal and mounting of compatible locking nuts. Made for reliable performance under high torque, it’s easy to use with standard socket wrench turning for quick tire maintenance and emergency repairs.

Upgrade your wheels with MIKKUPPA M12x1.5 mag seat lug nuts built for secure, corrosion-resistant performance. These closed-end chrome lug nuts are a direct replacement for select Toyota models, including Camry, Corolla, RAV4, Sienna, Avalon, Highlander, Matrix, Venza, and Prius. Triple-chromium plating and cold-forged, heat-treated steel help deliver strength for daily driving and replacement needs.

Slip the Powerbuilt tire step over your vehicle’s tire to reach roof racks, engine bays, truck boxes, and more without overreaching. Its adjustable, universal design fits tires with a cross tread width up to 13 inches, including car, truck, RV, and semi tires. The non-slip cheesegrater surface and anti-slip tape provide secure grip while the open design lets mud and debris pass through. Fold-flat storage with rubber bumpers helps keep your tire and the step protected between uses.
Clean Threads
Clean threads help a fastener seat normally and make its tightening behavior more predictable. Remove loose dirt, corrosion, old sealant, or other contamination using a method appropriate for the fastener and component.
A wire brush or dedicated thread-cleaning tool may be suitable in some applications. Be cautious with cutting taps and dies: they can remove metal or protective coatings when you only intended to clean the threads. Use them only when the repair procedure permits it.
- Remove loose rust, dirt, and old residue.
- Inspect for cross-threading, galling, flattened threads, cracks, or stretching.
- Check that the correct bolt, nut, washer, and strength grade are being used.
- Hand-thread the fastener to confirm smooth engagement before applying high torque.
Apply the Correct Lubricant Only When Specified
Do not automatically lubricate every bolt. The specified torque may be based on dry threads, lubricated threads, a particular coating, anti-seize compound, threadlocker, or another defined condition.
Changing that condition changes friction. Because a large part of applied torque is consumed by friction in the threads and under the bolt head or nut, adding an unapproved lubricant can produce more bolt tension than the original torque specification intended.
If lubrication is specified, use the exact product or approved equivalent and apply it only to the locations stated in the procedure. If the specification calls for clean, dry threads, keep them dry.
A torque number and a thread condition belong together. Changing the lubricant or coating can change the preload produced by the same wrench setting.
Hand-Start and Seat the Fasteners
Start each bolt or nut by hand before using a torque wrench. It should engage cleanly without forcing the first threads. If it immediately binds or feels rough, stop and inspect it rather than using the wrench to force it into place.
For a multi-fastener joint, install all fasteners loosely before fully tightening one of them. Bring the mating parts together evenly so one side is not clamped hard while another side is still separated.
If the procedure includes a snugging step, follow it before beginning the measured torque passes. The goal is to establish even contact without applying the final clamping load too early.
Tighten Bolts in the Correct Sequence
Use the manufacturer’s numbered tightening sequence whenever one is provided. On many circular or rectangular multi-bolt joints, a crisscross or star pattern is used to distribute clamping force more evenly than simply tightening around the perimeter in order.
The exact sequence matters because tightening one fastener changes the load carried by nearby fasteners. An uneven sequence can distort a cover, flange, gasket, wheel, cylinder head, or other mating surface.
- Hand-start all fasteners first.
- Bring the joint together evenly.
- Follow the specified numbered, cross, or star sequence.
- Repeat the same sequence for each required torque stage.
- Stop each tightening action when the required value or angle is reached.
Do not continue tightening “until the bolt no longer turns.” A properly tightening bolt may continue to rotate while its tension increases. Your endpoint is the specified torque, angle, tension, or other instructed criterion—not maximum resistance.
Apply Torque in Stages
Many multi-fastener assemblies are tightened in stages so the joint seats evenly. However, the number of stages and their percentages are not universal.
If the service procedure provides specific stages—for example, a preliminary torque followed by one or more higher values—use those values exactly.
When a general procedure allows staged tightening but does not prescribe exact intermediate values, progressively increasing the load over multiple passes can help the parts seat evenly. A pattern such as a low initial pass, an intermediate pass, and a final pass is often easier to control than applying full torque to the first fastener immediately.
Build clamp load evenly across the joint, but let the manufacturer’s tightening stages—not a generic percentage rule—set the required values.
Some assemblies use torque-angle tightening instead of a conventional final torque alone. Others may specify several torque and angle steps. Do not convert these instructions into a single torque value unless the manufacturer provides an approved alternative.
Use the Torque Wrench Correctly
Good technique matters even when the wrench is properly calibrated.
- Use the correct socket or bit and seat it fully on the fastener.
- Hold the wrench at the location specified by its manufacturer, usually around the intended grip area.
- Keep the load controlled and smooth instead of jerking the handle.
- Pull in the intended direction without adding unnecessary side load.
- For a click-type wrench, stop applying force when the tool signals that the setting has been reached.
- Do not use a torque wrench as a breaker bar unless its manufacturer specifically permits it.
Repeatedly clicking a setting-type wrench after it has already reached the target can add unnecessary load. One smooth, controlled approach to the specified endpoint is preferable.
Use Extensions, Adapters, and Multipliers Carefully
A normal socket extension that stays in line with the square drive does not intentionally change the wrench’s lever-arm length, although excessive flex or poor-quality components can make the setup harder to control.
A crowfoot or other adapter that changes the effective lever length can change the torque delivered to the fastener. If possible and permitted by the tool instructions, positioning a crowfoot at 90 degrees to the wrench can minimize the effective-length change. Otherwise, use the correction method supplied by the torque-wrench or adapter manufacturer.
A torque multiplier also requires its own setup. Use the manufacturer’s stated ratio, reaction-arm instructions, and any required correction. Never assume the number displayed on the torque wrench is automatically the torque reaching the fastener when a multiplier is installed.
[Products Worth Considering]

Malco tire mounting and demounting lubricant is a ready-to-use tire lube formulated to reduce friction during tire installation for passenger cars, light trucks, farm tires, and heavy-duty equipment. It provides rust-inhibiting protection to help reduce corrosion on rims and wheels, and helps support proper tire bead seating during inflation to reduce air leakage. The silicone-free, soap-free formula is whitewall safe to help prevent discoloration on whitewall tires and sensitive sidewall markings.

This manual duck head tire changer kit makes tire installation and removal simpler by letting you embed the duck head into the tire with applied pressure. The integrated design and durable steel construction help reduce friction and improve efficiency and safety during use. Suitable for 16–21 inch wheels, it’s convenient for cars, trucks, SUVs, and ATV tires, with 24-hour after-sales support.

The Ziopetru adjustable magnetic wheel alignment tool helps you check and restore camber and caster positioning after removing and reinstalling undercarriage components. With a clear leveling/bubble measurement system and an easy zeroing adjustment knob, it supports precise horizontal angle checking. The strong magnetic base mounts to metal surfaces for convenient use at home on cars, motorcycles, trucks, vans, and SUVs.
Fix Bolt or Joint Movement During Torquing
Secure the assembly before applying significant torque. If the component shifts, rotates, lifts, or stops seating evenly, stop rather than trying to overpower the movement with the wrench.
Check that the fasteners were started correctly, the mating surfaces are seated, the correct washers or spacers are installed, and the tightening sequence is being followed.
- Secure the machine or component against unintended movement.
- Confirm that every fastener is correctly started and seated.
- Use the specified cross-pattern or numbered sequence.
- Use additional progressive passes only when compatible with the procedure.
- If the joint visibly shifts or loses alignment, stop and reassess the assembly before continuing.
If a bolt rotates unusually far without the torque increasing normally, do not simply keep turning it. The threads may be stripping, the bolt may be yielding, a captive nut may be spinning, the wrong fastener may be installed, or the joint may not be seated correctly.
Verify Final Torque and Fastener Condition
After completing the specified tightening sequence, perform any final verification required by the service procedure. On multi-fastener joints, this may include another pass through the specified sequence at the final setting.
A final check is not permission to tighten beyond the specification. If a fastener behaves abnormally, investigate the cause instead of repeatedly applying more torque.
Final Torque Check
Use a serviceable torque wrench and the same required sequence for the final pass. Confirm that each fastener reaches the specified endpoint normally.
- Follow the specified sequence from beginning to end.
- Do not exceed the target in an attempt to “make sure” the bolt is tight.
- Investigate abnormal movement, noise, binding, or loss of resistance.
- Record values when the maintenance or quality-control procedure requires documentation.
- Perform a later retorque only when the manufacturer or engineering procedure specifies one.
Do not assume that every joint needs a break-in retorque. Some assemblies do, while others use fasteners or tightening methods for which an unscheduled retorque is inappropriate.
Measure Prevailing Torque Only When Required
The original concept of “fastener drag” applies mainly to situations where a procedure specifies prevailing or running torque, such as certain self-locking nuts or locking devices.
In those cases, the running resistance may be measured while the fastener is turning but before the joint is fully seated. The applicable maintenance data may then specify how that measured resistance affects the final wrench setting.
This is not a universal step for ordinary bolts. Do not measure an arbitrary drag value and add it to a published torque specification unless the manufacturer or approved procedure specifically instructs you to do so.
Do Not Invent a Friction Correction
Friction strongly affects the relationship between applied torque and bolt preload, but that does not mean you should estimate your own correction factor during routine assembly.
Instead, reproduce the thread and bearing condition on which the specified torque is based. Use the specified lubricant, coating, washer, nut, and fastener type. If the procedure specifies a prevailing-torque correction, apply that method exactly.
- Do not substitute lubricated torque for a dry torque value.
- Do not add anti-seize unless the procedure permits it.
- Do not invent a nut-factor correction without engineering data.
- Do not add running torque unless the procedure instructs you to do so.
Special Fasteners: Torque-Angle and Torque-to-Yield
Some modern assemblies use a preliminary torque followed by a specified number of degrees of rotation. Others use torque-to-yield fasteners designed to enter a controlled stretch range during installation.
When you see instructions such as “torque to X N·m, then rotate 90 degrees,” follow the complete sequence. Do not stop after the first torque value, and do not replace the angle step with a higher guessed torque.
Torque-to-yield or otherwise designated single-use bolts may require replacement whenever removed. Check the service procedure before reusing them.
The same caution applies to locking nuts, deformed-thread nuts, prevailing-torque fasteners, and fasteners with pre-applied locking compounds. Their reuse limits and installation procedure can differ from standard hardware.
Avoid Common Torquing Mistakes
Most torque problems come from using the right-looking number under the wrong conditions. Avoid these common mistakes:
- Guessing the torque value instead of checking service data.
- Confusing N·m, lb-ft, and lb-in.
- Using a wrench outside its documented working range.
- Using damaged, incorrect, stretched, or single-use hardware.
- Applying lubricant when the specification assumes dry threads.
- Leaving lubricant off when the procedure specifically requires it.
- Failing to hand-start the fastener and cross-threading it.
- Tightening a multi-bolt assembly around the perimeter when a cross-pattern is specified.
- Jumping directly to full torque when staged tightening is required.
- Continuing to pull after a click-type wrench has signaled the setting.
- Using an uncorrected inline adapter that changes effective wrench length.
- Adding a made-up friction or drag correction.
- Retorquing a joint that does not call for a later torque check.
For more application-specific examples, see this wheel bolt torque guide.
Frequently Asked Questions
How do you torque a bolt correctly?
Find the exact torque procedure, inspect and hand-start the fastener, set a suitable torque wrench to the required value, and follow the specified tightening sequence and stages. Pull smoothly and stop as soon as the required torque or torque-angle endpoint is reached.
What is the torque method for tightening bolts?
The torque method uses a controlled torque value as the tightening endpoint. For multi-fastener joints, the procedure may also specify a numbered or crisscross sequence and several progressive passes. Some assemblies instead use torque plus an angle, so always follow the exact service instructions.
What is the 20% rule for torque wrenches?
It is commonly used to describe torque wrenches whose stated accuracy or useful working range begins at about 20% of full-scale capacity, but it is not a universal rule for every wrench. Check your tool’s manufacturer specification and calibration information and use it only within its documented range.
What are common bolt torque mistakes?
Common mistakes include using the wrong torque value or unit, cross-threading the bolt, using damaged hardware, changing the specified lubricant condition, skipping the tightening sequence, using an unsuitable torque wrench, overtightening after the wrench signals, and retorquing when the manufacturer does not require it.
Should you lubricate bolt threads before torquing?
Only when the applicable torque procedure specifies lubrication. Adding oil, anti-seize, threadlocker, or another product can change friction and therefore change the preload produced by the same torque value. Match the stated dry, lubricated, coated, or treated condition.
Should bolts be retorqued after use?
Only when the manufacturer or applicable maintenance procedure calls for a post-service torque check. Do not assume every bolted joint needs retorquing, especially when torque-angle, torque-to-yield, single-use, or other special fasteners are involved.
Conclusion
Correct bolt torque is about following a controlled procedure, not simply reaching a number on a wrench. Start with the correct service data, verify the fastener and thread condition, hand-start the hardware, use a suitable torque wrench, and follow the specified sequence and stages. Stop at the required torque or angle, investigate abnormal resistance or movement, and retorque only when the procedure calls for it. These habits give you a more consistent joint and reduce the risk of loose, damaged, stripped, or overstressed fasteners.
Sources
- ISO 6789-1:2017 — Hand torque tools, Part 1 — conformance, testing, and marking requirements for hand torque tools.
- ISO 6789-2:2017 — Hand torque tools, Part 2 — calibration methods and measurement uncertainty for hand torque tools.
- Federal Aviation Administration AC 43.13-1B — authoritative maintenance guidance and the importance of not conflicting with applicable manufacturer data.
