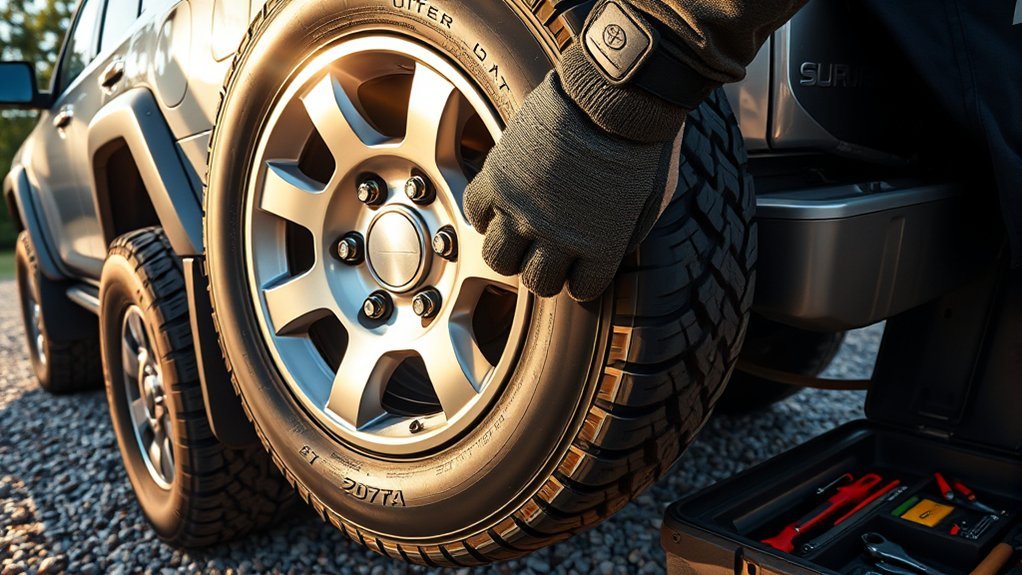
Mounting a full-size spare on a Toyota 4Runner is straightforward once the vehicle is parked safely, the wheels are chocked, and the jack is placed at the correct Toyota-approved point. The most important rule is simple: use the spare, jack points, and lug-nut torque specification for your exact model year and wheel type, not a generic number.
Quick Answer
To mount a full-size spare on a Toyota 4Runner, park on firm level ground, turn on the hazards, set the parking brake, chock the opposite wheel, slightly loosen the lug nuts, jack at the correct Toyota jack point, swap the tire, hand-tighten the nuts, lower the vehicle, and torque the lug nuts to the specification in your owner’s manual.
Key Takeaways
- Use the jack points shown in your Toyota 4Runner owner’s manual; the rear jack position may involve the rear axle housing, but the exact placement matters.
- Loosen the lug nuts before lifting the vehicle, then finish tightening only after the tire is back on the ground.
- Do not use one generic lug-nut torque number for every 4Runner. Torque varies by model year and wheel type, so check your manual.
- A true matching full-size spare can usually be driven like a normal tire if it is inflated and in good condition; a compact temporary spare has speed and distance limits.
At a Glance
| Time Required | 20–40 minutes in a safe, level location |
| Difficulty | Beginner to moderate, depending on roadside conditions and lug-nut tightness |
| Tools Needed | Factory jack, jack handle, lug wrench, wheel chocks, gloves, tire pressure gauge, and torque wrench |
| Cost | $0 if your spare and factory tools are ready; more if you need a torque wrench, replacement spare, or roadside assistance |
Essential Tools and Safety Equipment for Tire Changing
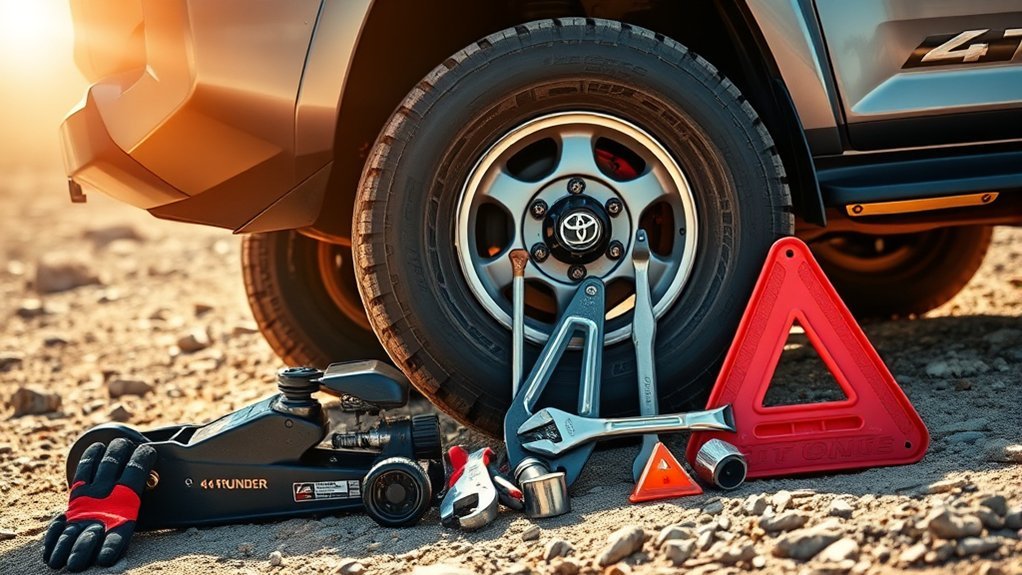
Before you start changing a tire on your Toyota 4Runner, gather everything you need so you are not searching for tools while the vehicle is raised. At minimum, you need the factory jack, jack handle, lug wrench, wheel chocks, gloves, and a working flashlight if visibility is poor.
A torque wrench is strongly recommended. The factory lug wrench can help remove and snug the wheel nuts, but it cannot confirm the final torque. Toyota publishes model-specific manuals through its owner manuals and warranties hub, so check the exact lug-nut torque for your model year and wheel type before driving far.
Warning: Never crawl under a Toyota 4Runner supported only by the factory jack. The jack is for changing a wheel, not for under-vehicle work.
[Products Worth Considering]

This 1/2-inch drive breaker bar delivers powerful leverage for loosening and tightening stubborn lug nuts and automotive fasteners. The 180-degree flex head helps you reach tight spaces at the angle you need, making tire and brake jobs easier. A spring-loaded ball detent design holds 1/2-inch sockets securely while the chrome-moly head provides durable strength for everyday use.

The Dr.Roc spare tire tool kit helps you release, lower, or raise your spare tire with reliable extension tools and a lug nut wrench. It is made from rustproof automotive-grade steel and includes an organized carry case for convenient storage. Designed for compatibility with select GM models from the late 1990s through 2019, it uses upgraded extension components to install and remove spare tires with less hassle.

This spare tire tool kit is designed for the 2004 to 2018 Ford F-150 to help you loosen and tighten wheel lug nuts and manage the spare tire and provided jack functions from underneath the vehicle. It includes the lug nut wrench and extension pieces plus a convenient storage carrying case for organized transport. The jack itself is not included.
Park Safely Before You Lift the 4Runner
Get the 4Runner as far from traffic as safely possible. Choose firm, level ground such as a paved shoulder, parking lot, or driveway. Avoid sand, mud, steep slopes, soft gravel, and uneven ground because the jack can sink or tip.
- Turn on the hazard lights. Make the vehicle visible before opening doors or unloading tools.
- Shift to Park. If your 4Runner has a manual transfer-case setting engaged for off-road use, return the vehicle to a safe parked state before lifting.
- Set the parking brake. This helps keep the vehicle from moving.
- Turn off the engine. Keep passengers away from traffic and out of the vehicle while it is being lifted.
- Check the spare. Confirm the full-size spare is inflated, undamaged, and close enough in size and load rating to the tire being replaced.
The National Highway Traffic Safety Administration emphasizes tire pressure, tire condition, tire aging, and load limits as key tire-safety items. Do not install a spare that is flat, cracked, badly worn, or not rated for your vehicle.
Chock the Wheels for Safety
To help prevent movement, chock a wheel on the opposite side of the flat tire. Toyota’s 2025 4Runner Hybrid flat-tire instructions list specific chock positions depending on which tire is flat, and the safest approach is to follow the wheel-chock diagram in your exact owner’s manual.
- Front left flat: chock the rear right tire.
- Front right flat: chock the rear left tire.
- Rear left flat: chock the front right tire.
- Rear right flat: chock the front left tire.
Pro Tip: If you do not have dedicated wheel chocks, a solid block can help in an emergency, but real rubber or metal wheel chocks are safer and more stable.
Lower and Inspect the Full-Size Spare
On many Toyota 4Runner models, the spare tire is stored under the rear of the vehicle. Use the jack handle extension or factory tool shown in your owner’s manual to lower the spare from the carrier. Lower it completely before trying to remove the retaining bracket from the wheel center.
Before mounting the full-size spare, inspect it like a road tire:
- Size: Match the tire size to the tire placard or a Toyota-approved alternate size. NHTSA advises using replacement tires that match the original size or another size recommended by the manufacturer.
- Pressure: Check cold inflation pressure with a gauge, not just by sight.
- Condition: Look for sidewall cracks, cuts, bulges, exposed cords, or uneven wear.
- Wheel compatibility: Make sure the wheel seats correctly on the hub and clears the brake components.
- Aftermarket setups: Oversized off-road tires may not fit the underbody spare carrier or may need different lug nuts.
Note: A “full-size” spare is most useful when it matches the wheel diameter, tire size, load rating, and overall diameter of the tires already on the 4Runner. If it is a mismatched spare, drive cautiously and get the tire corrected as soon as practical.
Find the Right Jacking Points
Finding the right jacking points is essential for safely lifting your Toyota 4Runner. Improper jack placement can damage the vehicle or make it unstable. Toyota’s 2025 4Runner Hybrid flat-tire guidance tells owners to position the jack at the correct point shown in the manual and, for rear lifting, to make sure the groove on top of the jack fits the rear axle housing.
Use these rules before lifting:
- Read the diagram for your exact model year. Jack-point locations can differ between generations, trims, and drivetrains.
- Place the jack on solid level ground. If the jack leans, sinks, or shifts, stop and call for help.
- Loosen the lug nuts first. Break each lug nut loose about one turn while the tire is still on the ground.
- Raise only as much as needed. Lift the 4Runner until the flat tire clears the ground and the full-size spare has enough room to fit.
Warning: If traffic is close, the ground is soft, the vehicle is leaning, or the lug nuts will not loosen with steady pressure, stop and call roadside assistance. A roadside tire change is not worth an injury.
Swap the Flat Tire With the Full-Size Spare: Common Pitfalls
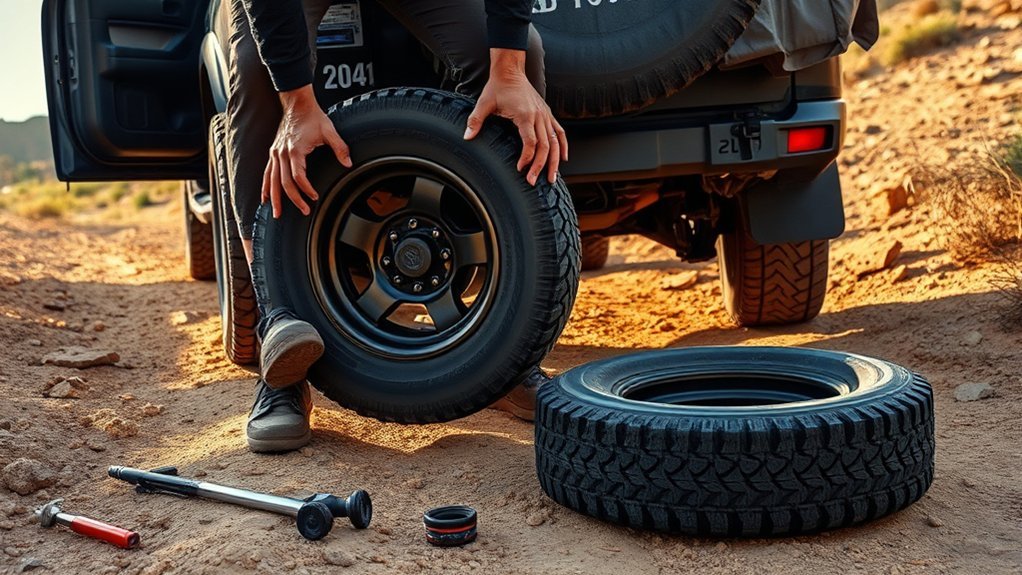
After the 4Runner is safely raised, remove the loosened lug nuts and pull the flat tire straight off the hub. Set the wheel down with the finished side facing up to reduce scratches. Then lift the full-size spare onto the hub and align the wheel holes with the studs.
- Do not force the wheel. If the spare will not sit flush against the hub, remove it and check for dirt, rust, brake interference, or the wrong wheel.
- Watch the valve stem orientation. On a standard road wheel, the valve stem should face outward so you can check and adjust pressure later.
- Start every lug nut by hand. If a lug nut does not thread smoothly, back it off and restart it to avoid cross-threading.
- Snug in a crisscross pattern. Tighten the nuts enough to seat the wheel while the tire is still raised, but do not apply final torque in the air.
- Do not mix incompatible lug nuts. Aftermarket wheels may require different seat styles than factory wheels.
A spare that fits the carrier is not automatically safe to drive on. It still needs the right size, pressure, load rating, wheel fitment, and lug-nut seating.
Tighten Lug Nuts and Secure the Vehicle
With the full-size spare seated on the hub, hand-tighten the lug nuts in a star or crisscross pattern. Lower the 4Runner until the tire touches the ground and cannot spin, then use a torque wrench to tighten the lug nuts to the Toyota specification for your exact model year and wheel type.
| Step | Action |
|---|---|
| 1. Hand-start | Thread each lug nut by hand to prevent cross-threading. |
| 2. Snug in the air | Use a crisscross pattern to seat the wheel evenly. |
| 3. Lower partially | Let the tire touch the ground so it will not rotate. |
| 4. Torque correctly | Use the torque value from your Toyota owner’s manual for your model year and wheel type. |
| 5. Recheck | Have torque and tire condition checked again after a short drive or at the next safe service stop. |
Do not guess the torque. Some older 4Runner references use one value, while newer models and wheel types may use different specifications. The safe answer is always the one printed in the Toyota manual for your exact vehicle.
Stow the Flat Tire and Check Before Driving
Once the full-size spare is installed and torqued, fully lower the vehicle and remove the jack. Store the jack, handle, lug wrench, chocks, and flat tire securely so nothing moves while driving. If your 4Runner uses an underbody spare carrier, raise the flat tire or spare carrier evenly and confirm it is tight before leaving.
Before driving away, check these items:
- The spare is seated flush on the hub.
- All lug nuts are installed and torqued in a crisscross pattern.
- The tire pressure is set to the correct cold pressure for the tire and vehicle.
- The flat tire, tools, and spare carrier are secured.
- No warning noises, wobble, or rubbing appear when you roll forward slowly.
Pro Tip: If the spare is a true matching full-size tire and wheel, add it to your normal tire inspection routine. Check its pressure and age before long trips, not after you are already stuck roadside.
Full-Size Spare vs. Compact Spare: What Changes?
A full-size spare is designed to be closer to a normal road tire, but it still must match the vehicle’s needs. If it is the same size, similar tread depth, correct load rating, properly inflated, and mounted on a compatible wheel, it is generally safer and more stable than a compact temporary spare.
A compact spare, often called a donut, is different. It is for temporary emergency use and may have a speed and distance limit printed on the tire or in the owner’s manual. If your 4Runner has a compact or mismatched spare instead of a matching full-size spare, drive slowly, avoid sharp maneuvers, and replace or repair the normal tire as soon as possible.
[Products Worth Considering]

Secure a full-size spare on your trailer with this powder-coated steel spare tire mount bracket. It fits most 4-, 5-, and 6-lug wheel bolt patterns and mounts to trailer tongues up to 4 in wide and 5 in tall. Built for reliable carry with a max 150 lb load rating and includes zinc-plated hardware for straightforward installation.

Upgrade your wheels with MIKKUPPA closed-end lug nuts designed for reliable fit and corrosion resistance. The one-piece, cold-forged and heat-treated steel construction helps resist rust and stripping, while the integrated finish delivers a durable black appearance. Built to OEM standards with a conical 60-degree seat, these nuts provide a secure solution for compatible Ford, Honda, Jeep, and Chevrolet models.

These M14x1.5 closed-end chrome lug nuts are a one-piece replacement designed for secure fitment on compatible GM, Ford, and select Chrysler/Dodge models. Featuring a 60-degree conical seat and anti-rust chrome plating, they help resist corrosion and maintain a bright look for everyday driving. Built for long-term durability, they include OEM-style part references and are backed by 12 months of support.
Troubleshooting Common 4Runner Spare Tire Problems
[Products Worth Considering]

The Trivd Frol 1/2" air impact wrench delivers high performance torque up to 1500 ft-lbs with a twin hammer impact mechanism for strong, balanced blows. It features an ergonomic grip, compact lightweight design, and quick-stop control with 3 forward speeds up to 8000 RPM plus a reverse speed. Built for demanding automotive repair and tire shop work, the rear exhaust helps keep debris away from the surface.

These aluminum alloy tire valve stem caps with an O-ring seal help protect valve stems from corrosion while adding a clean, stylish look to your vehicle. The universal fit works across cars, trucks, motorcycles, bicycles, and more, making them an easy upgrade for everyday driving and off-road use. Installation is quick, and the included four-pack keeps all your tires dressed and protected.

Yieokei Tesla jack pads are molded rubber lifting pucks designed for 2016-2026 Model 3/Y/S/X, including Juniper, to fit securely in the jack hole. They cushion the underframe and help position the jack precisely at the factory jack points to reduce risk of battery, paint, or chassis damage. The set also includes a tire repair tool kit for emergency roadside fixes and comes with a portable storage case to keep everything organized.
Lug Nuts Will Not Loosen
Use steady pressure on the lug wrench while the tire is still on the ground. Do not jump on the wrench or use unstable body weight beside traffic. If the nuts will not move, call roadside assistance or a tire shop.
Wheel Is Stuck to the Hub
After removing the lug nuts, corrosion can make a wheel stick to the hub. Do not crawl under the vehicle or strike the wheel from beneath. Reinstall the lug nuts loosely, lower the vehicle carefully, and get professional help if the wheel will not release safely.
Spare Does Not Fit
Stop immediately if the spare will not sit flush, the bolt holes do not align, the wheel rubs the brake caliper, or the lug nuts do not match the wheel seat. Forcing the wrong wheel onto the 4Runner can damage studs, brakes, or the wheel.
Vehicle Feels Unstable After Installation
If you feel wobble, vibration, pulling, rubbing, or hear unusual noise, pull over safely and recheck the wheel seating, lug nuts, and tire pressure. If anything looks wrong, do not continue driving.
Frequently Asked Questions
What is the 50/50 rule on spare tires?
The 50/50 rule usually means driving no faster than 50 mph and no farther than 50 miles on a compact temporary spare. It is not the best rule for every spare. A matching full-size spare may not have the same temporary limits, while a compact spare can have strict limits printed on the tire or listed in the owner’s manual.
Can I drive normally on a full-size spare on a Toyota 4Runner?
You can usually drive more normally on a matching full-size spare than on a compact spare, but only if it is the correct size, properly inflated, undamaged, and mounted on a compatible wheel. If the spare is mismatched, old, worn, or different in overall diameter, drive cautiously and repair or replace the original tire quickly.
Where is the jack point on a Toyota 4Runner?
The correct jack point depends on the model year and whether you are lifting the front or rear. For many 4Runner procedures, Toyota shows specific front jack points and a rear position at the rear axle housing where the jack groove must align correctly. Always follow the diagram in your exact owner’s manual.
What torque should I use for Toyota 4Runner lug nuts?
Use the lug-nut torque specification in the owner’s manual for your exact Toyota 4Runner model year and wheel type. Do not rely on a generic internet range because torque can vary between generations and between steel and aluminum wheels.
Should the valve stem face outward when installing the spare?
On a normal road wheel, yes. The valve stem should face outward so you can check and adjust tire pressure. If the wheel only fits one way or the lug nuts do not seat correctly, stop and verify that the wheel and lug nuts are compatible.
Conclusion
Mounting a full-size spare on your Toyota 4Runner is manageable when you slow down and follow the correct order: park safely, chock the opposite wheel, loosen the lug nuts, lift from the Toyota-approved jack point, mount the spare, hand-tighten, lower, and torque to the correct manual specification. If the vehicle is unstable, the spare does not fit, or traffic makes the job unsafe, call roadside assistance instead of forcing the repair.
Sources
- Toyota 2025 4Runner Hybrid Owner’s Manual: If You Have a Flat Tire — backs up Toyota-specific jack placement, chock placement, and flat-tire procedure.
- Toyota Manuals and Warranties — backs up the recommendation to check the exact owner’s manual for the vehicle’s model year and specifications.
- NHTSA TireWise — backs up tire pressure, tire aging, maintenance, and tire safety guidance.
- NHTSA Tire Safety Month Guidance — backs up using manufacturer-recommended tire sizes and checking the owner’s manual or tire placard.