
Using a torque wrench on your Toyota 4Runner lug nuts is simple, but the details matter. The right torque value, a clean lug seat, a crisscross tightening pattern, and a final recheck help keep the wheel clamped evenly to the hub without stretching studs, stripping threads, or leaving the wheel loose.
Quick Answer
For many 2010–2024 4Runners, Toyota service information lists 76 ft-lb for factory aluminum wheels and 83 ft-lb for steel wheels. Always verify your exact year, wheel type, and wheel hardware first. Hand-thread the lug nuts, tighten in a star pattern with a calibrated torque wrench, and recheck after 50–100 miles.
Key Takeaways
- Do not guess the torque spec. Confirm it in your owner’s manual, Toyota service information, or the wheel manufacturer’s documentation.
- Use clean, dry threads and clean lug seats unless Toyota or the wheel maker specifically says otherwise.
- Start every lug nut by hand, then tighten in a star or crisscross pattern in stages.
- Use an impact tool only for removal or careful run-down work, not for final tightening.
- Recheck torque after the first 50–100 miles, after wheel service, and after hard off-road use.
At a Glance
| Time Required | 10–20 minutes for a torque check; longer if removing and reinstalling wheels |
| Difficulty | Easy, if the vehicle is safely parked and the lug nuts are accessible |
| Tools Needed | Calibrated torque wrench, correct lug-nut socket, breaker bar or lug wrench, wheel chocks, and jack stands if the wheel is removed |
| Cost | No parts cost if your lug nuts and studs are reusable; tool cost only if you do not already own a torque wrench |
Confirm the Correct 4Runner Lug Nut Torque First
Before you touch the torque wrench, confirm the correct value for your exact 4Runner. Toyota specifications can vary by model year, wheel material, and wheel hardware. For many 5th-generation 4Runners, Toyota 4Runner service information lists the following wheel-installation torque values:
| Factory aluminum wheel | 103 N·m / 76 ft-lb |
| Factory steel wheel | 112 N·m / 83 ft-lb |
If your 4Runner is a different model year, has aftermarket wheels, has wheel spacers, uses non-OE lug nuts, or has wheel locks, check the correct documentation before tightening. Toyota owners can start with the official Toyota owner manuals and warranties page. Aftermarket wheel owners should also follow the wheel maker’s torque and hardware instructions.
Warning: Do not add extra torque “for safety.” Over-tightening can stretch wheel studs, damage threads, distort wheel seats, and make future removal harder. Correct torque means the specified torque, not the highest torque you can apply.
[Products Worth Considering]

This spare tire tool kit is designed for the 2004 to 2018 Ford F-150 to help you loosen and tighten wheel lug nuts and manage the spare tire and provided jack functions from underneath the vehicle. It includes the lug nut wrench and extension pieces plus a convenient storage carrying case for organized transport. The jack itself is not included.

These M14x1.5 closed-end chrome lug nuts are a one-piece replacement designed for secure fitment on compatible GM, Ford, and select Chrysler/Dodge models. Featuring a 60-degree conical seat and anti-rust chrome plating, they help resist corrosion and maintain a bright look for everyday driving. Built for long-term durability, they include OEM-style part references and are backed by 12 months of support.

This 1/2-inch drive breaker bar delivers powerful leverage for loosening and tightening stubborn lug nuts and automotive fasteners. The 180-degree flex head helps you reach tight spaces at the angle you need, making tire and brake jobs easier. A spring-loaded ball detent design holds 1/2-inch sockets securely while the chrome-moly head provides durable strength for everyday use.
How to Properly Torque Your 4Runner Lug Nuts
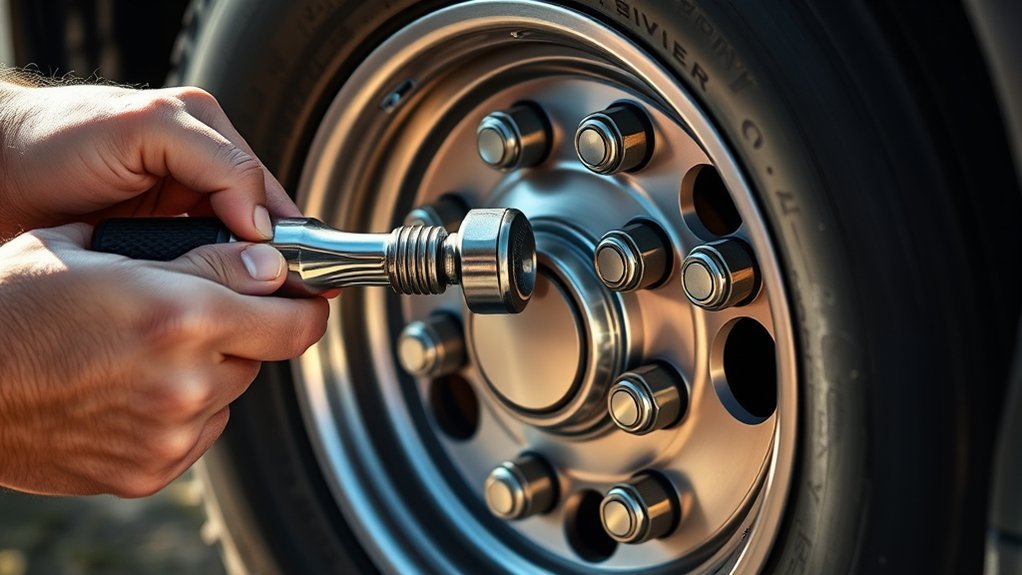
Park the 4Runner on a level surface, set the parking brake, and make sure the wheel and lug nuts are cool to the touch. If the wheel was removed, install it squarely on the hub and thread each lug nut by hand first. Hand-threading helps prevent cross-threading and confirms the lug nut is seated correctly before torque is applied.
Use the correct socket and set your torque wrench to the verified specification for your wheel. Tighten the lug nuts in a star pattern so the wheel is pulled evenly against the hub. For a 6-lug 4Runner wheel, work across the wheel instead of moving in a circle around it.
Note: Torque specifications are normally intended for clean, dry threads and seats. Tire Rack warns that lubricating lug threads or seats can change friction and create inaccurate torque readings unless the vehicle or wheel manufacturer specifically calls for lubrication.
What Tools You Need to Torque Lug Nuts Right
You do not need a large tool collection, but you do need the right final-tightening tool. A torque wrench is designed to apply a measured rotational force in foot-pounds or newton-meters. A standard wrench, breaker bar, or impact gun cannot reliably confirm final torque.
[Products Worth Considering]

Upgrade your wheels with MIKKUPPA closed-end lug nuts designed for reliable fit and corrosion resistance. The one-piece, cold-forged and heat-treated steel construction helps resist rust and stripping, while the integrated finish delivers a durable black appearance. Built to OEM standards with a conical 60-degree seat, these nuts provide a secure solution for compatible Ford, Honda, Jeep, and Chevrolet models.

Upgrade your wheels with MIKKUPPA M12x1.5 mag seat lug nuts built for secure, corrosion-resistant performance. These closed-end chrome lug nuts are a direct replacement for select Toyota models, including Camry, Corolla, RAV4, Sienna, Avalon, Highlander, Matrix, Venza, and Prius. Triple-chromium plating and cold-forged, heat-treated steel help deliver strength for daily driving and replacement needs.

The 22800 wheel stud installer makes replacing wheel studs quick and secure, saving time and effort during tire service. It uses a ratchet or impact wrench to pull new studs firmly into place, helping when existing studs are too long. Compatible with most automotive wheels and light-duty truck wheel studs, it’s designed for easy, tool-assisted installation.
Essential Torque Wrench Types
A click-type torque wrench is the most common choice for DIY wheel work. Set it to the target torque, pull smoothly from the handle, and stop when it clicks. A digital torque wrench works too and may display the exact torque reading. Beam-style torque wrenches can be accurate, but they require a clear view of the scale while pulling.
Whatever type you use, make sure the wrench’s working range fits your lug nut torque. For best accuracy, avoid using a torque wrench at the very bottom or very top of its scale if you have a better-sized tool available.
Recommended Torque Settings
The right setting is the one specified for your 4Runner and wheel setup. Do not assume one value applies to every 4Runner. As a practical starting point for many 2010–2024 factory setups, use 76 ft-lb for factory aluminum wheels and 83 ft-lb for steel wheels only after confirming that those values match your documentation.
Additional Tools for Efficiency
- Breaker bar or lug wrench: Use this for loosening tight lug nuts, not for final torque.
- Correct lug-nut socket: Use the socket that fits snugly so you do not round the lug nut.
- Wheel chocks: Keep the vehicle from rolling while you work.
- Jack and jack stands: Use these only when wheel removal is needed. Never rely on a jack alone.
- Clean cloth or nylon brush: Remove dirt or light debris from the wheel seat and stud area.
Step-by-Step: Using a Torque Wrench
Follow this process any time a wheel has been removed, rotated, replaced, or checked after service.
- Confirm the torque value. Check your owner’s manual, Toyota service information, or wheel manufacturer instructions.
- Inspect the hardware. Replace lug nuts or studs with damaged threads, rounded hexes, cracked seats, heavy corrosion, or swollen caps.
- Clean the contact points. The wheel should sit flat against the hub. Threads and lug seats should be clean and dry unless specified otherwise.
- Start every lug nut by hand. Spin each one on several turns before using any tool.
- Snug in a star pattern. Use light hand pressure first so the wheel seats evenly.
- Tighten in stages. A good method is to tighten to about half the final torque in a star pattern, then repeat the same pattern at full torque.
- Stop at the click or target reading. Do not pull again “just to make sure.” A second hard pull can over-torque the fastener.
- Recheck after driving. After 50–100 miles, recheck with the wheels cool and the torque wrench set to the same verified value.
Pro Tip: If you removed the wheel, snug the lug nuts while the tire is still off the ground, then lower the vehicle until the tire just contacts the ground and cannot spin. Do the final torque in that stable position, then lower the vehicle fully.
[Products Worth Considering]

The Trivd Frol 1/2" air impact wrench delivers high performance torque up to 1500 ft-lbs with a twin hammer impact mechanism for strong, balanced blows. It features an ergonomic grip, compact lightweight design, and quick-stop control with 3 forward speeds up to 8000 RPM plus a reverse speed. Built for demanding automotive repair and tire shop work, the rear exhaust helps keep debris away from the surface.

This car D-wheel lock nut key provides an anti-theft solution for D-shaped wheel lock bolts, helping keep your wheels secure. It features a flower-shaped internal pattern that resists micro-adjustment theft while allowing removal and mounting of compatible locking nuts. Made for reliable performance under high torque, it’s easy to use with standard socket wrench turning for quick tire maintenance and emergency repairs.

The Dr.Roc spare tire tool kit helps you release, lower, or raise your spare tire with reliable extension tools and a lug nut wrench. It is made from rustproof automotive-grade steel and includes an organized carry case for convenient storage. Designed for compatibility with select GM models from the late 1990s through 2019, it uses upgraded extension components to install and remove spare tires with less hassle.
Avoid Common Lug Nut Torque Mistakes
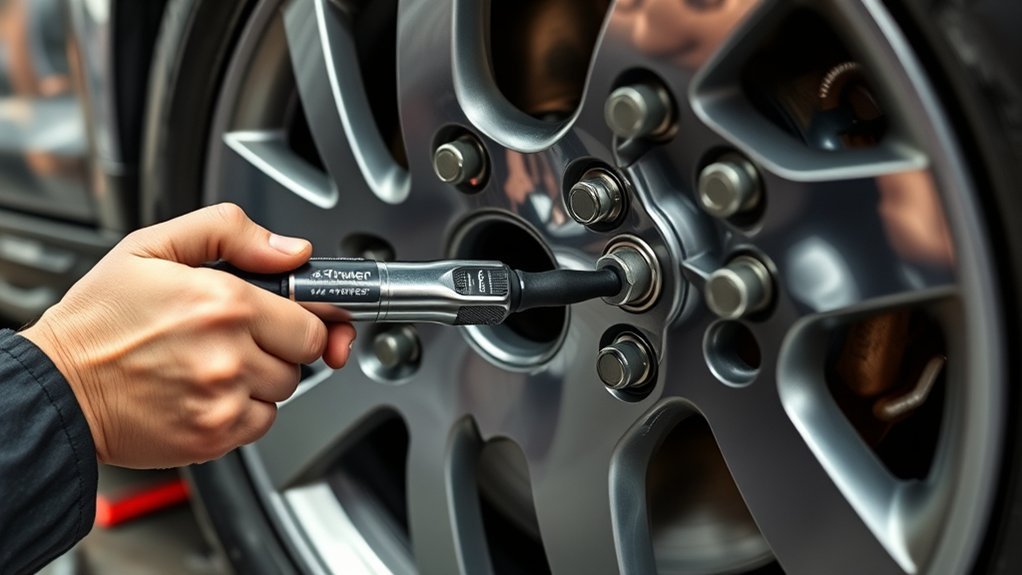
Most lug nut problems come from rushing the job or treating torque as “tight enough.” Avoid these mistakes:
- Using the wrong torque value: Verify the spec instead of relying on memory or forum advice.
- Final-tightening with an impact gun: Impact torque can vary widely and can leave the lug nuts under- or over-tightened.
- Lubricating the threads: Do not apply oil, grease, or anti-seize unless Toyota or the wheel maker specifies it.
- Tightening in a circle: A star pattern helps center the wheel and spread clamping force evenly.
- Ignoring damaged hardware: A torque wrench cannot fix stretched studs, stripped threads, or mismatched lug seats.
- Torquing hot wheels: Recheck when the wheel is cool, especially after highway driving or braking.
Correct wheel torque is about controlled clamping force. Too little can let the wheel loosen; too much can damage the studs, seats, or brake components.
Best Practices for Accurate Torque Settings
Accuracy starts before the wrench clicks. Make sure the torque wrench is set to the correct unit, usually ft-lb in U.S. owner materials. Do not confuse ft-lb with in-lb or N·m. Pull from the center of the handle, keep the wrench square to the lug nut, and apply slow, steady pressure.
For new wheels, recently rotated tires, brake work, or wheel removal, Tire Rack recommends re-torquing after the first 50–100 driving miles. Continental Tires also advises checking newly mounted wheels after an initial driving distance. Follow your wheel or vehicle documentation if it gives a different interval.
If your 4Runner has aftermarket wheels, confirm the lug seat type before tightening. Factory-style mag-seat, conical-seat, spline-drive, and wheel-lock hardware are not interchangeable. A lug nut can reach the torque number and still be unsafe if the seat shape is wrong.
How to Check Torque After Installation
To check torque after installation, set the torque wrench to the verified specification and follow the same star pattern used during installation. Pull smoothly until the wrench clicks or shows the target reading. If the nut moves before the click, it was below the set torque. If the wrench clicks immediately with no movement, the lug nut is at least at the wrench’s set value.
If one lug nut is much looser than the others, do not simply tighten it and forget it. Inspect the stud, nut, wheel seat, and wheel mounting surface. If you feel vibration, hear clicking, see rust trails around lug nuts, or notice a wheel wobble after service, stop driving and inspect the wheel hardware immediately.
Warning: If a lug nut spins without tightening, will not thread by hand, or feels gritty and uneven, stop. The stud or lug nut may be damaged and should be inspected or replaced before the vehicle is driven.
Maintaining Your Torque Wrench for Longevity
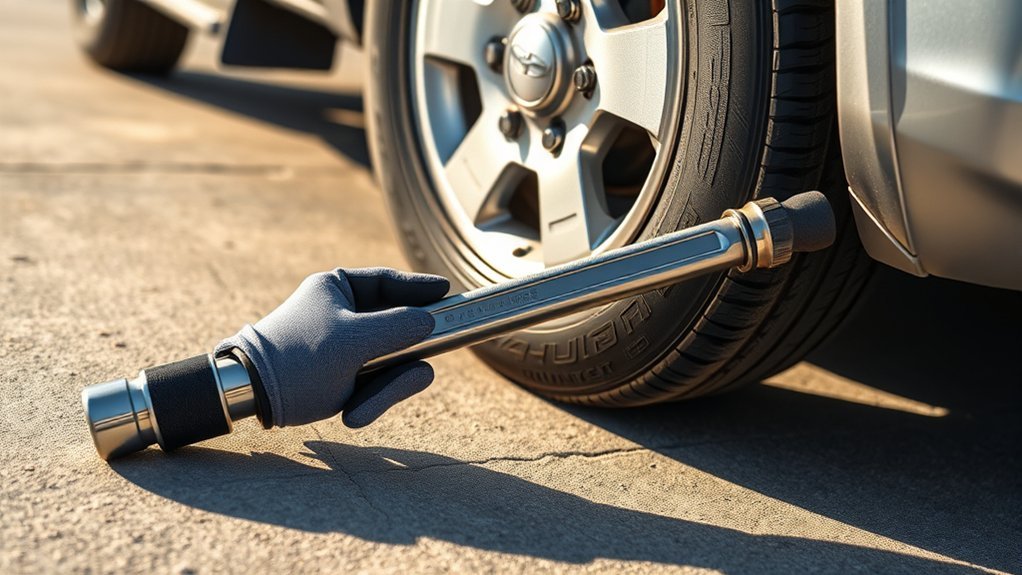
A torque wrench is a measuring tool, not a breaker bar. Do not use it to loosen stuck lug nuts. Avoid dropping it, overloading it, or storing it at a high torque setting. For a click-type wrench, back it down to its lowest marked setting after use so the internal spring is not stored under heavy tension.
Snap-on notes an ASME recommended recalibration period of 5,000 cycles or 12 months, while also explaining that use, storage, and overload can change the right interval. For DIY use, annual calibration is a practical baseline. Recheck or recalibrate sooner if the wrench is dropped, overloaded, exposed to moisture, or starts giving inconsistent clicks.
Frequently Asked Questions
Can I use a standard wrench instead of a torque wrench?
No. A standard wrench can tighten a lug nut, but it cannot measure the clamping force. Use a standard wrench or breaker bar for loosening only, then use a torque wrench for final tightening.
What should I do if the torque wrench clicks too early?
First, confirm the wrench is set to the correct unit and torque value. If it clicks immediately, the lug nut may already be at or above that setting. Do not keep pulling. If you suspect a problem, loosen the lug nuts in the proper sequence, inspect the hardware, and re-torque from the beginning.
How often should I recalibrate my torque wrench?
A common professional baseline is every 12 months or 5,000 cycles, whichever comes first. Recalibrate sooner if the wrench is dropped, overloaded, stored improperly, or used for high-risk work.
Is it safe to reuse lug nuts after removal?
Usually, yes, if the lug nuts are clean, thread smoothly by hand, and show no cracks, rounded edges, damaged seats, corrosion, or swollen caps. Replace any questionable lug nut or stud before torquing the wheel.
What happens if I overtighten the lug nuts?
Overtightening can stretch wheel studs, damage threads, distort lug seats, make roadside removal difficult, and contribute to brake rotor or hub distortion. If you know the nuts were over-torqued, loosen and re-torque them correctly, then inspect the studs and lug nuts for damage.
Should I re-torque 4Runner lug nuts after off-road driving?
Yes, it is smart to check them after hard trail use, heavy washboard roads, wheel impacts, or any trip where the wheels took unusual vibration or load. Use the same verified torque value and star pattern.
Can I use anti-seize on 4Runner lug studs?
Do not use anti-seize, oil, or grease on lug threads or seats unless Toyota or the wheel manufacturer specifically instructs you to. Lubrication changes friction and can cause the same torque-wrench setting to create too much clamping force.
Conclusion
A torque wrench gives you control, but only when you use the correct specification and procedure. For many factory 4Runner setups, that means confirming whether your wheels call for 76 ft-lb or 83 ft-lb, hand-threading the lug nuts, tightening in a star pattern, avoiding impact tools for final torque, and rechecking after the first 50–100 miles. If any lug nut, stud, or wheel seat looks damaged, fix the hardware before driving.
Sources
- Toyota Owners Manuals and Warranties — official owner-manual lookup and vehicle documentation reference.
- Toyota 4Runner Service Manual: Front Wheel Installation — 4Runner aluminum and steel wheel torque values.
- Tire Rack: Properly Torque Wheel Lug Nuts or Bolts — dry-thread guidance, crisscross pattern, impact-tool cautions, and 50–100 mile retorque guidance.
- Continental Tires: Retorquing Wheels — retorque procedure, risks of over- and under-torquing, and post-installation check guidance.
- Snap-on: Torque Calibration Services — torque wrench recalibration interval and overload guidance.
- Ford Recall FAQ: Lug Nut Torque Safety Risk — official manufacturer safety language on insufficiently tightened lug nuts and wheel detachment risk.