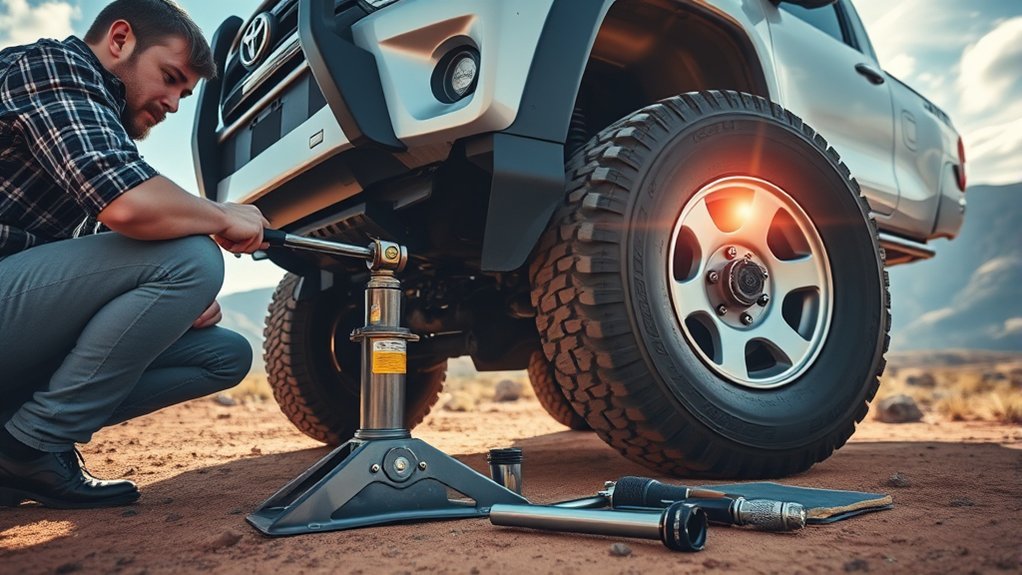
To change a flat tire on a Toyota Hilux safely, get completely out of traffic, secure the vehicle on firm level ground, loosen the wheel nuts before lifting, use the correct Hilux jack point, fit the spare, then tighten and check everything before driving away. The model-specific details that matter most are spare-wheel access, the approved jack point, the recommended cold tire pressure, and the correct wheel-nut torque for your exact Hilux.
Last updated: August 18, 2026. Hilux spare-wheel, jacking, and wheel-torque guidance rechecked against current Toyota documentation.
Affiliate disclosure: Some product links on this page may be affiliate links. TubeTyre may earn a commission from qualifying purchases at no extra cost to you.
Quick Answer
To change a flat tire on a Toyota Hilux, park on solid level ground, switch on the hazard lights, set the parking brake, chock the wheels, loosen the wheel nuts, lift the Hilux at the approved jack point, install the spare, tighten the nuts evenly, lower the vehicle, and check the spare tire pressure. Confirm the jack point and final wheel-nut torque in the owner’s manual for your exact Hilux model, market, drivetrain, and wheel.
Key Takeaways
- Do not change a tire in a live lane, on a slope, or on soft or unstable ground. Call roadside assistance if the location is unsafe.
- Loosen the wheel nuts while the flat tire is still on the ground, then lift the Hilux using the jack point specified for your exact vehicle.
- Do not assume every Hilux uses 105 N·m wheel-nut torque. Toyota’s current published figures differ by configuration and market, so check the owner’s manual or service information for your vehicle.
- Check the spare tire’s pressure, tread, sidewall condition, and age before driving away.
At a Glance
| Time Required | There is no fixed safe time. Do not rush, and stop if traffic, weather, lighting, or ground conditions become unsafe. |
| Difficulty | Basic wheel-change procedure, provided the spare, jack, wheel nuts, and ground conditions are suitable |
| Tools Needed | Spare tire, Hilux jack, wheel-nut wrench, wheel chocks, tire pressure gauge, gloves, flashlight, warning triangle where appropriate, and wheel-lock key if fitted |
| Cost | No direct roadside cost if you already have a usable spare and tools; tire repair, replacement, or roadside-assistance costs vary |
Warning: Never work under a Hilux supported only by the jack, and never change a tire where passing traffic could hit you. If you cannot get to a stable, well-lit, traffic-free spot, call roadside assistance.
Hilux-Specific Checks Before You Lift
A Toyota Hilux is a pickup, so a few parts of the procedure can differ from a generic passenger-car tire change. Confirm these three details before raising the vehicle:
| Check | What to Confirm | Why |
| Spare-wheel access | Check how your spare is stored and which factory handle pieces release it | Hilux spare-carrier layouts and tool locations can vary by production period and market |
| Jack point | Use only the lifting position specified for your exact Hilux | A generic passenger-car jacking diagram may not apply to a pickup chassis |
| Wheel-nut torque | Check the exact model, drivetrain, market, and wheel specification | Toyota publishes different Hilux torque figures for some configurations |
[Products Worth Considering]

This car D-wheel lock nut key provides an anti-theft solution for D-shaped wheel lock bolts, helping keep your wheels secure. It features a flower-shaped internal pattern that resists micro-adjustment theft while allowing removal and mounting of compatible locking nuts. Made for reliable performance under high torque, it’s easy to use with standard socket wrench turning for quick tire maintenance and emergency repairs.

This spare tire tool kit is designed for the 2004 to 2018 Ford F-150 to help you loosen and tighten wheel lug nuts and manage the spare tire and provided jack functions from underneath the vehicle. It includes the lug nut wrench and extension pieces plus a convenient storage carrying case for organized transport. The jack itself is not included.

The 22800 wheel stud installer makes replacing wheel studs quick and secure, saving time and effort during tire service. It uses a ratchet or impact wrench to pull new studs firmly into place, helping when existing studs are too long. Compatible with most automotive wheels and light-duty truck wheel studs, it’s designed for easy, tool-assisted installation.
What Tools Do You Need?
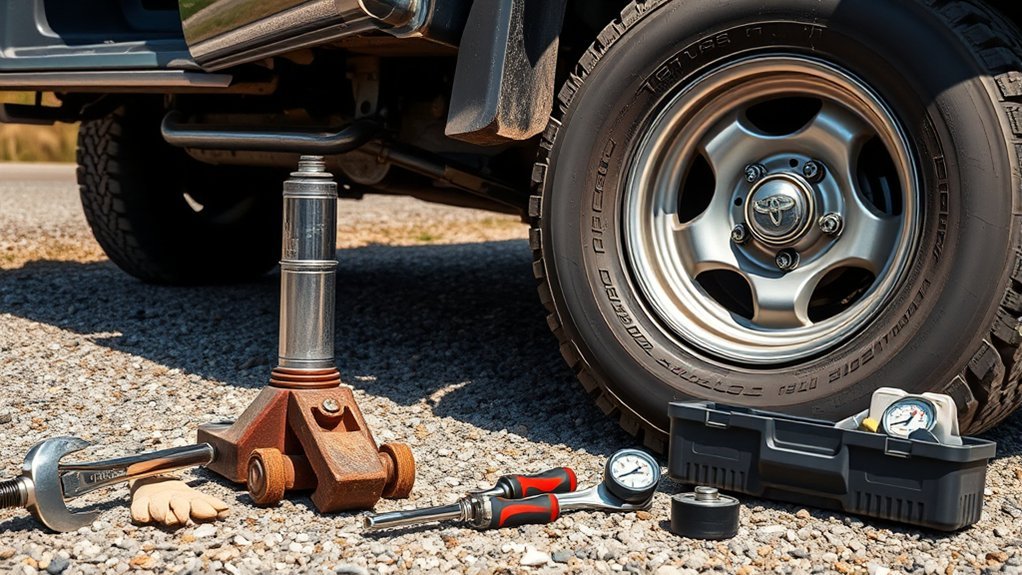
Before you start, locate the spare tire, jack, wheel-nut wrench, and any handle extensions needed to reach the spare carrier or operate the jack. Their storage and access method can vary by model year, body style, and market. Check your Toyota owner’s manual if you are unsure.
- Spare tire: Make sure it is inflated, undamaged, and suitable for your Hilux.
- Hilux jack: Use the supplied jack only at the approved jack points shown in your manual.
- Wheel-nut wrench: This is used to loosen and tighten the wheel nuts and may form part of the spare-wheel release handle on some Hilux configurations.
- Wheel wedges or chocks: These help stop the vehicle from rolling.
- Tire pressure gauge: Use this to check the spare before driving away.
- Gloves and flashlight: Helpful at night or in poor weather.
- Warning triangle or reflective marker: Use it where local rules allow and where it can be placed safely.
- Wheel lock key: Needed if your Hilux has locking wheel nuts.
[Products Worth Considering]

This 1/2-inch drive breaker bar delivers powerful leverage for loosening and tightening stubborn lug nuts and automotive fasteners. The 180-degree flex head helps you reach tight spaces at the angle you need, making tire and brake jobs easier. A spring-loaded ball detent design holds 1/2-inch sockets securely while the chrome-moly head provides durable strength for everyday use.

Yieokei Tesla jack pads are molded rubber lifting pucks designed for 2016-2026 Model 3/Y/S/X, including Juniper, to fit securely in the jack hole. They cushion the underframe and help position the jack precisely at the factory jack points to reduce risk of battery, paint, or chassis damage. The set also includes a tire repair tool kit for emergency roadside fixes and comes with a portable storage case to keep everything organized.

Secure your trailer or RV tires with a scissor-style wheel chock stabilizer that applies opposing force to help prevent wheel shift. It fits tight wheel gaps from 3.5 inches up to 12 inches and works for travel trailers, campers, fifth wheels, toy haulers, and heavy-duty trucks. The surface uses new electrophoretic technology to help prevent rust for reliable travel use.
How Do You Lower the Hilux Spare Wheel?
On Hilux models with an underbody spare-wheel carrier, lower the spare completely to the ground before releasing its retaining plate. Toyota’s May 2026 Japanese-market Hilux manual, for example, uses the wheel-nut wrench, jack-handle extension bar, and jack-handle bar to operate the spare carrier. Tool storage and the release procedure can differ on other Hilux markets and production periods, so follow your own manual rather than forcing an unfamiliar mechanism.
If the carrier is seized, the handle will not engage, or you are unsure how the spare is retained, see our Toyota Hilux spare tire carrier guide or arrange roadside assistance instead of crawling beneath the truck in an unsafe location.
Note: Toyota Hilux wheel and tire sizes vary by trim and market. Toyota UK technical specifications list 17-inch steel, 17-inch alloy, and 18-inch alloy wheel options on recent Hilux models, so do not assume every Hilux uses the same spare, pressure, or torque specification.
Where Should You Park Before Changing a Hilux Tire?
The safest tire change starts before you touch the tools. If you feel a blowout or flat tire while driving, hold the steering wheel firmly, avoid sudden braking, slow down gradually, and move away from traffic when it is safe.
Safe Parking Areas
Look for a flat, solid, wide area such as a parking lot, service station, driveway, or broad shoulder well away from traffic. Avoid curves, hills, soft sand, mud, loose shoulders, and narrow roads where other drivers may not see you.
Turn on your hazard lights as soon as you are slowing down. Before lifting the Hilux, move passengers to a safe location away from the vehicle and traffic.
Avoiding Traffic Hazards
Do not change a tire in an active lane. If the Hilux is in an immediately dangerous position, move only the shortest safe distance needed to clear traffic, then stop. Do not continue driving toward home or a repair shop on a standard flat tire. Toyota’s current Hilux manual warns that even a short distance on a flat can severely damage the tire and wheel.
If your Hilux is equipped with approved run-flat tires, their pressure-loss limits are different from a standard tire. Follow the exact tire and vehicle instructions; see our Toyota Hilux run-flat tire guide for the separate procedure.
Ground Stability Considerations
The jack must sit on firm, level ground. A jack can sink, tilt, or slip on soft or unstable ground, which can drop the vehicle without warning. If the ground is unsuitable, do not lift the Hilux there.
How Do You Secure the Hilux Before Lifting?
Once stopped, secure the Hilux before loosening anything:
- Switch on the hazard lights and switch off the engine.
- Set the parking brake.
- Put an automatic transmission in Park. For a manual transmission, select the gear specified in your owner’s manual.
- Chock a wheel on the opposite end of the vehicle. For a front flat, chock the opposite rear wheel behind the tire. For a rear flat, chock the opposite front wheel in front of the tire.
- Make sure passengers are clear of the vehicle before lifting.
- Place a warning triangle only if it is safe and legal to do so.
Pro Tip: Put removed wheel nuts inside the hubcap or a small container so they cannot roll under the Hilux or into traffic.
Should You Loosen the Wheel Nuts Before Jacking?
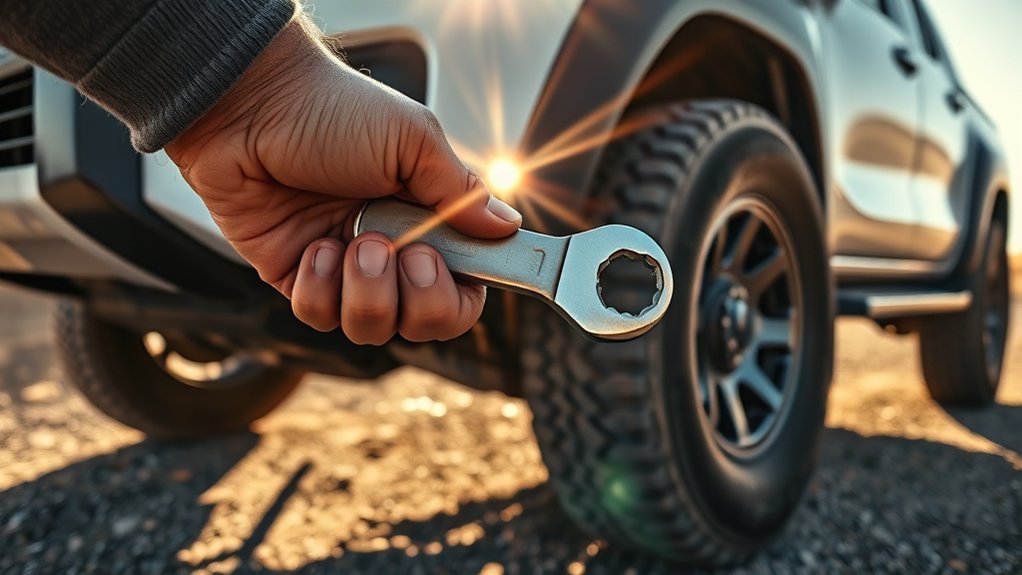
Yes. Break the wheel nuts loose while the flat tire is still on the ground. The tire’s contact with the ground helps keep the wheel from turning while you apply pressure. Do not remove the nuts yet.
Proper Tool Selection
Use the correct wheel-nut wrench or a properly sized socket. A loose-fitting tool can round the wheel nuts and make the tire change much harder. If the Hilux has locking wheel nuts, fit the wheel-lock key carefully and keep it straight while applying pressure.
If a wheel cover or center ornament blocks access, remove it only by the method specified for your Hilux. Do not pry against a finished wheel surface with an improvised tool.
Correct Loosening Technique
Turn each wheel nut counterclockwise only enough to break it free. Do not remove the nuts while the wheel is still carrying the vehicle’s weight.
If a nut will not move, do not jump on the wrench or use an unstable extension beside traffic. Apply steady, controlled pressure. If the nut still will not loosen, call roadside assistance.
Safety Precautions Required
Keep your body away from the traffic side of the vehicle whenever possible. If you must work on the traffic-facing side and there is not enough clearance, stop and call for help.
Where Should You Place the Jack on a Toyota Hilux?
Place the jack only at the lifting point specified in the owner’s manual for your exact Hilux. Do not assume a generic passenger-car pinch-weld location applies to the truck, and do not lift from steps, thin body panels, plastic trim, or an unapproved suspension component.
As one current example, Toyota’s May 2026 Japanese-market Hilux manual identifies the front crossmember for the front lifting position and the rear axle housing for the rear. That example must not be transferred to a different Hilux generation, market, or configuration without checking its own manual.
- Position the jack squarely at the approved jack point.
- Check that the jack base and vehicle are stable.
- Raise the Hilux slowly until the flat tire is only far enough off the ground to remove it and fit the inflated spare.
- Stop immediately if the jack leans, shifts, sinks, or makes the vehicle unstable.
Warning: A vehicle jack is for lifting during a wheel change, not for supporting a person underneath the vehicle. Never place any part of your body under the Hilux while it is supported only by the jack.
How Do You Remove the Flat Tire?
Warning: If you have just stopped after driving, the wheel and brake components may still be hot. Avoid touching hot brake or wheel parts while removing the tire.
With the Hilux raised and stable, finish removing the wheel nuts by hand. Pull the flat tire straight toward you. If it sticks, check that all nuts are fully removed, then gently rock the wheel from the sides. Do not kick the vehicle or shake it hard while it is on the jack.
Before fitting the spare, inspect the hub and wheel-mounting surface. Remove loose dirt, stones, or debris that could stop the spare from sitting flat. If you see severe damage to the studs, wheel, hub, or brake area, do not continue driving after the tire change; arrange a professional inspection.
How Do You Install the Spare Tire?
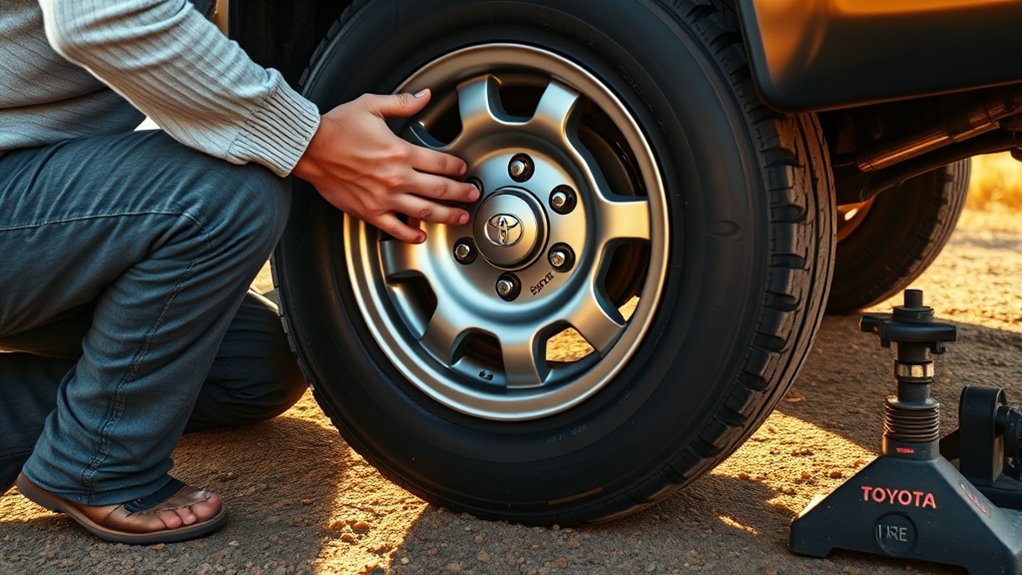
Lift the spare tire onto the wheel studs and push it flush against the hub. The wheel should sit flat with no gap between the wheel and mounting surface.
Proper Alignment Techniques
Line up the spare tire with the studs before pushing it into place. If the wheel does not slide on smoothly, do not force it at an angle. Reposition it until the holes and studs line up cleanly.
What Is the Correct Toyota Hilux Wheel-Nut Torque?
Install each wheel nut by hand first to reduce the risk of cross-threading. Snug the nuts evenly so the spare seats correctly, but save final tightening for when the tire is on the ground and cannot rotate.
There is no single torque value that should be applied blindly to every Hilux. Toyota Europe’s current wheel-torque table lists 105 N·m for Hilux 4×4 models from April 2015. For Hilux 4×2 models from April 2015, the same table lists 121 N·m for alloy wheels and 152 N·m for steel wheels. Toyota’s May 2026 Japanese-market Hilux manual also specifies 105 N·m for its configuration.
Use the figure in the owner’s manual or Toyota service information for your exact model, market, drivetrain, and wheel. Do not copy a torque value from another Hilux simply because the wheels appear similar.
Safety Checks Post-Installation
Before lowering the vehicle fully, confirm that every nut started cleanly by hand and the spare sits flat. If a nut feels rough, crooked, or stuck, remove it and start again by hand.
How Do You Tighten the Hilux Wheel Nuts?
Lower the Hilux until the spare tire contacts the ground and cannot spin. Tighten the wheel nuts evenly in the sequence shown for your wheel in the owner’s manual. Lower the vehicle fully, remove the jack, then confirm final torque with a torque wrench as soon as practical.
| Step | Action | Why It Matters |
| 1 | Hand-thread all nuts | Reduces the risk of cross-threading |
| 2 | Tighten evenly in the specified sequence | Helps seat the wheel correctly |
| 3 | Use the exact Hilux torque specification | Avoids under-tightening or over-tightening |
| 4 | Have final torque confirmed promptly if you could not measure it roadside | Confirms that the wheel is securely installed |
How to Check Spare Tire Condition?
Before driving away, check the spare tire carefully. The National Highway Traffic Safety Administration advises drivers to inspect all tires, including the spare, and use the vehicle manufacturer’s recommended inflation pressure rather than the maximum pressure molded on the tire sidewall.
- Pressure: Use a tire pressure gauge and follow the cold-pressure specification for your Hilux.
- Tread: Replace a tire when tread reaches 2/32 inch.
- Damage: Look for cracks, cuts, bulges, exposed cords, punctures, or tread separation.
- Age: Check the DOT/TIN date code where applicable. The U.S. Tire Manufacturers Association explains that the last four digits show the week and year of manufacture for modern TINs.
Michelin recommends a professional tire inspection at least annually after five years of service and replacement at ten years from the manufacturing date, including spare tires, even when tread remains. Follow the most conservative applicable guidance from your vehicle and tire manufacturers.
For more pressure-related guidance, see our guide to underinflated Toyota Hilux tires.
How Should You Drive After Installing the Spare?
Drive cautiously after fitting the spare. Avoid hard braking, fast cornering, heavy loads, towing, and off-road driving until you have confirmed that the spare and wheel installation are suitable for those conditions. If your Hilux uses a temporary spare, follow the speed and distance limits printed on that spare and specified in the owner’s manual.
A matching full-size spare may have different operating limits from a temporary spare. Check its pressure, condition, load capability, and manufacturer instructions before treating it like a normal road wheel.
A spare tire gets you mobile again. The job is not finished until the damaged tire, wheel hardware, spare pressure, and final wheel-nut torque have all been checked.
Common Tire Change Mistakes to Avoid
- Changing the tire too close to traffic: Move to a safer place or call for help.
- Skipping wheel chocks: A Hilux can roll even when it appears stable.
- Lifting before loosening the wheel nuts: Break the nuts free while the tire is still on the ground.
- Using an assumed jack point: Follow the exact Hilux manual instead of a generic car diagram.
- Removing nuts while the wheel is unsupported: Loosen first, lift, then remove them fully.
- Guessing wheel-nut torque: Hilux torque values are not universal across every configuration.
- Driving away without checking pressure: An underinflated spare may not be safe to use.
- Forgetting the flat tire and tools: Secure the removed wheel, jack, handle pieces, chocks, and warning equipment before leaving.
[Products Worth Considering]

The Dr.Roc spare tire tool kit helps you release, lower, or raise your spare tire with reliable extension tools and a lug nut wrench. It is made from rustproof automotive-grade steel and includes an organized carry case for convenient storage. Designed for compatibility with select GM models from the late 1990s through 2019, it uses upgraded extension components to install and remove spare tires with less hassle.

Secure a full-size spare on your trailer with this powder-coated steel spare tire mount bracket. It fits most 4-, 5-, and 6-lug wheel bolt patterns and mounts to trailer tongues up to 4 in wide and 5 in tall. Built for reliable carry with a max 150 lb load rating and includes zinc-plated hardware for straightforward installation.

The Gurduenon scissor car jack tire changing kit is designed for quick flat-tire replacement with a lifting capacity of 2.5 tons and a scissor-lift range sized for many vehicles. The complete emergency set includes a ratchet wrench, lug wrench, gloves, a pencil tire pressure gauge, and a storage bag for convenient trunk or garage use. Universal compatibility makes it suitable for cars, SUVs, and other vehicles roadside assistance needs.
When Should You Call Roadside Assistance?
Call roadside assistance instead of changing the tire yourself if:
- You cannot get far enough away from live traffic to work safely.
- The ground is soft, sloped, muddy, sandy, or unstable.
- The spare tire is flat, damaged, missing, or unsuitable.
- The spare carrier will not release safely.
- The wheel nuts are stuck, rounded, missing, or fitted with a lock key you cannot find.
- The jack is damaged or cannot be positioned securely.
- You see damage to the wheel studs, hub, suspension, brake parts, or wheel.
- You are unsure of the correct lifting point.
- You feel unsafe for any reason.
Frequently Asked Questions
How do you take a Toyota Hilux tire off?
Park on solid level ground, set the parking brake, chock the appropriate wheel, loosen the wheel nuts while the tire is still on the ground, lift the Hilux at the approved jack point, remove the nuts fully, and pull the wheel straight off the hub.
Should I loosen the wheel nuts before jacking up my Hilux?
Yes. Break the wheel nuts loose while the flat tire is still on the ground, but do not remove them. The tire’s contact with the ground helps stop the wheel from turning while you apply pressure.
Where should I place the jack on a Toyota Hilux?
Use only the lifting point specified in the owner’s manual for your exact Hilux. Toyota’s May 2026 Japanese-market manual uses the front crossmember for the front and the rear axle housing for the rear on that configuration, but you should not assume those locations apply to every Hilux generation or market.
How do you lower the spare tire on a Toyota Hilux?
On a Hilux with an underbody spare carrier, use the factory spare-release handle components specified in the owner’s manual and lower the spare completely to the ground before releasing its retaining plate. Tool storage and carrier operation can vary by model and market, so do not force the mechanism if it does not match the procedure in your manual.
What is the Toyota Hilux wheel-nut torque?
It depends on the Hilux configuration. Toyota Europe’s current table lists 105 N·m for Hilux 4×4 models from April 2015, while Hilux 4×2 entries list 121 N·m with alloy wheels and 152 N·m with steel wheels. Toyota’s May 2026 Japanese-market Hilux manual also specifies 105 N·m for its configuration. Always use the value for your exact model, market, drivetrain, and wheel.
Can I drive on a flat tire to reach a better location?
Avoid driving on a standard flat tire. If remaining where you are creates an immediate traffic danger, move only as much as necessary to reach a safer stopping position. Toyota warns that even a short distance on a flat can severely damage the tire and wheel.
How far can I drive on a Toyota Hilux spare tire?
It depends on the spare type and its instructions. A matching full-size spare and a temporary spare can have different speed, distance, load, and usage limits. Follow the markings on the spare and the instructions in the owner’s manual, then repair or replace the damaged road tire as soon as practical.
What should I do after changing the tire?
Check the spare tire pressure, secure the flat tire and every tool, drive cautiously, and have the damaged tire inspected. If you could not measure wheel-nut torque accurately at the roadside, have it confirmed promptly with a torque wrench using the specification for your exact Hilux.
Conclusion
Changing a flat tire on a Toyota Hilux is manageable when you follow the correct order and verify the vehicle-specific details instead of relying on generic pickup advice. Get away from traffic, secure the Hilux, retrieve the spare safely, loosen the wheel nuts before lifting, use the approved jack point, install the spare, and tighten the wheel to the exact specification for your vehicle. Before normal driving resumes, repair or replace the damaged tire and confirm that the spare pressure and wheel hardware are correct.
Sources
- Toyota Europe Owner’s Manuals — model-specific owner-manual lookup.
- Toyota Hilux May 2026 Japanese-Market Owner’s Manual: Flat Tire Procedure — spare-wheel removal, tools, chocking, jacking points, wheel replacement, tightening, and storage instructions for that configuration.
- Toyota Europe Wheel Torque Values — current Hilux wheel-nut torque values by listed configuration.
- Toyota UK Hilux Technical Specifications — wheel and tire variations by trim.
- NHTSA TireWise — pressure, tread, spare-tire, and tire-safety guidance.
- AAA: How to Change a Tire — safe tire-change sequence, wheel chocks, jacking, and spare installation.
- U.S. Tire Manufacturers Association: Tire Facts — Tire Identification Number and manufacturing-date guidance.
- Michelin: When to Replace Tires — tire-age inspection and replacement guidance, including spare tires.