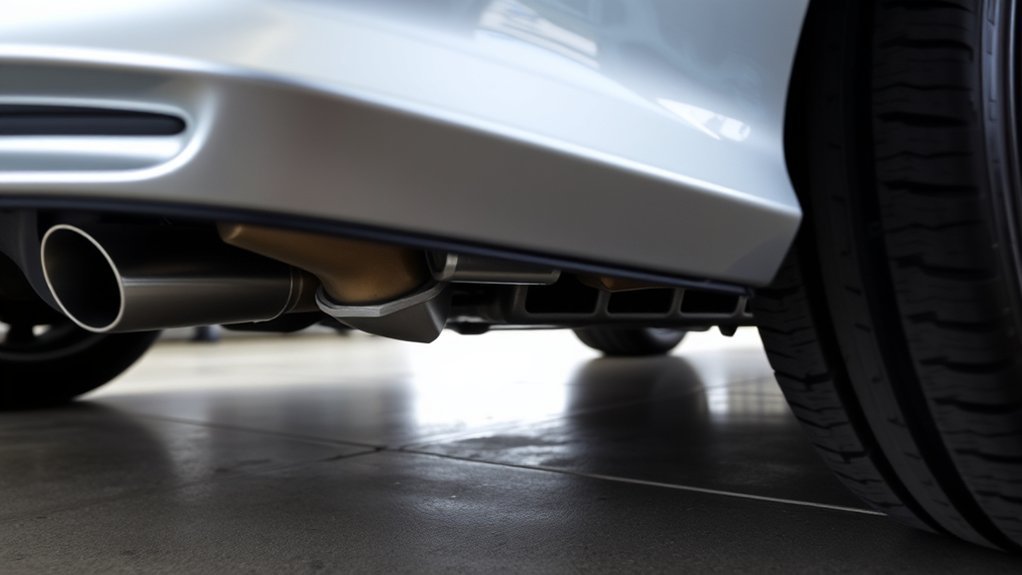
Honda Accord jack points are the reinforced locations designed to lift the car without damaging the body. For a roadside wheel change on a spare-equipped Accord, use the designated side jacking point nearest the flat tire, typically at the reinforced pinch weld behind the front wheel or ahead of the rear wheel. For floor-jack lifts or jack-stand support, use only the lift and support points shown for your exact model year. Do not assume the same point is approved for both jobs.
Last updated: August 18, 2026 · Live-reviewed against current Honda owner information, NHTSA tire guidance, and OSHA jack-safety requirements.
Affiliate disclosure: Some product links shown on this page may be affiliate links. If you buy through them, we may earn a commission at no extra cost to you.
Quick Answer
On most Honda Accord models, the side jacking points are the reinforced notched areas along the pinch welds behind the front wheels and ahead of the rear wheels. For a spare-tire change, use the designated point closest to the flat tire. A lift point is where the jack raises the car; a support point is where a jack stand carries the vehicle after lifting. Do not assume they are interchangeable. Some Accord configurations use a tire-repair kit instead of a spare, so check the instructions for your exact year and trim before you lift.
Key Takeaways
- Use the owner’s-manual diagram for your exact Accord because lift and support locations can vary by model year and powertrain.
- For a spare-tire change, use the reinforced side jacking point closest to that wheel, not plastic trim, floor panels, the oil pan, or exhaust parts.
- Do not assume every Accord has a spare tire and jack; some configurations use a temporary tire-repair kit.
- A jack lifts the car only. Use properly rated jack stands at approved support points before any under-car work.
At a Glance
| Time Required | Varies by task and setup; do not rush the point-verification, chocking, lifting, or stability checks |
| Difficulty | Beginner for a roadside wheel change when the factory instructions apply; moderate for lifting the vehicle onto jack stands |
| Tools Needed | Owner’s manual, the factory spare-tire tools or tire-repair kit as equipped, wheel chocks, and, for garage work, a properly rated floor jack, jack stands, and suitable jack pad or adapter |
| Cost | No new equipment if the correct factory emergency kit is complete; garage-lifting equipment costs vary by capacity and design |
Which Honda Accord Jack Point Should You Use?
| Task | Use This Point or Method | Avoid |
|---|---|---|
| Changing one flat tire on a spare-equipped Accord | The designated reinforced side jacking point closest to the flat tire. | Plastic rocker trim, the floor pan, exhaust parts, and unapproved suspension points. |
| Flat tire on an Accord with a repair kit instead of a spare | Follow the tire-repair-kit or towing procedure in the exact owner’s manual before deciding whether the vehicle needs to be lifted. | Assuming every Accord uses the same spare-tire procedure. |
| Lifting with a floor jack | An approved lift point shown in Honda owner or service information for your exact Accord. | A generic center point copied from a different Accord generation. |
| Working under the vehicle | Rated jack stands at approved support points after the vehicle is lifted. | Any setup where the car is held only by a scissor jack or hydraulic jack. |
What You Need to Know About Jack Points on Your Honda Accord
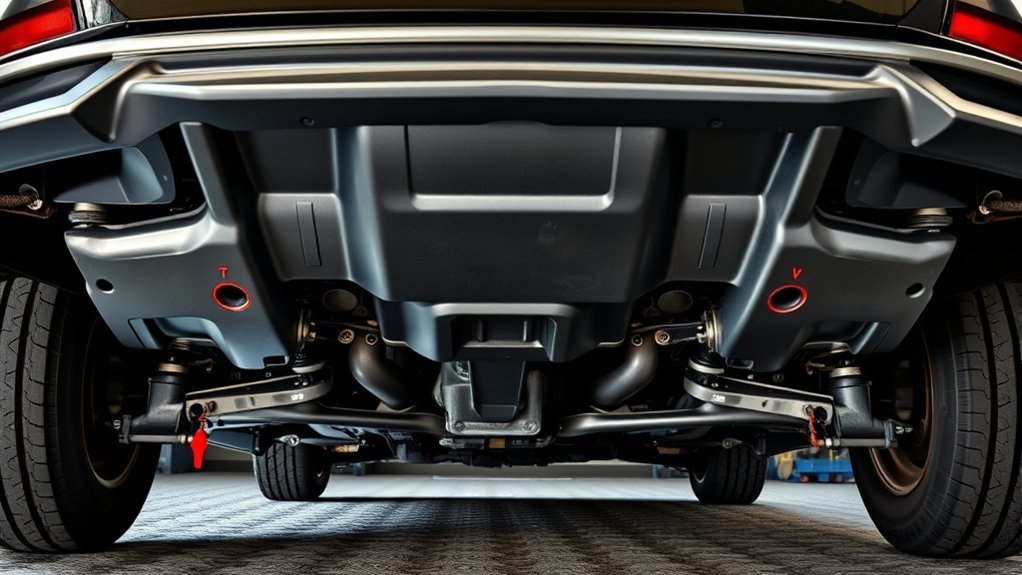
A Honda Accord has reinforced lifting areas designed to carry the vehicle’s weight. The most familiar points are the side jacking points along the pinch welds near each wheel. Look for the reinforced notch, cutout, or tab behind the front wheel and ahead of the rear wheel. The jack saddle should contact the reinforced metal, not the plastic side skirt beside it.
Honda’s current owner information continues to make the diagram model-specific. For example, the 2026 Accord Hybrid jack instructions tell owners to use the jacking points shown for that vehicle. That is why a center lift point, rear lift point, or stand location copied from another Accord generation should not be treated as universal.
Lift Point vs. Jack-Stand Support Point
A lift point is where the jack applies force to raise the vehicle. A support point is where a jack stand carries the vehicle after it is raised. Some approved locations may serve related functions on a particular model, but do not assume every jacking point is also an approved stand point. Confirm both locations for your exact year and trim before garage work.
Never place a jack under plastic underbody panels, the exhaust, the oil pan, the fuel tank, brake lines, thin floor metal, or an unapproved suspension part. If the pinch weld is crushed, badly rusted, split, or hidden by damaged trim, stop rather than moving the jack to a nearby unreinforced area.
Note: Accord jack-point diagrams vary by generation and powertrain. Check the owner’s-manual diagram before lifting, especially if you are using a floor jack, lifting more than one wheel, or placing jack stands.
Safety Tips for Lifting Your Honda Accord
Before lifting, park on firm, level, non-slippery ground away from traffic. Shift to Park, set the parking brake, turn the vehicle off, and keep passengers clear of the car. If the roadside location is narrow, soft, sloped, or exposed to moving traffic, use roadside assistance instead of attempting the lift.
For a single-wheel tire change, Honda’s 2025 Accord flat-tire procedure instructs the driver to block the wheel diagonally opposite the flat tire and place the jack under the jacking point closest to the tire being changed. Follow the corresponding instructions for your own model year if they differ.
Warning: Never put any part of your body under a Honda Accord that is supported only by a jack. A hydraulic jack, scissor jack, or factory emergency jack is a lifting tool, not a safe support stand.
Proper Jack Placement
Place the jack saddle directly under the designated jacking point. If you are using the factory scissor jack, the top of the jack must engage the reinforced point as shown in the owner’s manual. If you are using a floor jack, use a stable saddle or adapter that fits the approved point without pushing sideways on the pinch weld.
Lift slowly and watch the contact point as the car rises. If the saddle starts to slide, the seam deforms, the jack leans, or the base shifts, lower the car and stop. Recheck the surface, jack position, equipment condition, and model-specific lift-point diagram before trying again.
Stop condition: Do not improvise around a bent or badly corroded pinch weld. Use another Honda-approved lift procedure for that exact model or have a qualified shop lift the vehicle.
Always Use Jack Stands
Use jack stands whenever any part of your body will be under the vehicle or when the job requires the car to remain raised. Choose stands with adequate rated capacity, place them on a firm surface, and use only approved support points. OSHA’s workplace jack standard requires raised loads to be secured after lifting; although that regulation is written for construction work, the underlying safety principle is directly relevant to DIY vehicle lifting.
After positioning the stands, lower the vehicle gently until its weight is supported by them. Check that every stand sits flat, its saddle is centered, and the vehicle does not shift during a careful stability check from the side. Do not rely on the hydraulic jack as the primary support.
How to Jack Up a Honda Accord Step by Step
[Products Worth Considering]
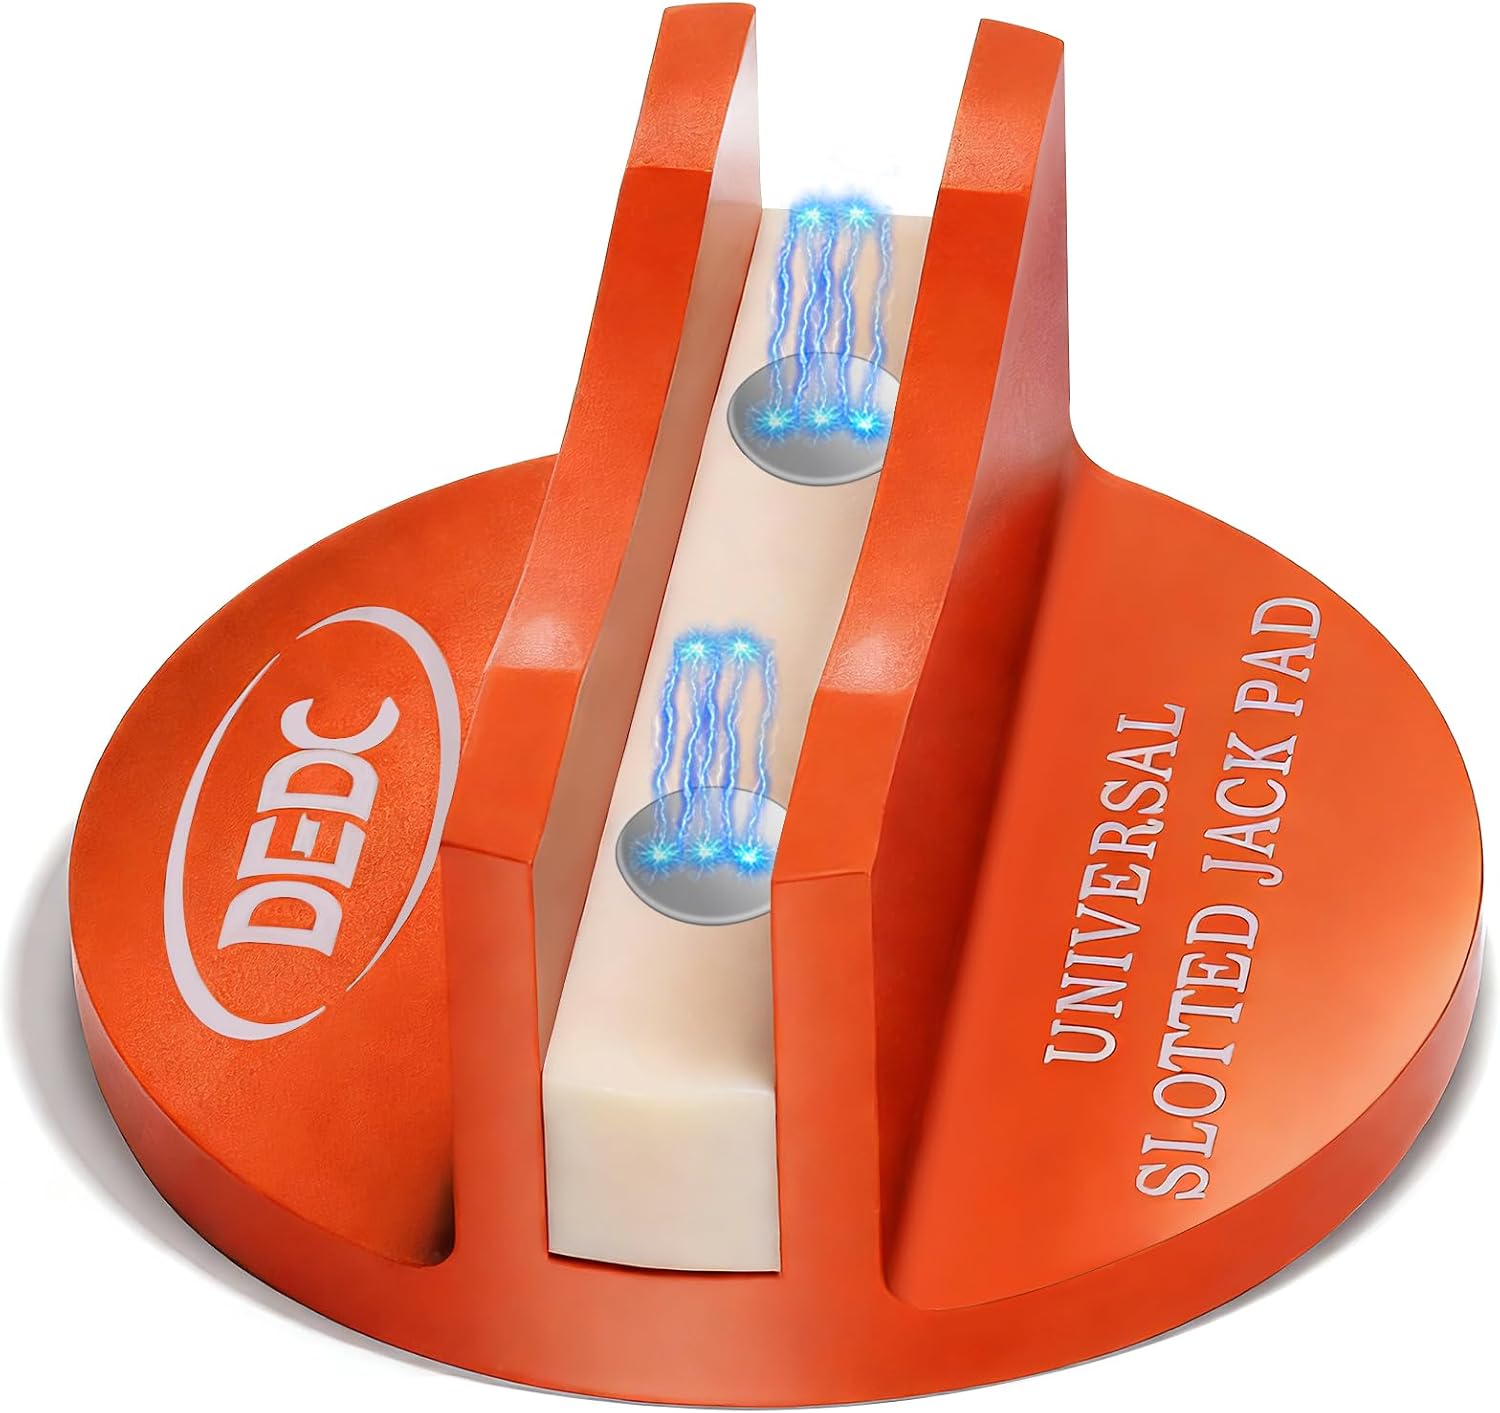
This universal magnetic jack pad is designed to protect pinch welds when lifting vehicles, helping prevent seam damage or warping. Crafted from solid aluminum with a nylon pad insert, it provides reinforced structural support and a secure fit for most single-vehicle pinch welds. Slotted for strong magnet holding, it supports safe jacking for cars, SUVs, trucks, and more.

Universal magnetic jack pad with aluminum grooved design to protect vehicle pinch welds during lifting. Durable nylon pad inserts are upgraded and secured with screws to resist damage and keep in place. Designed to fit most single vehicle pinpoint welds for safer, stable jacking when changing tires, repairs, or performing oil changes.

Yieokei Tesla jack pads are molded rubber lifting pucks designed for 2016-2026 Model 3/Y/S/X, including Juniper, to fit securely in the jack hole. They cushion the underframe and help position the jack precisely at the factory jack points to reduce risk of battery, paint, or chassis damage. The set also includes a tire repair tool kit for emergency roadside fixes and comes with a portable storage case to keep everything organized.
For a Spare-Equipped Roadside Tire Change
- Move away from traffic and stop on firm, level, non-slippery ground.
- Turn on the hazard lights, shift to Park, set the parking brake, turn the vehicle off, and move passengers to a safe location.
- Confirm that your exact Accord uses a spare-tire procedure rather than a tire-repair kit, then identify the correct side jacking point in the owner’s manual.
- Block the wheel diagonally opposite the flat tire. Loosen the wheel nuts slightly while the tire is still on the ground.
- Place the jack under the designated jacking point nearest the flat tire and raise the vehicle only as much as the factory procedure requires.
- Complete the wheel change according to the owner’s manual, then lower the car and finish tightening the wheel nuts to the specified torque.
For the full wheel-removal and spare-tire sequence, see TubeTyre’s Honda Accord tire-change guide. This page stays focused on choosing and using the correct lift and support locations.
Pro Tip: Loosen the wheel nuts slightly before lifting when the factory tire-change procedure calls for it. Applying high loosening force after the tire is in the air can make the vehicle less stable.
If Your Accord Uses a Tire Repair Kit Instead
Do not assume a flat tire always requires jacking. Honda’s 2018 Accord Hybrid tire-repair guide states that that vehicle is not equipped with a spare tire and provides a temporary repair-kit procedure for a small puncture. It also directs owners to tow the vehicle when the tire is severely damaged. Follow the instructions for your exact year and trim rather than substituting a spare-tire procedure.
For Garage Maintenance
- Work on a clean, firm, level surface. Avoid gravel, dirt, slopes, and any surface where the jack or stands can sink or slide.
- Set the parking brake and chock the wheels that will remain on the ground.
- Confirm both the approved lift point and the approved jack-stand support points for your exact Accord before raising it.
- Use a properly rated floor jack at the approved lift point and raise the vehicle slowly while watching the saddle and vehicle body.
- Place the rated jack stands at the approved support points, then lower the vehicle gently onto them.
- Check stability from outside the vehicle before removing wheels or placing any part of your body underneath.
- When finished, raise the vehicle only enough to remove the stands, then lower it slowly and recheck the work area.
Top Mistakes to Avoid When Lifting Your Honda Accord
Most jack-point problems come from guessing, rushing, or treating one Accord generation as if its lifting layout applies to every other year.
- Using the wrong jack point: Do not lift from the floor pan, rocker trim, exhaust, oil pan, fuel tank, brake lines, plastic panels, or an unapproved suspension part.
- Assuming every Accord has a spare: Check whether your exact car uses a compact spare, a tire-repair kit, or another factory procedure before starting.
- Confusing lift points with stand points: Verify where the jack raises the car and where the stands are allowed to support it.
- Using a damaged pinch weld: If the designated area is bent, split, heavily corroded, or obstructed, stop and verify an approved alternative instead of moving to nearby thin metal.
- Skipping wheel chocks: The parking brake helps, but chocks reduce the chance of unwanted movement while the car is being raised.
- Working under a jack-only vehicle: Use rated jack stands at approved support points before under-car work.
- Lifting on a poor surface: A slope, soft ground, loose gravel, or unstable asphalt can allow a jack or stand to move.
- Copying another generation’s diagram: A center lift point or stand point shown for one Accord should not be assumed to fit another.
- Using underrated or damaged equipment: Check the jack and stand ratings and inspect the equipment before use.
What Tools Do You Need to Lift a Honda Accord Safely?
The factory emergency jack is designed for the roadside procedure described in the owner’s manual. Garage work that leaves the vehicle raised requires equipment that is appropriate for the vehicle, the lift point, and the support method.
[Products Worth Considering]

This spare tire tool kit is designed for the 2004 to 2018 Ford F-150 to help you loosen and tighten wheel lug nuts and manage the spare tire and provided jack functions from underneath the vehicle. It includes the lug nut wrench and extension pieces plus a convenient storage carrying case for organized transport. The jack itself is not included.

This ecocstm ratchet wrench is designed to make emergency and routine tire changes faster with a 360° rotating head and quick forward/reverse switching. The extended handle provides extra leverage to reduce effort and hand fatigue, while the adapter helps fit many scissor jacks on cars, SUVs, trucks, and vans. Built for reliable performance with durable construction, it’s a practical travel essential for on-the-road preparedness.

This 2-ton scissor car jack kit helps you lift vehicles quickly with a wide lifting range for low sedans and high SUVs. It includes a ratchet wrench, lug wrench, gloves, a tire pressure gauge, and a storage bag for faster flat-tire repairs. Designed for stable, secure use, it’s a universal emergency kit for cars, SUVs, and MPVs.
Essential Tools Required
- Owner’s manual or Honda service information: Confirm the exact lift points, support points, and flat-tire procedure before starting.
- Appropriate jack: Use the factory jack only as directed for emergency wheel changes, or a properly rated floor jack for approved garage lifting.
- Jack stands: Use properly rated stands at approved support points whenever the vehicle must remain raised for under-car work.
- Wheel chocks: Secure the wheels that remain on the ground.
- Suitable jack pad or adapter: Use one only when its shape matches the approved lift point and the jack manufacturer’s instructions.
- Lug wrench and torque wrench: Needed when a wheel is removed and reinstalled.
- Gloves, flashlight, and eye protection: Useful for seeing the contact point and protecting yourself around sharp or dirty underbody areas.
If You Are Lifting the Accord for an Oil Change
The oil and filter do not change where the vehicle may be lifted or supported. Verify the lift and stand points first, then gather the oil-change supplies specified for your exact engine. Do not use the oil pan, splash shield, or nearby sheet metal as a substitute jack point simply because those areas are close to the drain plug.
Safety Equipment Necessities
Use eye protection when working below the car and gloves when handling the jack, stands, wheels, or underbody parts. Keep the work area well lit so you can see the jack saddle and support points clearly. If you cannot confirm a stable contact point from outside the vehicle, lower it and correct the setup before proceeding.
How to Lift a Honda Accord for Oil-Change Access
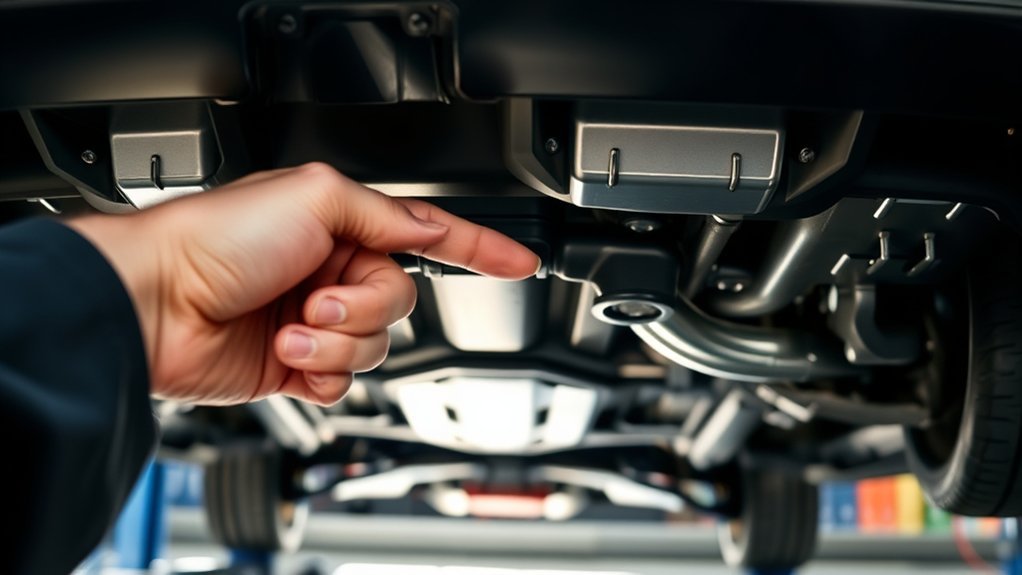
If an oil change requires extra clearance, treat the lifting setup as a separate safety task. Work on a firm, level surface, verify the approved lift and stand points for your exact Accord, raise the car only as needed, and support it securely on properly rated jack stands before putting any part of your body underneath.
Keep the vehicle as level as the service procedure requires and make sure neither the jack nor a stand contacts the oil pan, splash shield, drain plug area, exhaust, or thin floor metal. The location of the drain plug is not evidence that the nearby structure is strong enough to lift or support the vehicle.
Note: Oil type, filter, drain-plug washer, capacity, and Maintenance Minder procedures vary by engine and model year. Check Honda information for those service details; this guide is focused on safe lifting and support.
How to Use Jack Stands Safely
Jack stands must be placed where the vehicle is designed to be supported. Honda’s model-specific information should control the support location; do not infer a stand point from a convenient seam, crossmember, or suspension component.
Before going underneath, confirm that every stand foot is flat on the surface, each saddle is centered on its approved support point, and the vehicle remains stable during a careful check from the side. If a stand is tilted, the contact point is off-center, or the vehicle shifts, raise the car again and correct the setup.
A jack raises the vehicle; jack stands support it. Treat those as two different jobs every time you lift your Accord.
[Products Worth Considering]

This 3-ton scissor car jack tire changing kit helps you lift cars and SUVs with a wide range to reach low sedans or higher vehicles. The set includes a ratchet wrench, multi-size lug wrench, gloves, a tire pressure gauge, and a storage bag for quick emergency repairs. Built for stable, secure lifting and universal compatibility, it’s ready for flat tires and roadside wheel changes.

The Dr.Roc spare tire tool kit helps you release, lower, or raise your spare tire with reliable extension tools and a lug nut wrench. It is made from rustproof automotive-grade steel and includes an organized carry case for convenient storage. Designed for compatibility with select GM models from the late 1990s through 2019, it uses upgraded extension components to install and remove spare tires with less hassle.

The Gurduenon scissor car jack tire changing kit is designed for quick flat-tire replacement with a lifting capacity of 2.5 tons and a scissor-lift range sized for many vehicles. The complete emergency set includes a ratchet wrench, lug wrench, gloves, a pencil tire pressure gauge, and a storage bag for convenient trunk or garage use. Universal compatibility makes it suitable for cars, SUVs, and other vehicles roadside assistance needs.
What Should You Check After Lowering the Accord?
Before driving away, verify the work that was affected by the lift:
- Wheel installation: If a wheel was removed, confirm that the wheel nuts were tightened in the required pattern and to the specification in the owner’s manual.
- Jack and stand removal: Make sure all lifting equipment and wheel chocks are clear of the vehicle.
- Pinch-weld condition: Check the used jacking area for fresh bending, crushing, or paint damage that could indicate poor saddle contact.
- Underbody clearance: Confirm that no splash shield, trim, line, or exhaust part was displaced by the jack or stands.
- Leaks or unusual contact: If the job involved fluid service, inspect the work area after lowering before driving.
What Problems Mean You Should Stop the Lift?
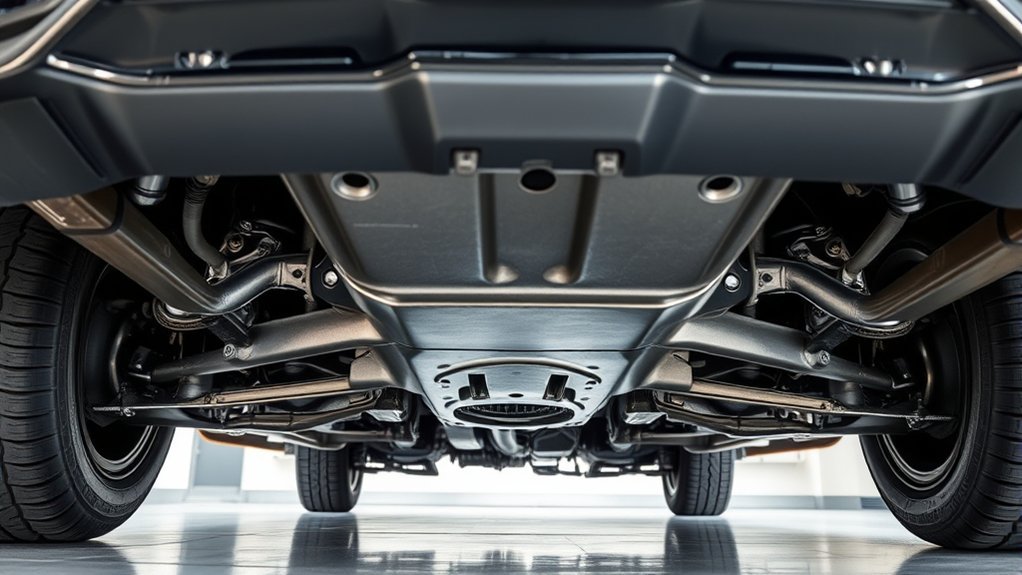
Stop and lower the vehicle if the setup no longer looks or feels controlled. Do not try to solve a lifting problem while the car is suspended.
- The jack leans or rolls unexpectedly: Recheck the surface, jack orientation, and contact point.
- The saddle is not centered: Lower the vehicle and reposition it before raising it further.
- The pinch weld bends, cracks, or crumbles: Do not move the jack to nearby thin sheet metal. Verify an approved alternative or use a professional lift.
- A stand does not sit flat: Do not shim it with improvised loose material. Correct the surface or setup using an approved method.
- The jack leaks, binds, or will not hold position: Remove it from service rather than relying on damaged equipment.
- You cannot identify the approved point: Stop and check the exact owner’s manual or Honda service information before continuing.
Resources for Honda Accord Owners
The best source for Honda Accord jack points is the owner’s manual for your exact year and trim. Honda service information is the next reference for detailed lift and support procedures that are not fully shown in the roadside tire-change section of the owner’s manual.
For related TubeTyre coverage, use the Honda Accord tire-change guide for the full roadside wheel-change sequence and the Honda Accord Tire and Wheel Specifications Guide category for related Accord tire and wheel topics.
For external safety references, start with Honda’s official owner information, NHTSA TireWise, and the OSHA jack standard. OSHA 1926.305 is a construction-work standard, so use it here as a general jack-safety reference rather than as a claim about consumer DIY legal requirements.
Frequently Asked Questions
Where should I place a jack under a Honda Accord?
For a spare-tire change, place the jack under the designated reinforced side jacking point closest to the wheel you are changing. These points are typically along the pinch weld behind the front wheels and ahead of the rear wheels. Confirm the exact location in your owner’s manual before lifting.
How do I jack up my 2018 Honda Accord?
First check the instructions for your exact 2018 Accord. If it is equipped for a spare-tire change, use the designated side jacking point nearest the wheel being changed and follow the factory wheel-change sequence. The 2018 Accord Hybrid uses a temporary tire-repair-kit procedure rather than a spare-tire procedure. For under-car work, use approved support points and rated jack stands.
Can I put jack stands on the pinch welds?
Only use a pinch-weld location for a stand if Honda’s information for your exact Accord approves it as a support point and the stand or adapter fits correctly. Do not assume that every side jacking point is also an approved stand point.
Is a hydraulic jack enough to work under the car?
No. A hydraulic jack is a lifting device, not the primary support for under-car work. After lifting, support the Accord on properly rated jack stands at approved support points before putting any part of your body underneath.
Can I jack up the front or rear of a Honda Accord from the center?
Only use a front or rear center lift point if Honda owner or service information identifies that point for your exact model. Do not use the oil pan, exhaust, floor pan, or an unverified crossmember as a substitute.
Does every Honda Accord come with a spare tire and jack?
No. Equipment varies by year and configuration. For example, Honda’s 2018 Accord Hybrid tire-repair guide states that that vehicle is not equipped with a spare tire and uses a temporary tire-repair kit for eligible small punctures. Check your exact owner’s manual before assuming a spare-tire procedure applies.
Where do jack stands go on a Honda Accord?
Place jack stands only at approved support points for your Accord’s year and body style. If the owner’s manual does not clearly identify a stand location, check Honda service information or use a qualified shop. Never place stands under plastic panels, the oil pan, exhaust parts, brake lines, or thin floor metal.
What if the Honda Accord pinch-weld jack point is bent or rusty?
Do not shift the jack onto nearby thin metal. Lower the car if it is already partly raised, then verify another Honda-approved lift procedure for your exact model or have a qualified shop lift the vehicle. Heavy corrosion, cracking, or deformation can make a normal-looking jacking setup unsafe.
Conclusion
The correct Honda Accord jack points depend on the job and the exact vehicle. For a spare-tire change, use the designated side jacking point nearest the flat tire. For garage work, separately confirm the approved lift point and jack-stand support points. If your Accord uses a tire-repair kit, the pinch weld is damaged, or the approved point is unclear, stop and follow Honda information for your model rather than improvising.
Sources
- Honda 2026 Accord Hybrid: How to Set Up the Jack – current Honda owner information confirming that jacking points are vehicle-specific and shown in the model instructions.
- Honda 2025 Accord: If a Tire Goes Flat – supports the diagonal wheel-block placement and the side jacking point nearest the tire being changed.
- Honda 2018 Accord Hybrid: Tire Repair Kit – confirms that this configuration is not equipped with a spare tire and provides the temporary repair-kit procedure.
- NHTSA TireWise: Tire Safety Ratings and Awareness – authoritative tire-safety reference for pressure checks, tire placards, and TPMS limitations.
- OSHA Standard 1926.305: Jacks – workplace standard covering jack capacity, foundation, inspection, and securing a raised load.
- Honda Service Manuals – official source for detailed service lift and support procedures beyond the owner’s manual.