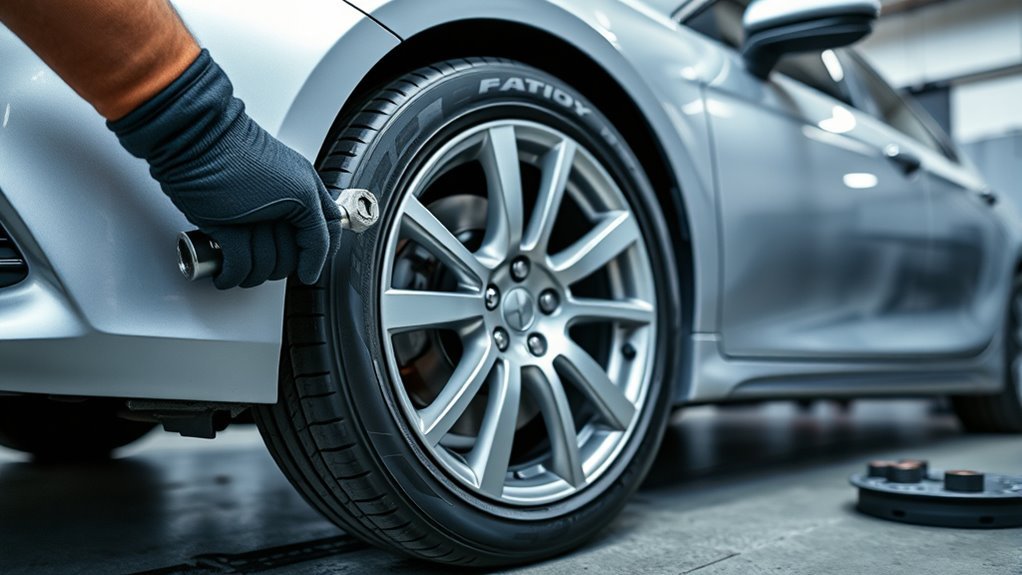
If your Toyota Camry started vibrating right after a new tire installation, treat it as a wheel-and-tire assembly problem first—not something you should wait out. A mild change in steering feel can happen while new tires break in, but a highway shake, steering-wheel wobble, seat vibration, or cabin buzz usually points to balance, mounting, centering, tire pressure, runout, lug torque, or a defective tire.
Quick Answer
A Toyota Camry that vibrates after new tires usually has a balance, mounting, runout, wheel-centering, pressure, lug-torque, or tire-defect issue. Start with cold tire pressure and lug torque, then rebalance all four wheels, inspect bead seating and hub rings, and ask for road force balancing if the shake remains.
Key Takeaways
- A strong vibration after new tires is not normal break-in; get it checked before it damages tires, wheels, studs, hubs, or suspension parts.
- If the shake is mainly in the steering wheel, suspect a front wheel/tire assembly first; if it is in the seat or floor, suspect a rear assembly first.
- Road force balancing is the best next step when standard balancing looks “fine” but the Camry still shakes at highway speed.
- If the vibration follows one tire after rotation, that tire or wheel assembly is the main suspect.
At a Glance
| Time Required | 15 minutes for basic checks; 45–90 minutes at a tire shop for rebalance, runout checks, rotation, and road force testing. |
| Difficulty | Easy for pressure and visual checks; professional-level for balancing, road force measurement, and runout diagnosis. |
| Tools Needed | Tire pressure gauge, torque wrench, tread/visual inspection light, wheel balancer, dial indicator or runout gauge, and road force balancer if needed. |
| Cost | Often free under tire-install warranty; otherwise usually low shop-labor cost for rebalance/retorque, higher if a tire, wheel, hub, strut, rotor, or suspension part must be replaced. |
Warning: Stop driving and pull over safely if the vibration is violent, the car suddenly pulls, you hear thumping, smell burning rubber, see a tire bulge, lose pressure, or suspect loose lug nuts. For a mild vibration, avoid highway speeds and have the tire shop inspect the car as soon as possible.
Why Camry Vibration Starts After New Tires

If your Camry was smooth before the tire change and started vibrating right after, the most likely problem is something in the new tire-and-wheel assembly. New tires should be balanced when installed, and tire balance helps prevent shake and vibration. You should also check pressure, tire size, bead seating, wheel centering, lug nut torque, and tire defects before blaming the suspension.
New tires can feel slightly different during the first few hundred miles because the tread is full-depth and the tire may still be wearing off mold-release residue. That is different from a clear vibration. A Camry should not develop a strong steering-wheel shake at 60–75 mph just because the tires are new.
Common causes include:
- Wheel imbalance: The tire and wheel assembly needs weight correction on the balancer.
- Improper mounting: The bead is not seated evenly or the tire was not mounted concentrically on the rim.
- Radial or lateral runout: The tire or wheel does not rotate true, even if balance numbers look acceptable.
- Hub-centering issue: Aftermarket wheels may need correct hub-centric rings to center on the Camry hub.
- Incorrect lug torque or uneven clamping: Lug nuts can be too loose, too tight, or tightened unevenly.
- Defective tire: A bad belt, out-of-round carcass, sidewall bulge, or construction defect can cause speed-related shake.
What the Vibration Pattern Tells You
Before you return to the tire shop, note when and where you feel the vibration. This helps the technician isolate the right corner instead of guessing.
| Symptom | Most likely area | First check |
|---|---|---|
| Steering wheel shakes at 55–75 mph | Front tire/wheel assembly | Front wheel balance, runout, centering, and lug torque |
| Seat or floor vibrates at highway speed | Rear tire/wheel assembly | Rear balance, runout, and tire defect inspection |
| Pulsation mainly while braking | Brake rotors or hub mounting surface | Rotor runout, rust/debris on hub face, and wheel torque |
| Thumping, wobble, or shake that grows fast with speed | Possible tire defect or loose wheel | Stop driving; inspect lugs, tire pressure, sidewall, and tread immediately |
Check Tire Balance, Runout, and Mounting
Start with the parts that changed during the tire installation. A small balance or mounting error can feel minor at low speed but become obvious on the highway.
[Products Worth Considering]

Malco tire mounting and demounting lubricant is a ready-to-use tire lube formulated to reduce friction during tire installation for passenger cars, light trucks, farm tires, and heavy-duty equipment. It provides rust-inhibiting protection to help reduce corrosion on rims and wheels, and helps support proper tire bead seating during inflation to reduce air leakage. The silicone-free, soap-free formula is whitewall safe to help prevent discoloration on whitewall tires and sensitive sidewall markings.

Upgrade your wheels with MIKKUPPA M12x1.5 mag seat lug nuts built for secure, corrosion-resistant performance. These closed-end chrome lug nuts are a direct replacement for select Toyota models, including Camry, Corolla, RAV4, Sienna, Avalon, Highlander, Matrix, Venza, and Prius. Triple-chromium plating and cold-forged, heat-treated steel help deliver strength for daily driving and replacement needs.

The Trivd Frol 1/2" air impact wrench delivers high performance torque up to 1500 ft-lbs with a twin hammer impact mechanism for strong, balanced blows. It features an ergonomic grip, compact lightweight design, and quick-stop control with 3 forward speeds up to 8000 RPM plus a reverse speed. Built for demanding automotive repair and tire shop work, the rear exhaust helps keep debris away from the surface.
Verify Pressure, Size, and Fitment
Check all four tire pressures when the tires are cold. Use the pressure listed on the Camry’s Tire and Loading Information Label or in the owner’s manual, not the maximum pressure molded on the tire sidewall. Also confirm that all four tires match the correct size, load index, and speed rating for the car.
If the tires are directional, make sure each one is mounted to roll in the correct direction. If they are asymmetric, make sure the “outside” sidewall faces outward. A direction or sidewall error can create noise, pull, and poor wet-road behavior.
Rebalance All Four Wheels
Ask the shop to rebalance all four assemblies, not just the one they suspect. Dynamic balancing is the normal choice for modern passenger cars because it corrects imbalance across the inner and outer planes of the wheel. If the vibration started immediately after the tire install, a rebalance should be one of the first fixes.
Also ask the technician to check for a missing wheel weight, stacked weights, old adhesive left on the rim, mud inside the wheel barrel, or a bent wheel. Any of those can make the balancer reading or road feel worse.
Measure Radial and Lateral Runout
Balance is not the same as roundness. A tire can balance perfectly and still vibrate if it is out of round. Ask the shop to measure radial runout, which is up-and-down variation, and lateral runout, which is side-to-side wobble. The technician should check the tire, the wheel, and the mounted assembly.
If the wheel is straight but the tire has excessive runout, the tire may need to be remounted, match-mounted, road-force tested, or replaced. If the wheel itself has excessive runout, the wheel may be bent or manufactured out of spec.
Confirm Bead Seating
Look at the thin molded line near the tire bead where the tire meets the rim. That line should be evenly spaced from the wheel all the way around on both sides. If it dips or rises in one area, the bead may not be seated evenly. A crooked bead can create bounce, vibration, and a false balance reading.
Pro Tip: Ask the shop to mark each tire position before rotating or testing. If the vibration moves from the steering wheel to the seat, or from the front to the rear, you have strong evidence that one wheel/tire assembly is the problem.
Inspect Hub Rings and Lug Nuts
Wheel centering and lug clamping matter as much as tire balance. A Camry with stock wheels usually centers on the factory hub. A Camry with aftermarket wheels may have a larger wheel center bore and may need correctly sized hub-centric rings.
[Products Worth Considering]

Measure tire tread depth quickly and accurately with this LUMITECO dial gauge that reads in 1/32" increments up to 14/32". The color-coded green/yellow/red zones make it easy to judge tire wear and know when replacement is needed. A rugged, compact design with a protective pouch helps keep the gauge ready for use on cars, trucks, motorcycles, and more.

These M14x1.5 closed-end chrome lug nuts are a one-piece replacement designed for secure fitment on compatible GM, Ford, and select Chrysler/Dodge models. Featuring a 60-degree conical seat and anti-rust chrome plating, they help resist corrosion and maintain a bright look for everyday driving. Built for long-term durability, they include OEM-style part references and are backed by 12 months of support.

Upgrade your wheels with MIKKUPPA closed-end lug nuts designed for reliable fit and corrosion resistance. The one-piece, cold-forged and heat-treated steel construction helps resist rust and stripping, while the integrated finish delivers a durable black appearance. Built to OEM standards with a conical 60-degree seat, these nuts provide a secure solution for compatible Ford, Honda, Jeep, and Chevrolet models.
Check Hub Ring Fit
If aftermarket wheels were installed, confirm that the hub-centric rings fit the Camry hub and the wheel bore snugly. The ring should sit flat with no cracks, warping, burrs, or looseness. A missing or incorrect ring can let the wheel sit slightly off center during installation, which can cause a high-speed shake.
Also inspect the hub face. Rust flakes, paint buildup, dirt, or an old stuck-on spacer can keep the wheel from sitting flat. The wheel should sit cleanly against the hub before the lug nuts are tightened.
Verify Lug Nut Torque
Use a calibrated torque wrench and tighten the lug nuts in a star or crisscross pattern. Do not rely on an impact wrench alone for final torque. Set the torque to the Toyota specification for your exact Camry model year and wheel type. You can find the correct value in the owner’s manual, Toyota’s manual lookup, or through a Toyota service department.
After new wheels or tires are fitted, have the lug nuts rechecked after the first short driving period. Continental recommends retorquing wheels after about 50 km because normal driving and wheel settling can reduce clamping force.
Inspect Wheel Centering
If the lugs are tightened unevenly, the wheel can be pulled slightly off center. Loosen and retorque the wheel properly if needed. The technician should tighten in stages, use the correct lug seat style, and confirm the wheel is fully seated on the hub face.
Pay special attention if the vehicle received new rims, wheel spacers, aftermarket lug nuts, or hub rings. The lug nut seat must match the wheel. A cone-seat lug used on a ball-seat wheel, or the wrong shank-style lug, can prevent proper clamping and create vibration or damage.
Try Road Force Balancing
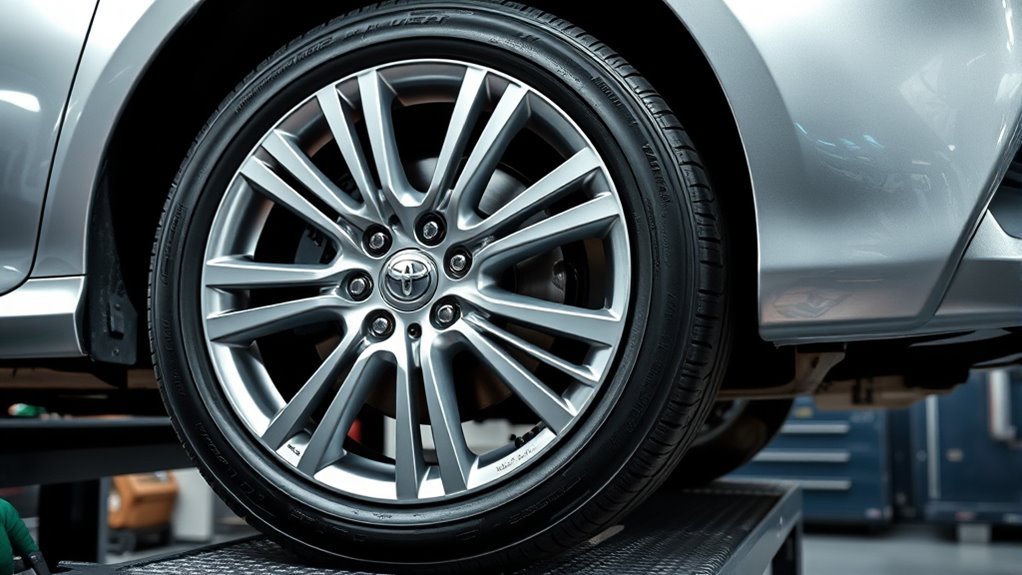
If standard balancing does not solve the vibration, ask for road force balancing. A standard spin balancer checks weight imbalance. A road force balancer presses a roller against the tire as it spins, simulating load and measuring force variation. That can reveal an out-of-round tire, stiff spot, wheel runout, bead seating issue, or tire/wheel mismatch that a normal balance may miss.
| Test | What it reveals | Best for |
|---|---|---|
| Dynamic balance | Weight imbalance across the wheel assembly | Most standard highway vibration complaints |
| Runout measurement | Out-of-round tire, bent wheel, or side-to-side wobble | Vibration that remains after balancing |
| Road force balance | Loaded tire force variation and tire/wheel mismatch | Shake that feels like a bad tire even when balance numbers look good |
| Match mounting | Best tire position on the wheel to reduce force variation | Borderline assemblies that can be improved without replacing parts |
If the road force value is too high and cannot be corrected by match mounting, the shop should warranty the tire or inspect the wheel for runout. Do not accept “it balanced fine” as the final answer if the Camry still shakes at the same speed.
[Products Worth Considering]

This professional wheel and rim brush kit makes it easy to lift brake dust, grime, and dirt from wheels and tires without scratching finishes. The brushes feature soft, metal-free wool heads and a flexible 360-degree rim brush design for reaching hard-to-clean areas. Includes multiple brush types plus accessories for thorough car, motorcycle, and general vehicle detailing.

The SAFELIFE dial tire tread depth gauge measures tread depth in 1/32 inch increments with clear, easy-to-read 2-inch dial face. Color zones using a traffic light system help you quickly judge whether tread is low, marginal, or ample for safer driving. Built with a durable zinc cast body and a metal detect probe for precise, comfortable use across cars, motorcycles, trucks, and buses.

Monitor tire tread wear with a smart, color-coded depth gauge that shows clear condition ranges at a glance. The bar is range marked for fast, easy readings, helping you maintain safer traction and performance. Each gauge is portable with a pocket clip, and the set includes 20 units for daily use and sharing.
Check for a Bad Tire Belt or Tire Defect
A bad tire belt, shifted belt, sidewall bulge, internal separation, or out-of-round carcass can cause a speed-related vibration even when the wheel balance looks correct. The tire may thump, hop, or feel like it has a flat spot. The vibration often gets worse as speed increases and may not change much with road surface.
Inspect each new tire for:
- Bulges, bubbles, ripples, or dents in the sidewall.
- Tread that wobbles as the tire spins on the balancer.
- Flat spots, raised tread areas, or uneven mold lines.
- Cuts, bead damage, or signs the tire was damaged during mounting.
- A road force value that remains high after match mounting.
If one tire has a structural defect, balancing will not fix it. Remove that tire from service and replace it. If the tire is new, ask the installer to document the road force reading, runout measurement, and visual defect for a warranty claim.
Rule Out Alignment, Suspension, Struts, and Rotors
Because the vibration started after the new tire install, tire and wheel checks should come first. Still, older suspension or brake issues can become more noticeable once fresh tires are installed.
- Alignment: Bad alignment usually causes pull, off-center steering, or uneven tire wear. It does not normally create a pure highway-speed shake by itself, but it can worsen tire wear and vibration over time.
- Struts and shocks: Weak struts let the tire bounce instead of staying planted. If the car continues bouncing after a bump, or the tire shows cupping, inspect the struts.
- Ball joints, tie rods, and control-arm bushings: Looseness can amplify a small tire imbalance into a larger shake.
- Brake rotors: If the vibration appears mainly while braking, check rotor thickness variation, rotor runout, caliper operation, and hub cleanliness.
- Wheel bearings: A growl, hum, or play at the wheel can point to a bearing issue, especially if the noise changes while turning.
If the tires check out and the vibration remains, have the shop inspect the front end and rear suspension before replacing more tires.
Tire maintenance is a safety issue, not just a comfort issue. NHTSA reports that poor tire maintenance can contribute to flats, blowouts, and tread separation, and its current TireWise data lists hundreds of tire-related crash fatalities in 2024.
Rotate or Replace the Problem Tire

Rotation is one of the easiest ways to isolate a bad assembly. Move the front tires to the rear and the rear tires to the front, then test drive at the same speed where the vibration appeared. Do this only after confirming the tires are safe to drive on and properly inflated.
Rotate the Tires
If the steering wheel shake moves to the seat or floor after rotation, the suspect assembly likely moved from the front to the rear. If the seat vibration becomes a steering-wheel shake, the suspect assembly likely moved to the front. That gives the shop a specific tire and wheel to inspect instead of chasing all four corners.
For regular maintenance, follow your Toyota owner’s manual. NHTSA says to check the owner’s manual for the correct rotation pattern and frequency, and notes that some manufacturers recommend rotation every 5,000 to 8,000 miles or sooner if uneven wear appears.
Replace a Faulty Tire
Replace the tire if the vibration follows one assembly and the shop confirms excessive road force, runout, bulging, belt separation, or visible construction irregularity. A defective carcass or separated belt cannot be tuned back into spec with weights.
If the tire is new, ask the installer to process a warranty replacement. Keep the inspection notes, road force printout, and photos of any visible bulge or tread irregularity.
Note: If the shake appeared after new wheels and tires, diagnose the wheels too. A bent new rim, incorrect hub bore, wrong lug seat, missing hub ring, or spacer issue can mimic a bad tire.
What to Ask the Tire Shop to Do
Use this checklist when you return to the installer. It gives the shop a clear diagnostic path and makes it harder for the problem to be dismissed as normal.
- Check cold tire pressure against the Camry tire placard.
- Confirm tire size, load index, speed rating, directional arrows, and outside sidewall orientation.
- Inspect every tire for bulges, bead damage, flat spots, tread wobble, and sidewall defects.
- Clean the hub face and wheel mounting face.
- Verify hub-centric ring fit if aftermarket wheels are installed.
- Retorque lug nuts in a star pattern to the exact Toyota model-year or wheel-manufacturer specification.
- Rebalance all four wheel/tire assemblies dynamically.
- Measure radial and lateral runout on the tire, wheel, and mounted assembly.
- Road-force balance any assembly that still causes vibration.
- Rotate tires to confirm whether the vibration follows one assembly.
- Replace any tire or wheel that remains outside acceptable shop/manufacturer limits.
Frequently Asked Questions
How long does it take for new tires to settle in?
New tires may feel slightly different for about the first 500 miles because of full tread depth, mold-release residue, and tread squirm. That break-in period should not create a strong highway vibration. If your Camry shakes, wobbles, or thumps, have the tire installation checked right away.
How do I get rid of tire vibration?
Start with cold tire pressure, correct tire size, lug torque, and wheel centering. Then rebalance the tires, inspect bead seating, measure runout, and road-force balance the assemblies. If the vibration follows one tire after rotation, that tire or wheel likely needs repair or replacement.
Should I stop driving if the wheel vibrates?
Stop driving immediately if the vibration is severe, you hear thumping, the car pulls suddenly, the TPMS light comes on, pressure drops, or you see a tire bulge. If the vibration is mild, avoid high speeds and drive cautiously to a tire shop for inspection.
Is road force balancing worth it for a Camry?
Yes, if standard balancing does not fix the shake. Road force balancing tests the tire under load and can find stiff spots, out-of-round tires, wheel runout, and tire/wheel mismatch that a normal spin balance may miss.
Can bad alignment cause vibration after new tires?
Alignment problems usually cause pull, off-center steering, or uneven wear, not a sudden vibration right after installation. However, poor alignment can make tire wear worse and can combine with imbalance, runout, or weak suspension parts to make vibration more noticeable.
What lug nut torque should a Toyota Camry use?
Use the torque specification for your exact Camry model year and wheel type. Check the Toyota owner’s manual, Toyota manual lookup, or a Toyota service department. If aftermarket wheels are installed, also follow the wheel manufacturer’s documentation.
Conclusion
If your Camry starts shaking after new tires, do not assume it will disappear with break-in. Check pressure, tire size, bead seating, wheel centering, hub rings, and lug torque first. Then rebalance the wheels, measure runout, and use road force balancing if the vibration remains. If the shake follows one tire after rotation, the tire or wheel assembly is the problem until proven otherwise. Fix it early and you protect the tires, wheels, studs, hubs, suspension, and the smooth highway ride your Camry should have.
Sources
- Toyota Manuals and Warranties — model-specific owner manual lookup for torque, tire, and maintenance information.
- NHTSA TireWise — tire pressure, tread, balance, alignment, rotation, TPMS, and tire safety guidance.
- Continental: Retorquing Wheels — why lug nuts should be checked after new wheels or tires are installed.
- Hunter Road Force Wheel Balancer — road force balancing and load-roller vibration diagnosis.
- Continental: Breaking in New Tires — new-tire break-in behavior and gentle driving for the first 500 miles.