
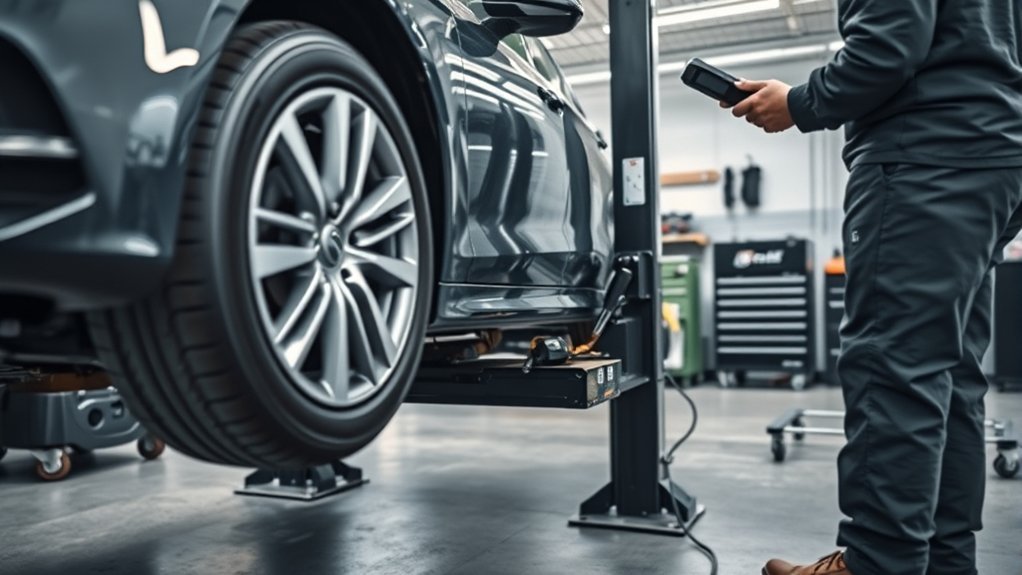
If your car shakes after new tires are installed, start with the tire and wheel installation rather than assuming the vehicle suddenly developed a major suspension problem. Check tire pressure, wheel balance, wheel-to-hub seating, lug nut torque, and visible tire or rim damage first. A vibration that appears mainly at certain road speeds often points to balance, centering, runout, or tire/wheel variation, while pulling or an off-center steering wheel points more toward alignment.
Quick Answer
A car that starts shaking after new tires usually needs the tire installation rechecked. The most common places to start are wheel balance, tire pressure, wheel centering, hub cleanliness, bead seating, and lug nut torque. Persistent vibration is not a normal new-tire “settling” symptom, so return to the installer if it continues.
Key Takeaways
- A speed-specific shake after tire replacement commonly points to wheel imbalance, poor centering, tire/wheel runout, or another installation-related issue.
- Set tire pressure to the vehicle manufacturer’s cold-pressure specification on the door placard or in the owner’s manual, not the maximum pressure molded on the tire.
- Pulling, drifting, an off-center steering wheel, and uneven tread wear are stronger alignment clues than a pure speed-related vibration.
- Use the vehicle or wheel manufacturer’s lug-nut torque specification and retorque instructions instead of a universal mileage rule.
- If normal balancing does not fix the shake, road-force measurement, wheel runout, hub centering, and tire defects should be checked before unrelated parts are replaced.
At a Glance
| Time Required | About 10–20 minutes for basic pressure, visual, and torque checks; shop diagnosis may take longer. |
| Difficulty | Easy for basic inspection; balancing, road-force testing, runout measurement, and suspension diagnosis require proper equipment. |
| Tools Needed | Tire-pressure gauge, flashlight, vehicle owner’s manual, and a suitable torque wrench; balancing and road-force equipment are shop tools. |
| Cost | Basic checks may cost nothing. A recent installer may recheck balance or mounting under its service policy; other diagnostic charges vary by shop. |
Warning: Stop driving if the vibration is severe, the wheel feels loose, you hear clunking from a recently serviced wheel, steering becomes difficult to control, or you see a tire bulge, major wheel damage, or obvious wheel wobble. A loose or improperly seated wheel can become a serious safety hazard.
Common Reasons New Tires Cause Shaking
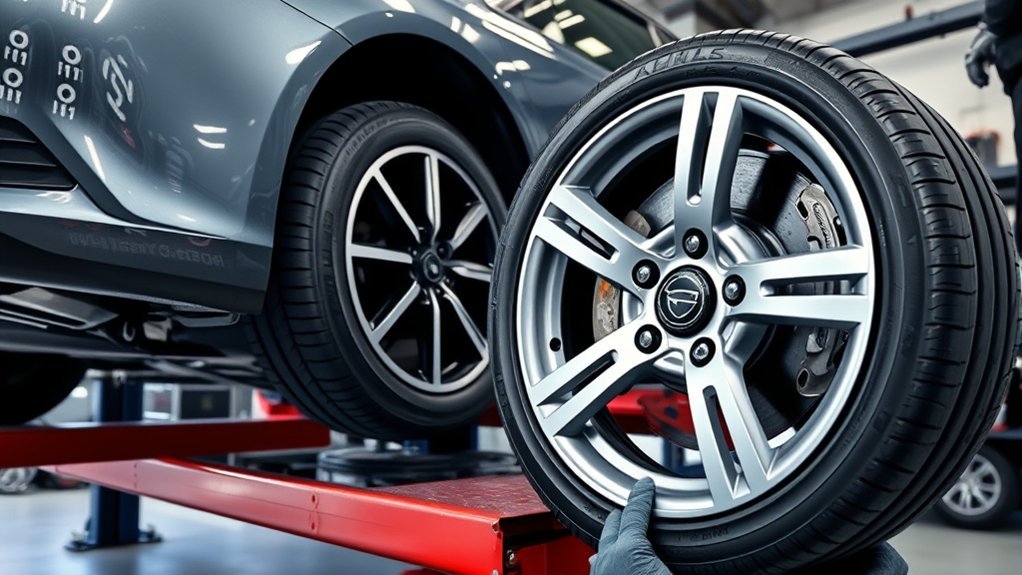
If your car starts shaking immediately after new tires are installed, the timing makes the tire-and-wheel assemblies the logical first place to inspect. Common causes include an assembly that was not balanced accurately, a missing or displaced wheel weight, improper centering on the balancing machine or vehicle hub, uneven bead seating, wheel runout, tire variation, or debris and corrosion between the wheel and hub.
A wheel must sit flat and centered against the hub. Rust, dirt, or another foreign material between the mating surfaces can prevent correct contact. Some aftermarket wheels also use centering hardware designed for their particular wheel and hub combination; if that hardware is required, it must be the correct size and in good condition.
Incorrect lug nut torque or poor tightening technique can also affect wheel mounting. A General Motors service bulletin hosted by NHTSA documents cases where improper wheel installation and torque technique produced mounting offset and vibration that could be mistaken for imbalance or radial-force variation. Follow the torque value and tightening procedure specified for your exact vehicle and wheels.
Tire defects are less common but possible. An out-of-round tire, damaged bead, internal separation, bulge, or significant construction variation can create vibration even after a conventional balance appears correct.
Directional tires should also be checked for correct installation. Michelin notes that directional tires must follow the rotation arrow on the sidewall. However, a reversed directional tire should not automatically be blamed for a classic speed-specific vibration; balance, centering, mounting, and runout still need to be checked.
Note: New tires can feel different from worn tires because they have full tread depth and more tread movement. That normal break-in feel is different from a repeated steering-wheel, seat, or body vibration.
Check Tire Pressure, Balance, Wheel Seating, and Alignment
Start with tire pressure. According to NHTSA tire-safety guidance, use the vehicle manufacturer’s recommended cold tire pressure from the tire-information placard or owner’s manual. Do not use the maximum pressure molded into the tire sidewall as the vehicle’s target pressure.
Next, have each wheel and tire assembly checked for proper balance and centering. Michelin explains that wheel balancing controls how the assembly rotates, and an imbalance commonly produces vibration through the steering wheel, seat, or floor at certain speeds.
The technician should also verify that the hub face and wheel mounting surface are clean, the wheel sits flat, the balancing weights are secure, and the tire bead is seated evenly. If the vibration changes noticeably with road speed, these checks should come before replacing suspension parts.
Wheel alignment is different. Alignment controls the direction and angle at which the wheels point and contact the road. If the steering wheel is off-center, the vehicle consistently pulls on a reasonably flat road, or the tires show abnormal edge wear or feathering, an alignment check is appropriate.
A hard pothole or curb impact can affect both wheel condition and alignment, so tell the technician if the vibration began after an impact as well as after the tire installation.
Balance or Alignment: Which Is the Problem?
A shake that becomes noticeable in a particular speed range is more characteristic of a wheel balance, centering, tire, or wheel issue. A vehicle that pulls, wanders, or drives straight with the steering wheel visibly off-center points more toward alignment or steering geometry.
Those symptoms can overlap, so treat them as clues rather than a diagnosis.
[Products Worth Considering]

The Trivd Frol 1/2" air impact wrench delivers high performance torque up to 1500 ft-lbs with a twin hammer impact mechanism for strong, balanced blows. It features an ergonomic grip, compact lightweight design, and quick-stop control with 3 forward speeds up to 8000 RPM plus a reverse speed. Built for demanding automotive repair and tire shop work, the rear exhaust helps keep debris away from the surface.

Malco tire mounting and demounting lubricant is a ready-to-use tire lube formulated to reduce friction during tire installation for passenger cars, light trucks, farm tires, and heavy-duty equipment. It provides rust-inhibiting protection to help reduce corrosion on rims and wheels, and helps support proper tire bead seating during inflation to reduce air leakage. The silicone-free, soap-free formula is whitewall safe to help prevent discoloration on whitewall tires and sensitive sidewall markings.

Upgrade your wheels with MIKKUPPA closed-end lug nuts designed for reliable fit and corrosion resistance. The one-piece, cold-forged and heat-treated steel construction helps resist rust and stripping, while the integrated finish delivers a durable black appearance. Built to OEM standards with a conical 60-degree seat, these nuts provide a secure solution for compatible Ford, Honda, Jeep, and Chevrolet models.
Wheel Balance Issues
Wheel imbalance can make a car shake soon after new tires are installed. Michelin recommends balancing tires when they are first mounted, and a balance problem commonly becomes more noticeable as wheel speed increases.
Before balancing, confirm the tires are at the correct cold pressures. Then inspect for missing weights, debris, uneven bead seating, damage, and anything that could prevent the assembly from being centered correctly on the balancer.
If a conventional spin balance repeatedly shows acceptable results but the vehicle still vibrates, ask about road-force measurement. This places the tire under load and can reveal tire stiffness or loaded-runout variation that an ordinary balance may not identify.
If vibration remains after balancing, inspect wheel runout, tire condition, vehicle-hub centering, and mounting surfaces instead of repeatedly adding or moving wheel weights without finding the cause.
Alignment Symptoms
Alignment problems usually appear as pull, drift, an off-center steering wheel, irregular tire wear, or a vague wandering feel rather than a clean vibration that occurs only in one speed range.
| Symptom | More Likely Area | Next Check |
|---|---|---|
| Vibration mainly at certain speeds | Balance, centering, tire/wheel variation | Rebalance and inspect mounting/runout |
| Consistent pull to one side | Alignment, tire pressure, or tire-related pull | Verify pressure, then inspect alignment and tires |
| Steering wheel off-center while driving straight | Toe or thrust-angle condition | Check four-wheel alignment |
| Uneven or feathered tread wear | Alignment or worn components | Inspect suspension and alignment |
If the car both shakes and pulls, it can have more than one issue. Correct the vibration-related installation or balance problem and check alignment separately rather than assuming one adjustment will fix everything.
Check Wheel Centering and Hub Fit
A wheel can be balanced correctly on a machine and still vibrate on the vehicle if it is not centered or seated correctly on the hub. Check the hub face, wheel mounting surface, pilot bore, and fastener seating surfaces for corrosion, dirt, paint buildup, damage, or anything else that prevents full metal-to-metal contact where the design requires it.
This check is especially useful when the vehicle has aftermarket wheels. If that wheel design requires hub-centric rings or other centering hardware, verify that the correct parts are present, undamaged, and properly fitted. Do not assume every aftermarket wheel uses the same centering method.
Pro Tip: If the vibration started immediately after tire service, return to the installer before authorizing unrelated repairs. Ask the shop to reproduce the vibration, verify pressure and centering, rebalance the assemblies, and inspect mounting surfaces and runout.
Look for Bent Rims and Tire Defects
Inspect each rim for bends, flat spots, cracks, impact marks, or other damage, including on the inner wheel barrel where pothole damage may be harder to see.
Then check the tires for bulges, bead problems, abnormal sidewall shape, localized high spots, cuts, or other signs of damage. A technician can measure radial and lateral runout to determine whether the tire, wheel, or complete assembly is rotating out of true.
If you find a cracked wheel, serious deformation, a tire bulge, or suspected structural tire damage, have the component professionally evaluated before driving further.
[Products Worth Considering]

These M14x1.5 closed-end chrome lug nuts are a one-piece replacement designed for secure fitment on compatible GM, Ford, and select Chrysler/Dodge models. Featuring a 60-degree conical seat and anti-rust chrome plating, they help resist corrosion and maintain a bright look for everyday driving. Built for long-term durability, they include OEM-style part references and are backed by 12 months of support.

Monitor tire tread wear with a smart, color-coded depth gauge that shows clear condition ranges at a glance. The bar is range marked for fast, easy readings, helping you maintain safer traction and performance. Each gauge is portable with a pocket clip, and the set includes 20 units for daily use and sharing.

Measure tire tread depth quickly and accurately with this LUMITECO dial gauge that reads in 1/32" increments up to 14/32". The color-coded green/yellow/red zones make it easy to judge tire wear and know when replacement is needed. A rugged, compact design with a protective pouch helps keep the gauge ready for use on cars, trucks, motorcycles, and more.
Inspect Bent Rims
Even modest wheel runout can contribute to vibration, especially at higher speeds. A shop can rotate the assembly and measure radial runout and lateral runout with the correct equipment rather than relying only on a visual check.
Inspect the inner wheel as well as the outer lip. Impact damage commonly occurs on the inside of a wheel where it is less obvious while the vehicle is sitting on the ground.
A dial indicator can quantify wheel runout, but the acceptable limit depends on the wheel and vehicle specifications. Do not assume that every bent wheel is safely repairable. Cracks, severe deformation, or manufacturer restrictions can require replacement.
Check Tire Defects
If the wheels measure correctly, inspect the tires themselves. Look for bulges, localized tread or sidewall distortion, irregular bead seating, unusual high spots, and evidence of impact or mounting damage.
Watch the molded bead-reference line near the rim where visible. It should generally appear evenly positioned around the wheel. A visibly inconsistent bead position deserves professional inspection rather than continued high-speed driving.
A tire can also generate vibration from loaded variation that is not obvious while spinning freely. That is one reason road-force testing can be useful when ordinary balancing fails to solve the complaint.
If one assembly remains abnormal, a technician can isolate whether the tire or wheel is responsible by measuring runout, force-matching the tire and wheel where appropriate, or temporarily substituting a correctly sized known-good assembly when the vehicle and tire-fitment requirements allow it. A structurally defective tire should be replaced rather than repeatedly rebalanced.
Make Sure the Lug Nuts Are Tight
Loose wheel nuts can allow movement between the wheel and hub and may produce vibration, clunking, or unstable wheel mounting. If you suspect loose fasteners after recent tire service, stop driving and have the wheel checked.
Wheel fasteners need the correct vehicle-specific torque and tightening procedure; “as tight as possible” is not a substitute for the manufacturer’s specification.
Use the lug-nut or wheel-bolt torque specified by the vehicle manufacturer and any applicable wheel-manufacturer instructions. An OEM service bulletin hosted by NHTSA documents how improper wheel torque technique can create mounting variation and vibration.
Retorque intervals are not universal. Some manufacturers specify a follow-up torque check after wheel removal or installation, but the mileage varies. Check the owner’s manual or wheel-maker instructions instead of automatically using a 25- or 50-mile rule.
- Find the exact wheel-fastener torque specification for the vehicle and wheel.
- Confirm the wheel and hub mounting surfaces are clean and fully seated.
- Start fasteners correctly and tighten them in the specified cross or star sequence where applicable.
- Use an appropriate torque wrench for final tightening rather than relying solely on an impact tool.
- Follow the manufacturer’s specified follow-up torque check, if one is required.
If a lug nut or wheel bolt will not tighten or hold torque correctly, inspect the threads, fastener, stud, and seating surface before the vehicle is driven.
Inspect Suspension and Steering Parts
If pressure, wheel mounting, balance, tires, rims, and lug torque all check out, inspect the suspension and steering system. Worn tie-rod ends, ball joints, control-arm bushings, wheel bearings, struts, shocks, or steering components can transmit or amplify vibration.
A technician may check wheel movement at the 12-and-6-o’clock and 3-and-9-o’clock positions, but movement by itself does not identify a single failed part. The wheel bearing, ball joint, tie-rod end, or another joint must be observed and tested to locate the actual play.
Caution: Do not work under or pull forcefully on a raised vehicle supported only by a jack. Follow the vehicle manufacturer’s approved lifting and support procedure, or have a qualified shop perform the wheel-play inspection.
Also inspect wheel bearings for looseness, roughness, or abnormal noise and check steering-rack and subframe mounting where appropriate. A tire change may make an existing mechanical problem more noticeable even when the new tires did not create the worn part.
Repair worn steering or suspension components before performing a final alignment because looseness can prevent accurate alignment and stable tracking.
Check Road Force and Wheel Hub Issues
If standard balancing does not eliminate the vibration, ask for road-force measurement. Hunter Engineering’s Road Force equipment uses a load roller to evaluate the tire and wheel under load and can identify variation in roundness, stiffness, and related conditions that a conventional balance may miss.
Road-force testing is not simply another way to add weights. If an assembly measures poorly, the technician can check tire and wheel runout, verify accurate centering, and determine whether the tire can be force-matched to the wheel by repositioning it on the rim. Replacement may be appropriate if the tire or wheel remains outside the applicable specification.
Then inspect the vehicle hub. Rust, dirt, damaged mounting surfaces, an incorrect centering interface, or bearing wear can allow the assembly to run improperly or transmit vibration into the cabin.
- A steering-wheel, seat, or body vibration that changes with speed supports further tire/wheel diagnosis.
- A growling or rumbling noise can justify checking the wheel bearing as well as the tire.
- A visibly wobbling wheel or severe vibration requires prompt inspection.
- A vibration that began immediately after tire installation should be rechecked at the installer before unrelated parts are replaced.
Clean and inspect the mounting surfaces, torque the wheel correctly, and measure runout when necessary. If one assembly differs from the others, isolate the tire, wheel, and hub rather than assuming all four new tires have the same problem.
[Products Worth Considering]

The 22800 wheel stud installer makes replacing wheel studs quick and secure, saving time and effort during tire service. It uses a ratchet or impact wrench to pull new studs firmly into place, helping when existing studs are too long. Compatible with most automotive wheels and light-duty truck wheel studs, it’s designed for easy, tool-assisted installation.

Upgrade your wheels with MIKKUPPA M12x1.5 mag seat lug nuts built for secure, corrosion-resistant performance. These closed-end chrome lug nuts are a direct replacement for select Toyota models, including Camry, Corolla, RAV4, Sienna, Avalon, Highlander, Matrix, Venza, and Prius. Triple-chromium plating and cold-forged, heat-treated steel help deliver strength for daily driving and replacement needs.

The SAFELIFE dial tire tread depth gauge measures tread depth in 1/32 inch increments with clear, easy-to-read 2-inch dial face. Color zones using a traffic light system help you quickly judge whether tread is low, marginal, or ample for safer driving. Built with a durable zinc cast body and a metal detect probe for precise, comfortable use across cars, motorcycles, trucks, and buses.
What to Do If the Car Still Shakes After Rebalancing
If the first rebalance does not fix the problem, avoid repeating the same procedure without additional diagnosis. Use a step-by-step process:
- Reproduce the symptom: Note the approximate speed range and whether the vibration is strongest in the steering wheel, seat, floor, or entire body.
- Verify pressure and fitment: Confirm cold pressures, tire sizes, rotation direction where applicable, and correct wheel fit.
- Recheck mounting and centering: Inspect the hub face, pilot area, bead seating, and wheel-fastener installation.
- Measure balance and runout: Do not rely only on a previous “balanced” result if the vibration remains.
- Use road-force testing: Check loaded variation and force-match the assembly if appropriate.
- Inspect hubs and mechanical parts: Check wheel bearings, steering, and suspension if the tire-and-wheel assemblies test correctly.
- Check alignment when symptoms fit: Pulling, wandering, an off-center steering wheel, or uneven wear justify an alignment measurement.
This order helps prevent replacing suspension components when the problem is still a mounting or tire/wheel issue.
New-Tire Break-In vs. Abnormal Vibration
New tires can feel different from the worn tires they replaced. Full tread depth can create extra tread movement or “squirm,” and Continental recommends gentle driving during roughly the first 500 miles of new-tire break-in while the tread surface and driver adjust.
That does not mean a repeating vibration should be ignored for hundreds of miles. A persistent shake, especially one that appears at the same road speeds on every drive, should trigger a balance, centering, tire, and wheel inspection.
Sources
- NHTSA — Tire Safety / TireWise — tire pressure, balancing, inspection, and vibration guidance.
- Michelin — Wheel Alignment & Balancing Explained — balance versus alignment symptoms and tire/wheel balancing.
- Michelin — Visual Tire Inspection — bead seating, directional-tire orientation, and mounting inspection.
- Hunter Engineering — Road Force Wheel Balancing — loaded tire/wheel variation, centering, and vibration diagnosis.
- Continental — Breaking In New Tires — new-tire tread feel, squirm, and break-in guidance.
- GM Service Bulletin hosted by NHTSA — Proper Wheel Installation and Wheel Torque Techniques — wheel mounting, torque technique, and vibration.
Frequently Asked Questions
Can New Tires Shake Only at Highway Speeds?
Yes. A wheel imbalance, centering problem, wheel or tire runout, or tire-force variation may become most noticeable within a particular speed range. Check tire pressure, wheel balance, mounting, lug torque, and tire/wheel condition. Alignment is more strongly associated with pulling, wandering, an off-center steering wheel, and uneven wear than with a pure speed-specific shake.
Will Shaking Damage My Car if I Keep Driving?
Do not ignore persistent vibration. An imbalance can contribute to irregular tire wear and additional stress on steering and suspension components, while a loose wheel, damaged tire, or badly damaged rim can be a more immediate safety concern. Stop driving if the vibration is severe, the wheel appears loose, steering becomes unstable, or you see significant tire or wheel damage.
Do All New Tires Need Rebalancing After Installation?
New tires should normally be balanced as part of the mounting process, so they do not automatically need a second balance afterward. However, if the vehicle begins shaking after installation, have the balance and centering rechecked. A missing weight, mounting error, tire/wheel runout, or road-force variation can remain even when an earlier balance was performed.
Can Winter Tires Feel Rougher Than All-Season Tires?
They can feel different. Deep, flexible tread blocks can create more tread movement, road noise, or a softer steering response than the tires you replaced. That varies by tire design and vehicle. A strong, repeating vibration at a particular speed is not simply a normal winter-tire characteristic and should still be diagnosed.
How Long Should New Tires Need to Settle?
New tires can require a break-in period before their grip and steering feel become fully familiar. Continental recommends gentle driving for roughly the first 500 miles. That break-in period should not be used to explain away persistent shaking. If the car developed a repeatable vibration after installation, have the balance, mounting, tire, and wheel checked rather than waiting for it to disappear.
Should I Return to the Tire Shop if the Car Started Shaking Right After Installation?
Yes. If the vibration began immediately after the tire service, ask the installer to recheck cold pressure, wheel balance, wheel centering, bead seating, balance weights, mounting surfaces, lug torque, and visible tire or wheel runout. If a normal rebalance does not solve it, road-force testing can help isolate the problem.
Conclusion
If your car shakes after new tires, begin with the work that was just performed. Confirm cold tire pressure, wheel balance, centering, clean hub contact, correct lug torque, bead seating, and tire and wheel condition. A vibration that occurs mainly at certain speeds is more consistent with balance, mounting, runout, or tire/wheel variation than with alignment alone.
If a standard rebalance does not solve the problem, move to road-force testing, wheel and tire runout measurements, hub inspection, and then steering or suspension diagnosis. New tires may need time to develop their normal grip and steering feel, but a persistent shake should not be dismissed as normal break-in. Diagnose it promptly so the vehicle returns to smooth, stable operation.

