After upsizing tires, the safest pressure is not found by guessing, copying another driver’s setup, or using the maximum PSI printed on the tire sidewall. The right starting point is the vehicle’s original cold tire pressure, then you match the new tire’s load-carrying ability to the original tire’s load requirement. That keeps the tire, wheel, suspension, braking, and safety systems working as intended.
Quick Answer
To calculate tire pressure after upsizing, start with the vehicle placard PSI, identify the original and new tire load index/load range, then use the correct load/inflation table to find the new cold PSI that carries at least the same load as the original tire at placard pressure.
Key Takeaways
- Use the vehicle placard or owner’s manual as your baseline, not the sidewall maximum pressure.
- Match load capacity first. A wider tire does not automatically need less PSI.
- Check pressure when the tires are cold, ideally before driving or after the vehicle has been parked for at least three hours.
- Front and rear pressures may be different if the vehicle placard lists different values.
- If you switch to LT tires, change load range, tow heavy loads, or are unsure about fitment, have a tire professional verify the pressure.
At a Glance
| Time Required | 15–30 minutes if you have the tire specs and load table; longer if you need axle weights or professional verification. |
| Difficulty | Moderate. The basic check is simple, but load-index and LT-tire changes require care. |
| Tools Needed | Accurate tire pressure gauge, air compressor, vehicle placard or owner’s manual, original and new tire size/service description, and the correct load/inflation chart. |
| Cost | Usually free if you already have a gauge and air source; $10–$30 for a good gauge; more if a shop verifies fitment or axle weights. |
Why Correct Tire Pressure Matters After Upsizing
When you upsize tires, you change more than appearance. The tire may have a different width, sidewall height, load index, load range, air volume, casing stiffness, rim requirement, and overall diameter. Those changes can affect ride comfort, steering response, braking feel, tread wear, fuel economy, and how much load each tire can safely carry.
The goal is not to make the tire look perfectly flat across the tread at any cost. The goal is to choose a cold inflation pressure that supports the vehicle’s load safely while staying within the tire, wheel, and vehicle manufacturer limits. According to NHTSA TireWise, proper tire pressure affects safety, tire durability, and fuel consumption, and the correct pressure is listed on the Tire and Loading Information Label or in the owner’s manual.
Warning: The maximum PSI printed on the tire sidewall is not the recommended daily operating pressure for your vehicle. Use the vehicle placard as the baseline, then calculate an equivalent load-carrying pressure for the new tire.
How to Gather the Tire and Vehicle Information You Need
Before calculating the new PSI, collect the information below. Skipping this step is the main reason upsized tires end up underinflated, overinflated, or unevenly worn.
Original Tire Specifications
Start with the Tire and Loading Information Label, usually on the driver-side door jamb or door edge. Write down:
- Original tire size, such as 225/60R17 or P265/70R17
- Original service description, including load index and speed rating, such as 99H or 113T
- Front and rear cold tire pressure listed on the placard
- Original tire type, such as passenger, P-metric, XL, or LT
- Gross vehicle weight rating and axle ratings if listed on the certification label
If the placard lists different front and rear pressures, keep those separate. Do not average them.
New Tire Details
Next, read the new tire sidewall and manufacturer specs. Record:
- New tire size, width, aspect ratio, and wheel diameter
- New load index, speed rating, and load range
- Whether the tire is Standard Load (SL), Extra Load (XL), Light Truck (LT), commercial, trailer, or run-flat
- Maximum cold inflation pressure printed on the tire sidewall
- Approved rim width range from the tire manufacturer
- Overall diameter and revolutions per mile, if available
Note: A tire with a higher maximum PSI is not automatically better for your vehicle. The correct pressure depends on how much load that specific tire carries at a given PSI.
Vehicle Type and Use Case
Vehicle type matters because passenger cars, SUVs, pickup trucks, vans, and commercial vehicles use different load assumptions. Towing, hauling, roof loads, off-road use, and heavy accessories can also change the load on each axle.
| Vehicle / Setup | Pressure Consideration | Best Next Step |
|---|---|---|
| Passenger car or crossover | Usually match original load capacity at placard PSI. | Use the correct passenger tire load/inflation table. |
| SUV or pickup staying with passenger-type tires | May have different front/rear placard values and heavier axle loads. | Match each axle separately. |
| Switch from P-metric to LT tires | LT tires often need higher PSI to carry the same load. | Have a tire professional verify the pressure and load table. |
| Towing, hauling, or commercial use | Loaded axle weight matters more than empty ride comfort. | Weigh the vehicle and use load/inflation data. |
Step-by-Step Guide to Calculating Tire Pressure After Upsizing
The most reliable method is to match the new tire’s load-carrying capacity to the original tire’s load-carrying capacity at the vehicle placard pressure. Tire and rim standards organizations such as The Tire and Rim Association publish standards and engineering data used for tire and rim fitment, including load/inflation data. If you do not have access to the correct table, ask a tire dealer to look it up.
Step 1: Start With the Placard Pressure
Write down the original cold PSI for the front and rear tires. For example, your placard might list 33 psi front and 35 psi rear. Keep those separate because the vehicle may carry different loads on each axle.
Step 2: Identify the Original Tire’s Load Capacity at Placard PSI
Using the correct load/inflation table for the original tire type, find how much load the original tire can carry at the placard PSI. This is your baseline. You are not matching the old tire’s maximum sidewall number; you are matching the original tire’s load capacity at the manufacturer’s recommended cold pressure.
Step 3: Check the New Tire’s Load Index and Load Range
The new tire should have a load index and load range that can safely meet or exceed the original tire’s required load. If the new tire has a lower load index than the original, do not install it without written confirmation from the tire or vehicle manufacturer that it is approved for your vehicle.
Step 4: Find the New Equivalent Pressure
Use the load/inflation table for the new tire type. Find the lowest cold PSI where the new tire carries at least the same load as the original tire did at placard PSI. That number is your calculated starting pressure.
Step 5: Apply Front and Rear Values Separately
If the vehicle placard lists different front and rear pressures, repeat the calculation for each axle. A staggered vehicle or a truck with a higher rear load may need different pressures front and rear even when the tire size is the same.
Step 6: Confirm Limits Before Driving
Your calculated PSI must stay within the safe operating range for the tire, wheel, and vehicle. Never exceed the maximum cold inflation pressure printed on the tire sidewall or the wheel’s rated pressure. Never reduce pressure below what is needed to carry the load.
Pro Tip: If the new pressure is more than a few PSI away from the original placard value, double-check the tire type. A switch from passenger tires to LT tires is a common reason the correct pressure changes more than expected.
Using the Chalk Test and Other Methods for Fine-Tuning Tire Pressure
The chalk test can help you spot obvious contact-patch problems, but it should not replace a load-based pressure calculation. Use it only after you have chosen a safe starting PSI from the placard and load/inflation method.
To perform a basic chalk test:
- Inflate the tires to your calculated cold PSI.
- Draw a thick chalk line across the tread from shoulder to shoulder.
- Drive straight for a short distance on a clean, flat surface.
- Check the chalk wear pattern across the tread.
- If chalk remains mostly in the center, pressure may be too low or the surface/test may be unreliable.
- If chalk remains mostly on both shoulders, pressure may be too high or alignment/camber may be affecting the result.
Use the chalk test as a clue, not a final answer. Tire construction, alignment, camber, road texture, tread pattern, and vehicle load can all affect the result.
[Products Worth Considering]
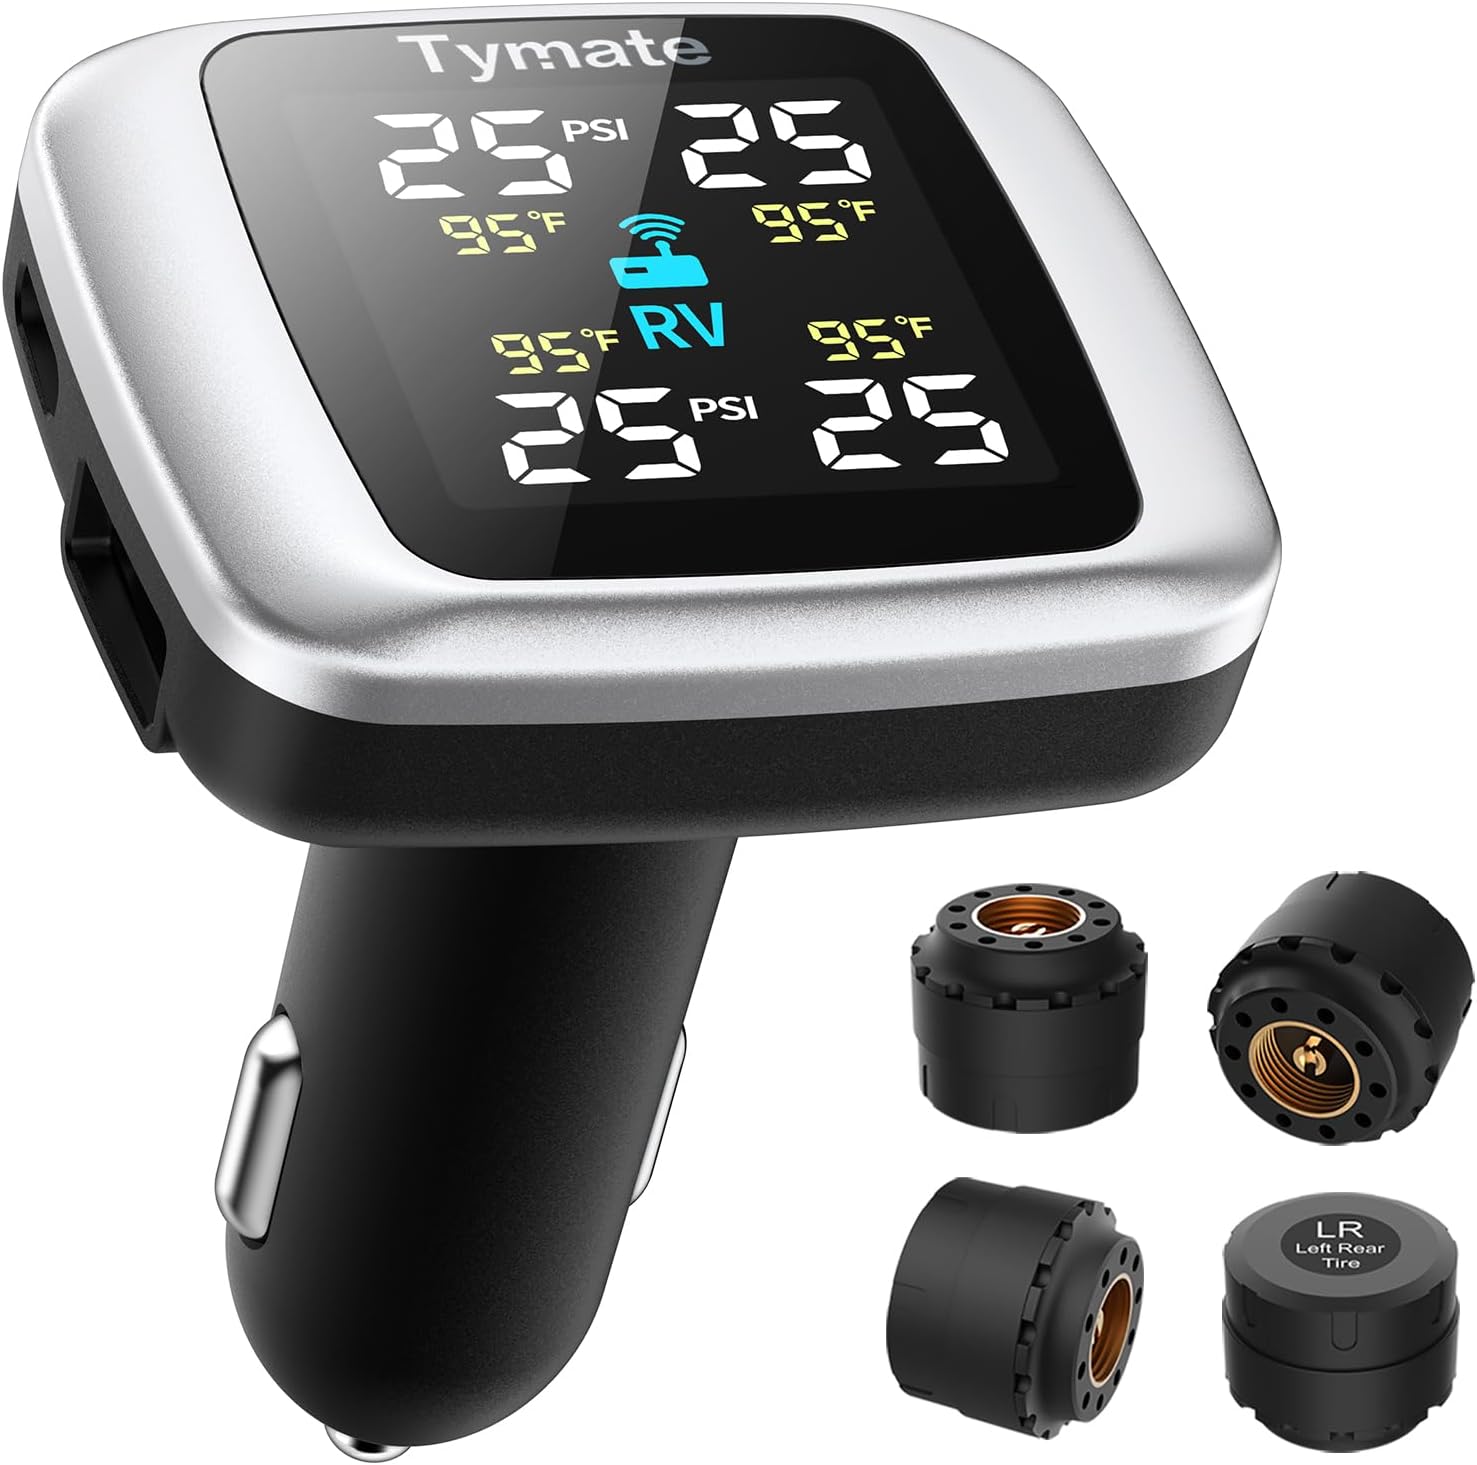
Tymate TM7 is a wireless tire pressure monitoring system that delivers real-time pressure and temperature readings for safer driving. It includes four external sensors, a bright color LCD display with adjustable backlight, and six alarm modes for high/low pressure, fast leakage, high temperature, and sensor signal or battery issues. The system covers a wide 0–144 PSI range and plugs into your vehicle’s cigarette lighter socket for quick DIY setup.

The VEHLIVE SU-50448 II TPMS relearn tool provides a fast activation reset to restore accurate tire pressure monitoring after sensor replacement or tire rotation. It supports 315 MHz and 433 MHz GM series sensors and helps clear dashboard pressure warnings. With simple two-button operation and horn-confirmed relearning order, you can reprogram sensors conveniently at home.

Milton S-921 pencil tire pressure gauge helps you maintain optimal tire pressure for passenger cars with accurate readings in PSI and kPa. It features a built-in deflator valve for convenient pressure adjustments, plus a single chuck head and nylon indicator bar for easy use on the go. Built from durable plated brass and designed for reliable performance, it’s a practical road trip and cold-weather maintenance tool.
Avoid These Common Tire Pressure Mistakes After Upsizing
Fine-tuning tire pressure after upsizing is not just about comfort. These mistakes can cause poor handling, uneven wear, overheating, or tire damage.
- Using the sidewall maximum as the target: The sidewall number is a limit, not your vehicle’s recommended operating pressure.
- Ignoring load index: A tire that fits the wheel is not automatically rated to carry the vehicle safely.
- Assuming wider always means lower PSI: Wider tires often have more air volume, but load index and construction still decide the safe pressure.
- Forgetting front/rear differences: If the placard lists different front and rear pressures, calculate each axle separately.
- Bleeding air from warm tires: Tires heat up while driving. If you lower warm tires to the cold target, they may be underinflated later.
- Trusting TPMS alone: Tire Pressure Monitoring Systems warn when pressure is significantly low; they do not replace monthly gauge checks.
- Skipping rim-width checks: A tire mounted on a wheel outside the approved rim range can wear poorly or fail.
Proper inflation is one of the simplest tire-safety habits: check cold pressure monthly, before long trips, and any time the weather changes sharply.
How Different Tire Types Change Pressure Needs
Different tire types can carry the same vehicle load at different pressures. That is why the load table must match the tire type you actually installed.
[Products Worth Considering]
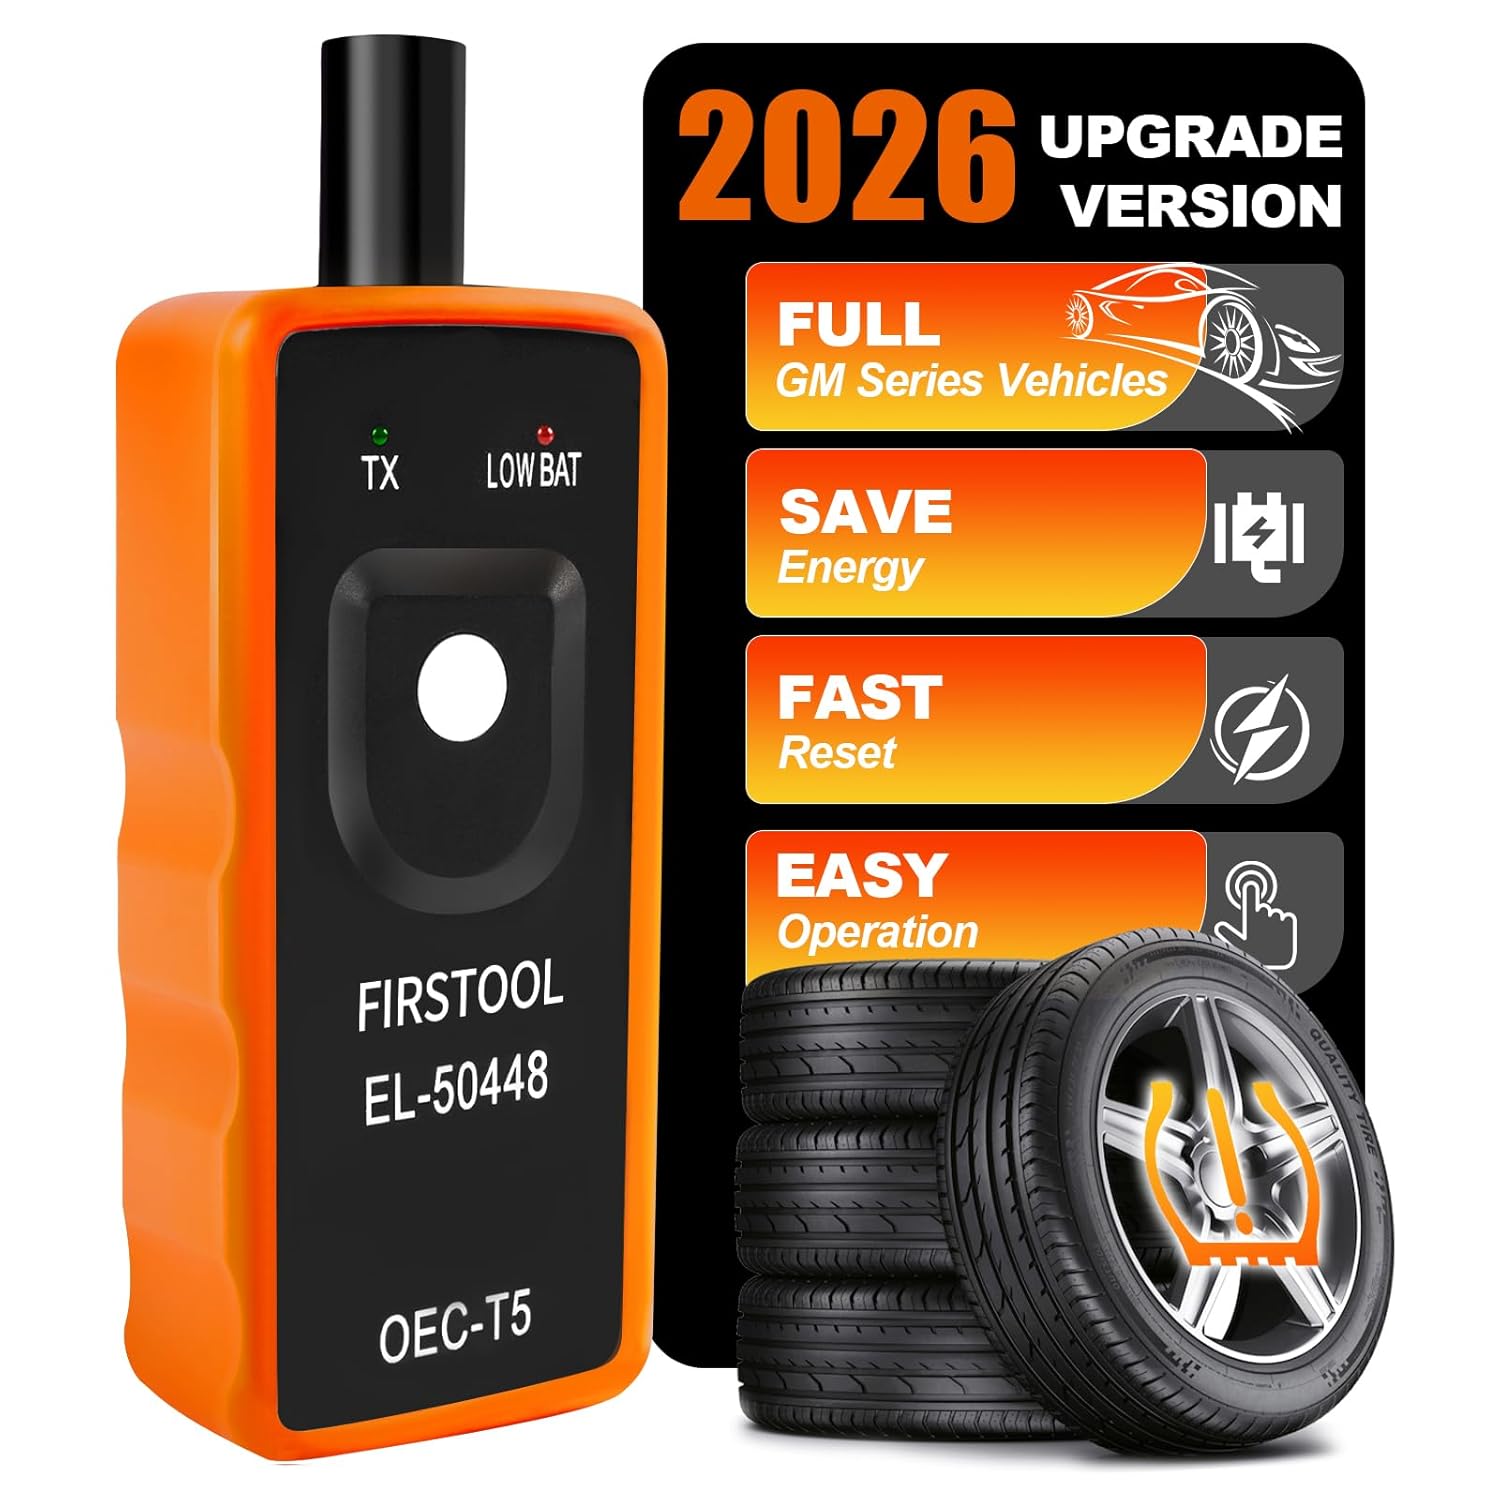
This TPMS relearn tool helps you quickly activate, match, and reset GM tire pressure sensors to keep the vehicle monitoring system working properly. It clears tire pressure alarms and dashboard warning lights after sensor replacement or tire rotation, and supports learning for common 315/433 MHz TPMS sensors. Designed for simple one-button operation, it can help you avoid unnecessary trips to repair shops.

This TPMS sensor training and relearn reset tool is customized for Ford, Lincoln, and Mercury vehicles to help activate tire pressure programming after sensor replacement or tire rotation. It can activate individual tire pressure sensors with one-button operation, helping prevent TPMS warning light illumination. It is not a sensor programming tool and cannot program replacement sensors—use it to trigger/activate sensors only.

Keep your tires properly inflated with this analog VONDIOR tire pressure gauge, designed for fast, easy readings without batteries. The swiveling, two-axis hose and large glow dial help you measure at any tire angle with instant visibility. Built with a protective rubber shield, it supports durable, low-maintenance use for cars and trucks.
Standard Load vs. Extra Load Tires
Standard Load and Extra Load tires may look similar, but XL tires are designed to carry more load at higher inflation pressures. If you replace an SL tire with an XL tire, the correct operating PSI is still based on the vehicle load requirement, not simply the highest number printed on the tire.
Passenger Tires vs. LT Tires
Light Truck tires are built differently from passenger tires. They may require higher pressure to carry the same load, especially on pickups, vans, and SUVs used for towing or hauling. Do not assume a P-metric-to-LT swap can use the same PSI as the old tire.
Run-Flat and Performance Tires
Run-flat and ultra-high-performance tires can have stiffer sidewalls. That stiffness may change ride feel and contact-patch behavior, but it does not eliminate the need to match load capacity. Follow the tire maker’s fitment guidance and the vehicle maker’s pressure guidance.
All-Terrain and Off-Road Tires
All-terrain tires can be heavier and stiffer than highway tires. The road PSI should still be set for safe load capacity on pavement. Airing down for off-road traction is a separate temporary use case and should be followed by reinflating before highway driving.
When to Ask a Tire Professional
Use a tire professional instead of guessing if any of these apply:
- The new tire has a lower load index than the original tire.
- You are switching from passenger tires to LT tires.
- You tow, haul, or drive near the vehicle’s gross weight rating.
- The new tire size changes overall diameter enough to affect speedometer, ABS, traction control, or stability control behavior.
- The tire is close to suspension, fender, brake, or steering components.
- The wheel width is outside the tire manufacturer’s approved rim range.
- You see vibration, pulling, rubbing, rapid air loss, or unusual tread wear after installation.
NHTSA advises choosing tires that are the same size as the original tires or another size recommended by the vehicle manufacturer, and consulting a tire dealer when there is doubt about the correct tire size.
[Products Worth Considering]

AstroAI’s heavy-duty digital tire pressure gauge delivers quick, accurate readings with 0.1 increments and a secure valve-stem seal. It features a green backlit LCD and built-in flashlight for easy use in low light, plus an ergonomic non-slip stainless-steel design. The wide 0–230 PSI range works across common vehicle tires, with unit selection and an auto shut-off to save battery.

Get precise tire readings with the ETENWOLF T300 Plus digital gauge, calibrated to ANSI B40.7 Grade 2A for reliable accuracy. It measures across a wide 3–200 PSI range and includes thermal compensation for dependable performance from extreme cold to heat. The bright LED display, LED illumination, and replaceable AAA batteries make it easy to check pressures quickly, even in low light.

Replace worn or missing TPMS sensors with a pre-programmed 4-pack designed for compatible GM vehicles. These 315MHz sensors provide real-time tire pressure monitoring and alert you if pressure is too high, too low, or if a rapid air leak occurs. Most installations are ready with minimal relearn effort after mounting, helping improve safety and driving confidence.
Troubleshooting Pressure Problems After Upsizing
| Symptom | Possible Cause | What to Do |
|---|---|---|
| Both shoulders wearing faster | Underinflation, overload, aggressive cornering, or alignment issue | Recheck cold PSI, verify load capacity, inspect alignment. |
| Center wearing faster | Overinflation or tire/wheel mismatch | Confirm calculated PSI and wheel width. |
| TPMS light after upsizing | Low pressure, sensor issue, or relearn/reset needed | Check cold PSI with a gauge, then follow the owner’s manual TPMS reset procedure. |
| Harsh ride | Pressure too high, stiff sidewalls, larger wheels, or lower-profile tires | Do not drop below safe load pressure; verify setup with a tire pro. |
| Tire feels hot after driving | Underinflation, overload, speed, brake drag, or alignment problem | Stop safely, inspect the tire, and do not continue hard driving until the cause is found. |
Top Tips for Keeping Tire Pressure Optimal
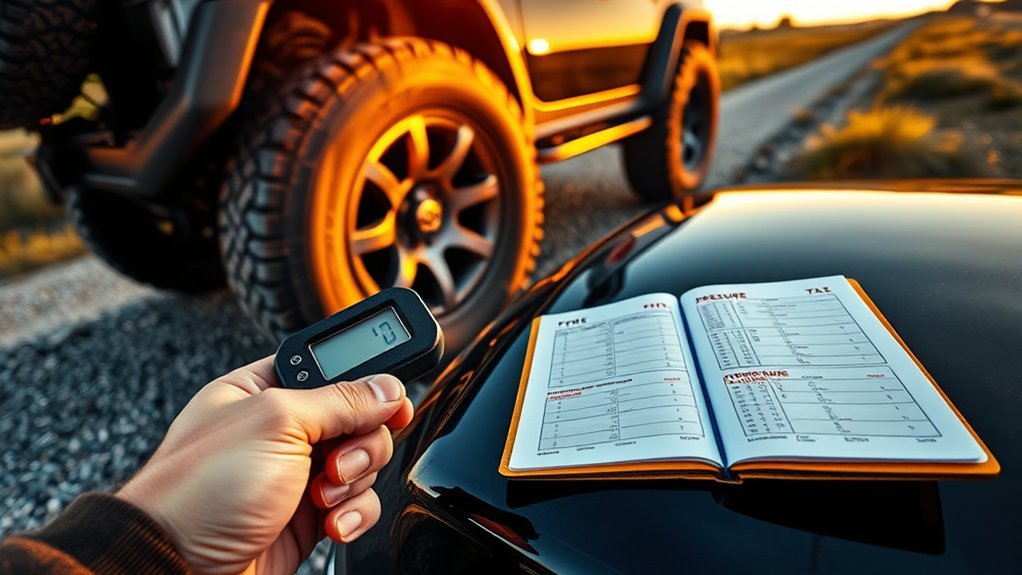
Once you set the correct pressure, keep it consistent with regular checks:
- Check all tires, including the spare if equipped, at least once a month.
- Check pressure before long trips or heavy towing.
- Use a quality gauge rather than relying only on the dashboard TPMS display.
- Measure pressure cold whenever possible.
- Recheck after major seasonal temperature swings.
- Replace missing valve caps to help keep dirt and moisture out of the valve stem.
- Inspect tread wear, sidewalls, valve stems, and embedded objects while checking pressure.
For fuel economy, the benefit is real but often overstated. FuelEconomy.gov says proper tire inflation can improve gas mileage by 0.6% on average and up to 3% in some cases, while underinflation can lower gas mileage by about 0.2% for every 1 psi drop in the average pressure of all tires.
Frequently Asked Questions
How often should I check my tire pressure after upsizing?
Check tire pressure at least once a month, before long trips, after major temperature changes, and any time the vehicle feels different. Always check cold pressure when possible.
Can I use the same pressure for all four tires?
Only if your vehicle placard lists the same front and rear pressure and the new tires are calculated to carry the correct load at that pressure. If the placard lists different front and rear PSI, calculate and set each axle separately.
Will upsizing affect my vehicle’s fuel efficiency?
It can. Larger or heavier tires and wheels may increase rolling resistance and rotating weight. Incorrect pressure can also reduce fuel economy. Keeping tires at the correct cold PSI helps reduce avoidable fuel loss.
What tools do I need to measure tire pressure accurately?
Use a reliable digital, dial, or stick tire pressure gauge, plus an air compressor or pump. For best accuracy, check tires cold and compare readings with the vehicle placard or your calculated equivalent-load PSI.
How does temperature change impact tire pressure?
Tire pressure changes with temperature. Cold weather can make pressure drop enough to trigger TPMS warnings, while warm tires read higher after driving. Check pressure cold and recheck during seasonal changes.
Is the chalk test enough to set pressure after upsizing?
No. The chalk test can show obvious contact-patch issues, but it does not confirm load capacity. Use it only after you calculate a safe cold PSI from the placard and load/inflation data.
Do I need to reset TPMS after changing tire size?
Sometimes. Some vehicles require a TPMS relearn or reset after tire service, wheel changes, or pressure changes. Follow the owner’s manual, and remember that TPMS does not replace monthly pressure checks.
Conclusion
Calculating tire pressure after upsizing starts with the vehicle placard, not the tire sidewall maximum. Match the new tire’s load-carrying capacity to the original tire’s load requirement, set pressure cold, and keep front and rear values separate when the placard calls for it. With the right PSI, upsized tires can deliver the look, handling, and capability you want without sacrificing safety, tread life, or fuel economy.
Sources
- NHTSA TireWise — tire pressure, placard PSI, cold-pressure checks, tire size safety, TPMS, and tire-maintenance guidance.
- FuelEconomy.gov: Keeping Your Vehicle in Shape — fuel-economy impact of proper tire inflation and underinflation.
- U.S. Tire Manufacturers Association: Tire Care & Safety — monthly inspections, tire care essentials, load index, and when to seek professional tire help.
- The Tire and Rim Association — tire, rim, valve, and allied-parts standards and engineering publications.