
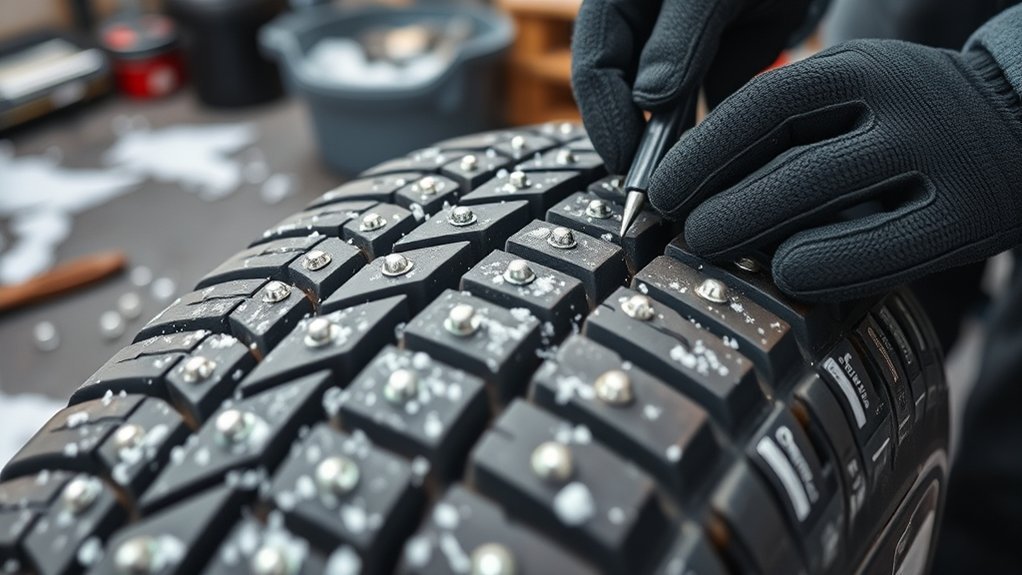
Studding a tire means installing approved tire studs into a winter tire that was built to accept them. For most passenger cars, SUVs, and light trucks, that means using a new studdable winter tire with factory-molded stud holes, not drilling a standard tire or driving hardware screws into the tread. Done correctly, tire studs can improve grip on hard-packed snow and ice, but they must match the tire, the stud hole depth, your local laws, and the way you drive during break-in.
Quick Answer
To stud a tire, start with a new studdable winter tire that has molded stud holes. Measure the hole depth, match the correct TSMI stud size, lightly lubricate the holes, and install each stud straight with a tire stud gun. Check that each stud sits nearly flush, then break the tires in gently for 50 to 100 miles.
Key Takeaways
- Stud only tires labeled or molded as studdable; do not drill ordinary passenger tires.
- Use new or very clean studdable winter tires because dirt in used stud holes can stop studs from seating correctly.
- Match the stud size to the molded hole depth, not to guesswork or the deepest part of the tread.
- Install traditional tire studs with a proper stud gun or insertion tool, keeping each stud straight and evenly seated.
- Check local studded-tire laws before driving because seasonal rules, fines, and chain requirements vary by region.
At a Glance
| Time Required | About 20 to 45 minutes per tire once the tire, studs, and tools are ready |
| Difficulty | Moderate; easy to do wrong without the correct stud size and insertion tool |
| Tools Needed | Safety glasses, gloves, tire tread depth gauge, approved studs, stud gun or insertion tool, tire stand, and mild soapy water |
| Cost | Varies by tire size, stud count, and whether you pay a tire shop or buy/rent professional studding equipment |
Before You Start: Check the Tire, Stud Type, and Local Law
Before you install tire studs, confirm three things: the tire is studdable, the studs match the tire maker’s specification, and studded tires are legal where you drive. Studded-tire rules vary by state, province, and date. Some areas allow them only during winter months, some restrict them, and some mountain routes may still require chains even when you have studded tires.
Warning: Do not drill a standard passenger tire to make your own stud holes. Traditional tire studs are designed for tires with factory-molded stud pockets. Drilling into the tread can damage the tire structure and may cause unsafe stud retention or tire failure.
This guide focuses on traditional passenger and light-truck tire studs that press into molded stud holes with a stud gun or insertion tool. Purpose-made screw-in tire studs are a separate system with separate instructions. Ordinary hardware screws are not a safe substitute for approved tire studs.
Choose a Tire That Can Be Studded
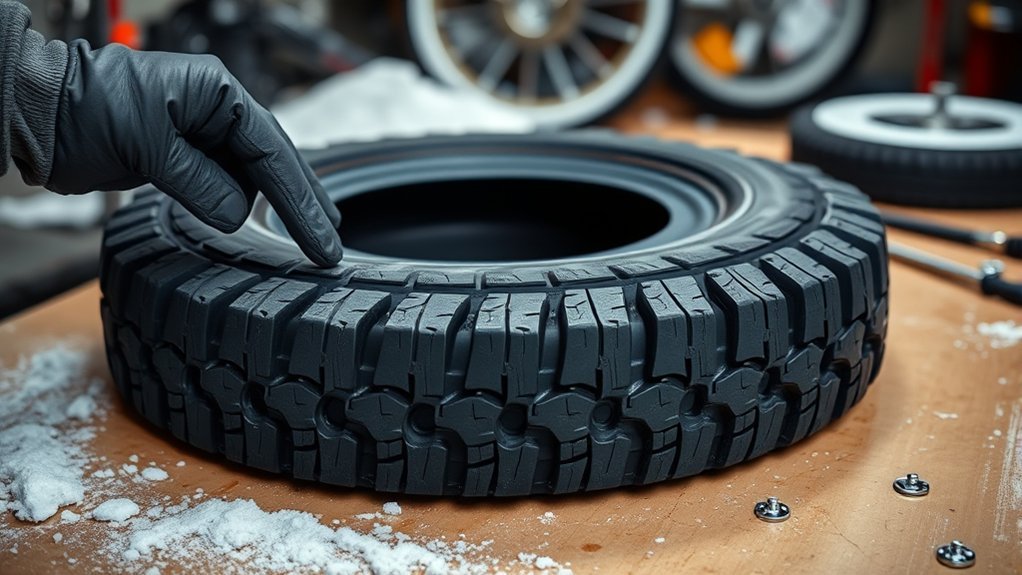
Start with a tire that is clearly designed to accept studs. Look for a product listing, sidewall information, or tread blocks with small molded stud holes. A tire can be a winter tire and still be non-studdable, so do not assume every snow tire can take studs.
For best results, stud new tires before they are driven. Once a tire has been used, dirt, salt, and small stones can pack into the molded holes and stop the studs from seating fully. If you are considering a used studdable tire, inspect every stud hole carefully and skip the job if the holes are contaminated, torn, shallow, or uneven.
Also check the tire’s winter rating. The three-peak mountain snowflake symbol identifies tires that meet industry severe-snow performance criteria. It does not automatically mean the tire is studdable, but it is a useful sign that the tire is built for serious winter use.
Note: Install winter tires as a matched set of four whenever possible. Mixing studded and non-studded winter tires can create uneven grip, especially during braking and cornering.
[Products Worth Considering]

The SAFELIFE dial tire tread depth gauge measures tread depth in 1/32 inch increments with clear, easy-to-read 2-inch dial face. Color zones using a traffic light system help you quickly judge whether tread is low, marginal, or ample for safer driving. Built with a durable zinc cast body and a metal detect probe for precise, comfortable use across cars, motorcycles, trucks, and buses.

Measure tire tread depth quickly and accurately with this LUMITECO dial gauge that reads in 1/32" increments up to 14/32". The color-coded green/yellow/red zones make it easy to judge tire wear and know when replacement is needed. A rugged, compact design with a protective pouch helps keep the gauge ready for use on cars, trucks, motorcycles, and more.

Monitor tire tread wear with a smart, color-coded depth gauge that shows clear condition ranges at a glance. The bar is range marked for fast, easy readings, helping you maintain safer traction and performance. Each gauge is portable with a pocket clip, and the set includes 20 units for daily use and sharing.
Gather Your Studding Tools and Safety Gear
Have every tool ready before you open the stud box. You will need shop-approved safety glasses, work gloves, a tire tread depth gauge, the correct tire studs, a stud gun or insertion tool, a stable tire stand, and mild soapy water for light lubrication. If your stud gun is pneumatic, follow the tool maker’s pressure range and setup instructions.
[Products Worth Considering]

Accurately measure tire tread depth with a calibrated gauge marked from 0 to 1 inch in 1/32 inch increments. The color-coded bar helps you quickly identify tread condition ranges, supporting safe driving for trucks, motorcycles, automobiles, and passenger vehicles.

The 22800 wheel stud installer makes replacing wheel studs quick and secure, saving time and effort during tire service. It uses a ratchet or impact wrench to pull new studs firmly into place, helping when existing studs are too long. Compatible with most automotive wheels and light-duty truck wheel studs, it’s designed for easy, tool-assisted installation.

Protect tire valves from water, dust, and sand to help prevent leaks and support safe driving. These universal stem caps install quickly by hand and feature durable aluminum alloy construction with an inner sealing ring for better air retention. Compatible with cars, SUVs, trucks, motorcycles, and bicycles for everyday convenience.
Safety Gear Essentials
Wear safety glasses and gloves for the entire job. Tire studs are small metal parts, and pneumatic or spring-loaded tools can eject debris if the tool slips. Work on a stable surface with the tire secured so it cannot roll or twist while you press the stud gun into the tread.
Before each tire, inspect the stud gun, feeder, hose, and tip. A worn or dirty insertion tip can tilt studs or fail to push them fully into the molded hole. If the tool feels inconsistent, stop and correct the tool problem before you continue.
Studding Tool Setup
Load only the correct stud size into the tool. Traditional TSMI-style passenger studs are not universal. A stud that is too short may not bite into ice properly, while a stud that is too long can stand too proud, wear quickly, eject, or damage the tread.
If the tool uses compressed air, connect it to clean, regulated air and set the pressure according to the tool manufacturer’s recommendation. Many shop-style stud guns operate in a defined PSI range, but that range is not the same for every tool. Never guess if the manual or tool label gives a specific number.
Tire Prep Checklist
- Confirm the tire is marked or molded as studdable.
- Confirm the tire is new or that all molded stud holes are clean and undamaged.
- Measure the molded stud hole depth before choosing studs.
- Check that the tire is mounted securely on a tire stand or stable work surface.
- Lightly wet each stud hole with mild soapy water if the stud or tool instructions recommend lubrication.
- Keep the studs clean; do not drop them into dirt, grease, or road grit.
Pro Tip: Sort studs by size before you begin. One wrong stud mixed into the batch can create a high, loose, or ineffective stud that is easy to miss during a long installation.
Check Hole Depth and Pick the Correct Stud Size
Stud size is chosen by measuring the depth of the molded stud hole, not by guessing from the tire’s overall tread depth. Use a tread depth gauge to measure several stud holes around the tire. If the shallowest correct hole measures 12/32 inch, a TSMI #12 stud is commonly the matching size, but always follow the tire or stud manufacturer’s specification.
Measure more than one hole because tread blocks can vary slightly, and a manufacturing label or product listing may be more specific than a general chart. If the tire manufacturer lists a specific stud, use that specification first. For example, some studdable winter tires are molded for a specific TSMI number and color-coded stud size.
Warning: If the tire has no molded stud holes, stop. Do not make your own holes with a drill, awl, nail, or screw. Use a different studdable tire or choose a studless winter tire instead.
[Products Worth Considering]

The Trivd Frol 1/2" air impact wrench delivers high performance torque up to 1500 ft-lbs with a twin hammer impact mechanism for strong, balanced blows. It features an ergonomic grip, compact lightweight design, and quick-stop control with 3 forward speeds up to 8000 RPM plus a reverse speed. Built for demanding automotive repair and tire shop work, the rear exhaust helps keep debris away from the surface.
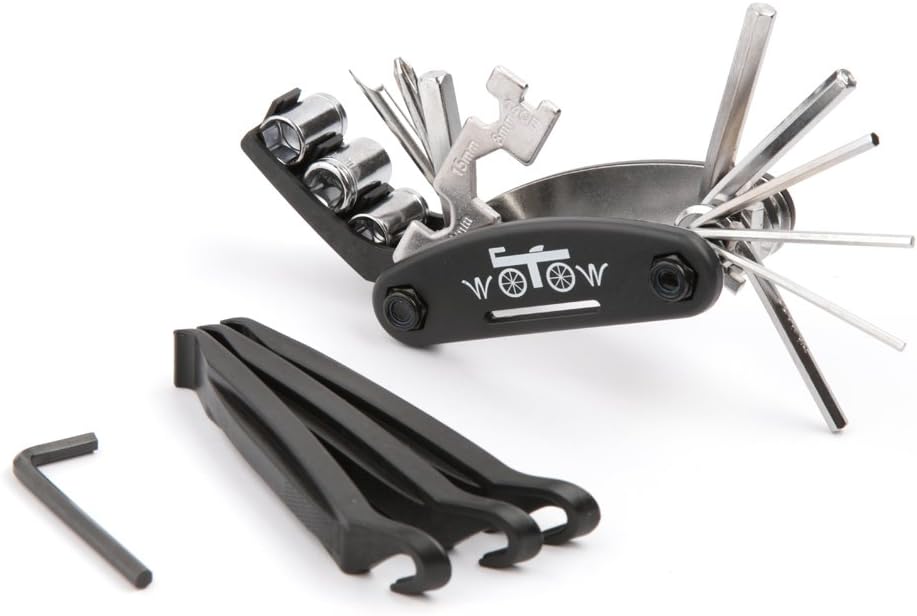
This WOTOW 16-in-1 bicycle multitool is built from corrosion-resistant chrome-vanadium steel for reliable, high-torque performance on the road or trail. It includes multiple hex sizes, a socket extension rod, flat wrench options, a spoke tool, a slot and cross screwdriver, plus three nylon tire levers to help you remove inner tubes and fix flats quickly. The compact folded design makes it easy to carry in a saddlebag or pocket, while an extra Allen wrench helps tighten or loosen stubborn hardware.

This AUTOWN flat tire repair kit is designed for quick, reliable puncture repairs using a plug kit and spiral probe tool to simplify installation. Built for durability and safe handling, it offers strong adhesion and flexibility to help maintain tire air tightness. With a portable storage case and a multi-vehicle approach, it’s suitable for cars, motorcycles, ATVs, tractors, lawn mowers, RVs, jeeps, and trucks.
Mark the Tread for Even Stud Placement
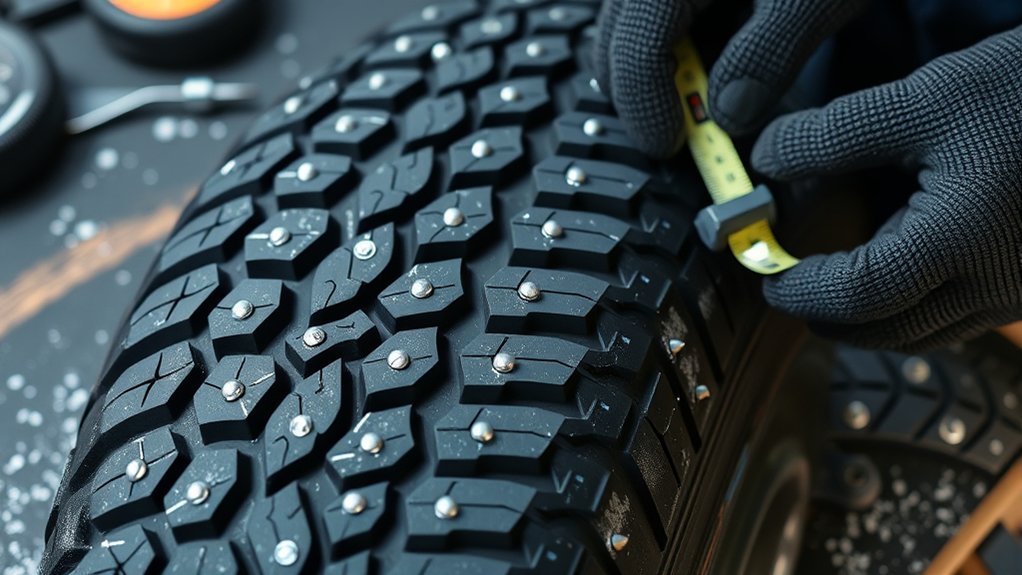
Most studdable passenger tires already have a molded stud pattern, so you usually do not need to design your own layout. The molded holes are placed by the tire manufacturer to balance traction, noise, tread strength, and handling. Use chalk only to track completed sections or to mark holes you have inspected, not to create new drilling points.
Measure and Confirm the Factory Pattern
Rotate the tire slowly and inspect the molded stud holes across the shoulders and intermediate tread blocks. Confirm that the pattern is complete and that each hole is clean, open, and deep enough for the specified stud. Skip any damaged hole rather than forcing a stud into torn rubber.
If a hole is blocked with debris on a used tire, do not dig aggressively into the rubber. Light cleaning may be acceptable, but gouging the pocket can reduce retention. When several holes are dirty, stretched, or damaged, the tire is not a good candidate for studding.
Keep the Stud Layout Balanced
Install studs evenly around the tire by following the existing molded sequence. Do not load only one shoulder, only the center, or only one side of the tire. Uneven stud placement can create vibration, pull, noise, and unpredictable grip on ice.
Work in small sections and rotate the tire as you go. A steady pattern helps you avoid missing holes and makes the final inspection easier.
Install the Studs With Firm, Straight Pressure
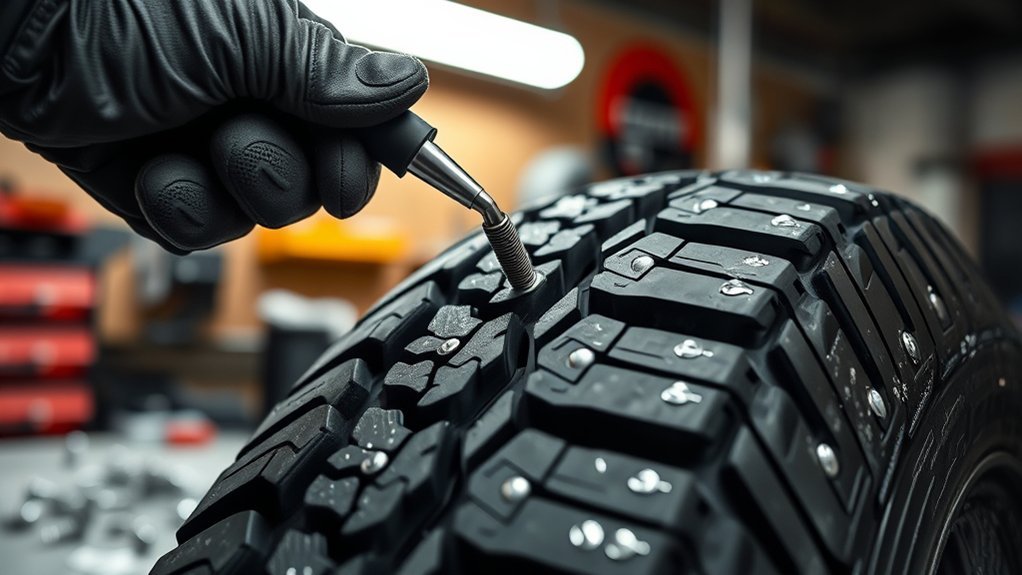
Place the stud gun tip squarely over the molded hole. Press straight down so the tool spreads the rubber evenly, then trigger the tool while keeping steady pressure. Do not twist, rock, or lean the gun during insertion. A leaning stud will not seat correctly and is more likely to loosen or fail early.
- Position the tire securely on the stand.
- Lightly lubricate the molded hole if recommended by the tool or stud instructions.
- Set the stud gun tip squarely into the hole.
- Press down with firm, controlled pressure.
- Trigger the tool to insert the stud.
- Release the trigger before lifting the tool away.
- Check the stud visually before moving to the next hole.
Repeat the same motion for every stud. Consistency matters more than speed. If the tool skips, jams, or starts seating studs crookedly, stop and fix the tool setup before continuing.
Check Stud Height and Seating Depth
After installation, inspect every stud. A properly seated stud should look nearly flush with the tread surface, with the carbide pin and only a small amount of the stud body visible. The stud should stand straight, not tilted. The base should be locked into the rubber, not sitting on top of it.
Look for these problems during inspection:
- Too high: The stud may eject, wear fast, or reduce handling on pavement.
- Too low: The stud may not contact ice effectively.
- Leaning: The stud may not retain properly and can tear the surrounding rubber.
- Loose: The hole may be damaged, dirty, or paired with the wrong stud size.
- Missing pattern sections: Uneven stud distribution can cause vibration or uneven grip.
If a stud is badly tilted, incorrectly sized, or loose, do not ignore it. Remove and correct it if the tire and stud system allow safe correction, or have the tire checked by a professional tire shop.
Break In Your Studded Tires Safely
Newly installed studs need a gentle break-in period so the rubber can settle around the stud body. For the first 50 to 100 miles, avoid hard acceleration, sudden braking, high-speed cornering, and tire spin. Keep speeds moderate and use smooth steering and braking inputs.
| Break-In Check | What to Do |
|---|---|
| Miles | Drive gently for 50 to 100 miles |
| Speed | Keep speeds moderate during the first trips |
| Steering | Avoid sharp, aggressive cornering |
| Braking | Brake early and smoothly |
| Inspection | Recheck stud height and seating after break-in |
After the break-in period, inspect the tires again. A few missing studs may not make the tire unusable, but clusters of missing, tilted, or loose studs point to a sizing, installation, or tire-condition problem.
Troubleshooting Common Tire Stud Problems
If your studded tires feel rough, loud, or unstable after installation, check them before driving farther. Some noise is normal with studded tires, especially on bare pavement, but strong vibration or pulling is not normal.
| Problem | Likely Cause | Fix |
|---|---|---|
| Studs lean to one side | Tool was angled during insertion | Stop installing, correct tool position, and have badly tilted studs checked |
| Studs sit too high | Stud too long or not fully seated | Verify stud size and insertion depth before driving |
| Studs disappear into tread | Stud too short or hole too deep | Recheck TSMI size against hole depth |
| Several studs fall out quickly | Used tire holes, wrong size, or harsh break-in | Inspect the tire and avoid aggressive driving during break-in |
| Strong vibration | Uneven stud pattern, tire balance issue, or damaged tire | Have the tire inspected and balanced by a tire professional |
When You Should Not Stud a Tire
Do not stud a tire if it is not designed for studs, has no molded stud holes, has worn or torn stud pockets, or has already been driven enough for debris to pack into the holes. Also avoid studding tires that are aged, cracked, unevenly worn, or mismatched across the vehicle.
Studded tires also are not the best choice for every winter driver. They work best on hard-packed snow and ice. On bare pavement, they can be noisy, can wear faster, and may reduce comfort. In many regions, high-quality studless winter tires or all-weather tires with the 3PMSF symbol are a better fit for mixed winter roads.
Note: Studded tires may not satisfy posted chain requirements. If you drive mountain passes or chain-control zones, check the local transportation agency’s rules before relying on studs alone.
Frequently Asked Questions
Can I stud my tires myself?
Yes, you can stud your own tires if they are studdable winter tires with molded stud holes and you have the correct studs, stud gun, safety gear, and patience. However, many drivers are better off having a tire shop do it because incorrect stud size or crooked installation can damage the tire or cause poor stud retention.
How do I stud my winter tires?
Use only studdable winter tires with molded holes. Measure the molded hole depth, choose the matching TSMI stud size, lightly lubricate the hole if recommended, and press each stud straight into place with a stud gun. After installation, check that every stud is straight and nearly flush, then drive gently during the first 50 to 100 miles.
What is the 7/32 rule for snow tires?
The 7/32 guideline is a practical winter-traction rule of thumb, not a universal legal requirement. It means many drivers start planning replacement when winter tire tread gets near 7/32 inch because snow and slush performance can drop as tread gets shallower. Legal minimum tread rules are often lower, but legal minimum does not always mean ideal winter performance.
Can you use screws as tire studs?
No, do not use ordinary hardware screws as tire studs. They are not designed for tire loads, ice traction, or safe retention at road speed. Purpose-made screw-in tire studs do exist for certain applications, but they are a separate product system and must be installed only according to the stud and tire manufacturer’s instructions.
Do I need to stud all four tires?
For stable handling, use a matched set of four winter tires. Installing studded tires on only one axle can create uneven grip between the front and rear of the vehicle, which may affect braking, steering, and stability on ice.
Are studded tires better than studless winter tires?
Studded tires can offer extra bite on hard ice and hard-packed snow, but they are not always better overall. Studless winter tires are usually quieter, legal in more places year-round, and often better for mixed wet, dry, and snowy roads. Choose studs mainly if you regularly drive on icy roads where studs are legal.
Do studded tires replace tire chains?
Not always. Some roads and mountain passes may still require chains even if your vehicle has studded tires, winter tires, or all-wheel drive. Check the transportation agency rules for the route you plan to drive.
How many studs go in one tire?
The number depends on the tire size and factory hole pattern. Many passenger tires are designed for roughly 80 to 120 studs per tire, but the correct number is the number of molded stud holes provided by the tire manufacturer. Do not add extra holes.
Conclusion
Studding a tire is straightforward only when the tire, stud, tool, and legal conditions are right. Start with a studdable winter tire, measure the molded hole depth, use the correct TSMI stud size, and install each stud straight with a proper stud gun. After installation, inspect every stud and drive gently through the break-in period. If the tire is not studdable, the holes are dirty or damaged, or local law does not allow studs, choose a studless winter tire or another approved traction option instead.
Sources
- Bruno Wessel — How to Stud a Tire — backs stud installation process, TSMI sizing, safety gear, and break-in guidance.
- Tire Rack — How Do I Break In Studded Tires? — backs stud break-in, molded-hole insertion, and gentle driving guidance.
- U.S. Tire Manufacturers Association — Severe Snow Use Tire Definition — backs 3PMSF severe-snow marking information.
- NHTSA TireWise — Tire Safety — backs general tire safety and winter tire context.
- Washington State Department of Transportation — Winter Driving Guide — backs chain and traction-tire caution.
- Oregon Department of Transportation — Traction Tires — backs examples of studded-tire seasonal restrictions and legal-use considerations.
