
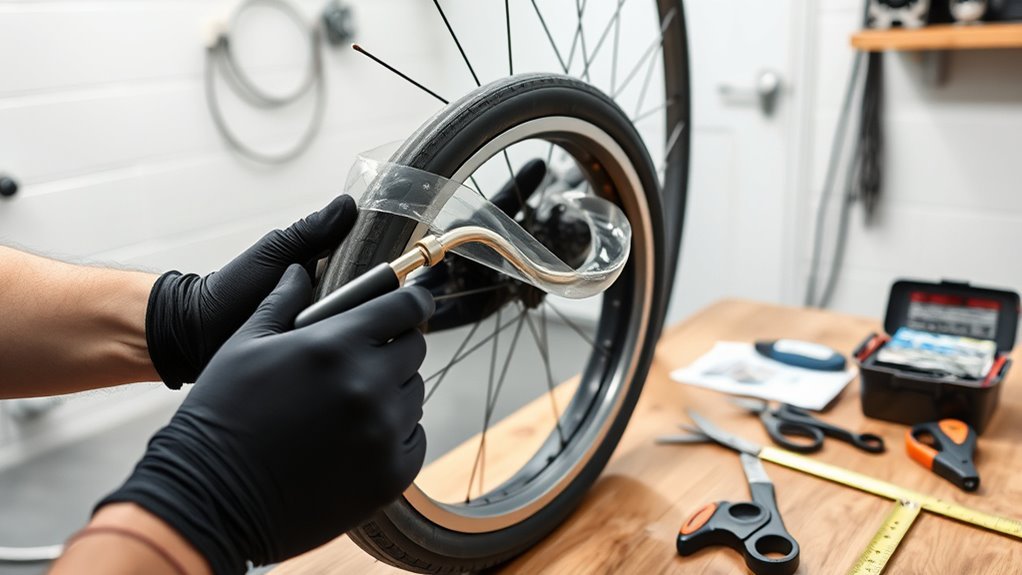
Flats often come from tiny glass, wire, thorns, or sharp rim edges that you may not notice until the tube loses air. A tire liner adds a protective layer between the tube and tire tread, but it only works well when you size, trim, and center it with care. Follow these steps to install tire liners without overlap, folds, or bead seating problems.
Quick Summary: Install Tire Liners in 5 Steps
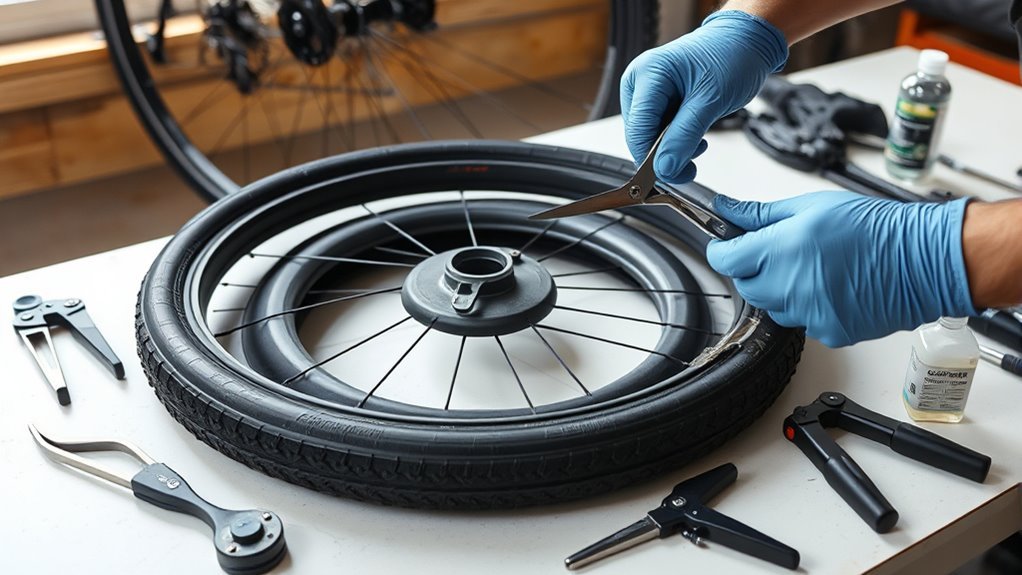
Choose a liner that matches your tire width and protection needs, then remove the tire and clean the interior. Deflate the tube fully, trim the liner to fit the inner circumference with no overlap, and start placement near the valve stem so you can center it. Align the seam, secure the liner if the maker recommends it, then mount the tire and inflate to the recommended pressure while checking bead alignment.
Key Takeaways
- Match the tire liner width to your tire so it protects the tube without bunching.
- Clean the tire and rim before installation to remove debris that can cause flats.
- Trim the liner so the ends meet closely without overlap or a raised pressure point.
- Center the liner before final inflation to prevent rubbing, folds, and pinch flats.
- Inspect the liner during tire changes and replace it when it cracks, curls, or wears thin.
What You’ll Need Before Installing Tire Liners
Gather your tools before you open the tire. A clean setup helps you avoid rushed cuts, trapped grit, and bead damage.
- Tire levers for controlled bead removal
- A pump with a pressure gauge
- Sharp scissors for clean liner trimming
- A clean rag for wiping the tire and rim
- Mild dish soap for light bead lubrication, if needed
- The correct tire liner size for your tire width
Plan on about 20 to 40 minutes for one wheel, depending on tire tightness and liner type. Take more time if you find rim damage, embedded glass, or a worn tube.
[Products Worth Considering]

Switch to tubeless with this Muc-Off rim tape designed to create an airtight seal for smooth-running setups. The pressure-sensitive adhesive offers the right stretch for strength and durability, while the semi-transparent material helps you locate the valve hole quickly. It includes four seal patches for a secure finishing seal after wrapping.

This heavy-duty bicycle rim liner provides complete tube protection by shielding the inner tube from rim spoke holes and sharp metal burrs that can cause flats. Made from premium, wear-resistant PVC, it lays flat with optimized 18 mm width and 0.50 mm thickness for edge-to-edge coverage. Installation is quick with flexible stretch placement and a secure, non-slip fit.

Malco tire mounting and demounting lubricant is a ready-to-use tire lube formulated to reduce friction during tire installation for passenger cars, light trucks, farm tires, and heavy-duty equipment. It provides rust-inhibiting protection to help reduce corrosion on rims and wheels, and helps support proper tire bead seating during inflation to reduce air leakage. The silicone-free, soap-free formula is whitewall safe to help prevent discoloration on whitewall tires and sensitive sidewall markings.
Choose a Tire Liner: Size, Protection Level, and Compatibility
Pick a tire liner that fits your tire width and riding conditions. A liner that feels too narrow may not cover the main puncture zone, while a liner that feels too wide can curl near the sidewall.
Compare tire liner types before you buy. Thin fabric or polymer liners keep weight low, while thicker foam or rubber-style liners add more cushioning and puncture resistance.
Check the maker’s size chart for your tire and rim combination. Some liners fit tightly on narrow rims, stiff beads, or deep tire casings, so fit matters as much as material.
[Products Worth Considering]

This heavy-duty fat bike inner tube is built for secure fit on 20-inch wheels with 3.5 to 4.0 inch wide tires, including e-bikes and mountain bikes. It uses thick butyl rubber for improved durability, air tightness, and a smoother, more comfortable ride. A standard Schrader valve makes inflation easy and helps keep pressure stable for safer rides, with tire levers included for simpler installation.
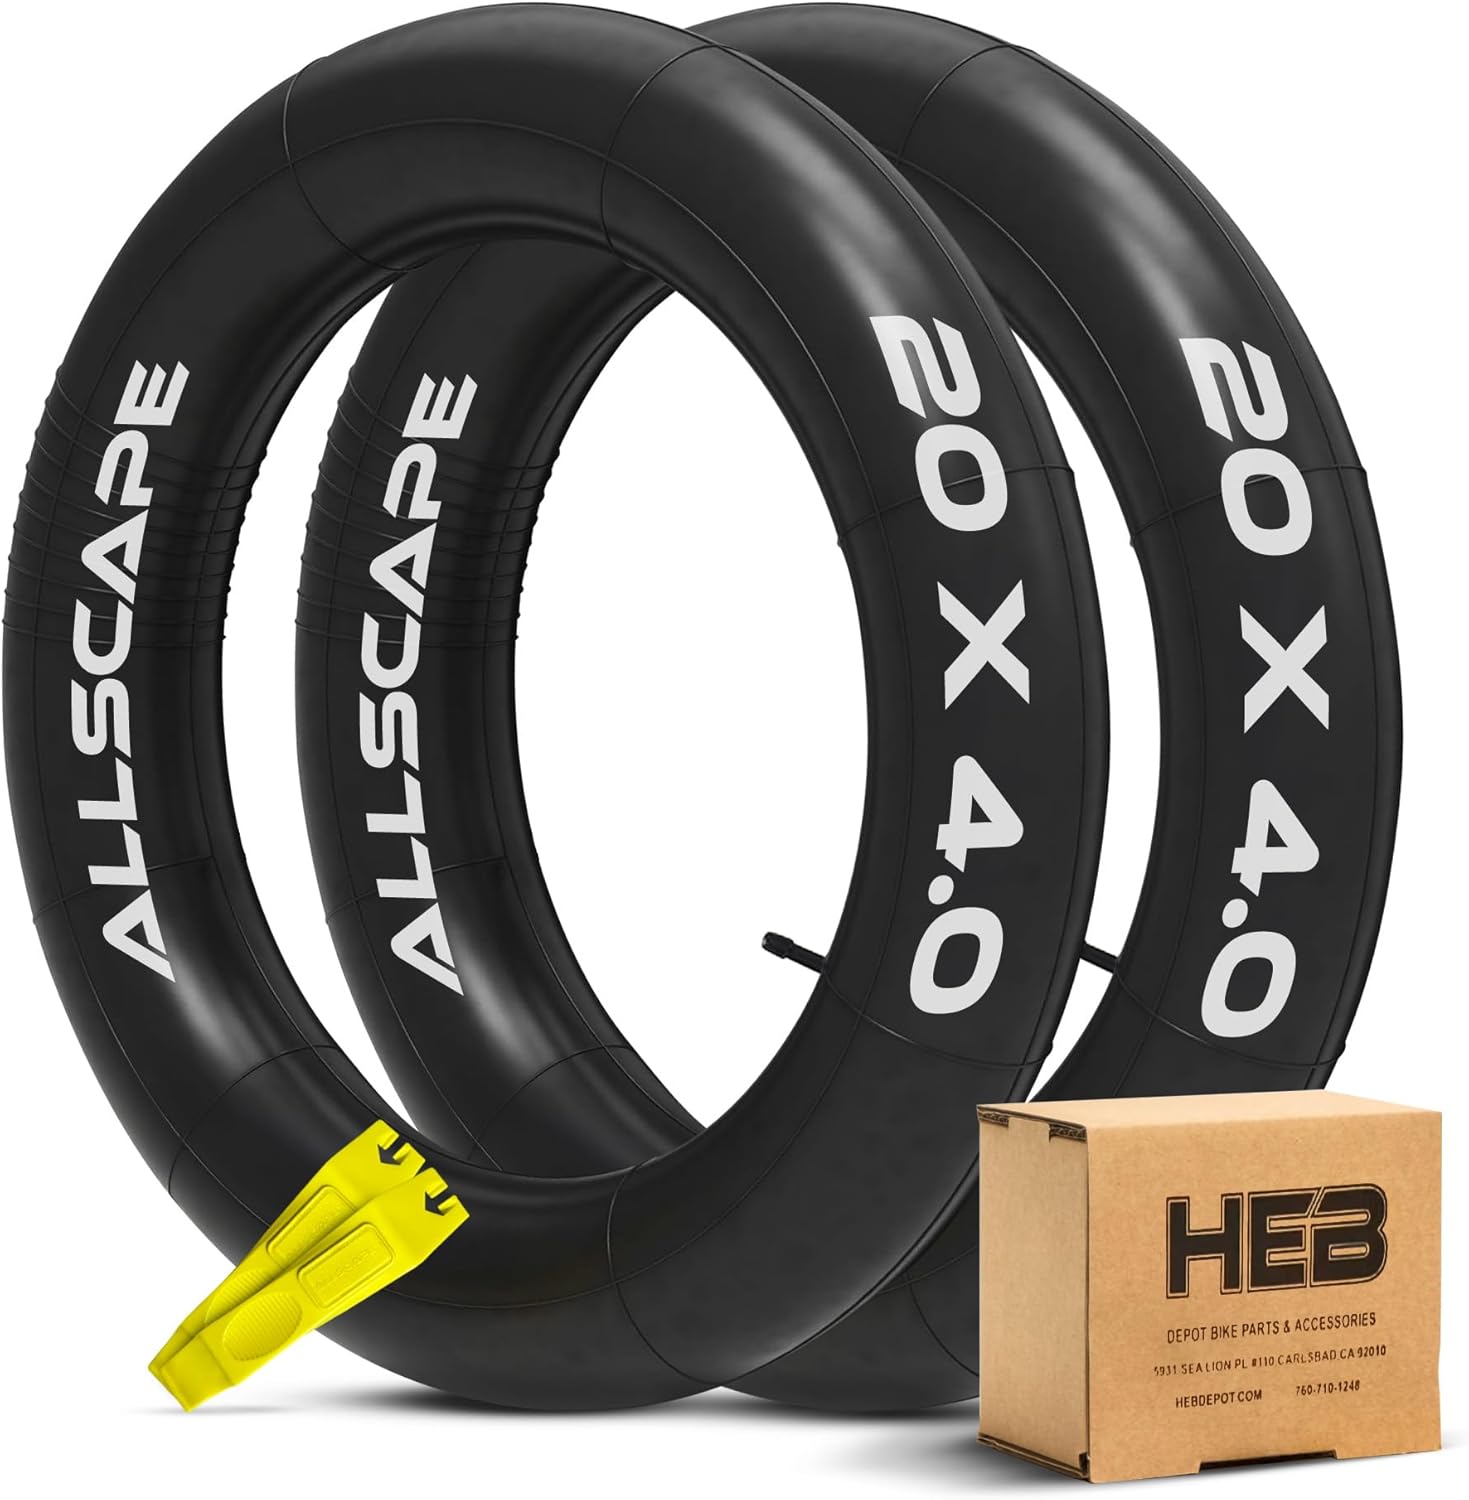
HEB heavy duty inner tubes deliver reliable puncture resistance for fat tire electric bikes and mountain bikes running 20x4 or 26x4 tires. Built for rugged backcountry trails, they help prevent flats from rocks and thorns while providing stability and traction. Choose a single tube or multi-packs for better value and keep your ride running smoothly in all seasons.

This Hycline 2-pack mountain bike tire set delivers durable, puncture-resistant performance with a high-grip, aggressive tread designed for traction on hard surfaces and confident handling through mud and soil. Includes matching inner tubes and tire levers for easier everyday maintenance and quicker installation after folding storage. Built for a range of riding conditions with reinforced rubber and nylon cord for wear-resistant reliability.
Prep the Wheel: Tools, Deflation, and Rim/Tire Checks for Liners
Start by clearing the work area and laying out your tools. You’ll need tire levers, a pump, sharp scissors, a clean rag, and a little dish soap for lubrication if the bead feels tight.
Deflate the tire completely before you remove the bead. Full deflation protects the rim, tube, and tire bead while you open the casing.
Inspect both rim and tire for burrs, embedded debris, or damage that could cut the tube or puncture the liner. Remove glass, wire, thorns, and grit before the liner goes in.
- Use tire levers for controlled bead removal
- Use a pump for final seating and pressure checks
- Use sharp scissors for precise trimming
- Use mild dish soap sparingly to lubricate the bead
- Use a clean rag to remove dirt and debris
Smooth sharp rim edges with the right rim tape or repair method before you reinstall the tire. Good prep reduces installation errors and supports long-term tire maintenance.
Warning: Do not ignore sharp rim edges or exposed spoke holes, because they can damage the tube even with a liner installed.
[Products Worth Considering]

The Calvana Ultra-Durable Angled Tire Lube Bucket Kit provides reliable lubrication for faster, smoother tire changes. It includes an angled universal lube bottle and premium cotton swabs to help lubricate tire beads during removal and mounting. Built for rugged use with a reinforced handle and durable fiber design, it’s a direct replacement for Coats 8106259 to reduce downtime and compatibility concerns.
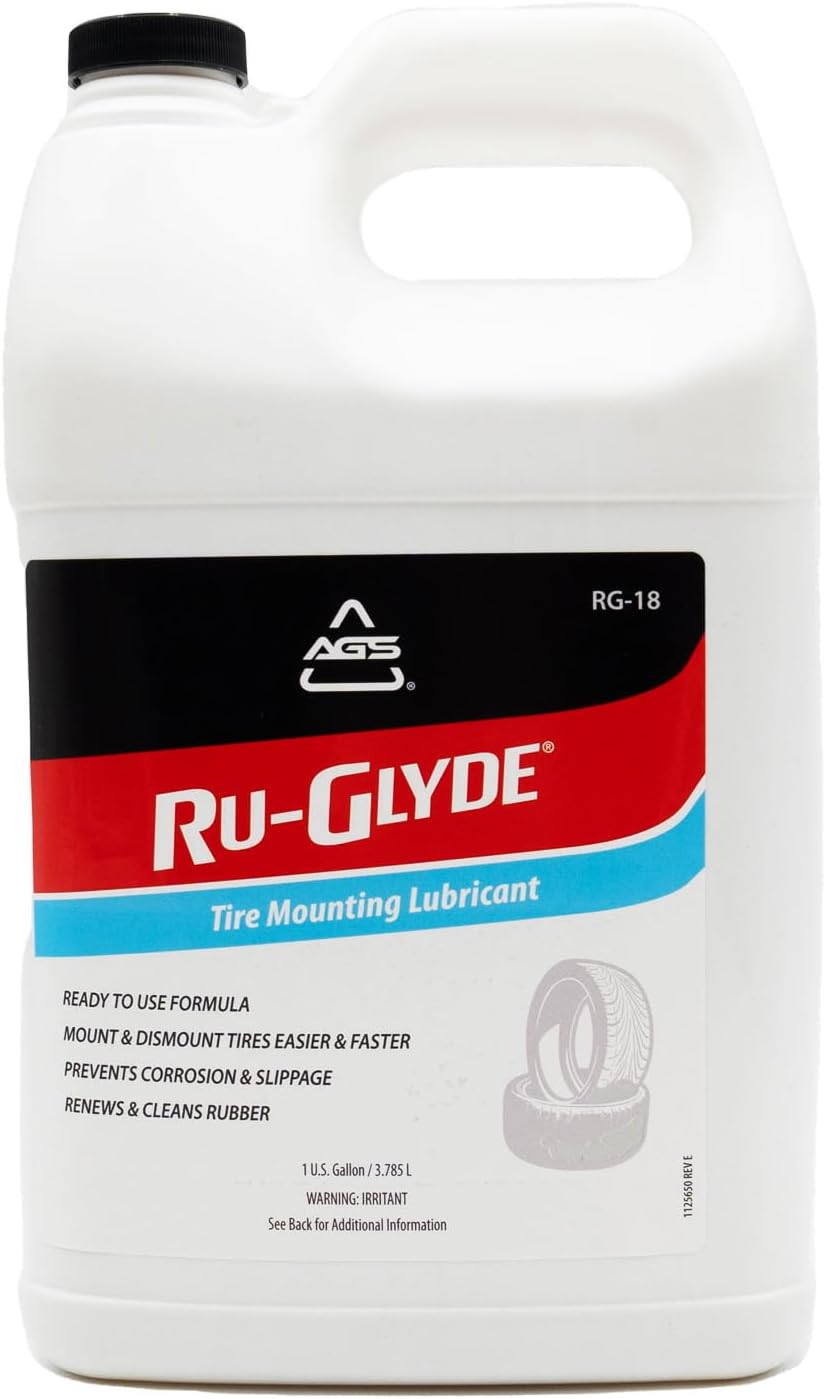
Ru-Glyde tire mounting lubricant from AGS seats tire beads smoothly on the first try with a thick, stay-put formula. It is ready to use with no mixing or dilution, helps prevent rim rust, and dries completely without causing bead slip residue. The water-based formula also conditions aged rubber, making it useful for sidewalls, gaskets, and door seals while remaining safe for tire, wheel, and technicians.

Clean wheels and rims with soft feathered bristles that safely remove dirt and road grime while helping restore original luster. The short non-slip handle makes it easy to scrub in tight wheel wells, and the brush is suitable for vehicles and hard-to-reach areas. It can also be soaked and rubbed to help restore bristles to their shape after use.
Insert and Center the Tire Liner (Trim to Fit; Avoid Overlap)
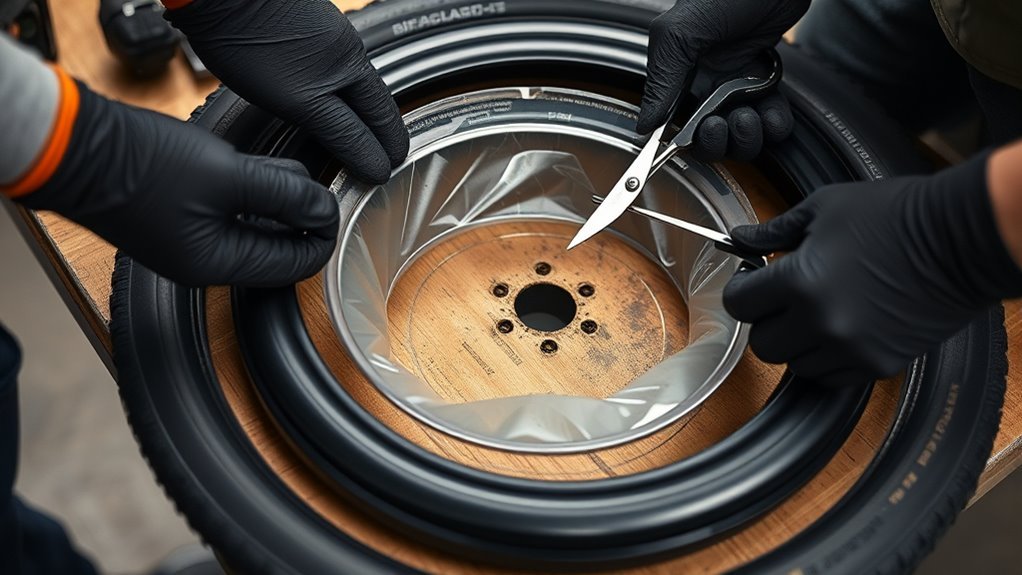
Trim the liner to the tire’s inner circumference so it sits flat without overlap. Start placement near the valve stem, then work around the tire while keeping the liner centered over the tube.
Cut carefully so the ends meet closely inside the casing. Overlap creates pressure points, which can raise the risk of tube wear or pinch flats.
Use your fingers to push the liner into the tire channel. Keep the seam aligned with the rim and check that the liner sits smooth against the casing.
- Start the liner near the valve stem so you can track its position.
- Press the liner into the tire channel with your fingers.
- Trim the liner so the ends meet without overlap.
- Check the full circle for folds, twists, or trapped debris.
- Inflate the tube slightly to help the liner settle before final mounting.
Use short Velcro strips only if the liner maker recommends them or the liner keeps shifting. Verify that the liner materials sit flush against the casing before final mounting and full inflation.
Pro tip: Partially inflate the tube just enough to hold its shape before you close the tire bead.
Mount, Seat, and Inflate the Tire: Maintenance and Common Fixes
Mount the tire onto the rim beginning at the valve stem. Work the bead evenly around the wheel so it seats flush in the rim channel.
Once the bead sits in place, inflate slowly to the manufacturer’s recommended pressure. Watch bead alignment on both sides to reduce the risk of leaks, bulges, and pinch flats.
Use a small amount of dish soap and water if the bead feels hard to seat. Avoid heavy oils or harsh chemicals, because they can affect rubber and make later maintenance messy.
- Start at the valve stem and work the bead evenly
- Use mild dish soap as lubricant only when needed
- Inflate gradually while you monitor bead alignment
- Inspect and clean liners during tire changes
- Watch a visual tutorial if centering or seating feels unclear
Clean liners and tire interiors during routine tire service. Dirt can abrade liners, and sharp debris can stay hidden in the tread.
Troubleshooting Common Tire Liner Installation Problems
If the tire feels lumpy after installation, deflate it and inspect the liner position. A fold, twist, or overlapped end often causes uneven pressure inside the tire.
If the tube loses air after you install the liner, remove the tire and check the tube, rim tape, and liner edges. The liner may not cover the puncture zone, or debris may still sit inside the casing.
If the bead will not seat evenly, add a little soapy water to the bead and inflate in small steps. Stop if the tire bulges, then deflate and reseat the bead before you continue.
Note: Tire liners reduce puncture risk, but they do not make a tire fully puncture proof.
Frequently Asked Questions
How do you install fat tire liners?
You install fat tire liners by matching the liner width to the tire, cleaning the tire interior, and placing the liner flat inside the casing. Trim any excess so the ends meet without overlap, partially inflate the tube to center everything, then finish inflation after the bead seats evenly.
How do tire liners work?
Tire liners add a protective layer between the tube and tire tread. That layer helps block thorns, glass, wire, and other sharp debris before they reach the tube.
How do you fit a Zefal Z Liner?
Fit a Zefal Z Liner by removing the tire, cleaning the tire interior, measuring the liner to the tire circumference, and trimming it to avoid overlap. Center the liner inside the tire, reinstall the tube and tire, then inflate slowly while checking bead seating.
Can you make a tyre puncture proof?
You can reduce punctures, but you cannot make most standard tyres fully puncture proof. Tire liners, sealant, good tubes, correct pressure, and regular debris checks all help lower flat risk.
When should you replace a tire liner?
Replace a tire liner when it cracks, curls, thins out, or develops sharp edges. You should also replace it if flats keep happening in the same area after you clean the tire and check the rim.
Conclusion
A tire liner works best when you choose the right size, clean the tire, and install it flat with no overlap. Before you ride, check the bead, pressure, and liner position one final time. Inspect the liner during tire changes so wear or trapped debris does not lead to another flat. With careful setup, you can ride with more confidence and fewer puncture stops.

