
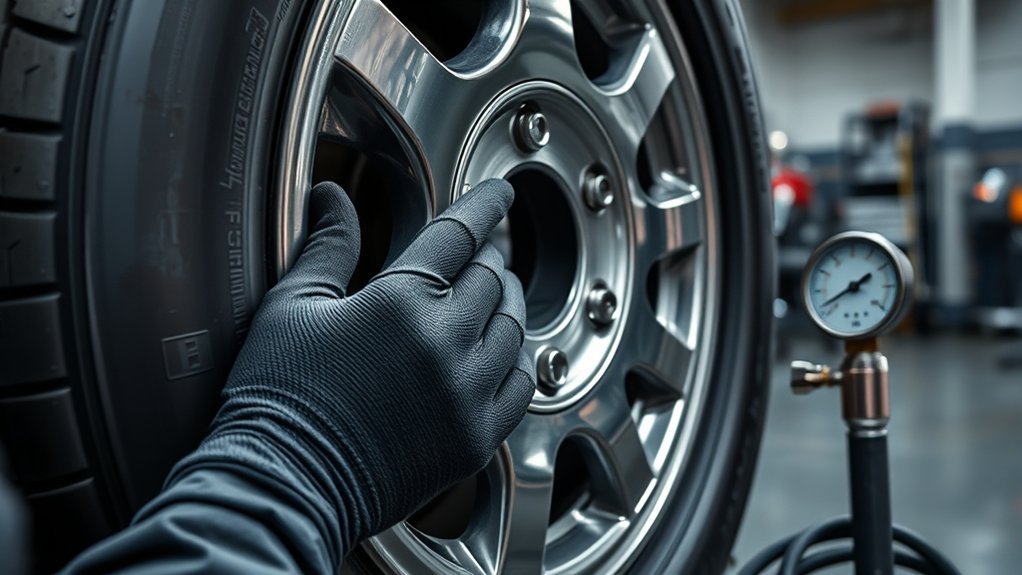
Rebeading a tire means getting the tire bead to seal against the rim again. On small tubeless tires, this may be possible after cleaning the bead seat, using approved tire lubricant or bead sealer, and inflating with controlled air. Tire inflation can be dangerous, though, so do not attempt this on damaged tires, mismatched tire-and-wheel sizes, split rims, commercial truck wheels, motorcycle tires, ATV tires, or any assembly you are not trained to service.
Quick Answer
To rebead a tire safely, fully deflate it, clean the rim and bead, inspect for damage, apply approved tire bead lubricant or bead sealer, remove the valve core for better airflow, and inflate slowly with a clip-on air chuck until both beads seat evenly. Never use fire, starting fluid, WD-40, or other flammable products.
Key Takeaways
- Clean the rim and tire bead thoroughly before trying to reseat the tire.
- Use only approved tire mounting lubricant or bead sealer; do not use WD-40, hairspray, ether, gasoline, or fire.
- Remove the valve core for initial airflow, then reinstall it and inflate to the vehicle placard pressure after the bead seats.
- Stop if the bead will not seat before the tire or wheel maker’s bead-seat limit, or if you see bead damage, sidewall damage, cracks, rust pitting, or rim deformation.
- Confirm the repair with a tire gauge and a soapy-water leak test around both beads and the valve stem.
At a Glance
| Time Required | 20–60 minutes, depending on rust, bead condition, and available tools |
| Difficulty | Moderate; high-risk without proper tire tools and training |
| Tools Needed | Safety glasses, hearing protection, tire gauge, valve core tool, soapy water, approved bead lubricant or bead sealer, air compressor, clip-on air chuck, bead breaker or tire machine, and optional bead seating tank |
| Cost | Usually low for sealant and supplies; professional tire service varies by shop and tire type |
Warning: Do not try to rebead a tire that has sidewall cracks, bead tears, exposed cords, a bent rim, heavy rust pitting, unknown tire size, or a wheel/tire mismatch. Continental’s tire mounting safety guidance warns that tire mounting should be handled by qualified tire service professionals with the right tools, PPE, and procedures.
What You Need to Rebead a Tire
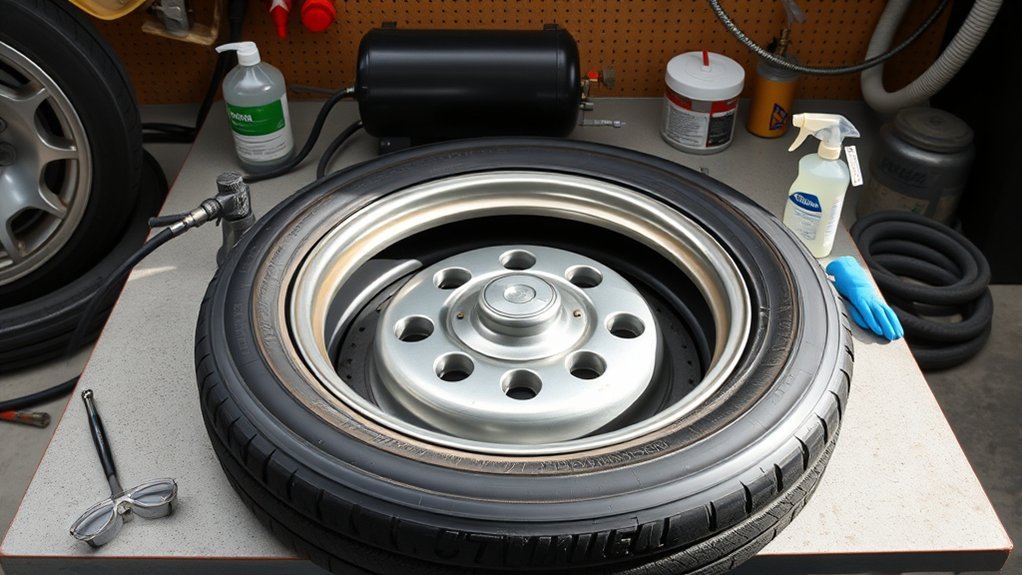
Before you start, make sure the tire and rim are the correct size for each other. Never force a tire onto a rim with a different diameter, and never try to “make it fit.” Tire and rim diameter matching is a basic safety requirement in manufacturer guidance such as Bridgestone’s tire safety instructions.
For a safer setup, gather these items:
- Safety glasses, hearing protection, gloves, and sturdy footwear
- Valve core removal tool
- Accurate tire pressure gauge
- Soapy water in a spray bottle
- Approved tire mounting lubricant or dedicated bead sealer
- Wire brush, nylon brush, clean rags, and mild solvent for rim cleaning
- Air compressor with a clip-on air chuck and a way to stand clear while inflating
- Bead breaker, tire machine, or professional tire service if the bead must be broken fully
- Optional bead seating tank or bead expander sized for the tire
Do not use gasoline, ether, starting fluid, brake cleaner, WD-40, hairspray, or any other flammable shortcut. WD-40’s official safety data sheet classifies the aerosol product as extremely flammable, and tire makers warn against putting flammable substances into a tire/rim assembly.
Note: This guide is for general tubeless tire bead reseating. Multi-piece rims, split rims, commercial truck/bus/tractor tires, motorcycle tires, ATV tires, and any tire with hidden damage should be handled by a trained tire service professional.
[Products Worth Considering]

This tire inflator with pressure gauge delivers long-lasting performance with a durable rubber-protected gauge and sturdy build. The longer hose and 360 swivel air chuck help you seal the valve securely and keep your hands free while measuring, inflating, or deflating. It’s battery-free for reliable use and provides ±2 PSI accuracy in the mid-range for most typical tires, with universal compatibility for 1/4 NPT compressor outputs.

Malco tire mounting and demounting lubricant is a ready-to-use tire lube formulated to reduce friction during tire installation for passenger cars, light trucks, farm tires, and heavy-duty equipment. It provides rust-inhibiting protection to help reduce corrosion on rims and wheels, and helps support proper tire bead seating during inflation to reduce air leakage. The silicone-free, soap-free formula is whitewall safe to help prevent discoloration on whitewall tires and sensitive sidewall markings.

This Dr.Roc tire valve stem puller tools set helps install or remove snap-in tubeless valve stems safely and efficiently. It includes ozone-resistant EPDM snap-in valve stems, a valve stem installer, and a valve core remover for quick core removal or installation during tire service. Designed for reliable tubeless tire repair on motorcycles, ATVs, lawn equipment, cars, and trucks.
How to Check for a Bead Leak
Before breaking anything loose, confirm where the air is escaping. A tire that looks like it has a bead leak may actually have a puncture, cracked valve stem, damaged wheel, or leaking valve core.
Bubble Test Method
Inflate the tire only enough to test it safely, then spray soapy water around the tread, valve stem, and both bead edges. Watch for steady bubbles. A few soap suds from spraying do not matter; bubbles that keep growing show where air is escaping.
- If bubbles appear in the tread, repair or replace the tire according to tire repair guidelines.
- If bubbles appear at the valve stem, replace or repair the valve stem before blaming the bead.
- If bubbles appear where the tire meets the rim, the bead area needs cleaning, resealing, or professional service.
Valve Stem Check
Spray the base of the valve stem, the valve cap area, and the valve core opening. If bubbles form at the valve core, tighten or replace the core. If bubbles form at the rubber base of the valve stem, the stem may be cracked or poorly seated. A leaking valve stem can mimic a bead leak and should be fixed before reseating the tire.
Bead Edge Inspection
Work around both sides of the tire. Look for dirt, rust flakes, tire sealant residue, corrosion, small stones, bent rim lips, or cuts in the tire bead. Mark the leaking area with chalk so you know where to focus when the tire is deflated.
- Spray a thin, even film along the bead edge.
- Watch for steady bubbles at one section of the bead.
- Mark the leak before deflating the tire.
- Recheck after reseating to confirm the seal holds.
Before You Start: When Not to Rebead a Tire Yourself
Some tire problems are not safe DIY jobs. Stop and use a tire shop if any of these apply:
- The tire was driven while flat or unseated.
- The sidewall is cracked, wrinkled, bulged, cut, or showing cords.
- The bead is torn, kinked, stretched, or visibly damaged.
- The rim is bent, cracked, heavily pitted, or badly corroded.
- The tire and wheel diameter do not match exactly.
- You do not know the tire’s bead seating pressure limit.
- You do not have a clip-on chuck, tire gauge, and safe inflation setup.
- The tire is on a multi-piece rim, commercial wheel, motorcycle, ATV, tractor, or heavy equipment assembly.
OSHA’s rim wheel standard is written for large vehicles such as trucks, tractors, trailers, buses, and off-road machines, but its safety themes are still useful: tire service needs training, inspection, proper procedures, and protection from explosive separation.
Break the Bead Safely
You only need to break the bead if cleaning or resealing the bead seat requires access between the tire and rim. If the tire is simply unseated but clean and undamaged, you may not need to break it farther loose.
[Products Worth Considering]

This VEVOR tire bead breaker uses a slide-hammer impact and wedge tip to separate tire beads from rims quickly and efficiently without damaging hub surfaces. The long handle and sturdy steel construction help reduce user strain while providing reliable, portable tire changing for cars, trucks, and more. Ideal for home mechanics and repair shops handling multiple vehicle tire sizes.
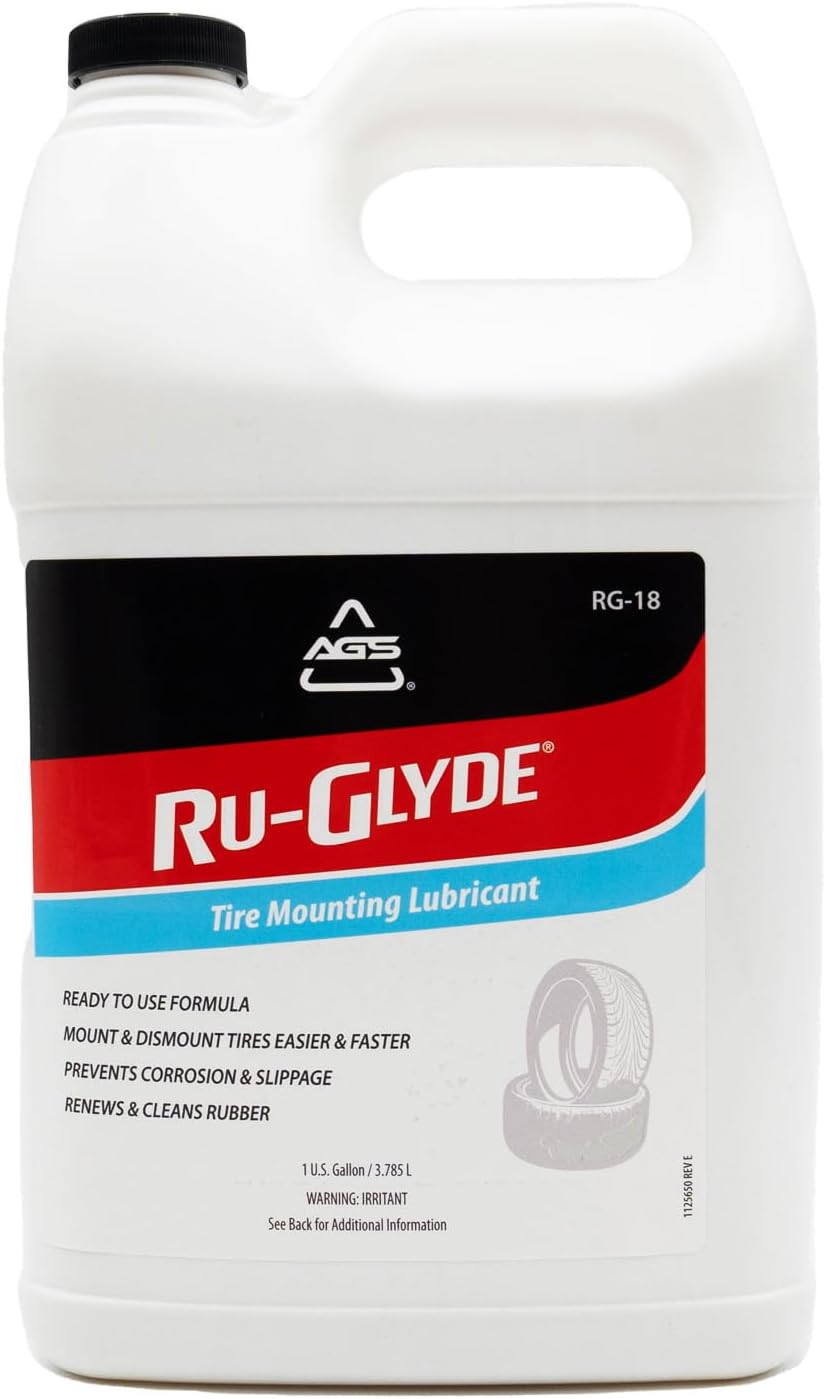
Ru-Glyde tire mounting lubricant from AGS seats tire beads smoothly on the first try with a thick, stay-put formula. It is ready to use with no mixing or dilution, helps prevent rim rust, and dries completely without causing bead slip residue. The water-based formula also conditions aged rubber, making it useful for sidewalls, gaskets, and door seals while remaining safe for tire, wheel, and technicians.
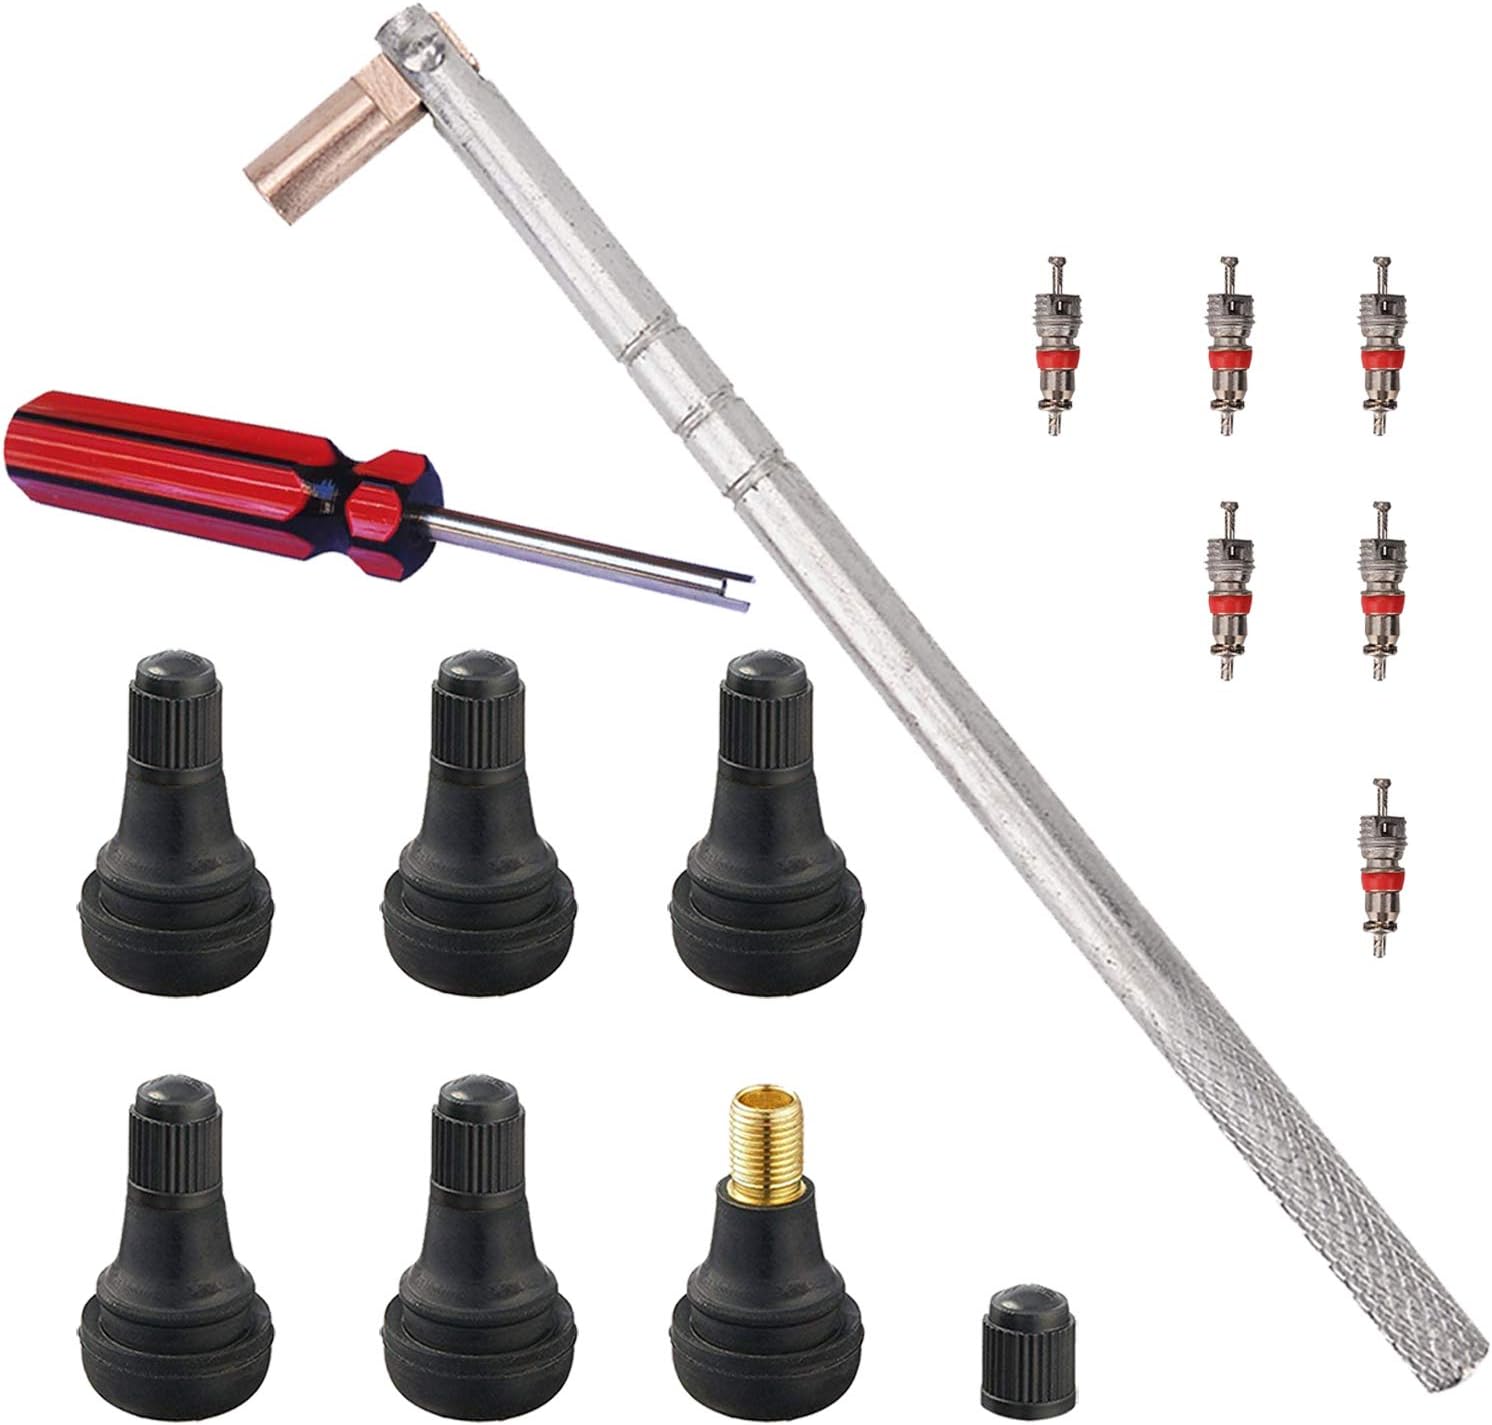
This FEBRYTOLD tire valve stem tool set makes it easy to remove and install standard 0.453 inch snap-in valve stems for tubeless tires. It includes valve stem cores and a single-head valve core remover/installer tool to help you complete repairs quickly. Designed to help avoid scratching wheels and damaging valve stems during service.
Safe Bead Breaking
First, remove the valve core and let the tire fully deflate. Never try to break, pry, or reposition a tire while it is pressurized. Place the wheel flat on a stable surface and keep your hands, face, and body away from pinch points.
The safest method is a tire machine or dedicated bead breaker. A shop tool applies controlled force at the bead without gouging the wheel. Avoid screwdrivers, sharp pry bars, or shovel edges that can tear the bead or scratch the rim’s sealing surface.
- Remove the valve core and confirm zero pressure.
- Use a bead breaker or tire machine whenever possible.
- Keep the tool on the bead area, not the sidewall center.
- Work slowly around the circumference instead of forcing one spot.
- Inspect the tire and rim after the bead releases.
Tool-Based Separation
With the tire fully deflated, place the bead breaker shoe close to the rim edge and apply steady pressure until the bead drops into the wheel’s drop center. Rotate the tire and repeat as needed. If the bead will not release without extreme force, stop and take it to a tire shop; excessive force can hide a damaged bead or corroded rim.
Rim and Tire Prep
Once the bead area is accessible, clean the rim and bead seat. Use a wire brush or nylon brush to remove dirt, old sealant, and loose corrosion. Wipe the area dry before applying approved bead sealer or tire mounting lubricant. Do not grind deeply into the rim, weld on the wheel, heat the rim, or try to cover heavy pitting with extra sealer.
- Check both bead edges for cuts, tears, or distortion.
- Clean the rim until the bead seat is smooth and free of loose rust.
- Replace cracked or leaking valve stems.
- Use approved bead sealer only where needed.
Pro Tip: If a bead leak returns after cleaning, the rim is often the real problem. Rust pitting, a bent lip, or old sealant buildup can prevent an airtight seal even when the tire itself is fine.
Seat the Tire Bead on the Rim
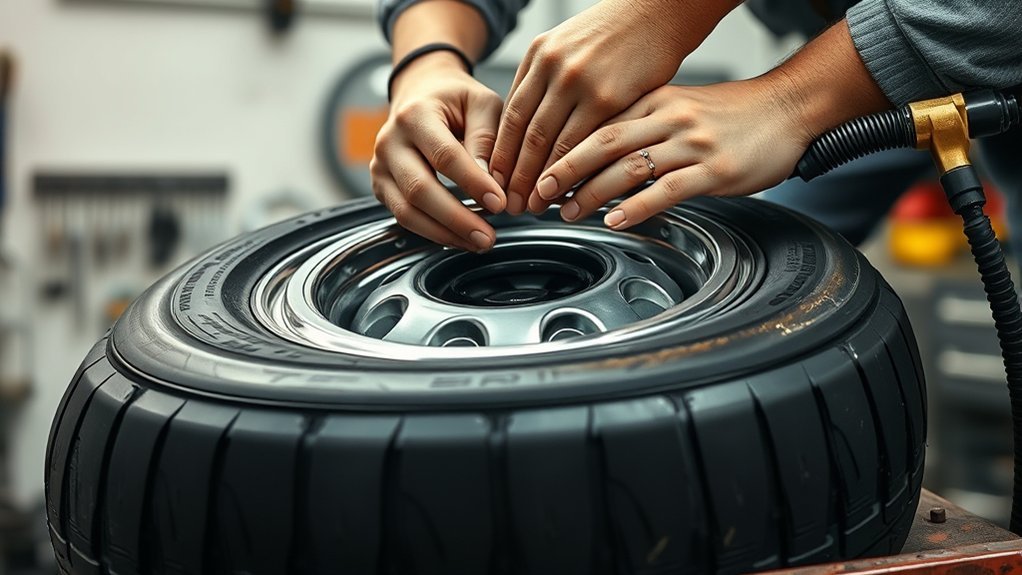
Seat the tire bead only after the rim and bead are clean, dry, inspected, and properly lubricated. Position the tire squarely on the rim so both beads are as close to the bead seats as possible.
| Checkpoint | Action |
|---|---|
| Rim edge | Remove grit, rust flakes, and old sealant |
| Tire bead | Inspect for tears, twists, and stretched areas |
| Air source | Use controlled airflow and a clip-on chuck |
| Pressure limit | Follow the tire or wheel maker’s bead-seat limit; stop if the bead does not seat before that limit |
Remove the valve core to allow higher air volume during initial seating. Attach the air hose with a clip-on chuck, stand to the side, and inflate slowly. Watch both sidewalls. The bead should move outward evenly until it seats against the rim. You may hear one or two pops as the beads seat.
Once both beads are seated, stop inflating. Disconnect the air, reinstall the valve core, and inflate the tire to the pressure listed on the vehicle tire placard or owner’s manual. NHTSA TireWise emphasizes proper tire pressure, load limits, tire maintenance, and tire labeling as part of safe tire use.
Warning: Never stand, lean, or reach over a tire/rim assembly while inflating. If the bead will not seat before the tire or wheel maker’s limit, deflate the tire completely, inspect again, and use professional service.
Use Ratchet Straps to Seat the Bead
A ratchet strap can sometimes help a small tubeless tire by gently pushing the sidewalls outward so the bead can catch air. It is not a substitute for correct tools, and it should not be used on damaged, large, high-pressure, motorcycle, ATV, commercial, or unknown tire assemblies.
If you use one, wrap the strap around the center of the tread, not near the sidewall or rim. Tighten it only enough to help the bead touch the rim. Over-tightening can distort the tire and make seating harder.
- Place the strap evenly around the tread center.
- Tighten in small steps while checking bead contact.
- Attach the clip-on air chuck and stand clear.
- Release the strap as soon as the bead starts to seat.
- Never leave the strap under tension after the bead is seated.
If the strap slips, the tire bulges unevenly, or the bead still will not catch, stop. Deflate, remove the strap, and inspect the rim and tire again.
[Products Worth Considering]

TireJect Off-Road Tire Sealant Kit provides 5-in-1 sealing to help fix tread punctures up to 3/8", sidewall punctures up to 3/8", bead leaks, slow leaks, and minor dry rot on low-speed tires. It permanently seals with liquid rubber, recycled tire particles, and Aramid fibers, making it ideal for flats caused by thorns, nails, and screws. The included dispensing cap attaches to the valve stem for a no-mess installation, along with a metal valve core remover tool and valve stem cap. This kit is for off-road use only.

Get back on the road fast with this compact tire plug repair kit for tubeless tires. It includes self-vulcanizing rubber plugs, T-handle rasp and insert tools, and a storage box that fits in your glove compartment for easy access. Also included are a 4-way valve steam tool set with valve cores and caps for added roadside convenience.

This 3-piece wheel and tire brush set makes it easy to clean light, medium, and heavy dirt from wheels, rims, tires, and exterior surfaces. It includes both soft and stiff bristle options for gentle scrubbing and tough grime removal, helping lift brake dust and road buildup. The long-handle design supports comfortable cleaning across cars, trucks, SUVs, RVs, motorcycles, and more, with simple care instructions to restore brush shape.
Fix Rust and Rim Damage Leaks
If the bead still leaks after reseating, the rim may be corroded or damaged. Rust, pitting, dents, and old sealant ridges can leave tiny escape paths for air. Clean the bead seat with a wire brush or approved abrasive pad, then wipe away dust and residue.
Minor surface rust can often be cleaned and sealed. Deep pitting, cracks, bent lips, or flaking metal are different. A badly corroded or bent rim should be repaired by a qualified wheel specialist or replaced. Do not try to hide structural wheel damage with extra bead sealer.
Apply bead sealer in a thin, even coat only where the bead contacts the rim. Let it set according to the product directions, then reseat and retest the tire.
Why Fire-Based Bead Seating Is Dangerous
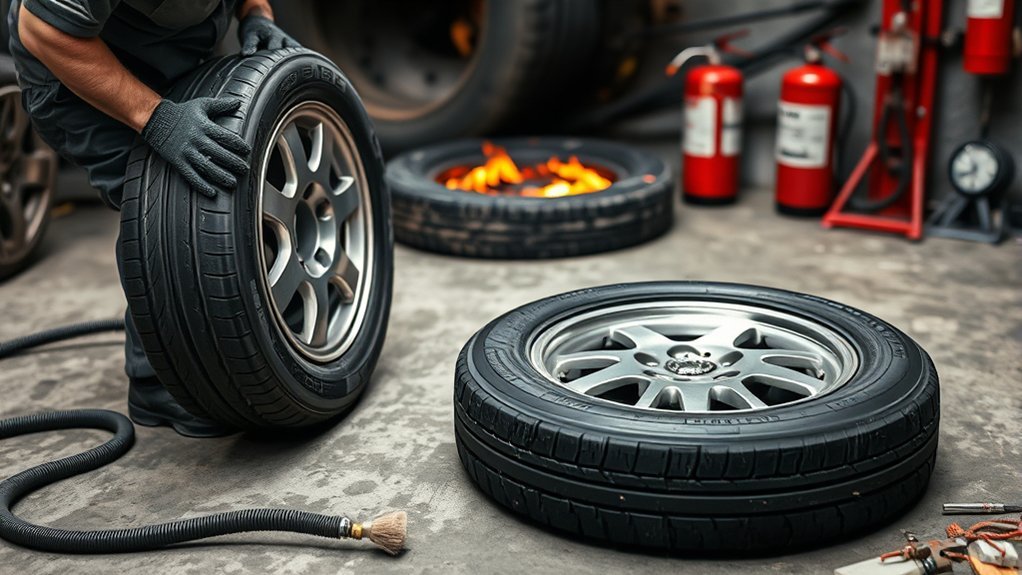
Fire-based bead seating is dangerous because it uses a flammable vapor explosion to shove the tire bead outward. The pressure spike is uncontrolled. The tire, rim, strap, valve parts, or nearby tools can become projectiles, and the tire can be damaged internally even if it appears to seat.
Never use starter fluid, ether, gasoline, brake cleaner, WD-40, hairspray, or any other flammable product to seat a tire bead. Bridgestone’s safety instructions warn: “Never put a flammable substance into a tire/rim assembly.” Use approved tire tools and controlled air instead.
- Flame can ignite vapors inside the tire.
- The sidewall can snap outward without warning.
- Hardware and tools can become projectiles.
- Heat and solvent residue can damage the tire and sealing surface.
A tire that seats with fire has not been repaired safely; it has been exposed to an uncontrolled explosion.
Test Pressure and Inspect the Final Seal
After the bead seats, set the tire to the vehicle manufacturer’s recommended cold tire pressure. This pressure is usually listed on the driver-side door placard or in the owner’s manual, not necessarily on the tire sidewall.
Spray soapy water around both beads and the valve stem. Watch for bubbles for at least a minute. Then check the pressure again after a short wait. If pressure drops, repeat the leak test before driving.
- Look for even bead seating all the way around both sides.
- Check for bubbles at both bead edges and the valve stem.
- Confirm the tire holds pressure with a reliable gauge.
- Take a slow test drive only after the seal holds.
- Recheck pressure after the first drive and again the next day.
If you hear hissing, feel vibration, see wobble, or notice pressure loss, stop using the tire and have it inspected. A bead that repeatedly loses air is a sign of damage, corrosion, poor fitment, or a sealing surface that needs professional repair.
Troubleshooting: Why the Tire Bead Won’t Seat
If the bead will not seat, do not keep adding pressure. Deflate the tire completely and check these common causes:
| Problem | What to Do |
|---|---|
| Air escapes too quickly | Remove the valve core, reposition the tire squarely, and use a higher-volume controlled air source. |
| Bead is dry or dragging | Deflate fully and apply approved tire mounting lubricant to the bead area. |
| Rim is dirty or rusty | Break the bead, clean the bead seat, inspect for pitting, and apply bead sealer only if the rim is still serviceable. |
| Tire is distorted from storage | Let the tire warm to room temperature and reshape naturally; use a professional bead expander if needed. |
| Bead or sidewall is damaged | Do not reseat it. Replace the tire or have it inspected by a tire professional. |
Frequently Asked Questions
How do you rebead a tire easily at home?
For a small tubeless tire that is undamaged and matched to the correct rim, fully deflate it, clean the rim and bead, apply approved tire lubricant or bead sealer, remove the valve core, position the tire squarely, and inflate with controlled air while standing clear. If it does not seat quickly and safely, stop and use a tire shop.
What is the 3 tire rule?
The phrase “3 tire rule” is not a standard rule for rebeading a tire. People use it to mean different things, such as tire sizing, tire rotation, replacement myths, or insurance myths. For bead work, the safer rule is simple: inspect the tire and rim every time, follow the tire and wheel maker’s limits, and replace or professionally service anything damaged.
Can you use WD-40 to rebead a tire?
No. Do not use WD-40 as tire bead lubricant or bead sealer. WD-40 aerosol is flammable, can leave residue, and is not a proper tire mounting product. Use approved tire mounting lubricant or dedicated tire bead sealer instead.
How do you re-seal a tire bead?
Find the leak with soapy water, deflate the tire fully, break the bead only as much as needed, clean the rim and tire bead, inspect for damage, apply bead sealer to the clean bead seat, reseat the tire with controlled air, and check again for bubbles. If the rim is pitted or bent, replace or professionally repair it.
What pressure seats a tire bead?
There is no single safe number for every tire. Always follow the tire or wheel manufacturer’s bead-seating limit. If the bead does not seat before that limit, stop, deflate the tire completely, inspect the tire and rim, and use professional service. After the bead seats, adjust to the vehicle placard pressure.
Can you drive right after rebeading a tire?
Only drive after the tire holds the correct pressure, both beads are evenly seated, and the soapy-water test shows no leaks. Start with a short, slow test drive, then recheck pressure. If pressure drops or the tire vibrates, stop driving and have it inspected.
Conclusion
Rebeading a tire is not just about getting air back into it. The safe process is to confirm the tire and rim match, inspect for damage, clean the bead seat, use approved tire products, inflate with controlled air, and verify the final seal with a pressure gauge and soapy water. Never use fire or flammable sprays. If the bead will not seat safely, the rim is corroded, or the tire shows damage, let a qualified tire service professional handle it.
Sources
- Continental Tire Mounting Safety Instruction — supports professional-service warnings, PPE, tire/rim matching, and inflation safety.
- Bridgestone Information for Safety Use of Motorcycle Tires — supports trained-person mounting, matched diameters, restrained inflation, bead-seat pressure cautions, and flammable-substance warnings.
- NHTSA TireWise — supports tire pressure, load limit, tire labeling, and tire maintenance guidance.
- OSHA 29 CFR 1910.177 Rim Wheel Servicing Standard — supports large-vehicle rim-wheel safety context, training, inspection, and inflation hazard awareness.
- WD-40 Multi-Use Product Aerosol Safety Data Sheet — supports the warning not to use WD-40 as a tire bead seating aid.
