
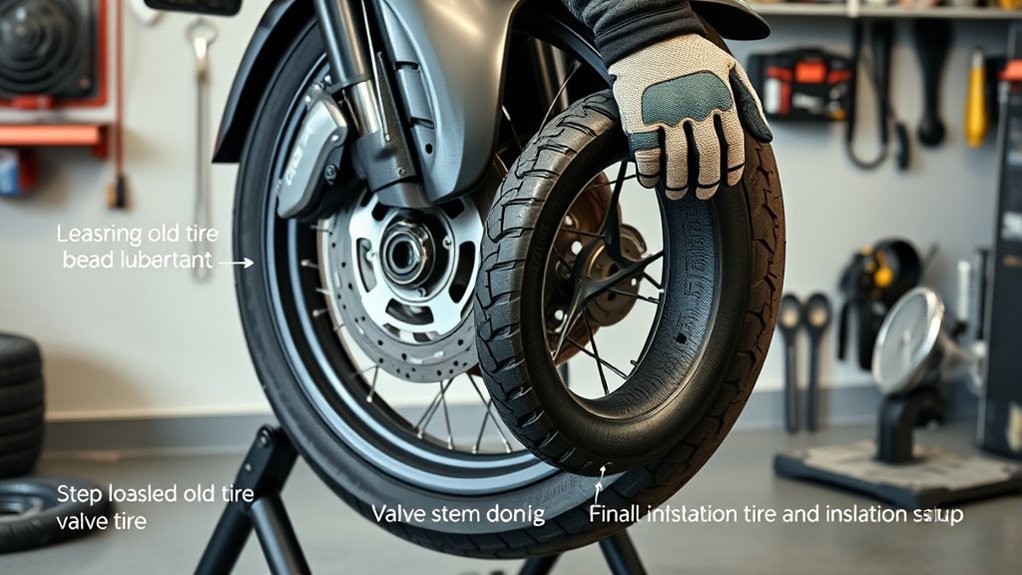
Installing a motorcycle tire is possible at home if you have the right tools, a stable work area, and the confidence to follow your motorcycle service manual exactly. This job is safety-critical: a damaged rim, pinched tube, backward tire, loose axle, or improperly seated bead can lead to air loss or loss of control. If any step feels uncertain, use a qualified motorcycle tire fitter.
Quick Answer
To install a motorcycle tire, support the bike safely, remove the wheel, deflate and demount the old tire, inspect the rim, fit the correct new tire and tube or valve stem, seat the beads carefully, set cold pressure to the motorcycle maker’s spec, balance the wheel, then reinstall and torque everything to the service manual.
Key Takeaways
- Use the exact tire size, load rating, speed rating, tube type, and rotation direction approved for your motorcycle.
- Deflate the tire fully before demounting, and keep your body clear of the valve core and bead area.
- Use approved tire lubricant only; never use petroleum products, silicone, antifreeze, flammable sprays, or improvised bead-seating tricks.
- Do not exceed the tire manufacturer’s bead-seating pressure; if no limit is available, industry guidance says not to exceed 40 psi while seating beads.
- Set final cold pressure from the motorcycle placard, owner’s manual, or tire maker’s fitment guidance, then balance the wheel before riding.
At a Glance
| Time Required | About 1–2 hours per wheel for an experienced DIYer; longer if it is your first time. |
| Difficulty | Intermediate to advanced. Use a professional if you lack a safe stand, bead tools, torque specs, or wheel-balancing equipment. |
| Tools Needed | Motorcycle stand or lift, service manual, tire irons or spoons, rim protectors, bead breaker, valve core tool, approved tire lubricant, air supply, pressure gauge, torque wrench, wheel balancer, wheel weights, and eye protection. |
| Cost | Low if you already own the tools; higher if you must buy stands, tire tools, a balancer, and a torque wrench. Professional mounting is often the safer value for occasional tire changes. |
Warning: Tire mounting can be dangerous. The U.S. Tire Manufacturers Association warns that improper tools, wrong procedures, damaged rims, excessive bead-seating pressure, or flammable products can cause serious injury or death. Stand clear during inflation, use proper equipment, and stop if the bead will not seat safely.
What Tools You Need for a Motorcycle Tire Change
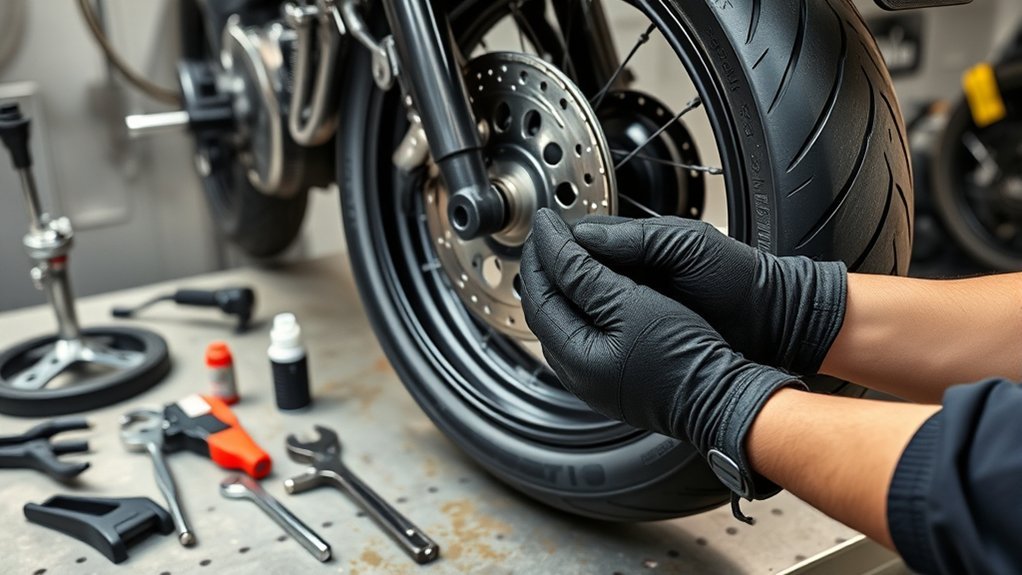
Gather every tool before the wheel comes off the bike. At minimum, you need tire irons or tire spoons, rim protectors, a valve core tool, a bead breaker, approved tire lubricant, a reliable air source, a pressure gauge, the correct sockets or wrenches, and a torque wrench. A motorcycle service manual is just as important as the tools because axle torque, pinch-bolt torque, brake-caliper torque, chain slack, belt tension, and wheel-alignment procedures vary by model.
You should also have eye protection, gloves, a clean work surface, a way to keep spacers and washers in order, and a static balancer or access to a shop that can balance the wheel after mounting. If your motorcycle has TPMS, read the owner’s manual before touching the valve assembly so you do not damage the sensor.
Note: Use approved tire-mounting lubricant on the beads and rim contact surfaces. Do not use petroleum-based lubricants, silicone products, antifreeze, aerosol inflators, or flammable substances to help seat the bead.
[Products Worth Considering]

This 15-inch tire spoons kit makes tire removal and installation easier with added leverage, reducing time and effort for everyday repairs. It includes tire spoons, rim protectors, a valve tool, and valve cores/caps, helping protect rims and streamline deflation and re-sealing. Built with durable hardened steel and a non-slip ergonomic grip for confident use on motorcycles, dirt bikes, ATVs, and lawn equipment.

This 1/2-inch drive breaker bar delivers powerful leverage for loosening and tightening stubborn lug nuts and automotive fasteners. The 180-degree flex head helps you reach tight spaces at the angle you need, making tire and brake jobs easier. A spring-loaded ball detent design holds 1/2-inch sockets securely while the chrome-moly head provides durable strength for everyday use.

This manual duck head tire changer kit makes tire installation and removal simpler by letting you embed the duck head into the tire with applied pressure. The integrated design and durable steel construction help reduce friction and improve efficiency and safety during use. Suitable for 16–21 inch wheels, it’s convenient for cars, trucks, SUVs, and ATV tires, with 24-hour after-sales support.
Confirm Tire, Rim, and Tube Compatibility
Before removing the old tire, confirm that the replacement tire matches the motorcycle manufacturer’s approved size, load rating, speed rating, construction type, and front or rear fitment. The tire diameter must match the rim diameter exactly. Motorcycle rims and passenger-car rims have different bead-seat shapes, so only motorcycle tires should be mounted on motorcycle rims.
Check whether your wheel is tubeless or tube-type. If the wheel requires a tube, use a new motorcycle tube in the correct size and type for the tire. Old tubes can stretch, crease, or fail after reuse. On spoked tube-type wheels, inspect the rim strip or rim band and replace it if it is cracked, shifted, thin, or unable to cover every spoke nipple. On tubeless wheels, replace an old or damaged rubber valve stem when mounting a new tire.
- Match the tire size to the owner’s manual or motorcycle placard.
- Use front tires only on the front and rear tires only on the rear when marked that way.
- Confirm the directional arrow before mounting.
- Match tube markings to the tire size and construction when a tube is required.
- Do not mount a damaged tire or a damaged rim.
Stabilize the Bike and Remove the Wheel
Place the motorcycle on level ground and support it with a center stand, paddock stand, motorcycle lift, or other secure setup that keeps the wheel you are working on off the ground. The motorcycle must not rock, slide, or tip while you remove axle hardware.
Secure Bike Position
Confirm that the stand is stable before loosening anything. If you are working on the front wheel, make sure the rear of the motorcycle is stable and the front end is lifted safely. If you are working on the rear wheel, note the drive type before disassembly: chain, belt, or shaft-drive motorcycles have different removal and reinstallation steps.
Take photos before you remove parts. Photos help you remember the order of spacers, washers, brackets, ABS sensor parts, and chain adjusters. Set small parts on a clean tray in the order they came off.
Loosen Wheel Hardware
Loosen axle nuts, pinch bolts, and caliper bolts only with the correct tools. Do not round fasteners with an undersized socket. If brake calipers, speed sensors, ABS sensors, or fender brackets block wheel removal, remove them carefully and support them so the brake hose or wiring is not stretched.
| Part | What to Check |
|---|---|
| Brake calipers | Remove only as needed and support them. Do not pull the brake lever with the caliper off the disc. |
| Spacers and washers | Keep left and right parts separated and in order. |
| Chain or belt | Back off adjusters as required and note alignment marks before removal. |
| ABS or speed sensor | Move wiring and sensor rings carefully so nothing is bent or pinched. |
Remove Wheel Assembly
Support the wheel, remove the axle nut, slide out the axle, and lower the wheel away from the fork or swingarm. If the wheel does not come free easily, stop and find what is still holding it. Do not force the wheel past a brake caliper bracket, sensor ring, chain, belt, or spacer.
Deflate the Motorcycle Tire and Break the Bead
Remove the valve cap, then use a valve core tool to remove the valve core and fully deflate the tire. Keep your face and body out of the valve-core path while air escapes. Once the tire is fully deflated, loosen rim locks if your motorcycle uses them.
Tire Deflation Steps
- Remove the valve cap.
- Use the valve core tool to remove the valve core slowly.
- Wait until all air is released.
- Press the sidewall to confirm the tire is dead soft.
- Remove any valve-stem nuts or washers that must come off before demounting.
Breaking the Bead
Use a bead breaker, tire-changing stand, or proper motorcycle tire tool to push the bead away from the rim. Work around the tire evenly and repeat on the opposite side. Apply approved tire lubricant at the bead area to reduce friction, but do not flood the tire with lubricant.
Both beads must be fully loose before you pry the tire off. If the bead will not release, add lubricant, reposition the bead breaker, and work patiently around the wheel. Avoid screwdrivers and sharp pry bars because they can gouge the rim, damage the bead, or pinch the tube.
Install Rim Protectors Before Levering
Install rim protectors wherever a tire iron or spoon will touch the wheel. This is especially important on painted, polished, aluminum, or tubeless rims where scratches can damage the finish or sealing surface. Seat each protector firmly on the rim edge before applying leverage.
Use several small bites instead of one large pry. Large, sharp movements can bend a bead, nick the rim, or pinch the tube. Keep the opposite side of the tire down in the rim’s drop center so the bead has enough slack to come over the rim.
Pro Tip: If the tire feels impossibly tight, the opposite bead is probably not in the drop center. Push the far side of the tire deeper into the center of the rim before using more force.
[Products Worth Considering]
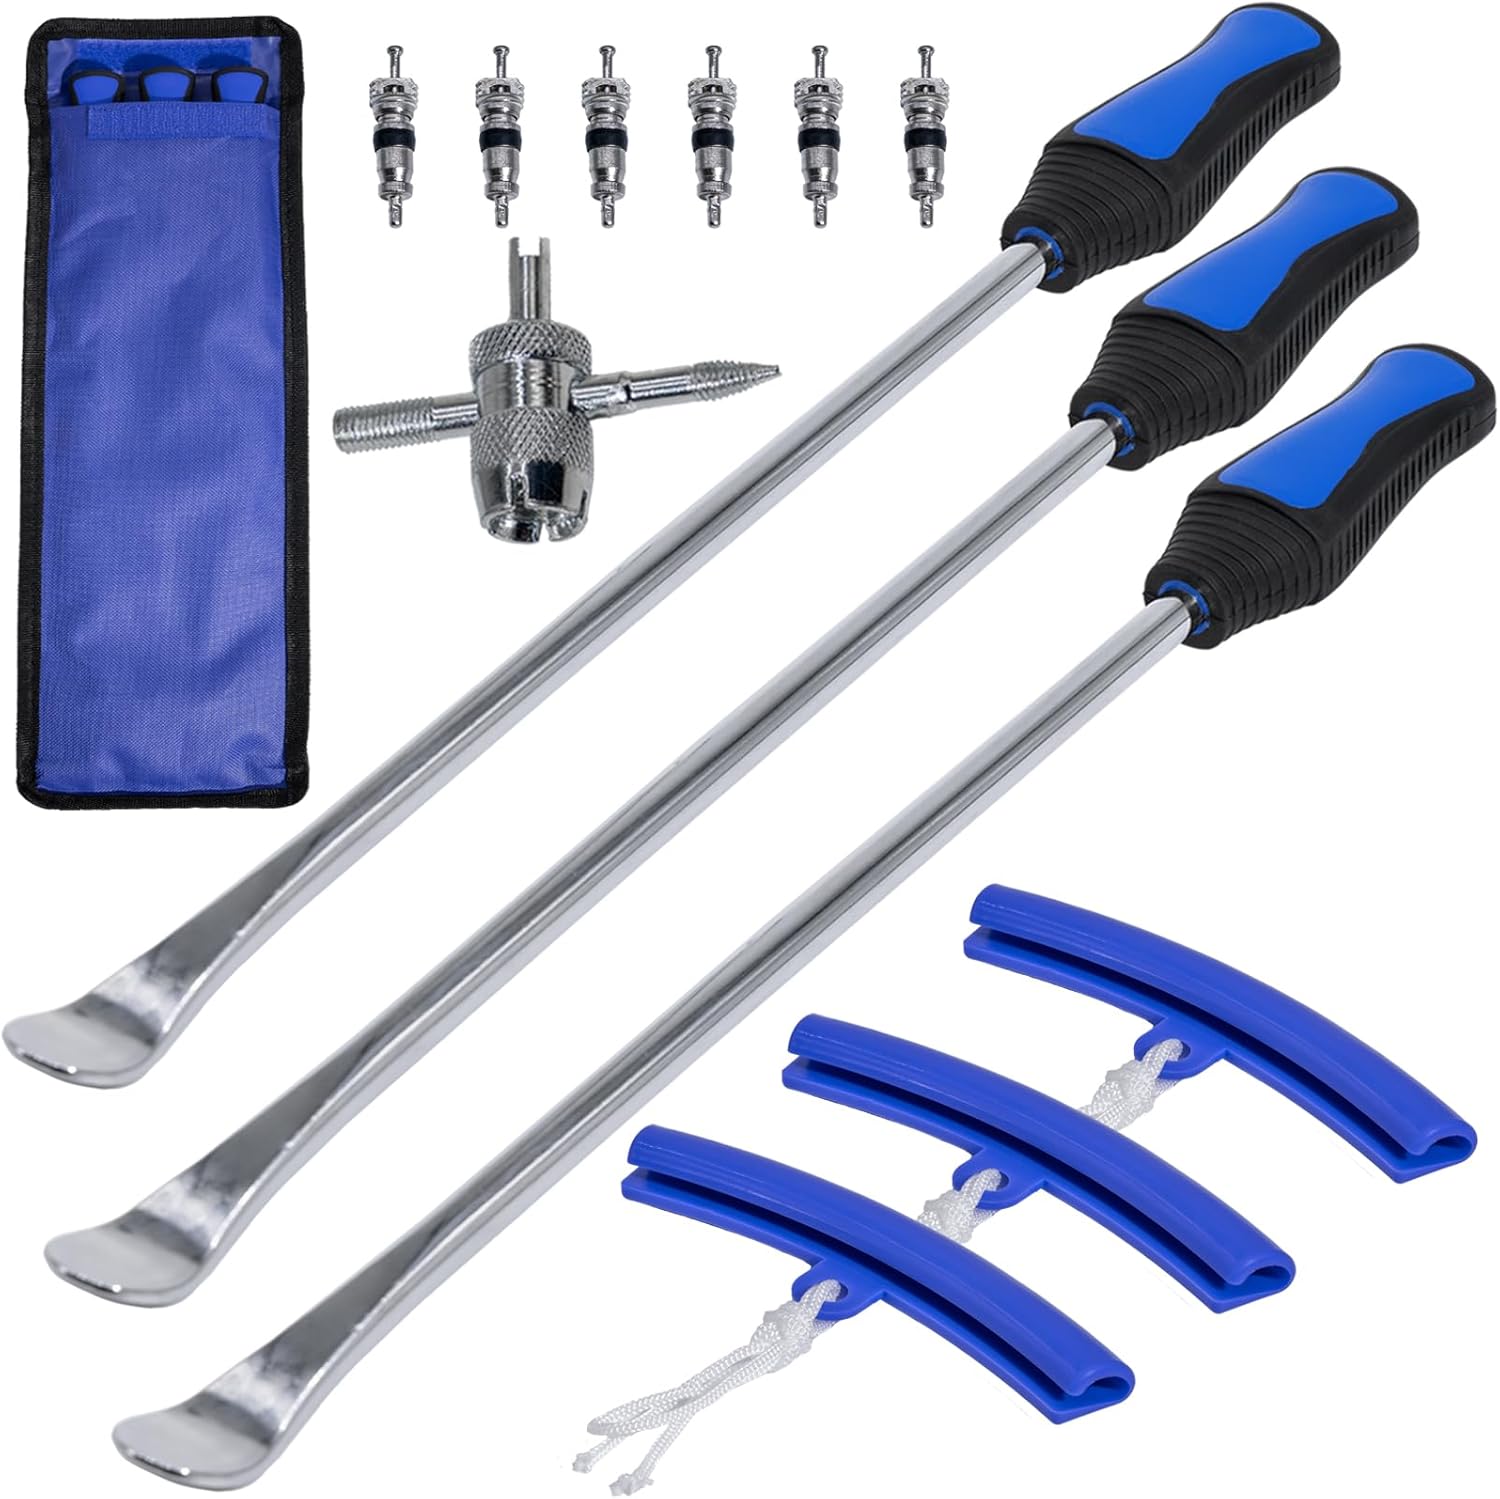
This tire spoon set helps you remove and install motorcycle, dirt bike, lawn tractor, and bicycle tires with extra leverage from a 14.5-inch spoon length. The kit includes tire removal tools, rim protectors, and a valve tool to simplify repairs and help protect rims during changing. Designed for quick, on-the-go service, it’s convenient for garage work, trails, and track-side fixes.

Malco tire mounting and demounting lubricant is a ready-to-use tire lube formulated to reduce friction during tire installation for passenger cars, light trucks, farm tires, and heavy-duty equipment. It provides rust-inhibiting protection to help reduce corrosion on rims and wheels, and helps support proper tire bead seating during inflation to reduce air leakage. The silicone-free, soap-free formula is whitewall safe to help prevent discoloration on whitewall tires and sensitive sidewall markings.

This 20-piece tire changer kit makes motorcycle and bike tire repairs easier with extended 14.5-inch spoons for leverage and access. Built from CrV steel with a corrosion-resistant chrome finish, it helps resist bending while protecting rims and tubes using smooth rounded spoons and included rim protectors. The all-in-one set includes valve removal and accessory tools for faster tire changes across motorcycles, bicycles, ATVs, and lawn equipment.
Remove the Old Motorcycle Tire
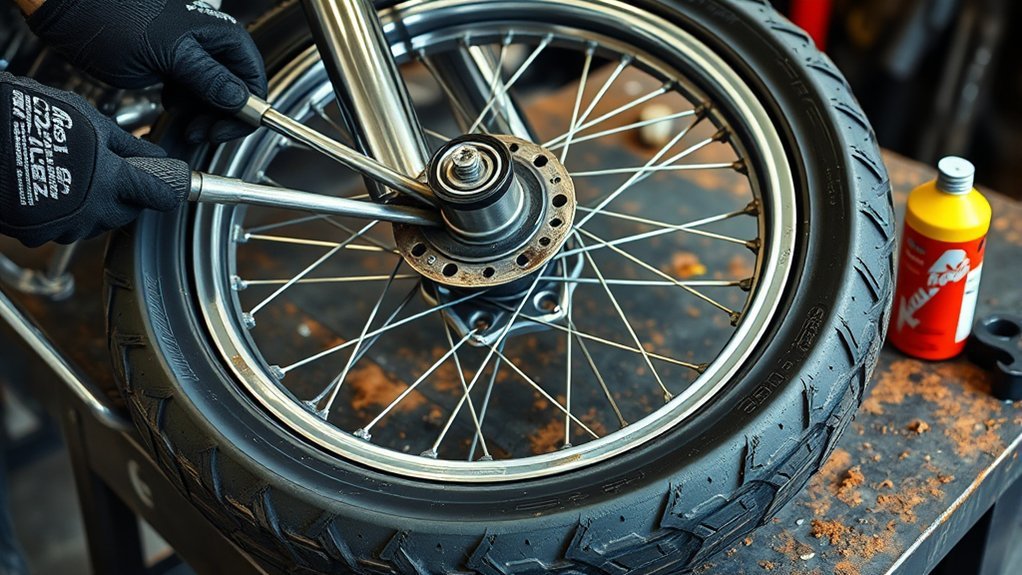
Start near the valve area and lever the first bead over the rim in small sections. Move a few inches at a time, repositioning rim protectors as you go. Once the first bead is free, remove the tube if the wheel is tube-type. Pull the tube out carefully so the valve stem is not torn.
Lubricate the second bead and remove it from the rim. Many motorcycle tires can be worked off with tire irons after one side is free, but stiff sidewalls may require patience. Do not use heat, open flame, starter fluid, aerosol inflators, or violent force to remove or install a tire.
Inspect the Rim, Spokes, and Rim Strip
With the tire off, clean the rim flanges, bead-seat areas, and drop center. Remove old rubber deposits, dried lubricant, rust, dirt, and debris. The bead-seat area must be smooth and clean so the new tire can seat evenly.
Inspect the rim closely for cracks, dents, corrosion, bends, sharp burrs, or damaged sealing surfaces. Replace a bent or cracked rim instead of trying to “make it work.” On spoked wheels, check for loose, broken, or protruding spokes. Make sure the rim strip covers every spoke head and sits flat in the drop center.
For tubeless wheels, inspect the valve stem and replace it if it is old, cracked, leaking, or disturbed during service. For wheels with TPMS, follow the motorcycle or TPMS manufacturer’s service procedure.
Prepare the New Tire and Tube
Inspect the new tire before mounting it. Look for shipping damage, bead damage, cuts, sidewall bubbles, foreign material inside the tire, and directional arrows. Confirm the tire is approved for the correct front or rear position.
Check Tire Direction
Find the rotation arrow on the sidewall and orient it to match the wheel’s forward rotation when the wheel is installed on the motorcycle. Some tires also have a balance dot or light-point mark, but these marks are not universal across all manufacturers. If your tire has a balance dot, follow the tire maker’s instructions for aligning it with the valve stem.
Inspect and Prep Tube
If your wheel uses a tube, fit a new tube that matches the tire size and construction. Lightly dust the tube with a dry lubricant such as tire talc when recommended, then add just enough air for the tube to hold its shape. This helps prevent folds and pinches during installation.
Insert the valve stem through the rim hole and make sure the tube is centered, smooth, and free of twists. Start the valve-stem hardware by hand if your tube uses it, but do not tighten everything fully until the bead is seated and the tube is centered.
Apply Light Tube Powder
A light dusting of tube powder helps the tube settle inside the tire instead of sticking and folding. Use only a light, even coating. Keep powder off valve threads and away from the tire tread. After the tube is in place, check again that it is not caught under the bead.
Mount the Motorcycle Tire on the Rim
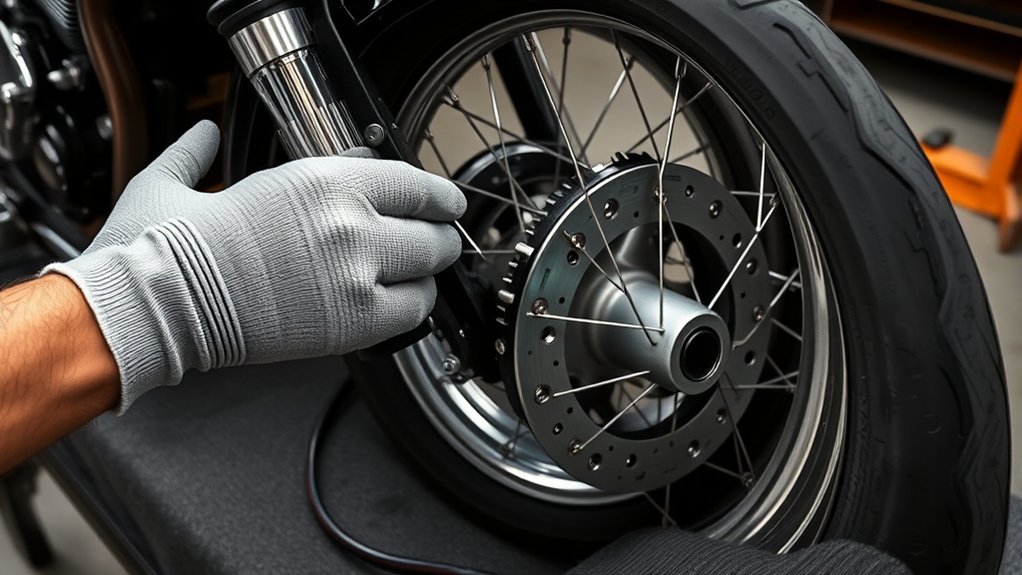
Apply approved tire lubricant to the lower bead and rim contact surface. Push the first bead onto the rim by hand where possible, taking the directional arrow into account. If tire irons are needed, use controlled pressure and rim protectors.
For tube-type wheels, keep the tube slightly inflated and centered while you mount the second bead. Work opposite the valve first so the valve area is usually the last section to go over the rim. Keep the mounted portion of the bead down in the drop center and take small bites with the tire irons.
Before the last section of bead goes on, pause and inspect the tube. If you see the tube between the bead and rim, stop and reposition it. A pinched tube can fail immediately during inflation or later on the road.
Warning: Never use a screwdriver, pry bar, or sharp tool as a tire iron. Sharp tools can damage the bead, cut a tube, gouge the rim, or create a leak path on tubeless wheels.
Inflate the Tire and Seat the Bead
Place the wheel in a safe position before inflation. Use a clip-on air chuck and stand clear of the tire’s sidewall and bead area. Inflate slowly in short bursts while watching the bead line on both sides of the rim. Never stand, lean, or reach over the assembly during bead seating.
Follow the tire manufacturer’s maximum bead-seating pressure. If you do not have a specific bead-seating limit, do not exceed 40 psi while attempting to seat the beads. If the bead does not seat before that limit, deflate the tire completely, relubricate, reposition the tire or tube, and try again. Do not keep adding pressure to force the bead into place.
Once both beads are evenly seated, set the tire to the motorcycle manufacturer’s cold operating pressure from the owner’s manual or frame placard. If the tire manufacturer gives model-specific fitment guidance, follow that guidance as well. Do not assume the sidewall pressure is the correct everyday riding pressure; sidewall pressure is tied to the tire’s maximum load capability.
For tube-type tires, after the beads seat, deflating and reinflating can help the tube relax and reduce folds. Reinstall the valve core, tighten valve-stem hardware as specified, and install a sealing valve cap. Check for leaks around the valve and both beads with soapy water or a leak-check solution, then wipe the tire and rim clean.
Balance the Wheel Before Reinstallation
Balance the tire and wheel assembly before it goes back on the motorcycle. A static balancer or computer wheel balancer can identify the heavy spot so you can add the correct wheel weights. Balance matters because an unbalanced wheel can vibrate, accelerate tire wear, and make the motorcycle feel unstable at speed.
After balancing, spin the wheel and watch the bead line and rim. The tire should run true with no obvious hop, wobble, uneven bead seating, or sidewall distortion. If anything looks wrong, do not install the wheel until the issue is corrected.
Reinstall the Wheel and Torque the Axle
Lift the wheel back into the fork or swingarm and reinstall spacers, washers, brackets, and sensor parts in the exact order they came off. Slide the axle through cleanly. If the axle will not slide through without force, realign the wheel instead of hammering it.
Thread the axle nut by hand first to avoid cross-threading. Reinstall brake calipers, ABS sensors, speed sensors, and any brackets you removed. Torque the axle nut, pinch bolts, caliper bolts, and related hardware to the motorcycle service manual’s specifications.
For chain or belt drive motorcycles, adjust chain slack or belt tension and rear-wheel alignment according to the service manual. Confirm the brake disc sits correctly between the brake pads and that the wheel spins freely without rubbing, grinding, or dragging.
Note: After reinstalling a brake caliper, pump the brake lever or pedal until it feels firm before moving the motorcycle. Forgetting this step can leave you with little or no braking on the first roll.
Final Safety Check Before Riding
- Bead line is even on both sides of the rim.
- Cold tire pressure matches the motorcycle placard, owner’s manual, or tire maker’s fitment guidance.
- Valve cap is installed and the valve area does not leak.
- Axle, pinch bolts, calipers, chain adjusters, rim locks, and sensors are tightened correctly.
- Wheel spins freely with no brake drag or wobble.
- Chain slack or belt tension is correct.
- Wheel has been balanced.
- Brake lever or pedal has been pumped firm.
Ride carefully on a new tire. Avoid hard acceleration, maximum braking, and aggressive cornering until you are used to the tire’s feel and the tire surface has had a cautious run-in period. Recheck pressure, axle hardware, and any chain or belt adjustments after the first short ride.
Troubleshooting Common Installation Problems
| Problem | Likely Cause | Fix |
|---|---|---|
| Bead will not seat | Dry bead, dirty rim, tire not centered, or wrong tire/rim match | Deflate fully, inspect fitment, clean and relubricate, then reinflate safely without exceeding bead-seating limits. |
| Tube leaks after inflation | Pinched tube, torn valve stem, spoke/rim-strip damage | Demount and inspect. Replace the tube and repair or replace the rim strip before remounting. |
| Valve stem sits crooked | Tube shifted or tire moved during mounting | Deflate, loosen the tire enough to recenter the tube and valve stem, then reinflate carefully. |
| Tire is mounted backward | Rotation arrow was not checked against installed wheel direction | Remove and remount in the correct direction before riding. |
| Vibration at speed | Wheel not balanced, bead not seated evenly, or rim damage | Stop riding, inspect bead seating and runout, and rebalance the wheel. |
| Brake drag after reinstall | Spacer, caliper, axle, or bracket installed incorrectly | Stop and compare the assembly to the service manual before riding. |
[Products Worth Considering]
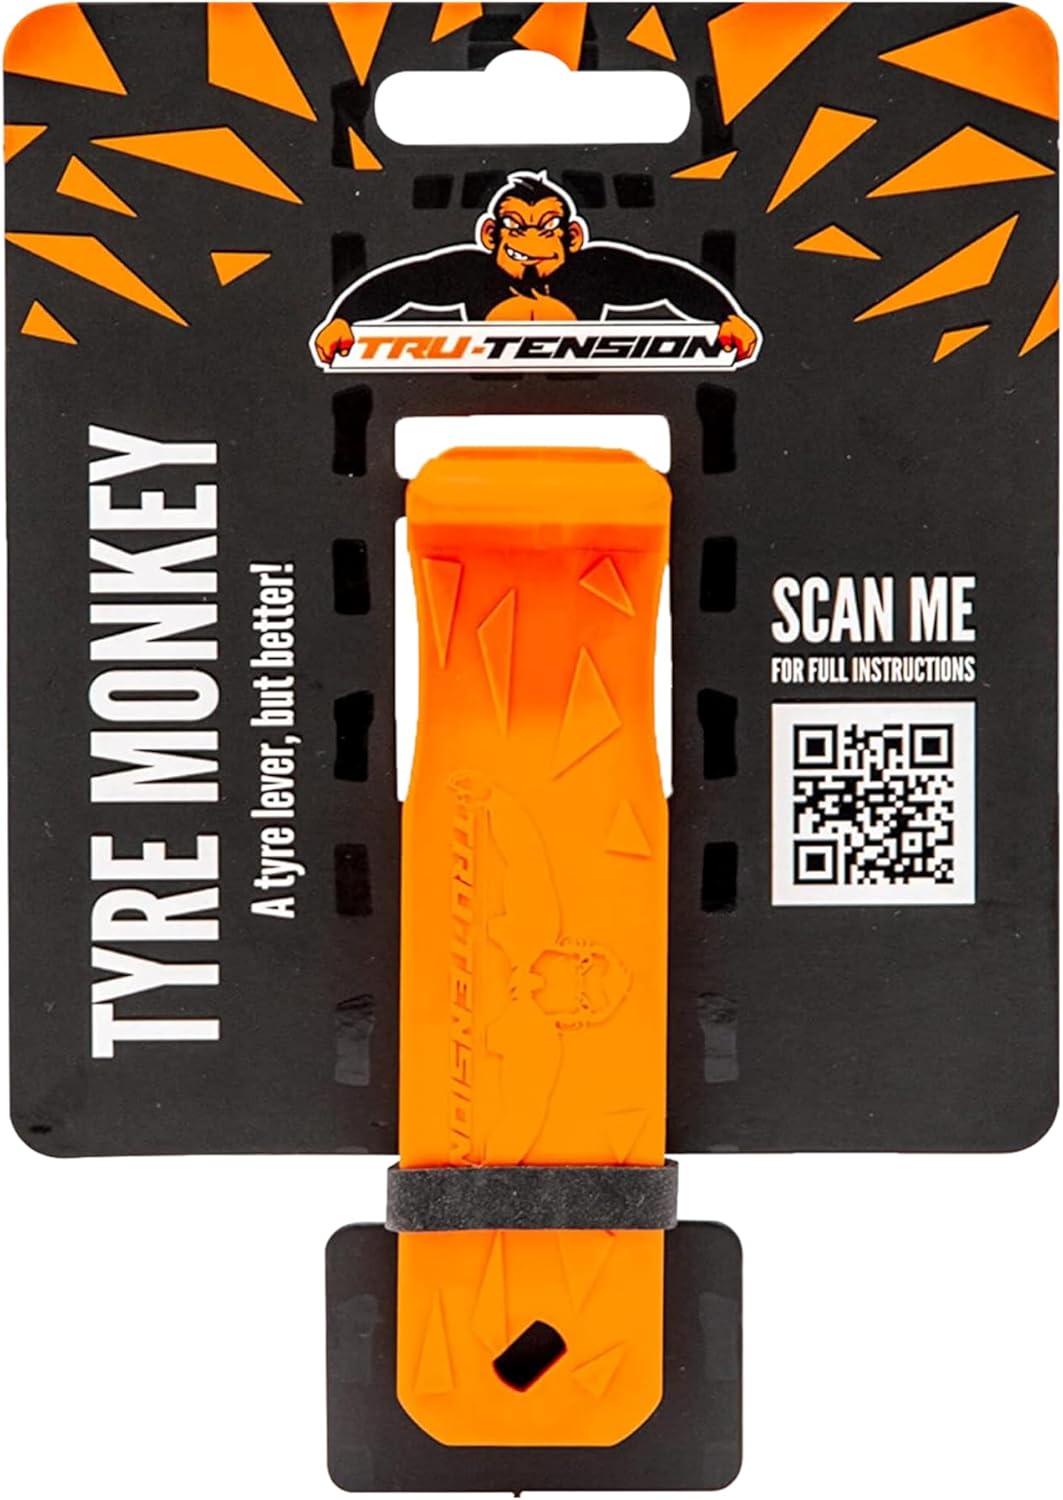
The Tru-Tension Tyre Monkey is a revolutionary bicycle tyre lever that makes removing and fitting tires fast and easy. Its innovative geometry helps keep your hand at a 90-degree angle to the wheel to reduce the risk of hitting spokes, and the design is optimized to use only one tool instead of multiple conventional levers. Compact and durable, it’s built for convenient carry and reliable tire changes on the go.

This compact 2-piece tire spoon kit makes quick work of motorcycle and small tire changes on the trail or in the garage. Forged and heat-treated steel construction helps resist bending and breaking for reliable repeated use. Curved ends grip tire beads securely while reducing pinching, and the flat lever end improves control for faster installs and removals.
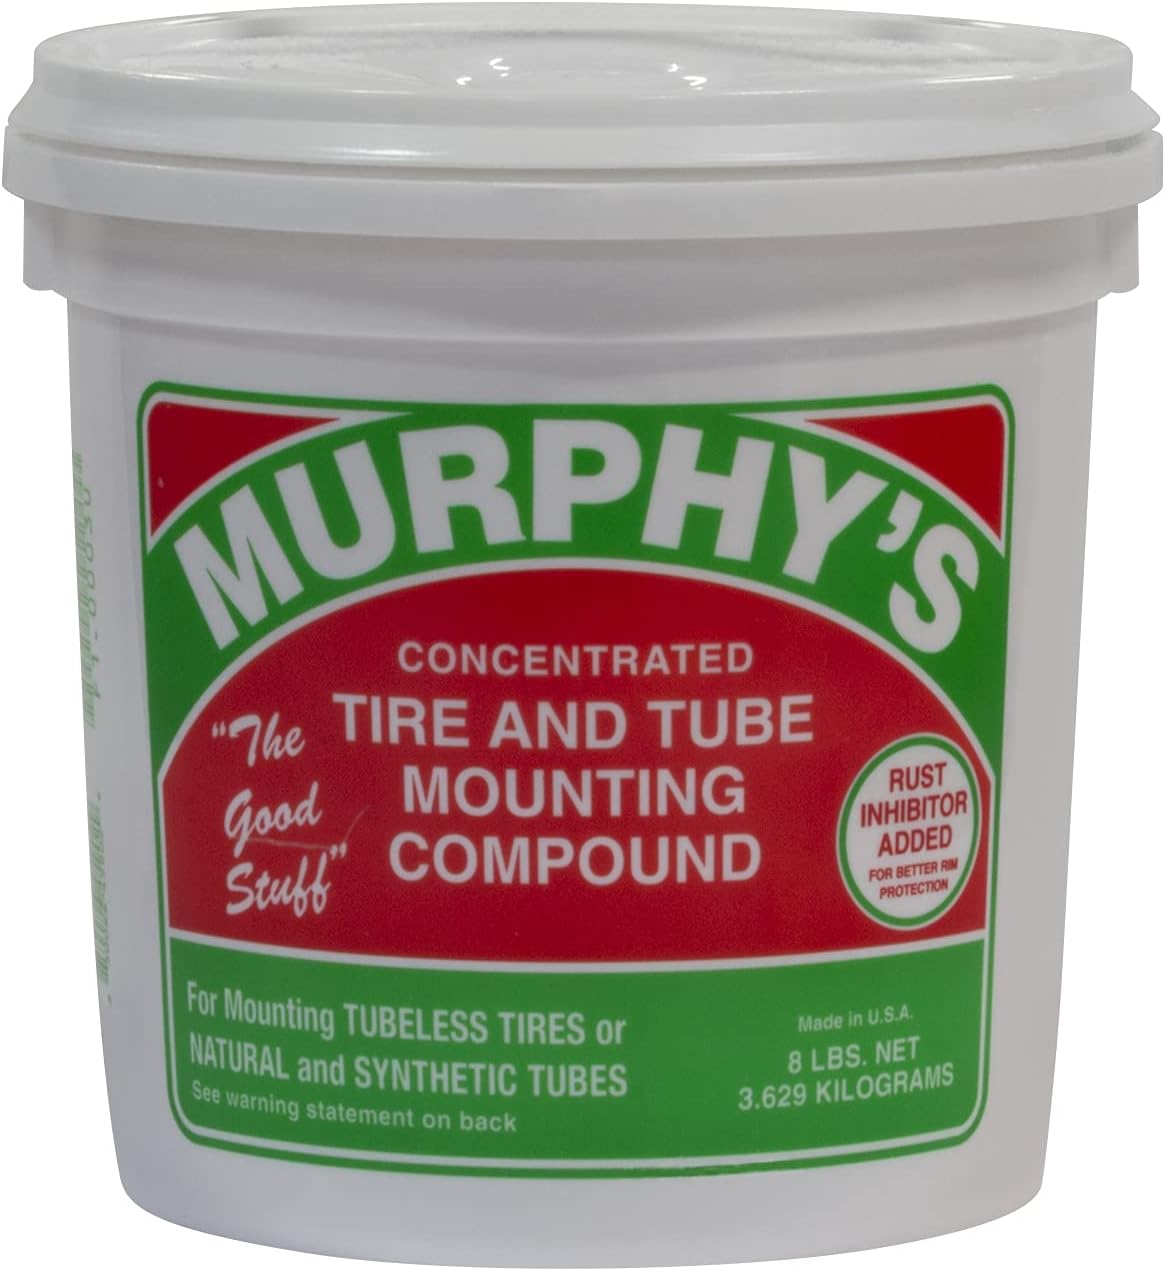
A concentrated tire and tube mounting compound designed to help simplify mounting rubber tires and tubes on passenger, semi truck, construction, and OTR applications. Its ultra-thick formula packs beads effectively and includes rust inhibitors to help protect against corrosion during use.
Frequently Asked Questions
How often should motorcycle tires be replaced?
Replace motorcycle tires when they reach their wear indicators, show cracks, cuts, bulges, puncture damage, uneven wear, exposed cord, bead damage, or age-related deterioration. Michelin recommends professional inspection every year after 5 years of use and replacement after 10 years as a precaution, even if the tire still looks usable. Always follow your tire and motorcycle manufacturer’s guidance.
Can I install a tire without a tire-changing stand?
Yes, but it is harder and less controlled. You still need the wheel secured, the tire fully deflated, a safe bead-breaking method, tire irons, rim protectors, approved lubricant, and a way to inflate and balance the wheel safely. If you cannot secure the wheel or seat the bead safely, use a professional.
What is the best way to store unused motorcycle tires?
Store unused motorcycle tires indoors in a cool, dry, dark place away from direct sun, ozone sources, electric motors, heat, gasoline, oil, grease, and solvents. Keep them clean and avoid storing them where water can collect. Inspect stored tires before mounting because hidden aging or storage damage can make a tire unsafe.
How do I know if my motorcycle tire is directional?
Look on the sidewall for an arrow, “rotation,” or similar marking. The arrow must point in the tire’s forward travel direction when the wheel is installed. Do not judge direction by tread appearance alone because some front and rear motorcycle tire patterns can look opposite by design.
Should I balance the wheel after installing a new tire?
Yes. Balance the tire and wheel assembly every time a tire is removed or replaced. Balancing helps prevent vibration, uneven wear, and poor ride feel. Use a static balance stand or computer wheel balancer, and use wheel weights approved for your motorcycle wheel type.
Can I reuse an old inner tube with a new motorcycle tire?
It is better to install a new tube when fitting a new tire on a rim that requires a tube. Old tubes can stretch, crease, crack, or fail after reuse. Always match the tube size and type to the tire and rim, and replace the rim strip if it is damaged or shifted.
What pressure should I use after installing the tire?
Set final cold tire pressure to the motorcycle manufacturer’s recommendation on the frame placard or in the owner’s manual, unless the tire manufacturer gives specific fitment guidance for your motorcycle. Do not use sidewall pressure as the default everyday setting; it is related to maximum load capacity.
Conclusion
A safe motorcycle tire installation is not just about getting the tire onto the rim. The tire must match the motorcycle, the rim must be clean and undamaged, the bead must seat evenly, the final pressure must be correct, the wheel must be balanced, and all wheel and brake hardware must be torqued to specification. Take your time, check every step, and use a qualified tire professional whenever you are unsure.
Sources
- U.S. Tire Manufacturers Association — Demounting and Mounting Procedures for Motorcycle Tires — bead seating, approved lubricant, wheel/rim compatibility, inflation safety, and mounting procedure.
- Bridgestone — Guide for Proper Inflation of Motorcycle Tires — cold tire pressure, owner’s manual/placard guidance, and inflation safety.
- Bridgestone — Motorcycle Tire Safety and Maintenance Manual — valve stems, tire run-in, tire damage, repairs, mounting warnings, balancing, tubes, and storage.
- Dunlop Motorcycle Tires — How to Remove and Replace a Motorcycle Tire — practical wheel removal, tire mounting, orientation, pressure check, and reinstallation reminders.
- Michelin — When Should I Change My Motorcycle Tires? — inspection, wear, damage, aging, and replacement timing guidance.
