
How to Use a Tire Mounting Machine: Step-by-Step Tutorial
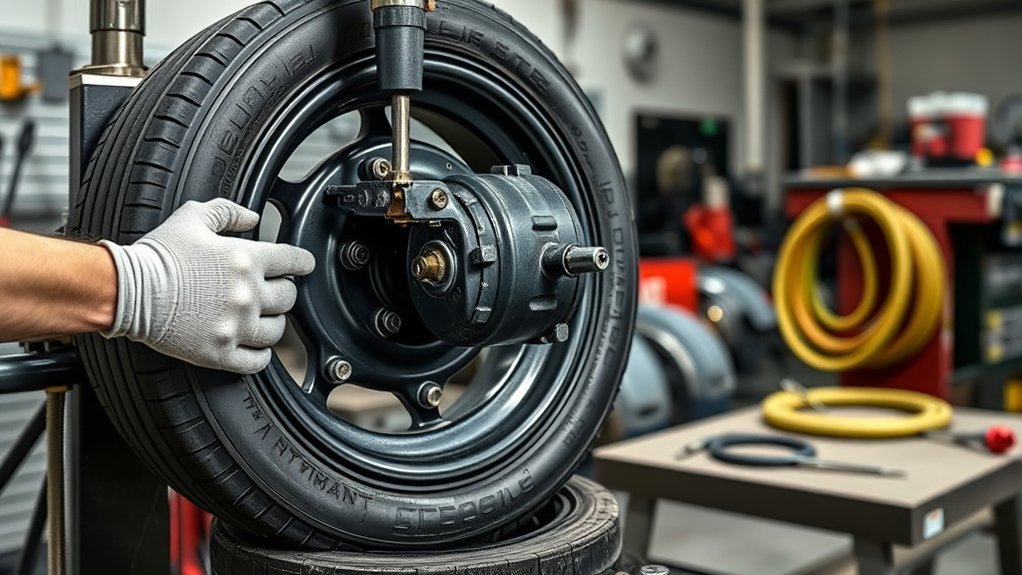
A tire mounting machine can make tire work faster and cleaner, but it is still a high-force piece of shop equipment. Use it only after you understand your machine’s manual, the tire and wheel you are servicing, and the safe inflation limits for that assembly. This guide covers the basic process for single-piece passenger and light-truck tire/wheel assemblies, from setup and inspection through bead seating and final checks.
Quick Answer
Use a tire mounting machine by setting it on a stable surface, checking the manual, wearing PPE, fully deflating the tire, breaking both beads, clamping the wheel, lubricating the beads, mounting the new tire with controlled machine movement, and inflating slowly. Never exceed the tire or machine maker’s bead-seating limit; if beads are not seated by 40 PSI, deflate, reposition, relubricate, and try again.
Key Takeaways
- Read the tire changer manual first because clamping, helper arms, bead breakers, and inflation systems vary by model.
- Wear eye protection, close-fitting gloves, and protective footwear before handling wheels, beads, valves, or moving machine parts.
- Inspect the tire, rim, valve, and TPMS before mounting; do not mount damaged, mismatched, or questionable parts.
- Use approved tire mounting lubricant only. Do not use grease, petroleum products, silicone, antifreeze, ether, starter fluid, or aerosol tricks to seat beads.
- During bead seating, keep your body out of the trajectory path. If the beads are not seated by 40 PSI, stop, deflate, reposition, relubricate, and retry.
At a Glance
| Time Required | About 20–45 minutes per tire/wheel assembly for a trained operator, not including balancing or vehicle removal/installation. |
| Difficulty | Intermediate to advanced. Tire changing should be done by trained personnel using the correct machine, tools, and procedures. |
| Tools Needed | Tire mounting machine, air supply, owner’s manual, valve core tool, approved tire lubricant, lube brush, tire pressure gauge, clip-on chuck or remote inflator, leak-check solution, TPMS tool, rim protectors, and bead clamp/helper arms if required. |
| Cost | Consumables are low, but the machine, compressor, TPMS tools, safety equipment, and wheel balancer are major shop investments. For one-off jobs, professional mounting is usually more practical. |
Warning: This guide is for general single-piece automotive and light-truck tire/wheel assemblies only. Do not use these steps for multi-piece rims, split rims, truck/bus assemblies, off-road equipment wheels, motorcycle tires, run-flat tires, or specialty wheels unless your machine, training, and manufacturer instructions specifically cover that work. Tire and rim explosions can cause serious injury or death.
Set Up the Tire Machine
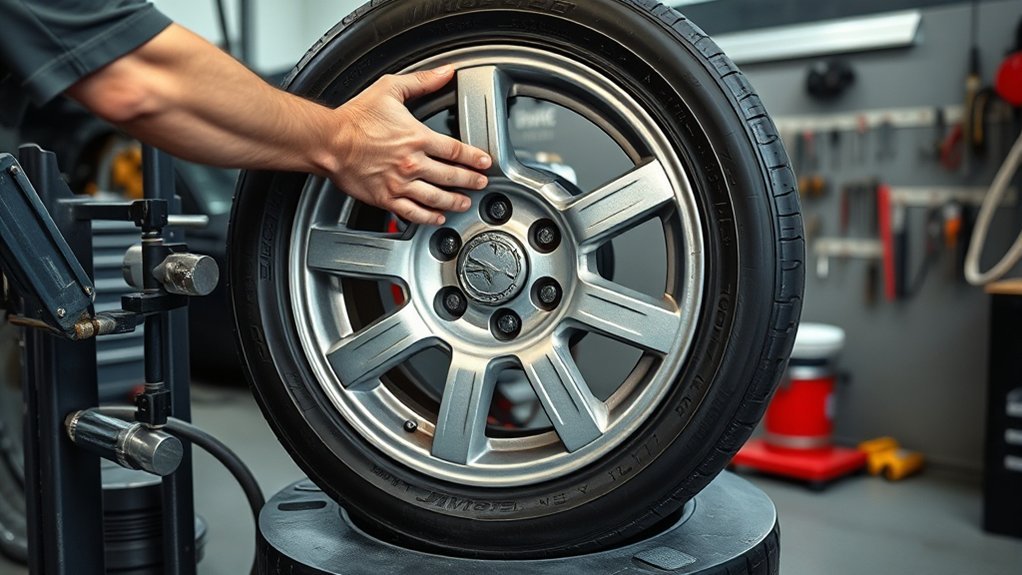
Place the tire mounting machine on a flat, stable surface so it cannot shift, rock, or tip while the turntable, bead breaker, or helper arms are in use. Keep the floor dry and clear of loose tools, valve cores, wheel weights, and lubricant spills.
Connect the air supply according to the tire changer manual. Set the regulator, check the airline, and confirm that the foot pedals, turntable, bead breaker arm, clamps, inflation hose, and pressure gauge work correctly before you start. If your machine has safety guards, rim protectors, helper arms, a pressure limiter, or a positive lockdown system, make sure they are in place and functioning.
Read the owner’s manual for your exact machine. Tire changers from different manufacturers use different clamping systems, mount/demount heads, helper arms, and inflation procedures. Manufacturer manuals from companies such as Coats and Hunter Engineering are good examples of why model-specific instructions matter.
Keep your required tools within reach: approved tire lubricant, lube brush, valve core removal tool, valve service parts, tire pressure gauge, leak-check solution, TPMS tool, rim protectors, bead clamp, and any adapters required for the wheel design.
Note: A tire changer is not a substitute for training. If you have not been trained on the machine, tire type, wheel type, and inflation system, stop and get qualified help.
[Products Worth Considering]

This VEVOR tire bead breaker uses a slide-hammer impact and wedge tip to separate tire beads from rims quickly and efficiently without damaging hub surfaces. The long handle and sturdy steel construction help reduce user strain while providing reliable, portable tire changing for cars, trucks, and more. Ideal for home mechanics and repair shops handling multiple vehicle tire sizes.
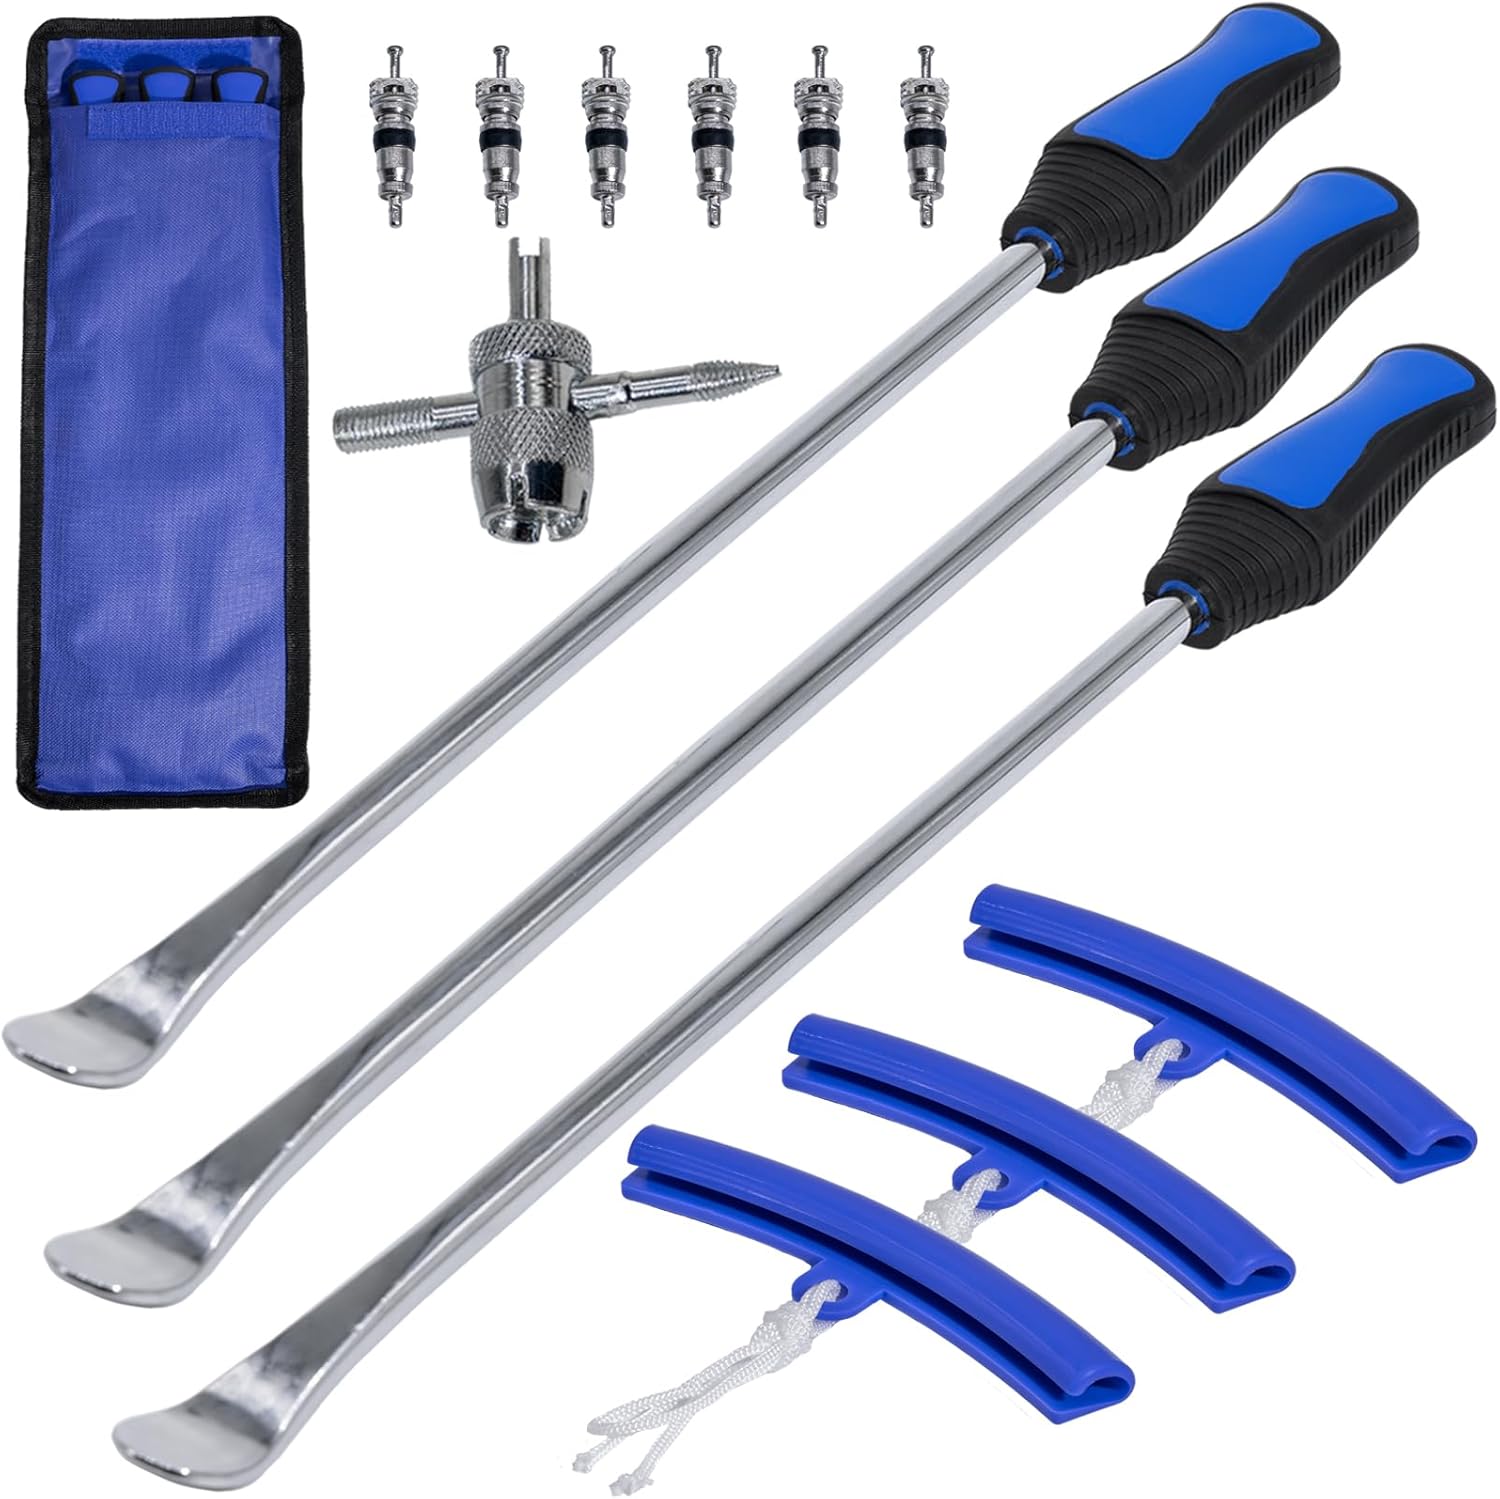
This tire spoon set helps you remove and install motorcycle, dirt bike, lawn tractor, and bicycle tires with extra leverage from a 14.5-inch spoon length. The kit includes tire removal tools, rim protectors, and a valve tool to simplify repairs and help protect rims during changing. Designed for quick, on-the-go service, it’s convenient for garage work, trails, and track-side fixes.

Camco Trailer Aid Plus tandem tire ramp lifts your trailer for quick, safe tire changes with ample clearance from its 5 1/2-inch lift. It helps you change a flat tire without unloading cargo, making roadside and routine maintenance more efficient. The heavy-duty, waterproof and rustproof polymer design supports up to 15,000 lb and is built for easy portability and storage.
Wear the Right Safety Gear
Safety gear is required because tire work exposes you to pinch points, sharp rim edges, flying debris, compressed air, heavy lifting, and sudden bead movement. At minimum, wear approved eye protection, close-fitting mechanics or leather gloves, and protective work shoes with slip-resistant soles. Use hearing protection if your shop environment requires it.
Do not wear loose sleeves, dangling jewelry, or anything that can catch in the turntable, bead breaker, or helper arms. Tie back long hair. Check each piece of protective gear before starting. Replace scratched lenses, torn gloves, loose laces, or damaged footwear.
For heavy tires and wheels, use a wheel lift, helper, or safe lifting technique. A back belt is not a replacement for proper lifting equipment or training.
Inspect the Tire, Wheel, Valve, and TPMS
Inspection prevents most mounting problems. Before you mount anything, confirm the tire size, load rating, construction, and rim diameter match the wheel and the vehicle application. Do not force a tire onto a rim if the sizes, bead seat diameter, or wheel type do not match.
Inspect the tire inside and outside for cuts, punctures, bulges, sidewall cracks, exposed cords, torn bead rubber, kinked bead wires, prior run-flat damage, or signs of underinflation damage. The U.S. Tire Manufacturers Association passenger and light-truck tire care manual lists damage conditions that should remove a tire, rim, wheel, or valve from service.
Inspect the wheel for cracks, corrosion, bent flanges, bead seat damage, worn clamp areas, and old adhesive or debris. Clean the bead seat area before mounting. A dirty or corroded bead seat can cause slow leaks or poor seating.
Tire and Wheel Match
A proper tire-and-wheel match starts with the sidewall and rim markings. Confirm that the tire’s rim diameter matches the wheel diameter exactly. Also check the wheel width range, load rating, offset requirements, and whether the assembly uses a standard, reverse, clad, alloy, steel, low-profile, or run-flat design.
If the parts do not match, stop. Incorrect fitment can damage the bead, prevent proper seating, cause leaks, or create a dangerous inflation failure. Never try to “stretch,” force, or modify a tire to fit a wheel.
TPMS Sensor Inspection
If the wheel has a tire pressure monitoring system, inspect the sensor and valve before dismounting or mounting. Many direct TPMS systems use a sensor at the wheel, while indirect systems rely on wheel-speed data. The NHTSA TPMS final rule explains the federal warning-system requirements for significant underinflation and TPMS malfunctions.
Use a TPMS tool to check sensor function, battery status when available, sensor ID, and vehicle compatibility. Note the sensor location before breaking beads. Keep the mount/demount head, bead breaker, tire lever, and bead away from the sensor so you do not crack the housing or damage the valve stem.
Replace worn valve components according to the sensor and vehicle manufacturer’s service instructions. After mounting, verify that the TPMS reads correctly and perform the required relearn or reset procedure if the vehicle needs one.
Break the Tire Bead
Before using the bead breaker, remove the valve cap and use a valve core removal tool to fully deflate the tire. Wait until all air pressure is gone. Never break the bead on a pressurized tire.
Deflate the Tire First
Keep the valve stem accessible, remove the valve core, and let the tire deflate completely. Press the sidewall gently only after pressure is released. If you hear air, feel pressure, or see the tire still holding shape under load, pause and confirm the valve core is fully removed.
Position the Bead Breaker
Place the tire upright or flat according to your machine’s design. Position the bead breaker shoe against the sidewall close to, but not on top of, the rim flange. Keep the shoe away from TPMS sensors and decorative wheel surfaces. Use rim protectors where required.
Activate the bead breaker with controlled pressure. Do not overdrive the arm into the rim. If the bead does not release, rotate the tire and try another point around the bead. Repeat on both the outer and inner beads until each bead separates from the rim.
Separate Both Beads Safely
Keep hands, feet, face, and loose clothing away from the bead breaker and sidewall. Beads can release suddenly. Work in small increments, rotate the assembly as needed, and stop if you see bead tearing, wheel damage, or sensor contact.
Warning: Never use the bead breaker as a press on a loaded tire, a damaged wheel, or a tire/wheel assembly you have not identified. Damaged tires and rims should be removed from service, not forced through the machine.
Clamp the Wheel the Right Way
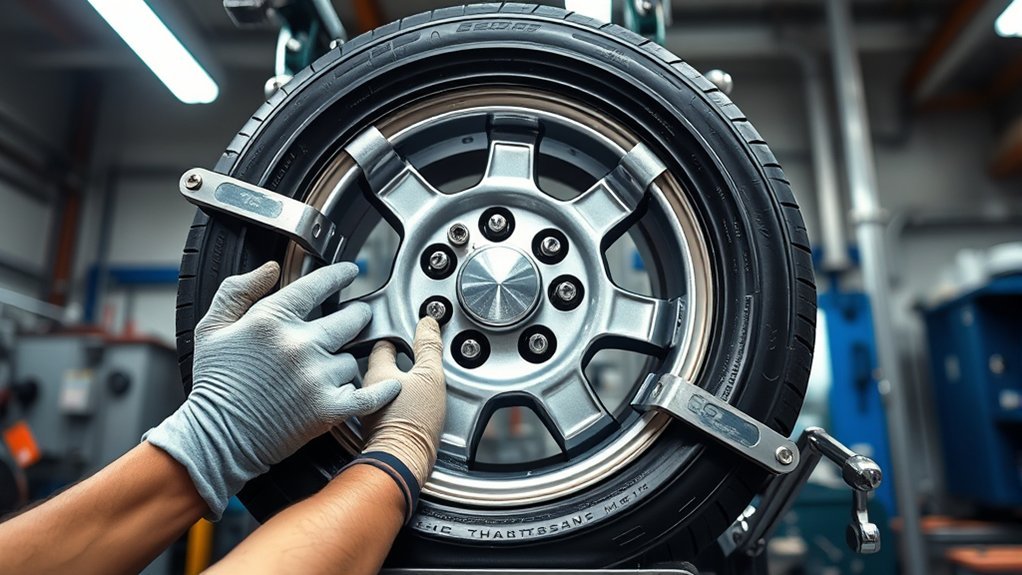
Before clamping, clean the wheel contact surfaces and remove dirt, stones, old adhesive weights, and loose debris. Center the wheel on the turntable or center-clamp system so it sits flat and stable.
Choose the clamping method specified by the machine manual and wheel design. Some wheels are clamped from the outside, some from the inside, and some use a center post or cone system. Use plastic protectors or coated clamps on finished alloy wheels to reduce scratching.
Tighten the clamps firmly enough to hold the wheel, but do not use excessive force. Overclamping can mar the finish, distort a damaged wheel, or make the assembly sit off-center. Check that the wheel cannot shift before the mount/demount head touches the rim.
Remove the Old Tire
After the wheel is clamped and both beads are broken, set the mount/demount head according to the machine manual. The head should be close enough to guide the bead but not so close that it scrapes the wheel.
Apply tire lubricant to the bead area before pulling the bead over the rim. Insert the tire lever only where the manual allows, and keep the tool away from TPMS sensors. Rotate the turntable in the correct direction while the head guides the upper bead over the rim.
Repeat the process for the lower bead. Make sure the opposite side of the bead drops into the wheel’s drop center. The drop center gives the bead the slack it needs to move over the rim without tearing.
Pro Tip: If the bead feels tight, do not add force first. Stop, relubricate, check that the bead is in the drop center, and confirm the mount/demount head is positioned correctly.
Lubricate the Tire Beads
Apply a generous, even coat of approved tire mounting lubricant to the tire beads and rim bead seat area. Lubricant reduces friction, helps the bead slide into place, and lowers the chance of bead tearing or uneven seating.
Use only lubricant made for tire mounting. Do not use petroleum grease, oil, silicone, antifreeze, starter fluid, ether, aerosol inflators, or flammable substances. USTMA’s demounting and mounting guidance warns against unapproved lubricants and flammable bead-seating methods.
| Check | Action |
| Dry spots | Stop and reapply lubricant before rotating or inflating. |
| Dirty bead seat | Clean the rim surface before mounting the new tire. |
| Torn bead rubber | Do not mount the tire. Inspect and replace if damaged. |
Mount the New Tire
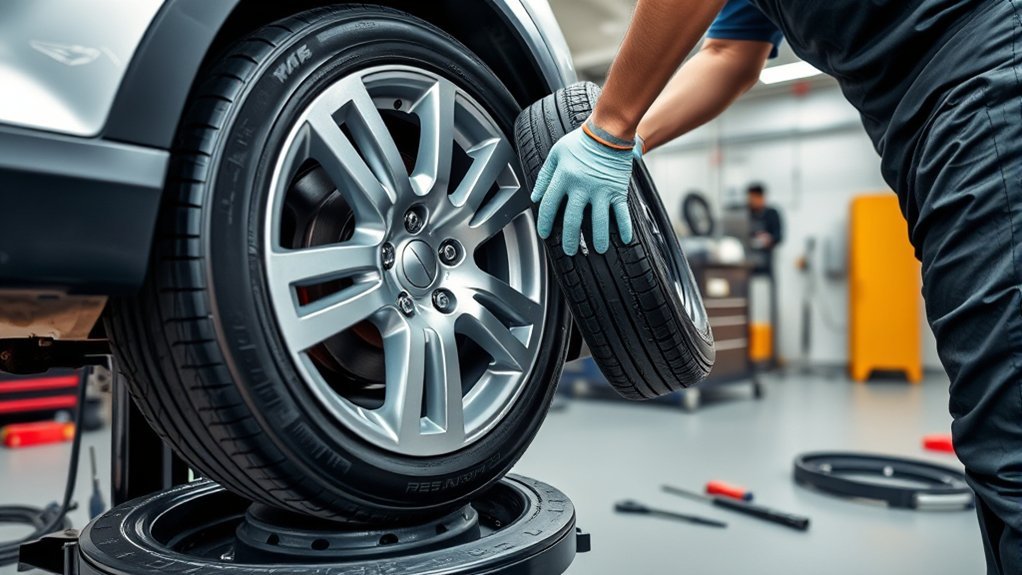
Place the lubricated tire on the rim at a slight angle. Keep the valve stem and TPMS sensor clear. Position the lower bead so part of it drops into the wheel’s drop center.
Use the machine’s mounting head to guide the lower bead onto the rim as the turntable rotates. Keep steady pressure on the tire so the bead stays in the drop center. Do not force the bead over the rim edge.
Repeat the process for the upper bead. For stiff sidewalls, low-profile tires, or run-flat tires, use the helper arms, bead press, or bead clamp recommended by the machine manufacturer. If the tire resists, stop and check lubrication, drop-center position, head clearance, and tire/wheel compatibility.
When both beads are on the rim, inspect the assembly before inflation. Confirm the beads are not pinched, the valve stem is straight, the TPMS sensor has not been hit, and the tire is centered on the rim.
[Products Worth Considering]

Universal magnetic jack pad with aluminum grooved design to protect vehicle pinch welds during lifting. Durable nylon pad inserts are upgraded and secured with screws to resist damage and keep in place. Designed to fit most single vehicle pinpoint welds for safer, stable jacking when changing tires, repairs, or performing oil changes.

This spare tire tool kit is designed for the 2004 to 2018 Ford F-150 to help you loosen and tighten wheel lug nuts and manage the spare tire and provided jack functions from underneath the vehicle. It includes the lug nut wrench and extension pieces plus a convenient storage carrying case for organized transport. The jack itself is not included.
Inflate the Tire and Seat the Bead
Attach the inflator to the valve stem. Use a clip-on chuck and stand to the side, away from the trajectory path. Never lean, stand, or reach over the tire/wheel assembly during inflation.
Inflate in controlled steps while watching the pressure gauge and bead seat line on both sides of the tire. Do not rely only on the popping sound. A pop can mean one bead moved, but it does not prove both beads are evenly seated.
Warning: Never inflate beyond the tire manufacturer’s bead-seating limit. If no lower limit is specified and the beads are not fully seated by 40 PSI, completely deflate the tire, reposition it, relubricate the beads, and reinflate. Do not keep adding pressure to “force” the bead to seat.
Bead Seating Pressure
Most passenger and light-truck tire service guidance treats 40 PSI as the upper bead-seating limit unless the tire or equipment manufacturer specifies a lower value. USTMA’s bead-seating bulletin warns that excessive bead-seating pressure can damage tire beads and may cause tire failure.
If your tire changer does not have a positive lockdown device to hold the wheel, use an approved inflation cage or other restraining device when required by the tire, wheel, machine, or workplace procedure.
Monitor Inflation Progress
As the tire inflates, watch both bead seat lines. They should appear even around the rim. If one section hangs low, stop, deflate, relubricate, and reposition the tire. Do not place your hands near the bead while air pressure is rising.
Once both beads are fully seated, reinstall the valve core if it was removed for seating, then adjust the tire to the correct cold inflation pressure listed on the vehicle placard, tire service information, or manufacturer instructions. Do not use the maximum pressure molded on the sidewall as the normal service pressure unless the vehicle or tire manufacturer specifies it for that application.
Confirm Bead Lock and Check for Leaks
Inspect both sides of the tire to confirm the bead is evenly seated all the way around. Apply leak-check solution around the valve stem, valve core, bead area, and any repaired or suspect area. Bubbles indicate a leak that must be corrected before the assembly goes back into service.
Install the valve cap, check TPMS operation, and balance the tire/wheel assembly before reinstalling it on the vehicle. Mounting a tire is not the same as balancing it.
The safest bead-seating habit is simple: inflate slowly, stay out of the trajectory path, inspect both bead lines, and stop immediately if the beads are not seated by the safe pressure limit.
Troubleshooting Common Tire Mounting Problems
The Bead Will Not Seat
Deflate the tire completely, break the bead back down, clean the bead seat, apply fresh approved lubricant, and center the tire on the rim. Check that the tire size matches the wheel and that the bead is not damaged. If repeated attempts fail, stop and contact the tire or wheel manufacturer.
The Tire Is Hard to Mount
Make sure the opposite bead is in the drop center. Add lubricant and use the correct helper arm or bead clamp. Do not pry aggressively against the rim because that can bend the flange, scar the wheel, or tear the bead.
The Wheel Gets Scratched
Check mount/demount head clearance, clamp style, plastic protectors, and the contact points on the machine. Alloy, painted, clad, and reverse-mount wheels may need special adapters or a different procedure.
The Tire Leaks After Mounting
Check the bead seat, valve core, valve stem, TPMS seal, rim corrosion, and bead damage. A leak at the bead often means the rim needs cleaning or the tire must be deflated, relubricated, repositioned, and reseated.
The TPMS Light Comes On
Use a TPMS tool to confirm each sensor is transmitting, programmed correctly, and assigned to the correct wheel location. Some vehicles require a relearn or drive cycle after tire service. If a sensor was hit during mounting, replace or service it according to the vehicle manufacturer’s instructions.
Avoid Common Tire Machine Mistakes
Small mistakes can damage tires, wheels, sensors, and equipment. Avoid these common errors:
- Skipping the manual: Tire changers use different controls, clamp systems, inflation systems, and helper arms.
- Mounting mismatched parts: Verify tire size, rim diameter, wheel width, and load requirements before mounting.
- Breaking a pressurized bead: Always remove the valve core and fully deflate first.
- Using the wrong clamp method: Inside, outside, and center clamping are all valid only when the machine manual and wheel design allow them.
- Skipping lubricant: Dry beads increase friction, bead damage, and seating trouble.
- Using unsafe bead-seating tricks: Do not use ether, starter fluid, aerosol inflators, grease, silicone, petroleum products, or rubber donuts.
- Exceeding bead-seating pressure: If beads are not seated by the safe limit, deflate and reset the assembly.
- Ignoring TPMS: Sensor damage can create leaks, warning lights, and repeat labor.
- Returning an unbalanced assembly: Balance the tire/wheel assembly before putting it back on the vehicle.
Maintain the Tire Mounting Machine
A clean, adjusted machine protects wheels and makes tire work safer. Follow your tire changer manual for lubrication points, air pressure, water separator service, clamp inspection, mount/demount head adjustment, pedal checks, and replacement of worn plastic protectors.
Inspect the bead breaker shoe, turntable jaws, center clamp, helper arms, inflation hose, pressure gauge, and air fittings before use. Replace worn jaws, cracked protectors, damaged hoses, sticky valves, or loose components before the next job.
Professional service intervals depend on the model and workload. A low-volume home or small-shop machine may need less service than a high-volume commercial changer, but any machine that leaks air, drifts out of adjustment, damages wheels, or moves unpredictably should be removed from service until repaired.
Frequently Asked Questions
How do I choose the correct tire mounting machine?
Choose a tire mounting machine that matches the wheel diameters, tire types, wheel finishes, and workload you handle. Check clamping range, bead breaker force, helper-arm options, run-flat or low-profile capability, rim protection, inflation controls, parts support, and the availability of a clear operation manual.
What tire machine accessories are most useful?
Useful accessories include plastic rim protectors, bead clamps, helper arms, valve tools, TPMS service tools, cone adapters, lube brushes, replacement jaw covers, and a clip-on inflation chuck. The best accessories are the ones approved for your specific tire changer and wheel types.
How often should the machine be professionally serviced?
Follow the service schedule in the owner’s manual. High-volume shops should inspect wear parts, air lines, clamps, protectors, and calibration more often than occasional users. If the machine leaks air, clamps unevenly, damages wheels, or behaves unpredictably, stop using it until it is inspected and repaired.
Can one machine handle run-flat and low-profile tires?
Some machines can handle run-flat and low-profile tires, but only when they are rated for that work and equipped with the correct helper arms, bead depressors, rollers, and rim protectors. Stiff sidewalls need controlled support; forcing them on a basic machine can damage the bead or wheel.
What are the signs of a worn tire mounting head?
Look for rounded metal edges, burrs, cracked plastic inserts, loose pivots, deep grooves, rough contact surfaces, or metal-to-metal scraping. If the head lets beads slip, scratches wheels, or sits too close to the rim even after adjustment, inspect and replace worn parts.
Is 40 PSI always the correct bead-seating pressure?
No. Always follow the tire manufacturer, wheel manufacturer, and machine instructions. If a lower bead-seating limit is specified, use the lower limit. If no lower limit is specified and the beads are not seated by 40 PSI, deflate, reposition, relubricate, and retry instead of adding more pressure.
Do I need to balance the wheel after mounting a tire?
Yes. After the tire is mounted, seated, leak-checked, and inflated to the correct pressure, the tire/wheel assembly should be balanced before it goes back on the vehicle. Balancing helps prevent vibration, uneven wear, and customer comebacks.
Conclusion
Using a tire mounting machine safely comes down to preparation, inspection, controlled movement, and disciplined inflation. Set up the machine correctly, wear the right PPE, inspect the tire and wheel, fully deflate before bead breaking, clamp according to the machine manual, lubricate the beads, keep the bead in the drop center, and inflate from a safe position while watching the bead seat line.
If something feels wrong, stop. Do not force the bead, overinflate the assembly, use flammable shortcuts, or mount damaged parts. Finish with a leak check, TPMS check, correct final pressure, and wheel balance before returning the assembly to service.
Sources
- U.S. Tire Manufacturers Association — Care and Service of Passenger and Light Truck Tires — tire, rim, valve, and damage inspection guidance.
- USTMA TISB Vol. 46 No. 4 — bead seating pressure warning and low-aspect-ratio mounting cautions.
- USTMA TISB Vol. 5 No. 3 — approved lubricant, inflation, and unsafe bead-seating practice warnings.
- OSHA 29 CFR 1910.177 — rim wheel servicing scope and safety framework for large vehicle rim wheels.
- OSHA Personal Protective Equipment Overview — PPE selection, fit, maintenance, and training principles.
- NHTSA FMVSS No. 138 TPMS Final Rule — tire pressure monitoring system warning and malfunction requirements.

Related Articles

How to Book a Costco Tire Center Appointment
Tired of guesswork? Learn how to book a Costco Tire Center appointment and avoid surprises before your next visit.
Read More
How to Use Costco Tire Inflation: Step-by-Step
Never overinflate at Costco—learn the exact steps, tools, and tips to fill your tires safely and leave with confidence.
Read More
How to Book a Tire Appointment at Walmart
Mysterious steps make booking a Walmart tire appointment simpler than you think, but one crucial detail could save you time and money.
Read More