
How to Use a Tire Machine: Complete Step-by-Step Guide
To use a tire machine, first inspect the wheel and tire for damage, remove the valve core, and fully deflate the assembly. Break the bead with the bead breaker arm, then secure the wheel and use the lever or mounting head to dismount the tire. Lubricate the new tire’s beads, mount it evenly, and inflate slowly while watching the gauge. When the beads seat with a pop, check for uniform fit and proper sealing to master the full process.
Key Takeaways
- Inspect the tire, wheel, valve stem, and TPMS for damage, and fully deflate the tire before starting.
- Use the bead breaker to safely separate both beads from the rim without damaging the wheel.
- Mount the wheel securely on the tire machine and use lubrication to reduce friction during removal and installation.
- Dismount the old tire with controlled leverage, then position and install the new tire squarely on the rim.
- Inflate the tire gradually, seating the beads evenly and checking for proper pressure and uniform bead placement.
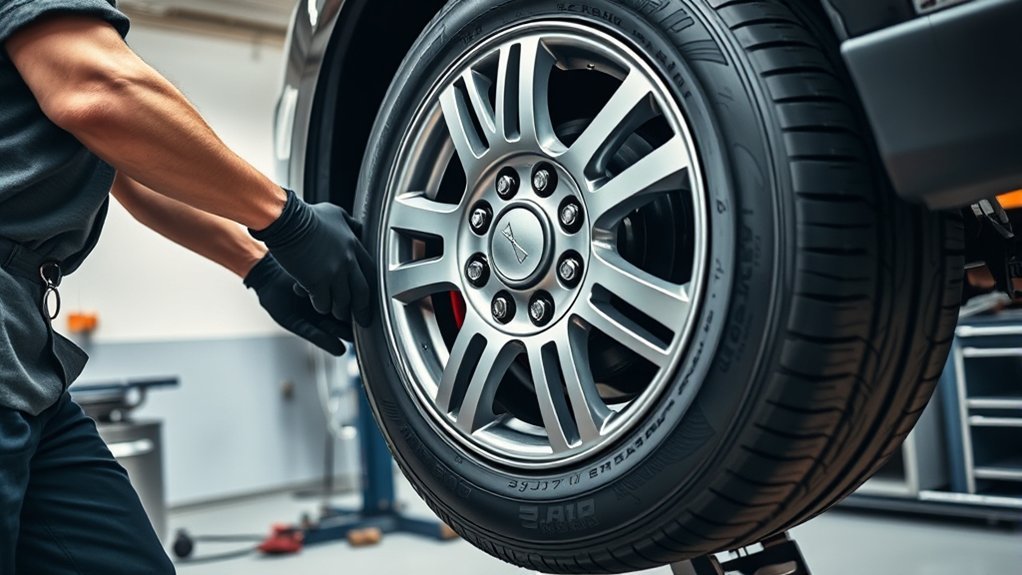
Inspect and Deflate the Tire and Wheel
Before you mount the tire machine, inspect the tire and wheel for visible damage such as cracks, rust, or punctures, and make sure the assembly is safe to handle. You should also verify the tire size against the wheel diameter so you don’t force a mismatched fit. Check the wheel for attached weights and TPMS sensors; handle them carefully or remove them if the job requires it. Next, use a valve core removal tool to deflate the tire fully. Keep your hands clear as air escapes, and confirm the tire stays completely flat before you continue. Maintain a clean, organized workspace so you can move the assembly without contamination or dropped parts. This step protects your safety and preserves your control over the process. When you inspect and deflate correctly, you free yourself from avoidable errors and set up a precise, efficient tire change. Additionally, consider the UTQG ratings of your tires to ensure you select the right ones for your vehicle’s performance.
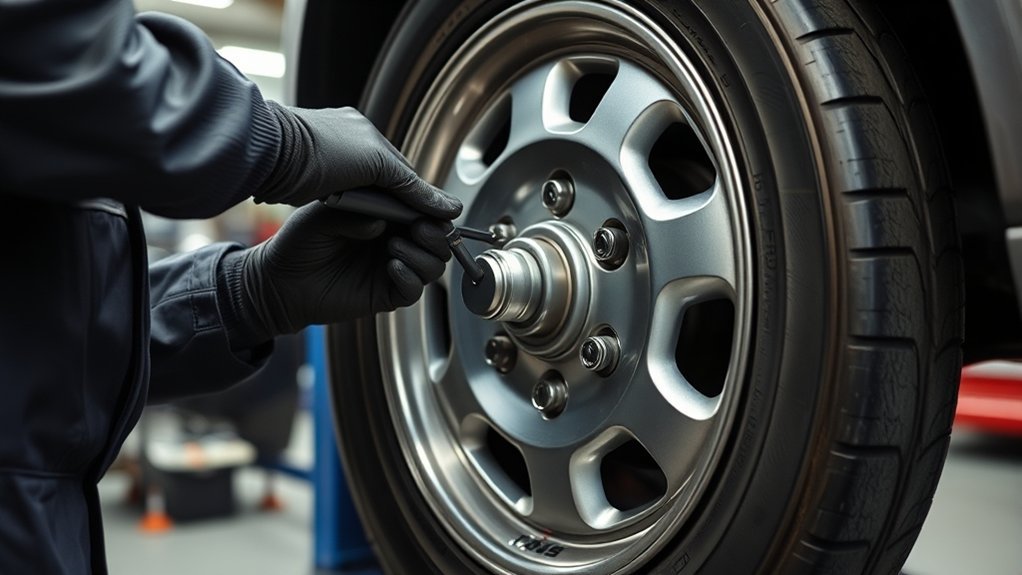
Break the Tire Bead Safely
Remove the valve stem core first so the tire is fully deflated and there’s no trapped pressure to cause a blowout. Set the tire upright on the tread with the valve stem facing up. Apply these safety precautions: maintain a safe distance, and keep hands and limbs clear while the machine works.
Remove the valve stem core first, fully deflate the tire, and keep hands clear to prevent blowout.
- Position the bead breaker arm against the sidewall.
- Lower it steadily to break the bead and use pressure to separate the tire bead from the rim.
- Rotate the tire to the 6 o’clock position.
- Repeat on the inner and outer beads until both are fully loose.
Move with control, not force. You’re using the machine to free the tire, not to fight it. Check that the bead releases evenly and the rim stays undamaged. If resistance remains, reset your stance, confirm alignment, and apply pressure again. When you separate the tire bead cleanly, you create the liberty needed for the next step without risking injury or equipment damage. Additionally, consider the tread design as it can impact the ease of bead separation.
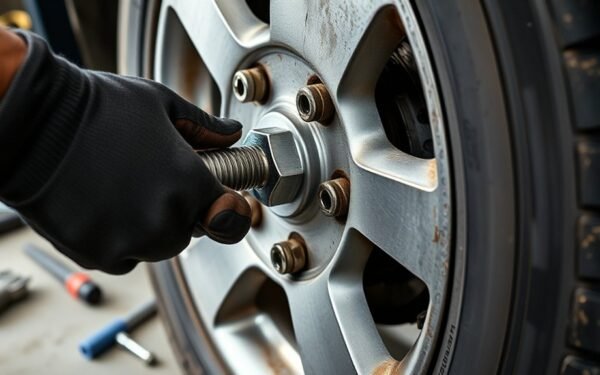
Dismount the Tire From the Rim
With the bead broken, you can dismount the tire from the rim by securing the wheel on the machine and locking it in place. First, remove the valve stem core to lower pressure and ease the dismounting process. Then position the tire upright on the tread with the valve stem facing up, close to the bead breaker for access. Use the bead breaker arm to separate the tire bead from the wheel, working carefully to avoid damage to the rim. Once the tire machine securely holds the tire and rim, insert a lever bar between the bead and wheel lip. Pry slowly and steadily to separate the tire from the rim, moving around the circumference as needed. Keep control of the tire and rim at every step, and don’t force the tool. Precision matters here: controlled pressure protects the components, reduces risk, and lets you complete the task cleanly. Additionally, using a tire repair plug kit can provide a practical solution for any small punctures encountered during the process.
Mount the New Tire
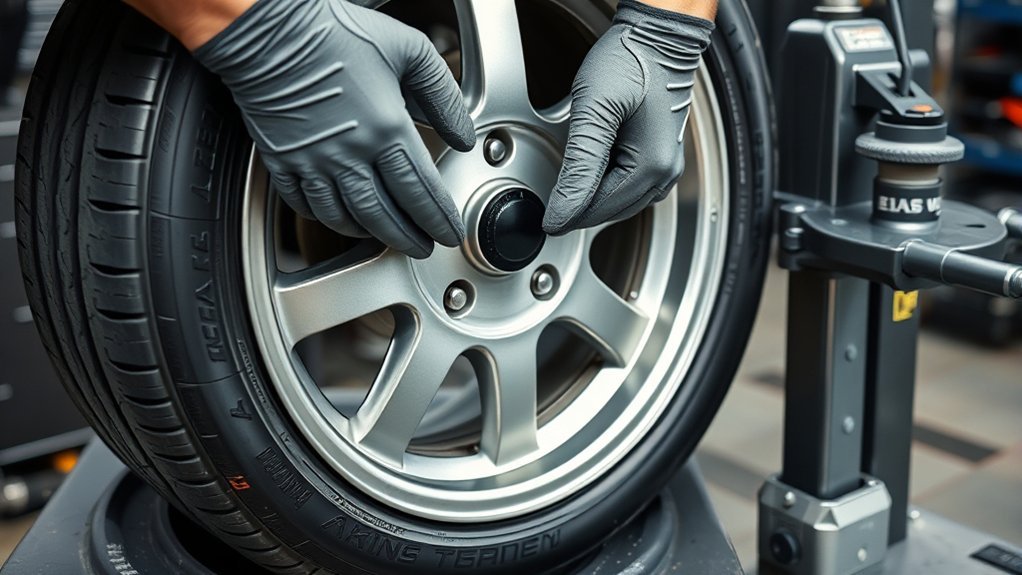
Lubricate both tire beads with rubber lube so the new tire slides on smoothly and the bead isn’t damaged during installation. On the tire machine, you’ll mount the new tire by lining it up at an angle over the rim and keeping the lower bead in the drop center.
- Coat both tire beads evenly.
- Set the tire against the rim with the valve stem core clear.
- Engage the mounting head.
- Rotate the turntable steadily.
As the turntable turns, guide the bead over the rim without forcing it. Keep the bead aligned, and let the machine do the work. Once the tire is fully mounted, remove the valve stem core if it isn’t already out, so you can prepare for inflate and bead seating. Check that the tire sits squarely on the rim and that the bead hasn’t pinched. It’s important to ensure consistent traction year-round to maximize the performance of your new tire. Stay precise, stay safe, and keep control of the pressure you’ll apply next.
Inflate the Tire and Seat the Beads
Once the tire is mounted and the valve stem core is out, attach the inflation system securely to the valve stem. Before you inflate the tire, make sure the beads are coated with rubber lube so they can seal against the rim without binding. Using the tire machine setup, raise pressure gradually and watch the pressure gauge continuously. You should usually reach at least 7 PSI to begin bead seating. Keep the process controlled; don’t exceed the maximum recommended pressure of 40 PSI, or you risk tire damage or explosion. As pressure builds, listen for an audible pop, which tells you the beads have seated. After that, stop, disconnect, and perform a visual inspection on both sides. Confirm the bead seating is uniform and the tire is fully against the rim. If either bead looks uneven, deflate, reset, and repeat the inflate the tire procedure before returning the assembly to service. Additionally, ensure you are using tires with reinforced sidewalls for better durability and protection during the inflation process.
Frequently Asked Questions
What Is the 3% Rule for Tires?
The 3% rule for tires means you shouldn’t let tread depth difference between new and worn tires exceed 3%, or about 7/32 inches when new tires measure 10/32. You should check tire pressure, follow inflation guidelines, and inspect wear patterns during tire maintenance. Tire rotation, alignment checks, seasonal tires, and performance tires all affect tire lifespan. If you ignore this rule, you’ll lose grip, handling, and wet-road safety.
How to Use the Tire Machine at the Gym?
Use the gym tire machine by checking the clamps, safety stop, and your grip first. You’ll set the tire weight variations, then apply tire workout techniques to control the lift, flip, or press. Keep your stance stable, target the muscle groups targeted, and follow tire safety precautions. These strength training equipment drills support tire machine benefits, fitness tire routines, gym tire exercises, tire flipping tips, and outdoor tire workouts.
How to Use a Tire Inflator Machine?
Attach the inflator to the valve stem, set your target tire pressure, and start the air compressor. Choose inflator types with digital gauges for accuracy, then watch pressure rise using safe inflation techniques. Follow safety precautions, stop at the recommended PSI, and listen for bead seating. If you notice common issues, check leaks or the valve core. Regular maintenance tips and seasonal checks help protect tire lifespan and keep you free.
How to Use a Tire Balancing Machine?
Place the wheel on the tire balancing machine, enter its dimensions, and start the balancing process. The sensors’ll show weight distribution, so you add weights where needed and recheck until readings’re zero. Follow safety precautions, keep up equipment maintenance, and verify machine calibration before each job. Avoid common mistakes like dirty rims or poor mounting. Don’t confuse DIY balancing with tire alignment; balancing reduces vibration and tire wear, but alignment fixes tracking.
Conclusion
Now you’ve got the wheel rolling. By following these steps, you’ve turned a stubborn tire into a smooth, workable assembly and kept the process under control from start to finish. Treat the tire machine like a steady hand, not a wild card: inspect, break the bead, dismount, mount, and inflate with precision. When you finish, double-check your work so the tire seats correctly and the road feels solid beneath you.
Related Articles
How to Loosen Tire Bolts: Techniques That Work Every Time
Jacked-up? Learn the quickest ways to loosen tire bolts safely, even when they’re stuck, and discover the one trick most drivers miss.
Read More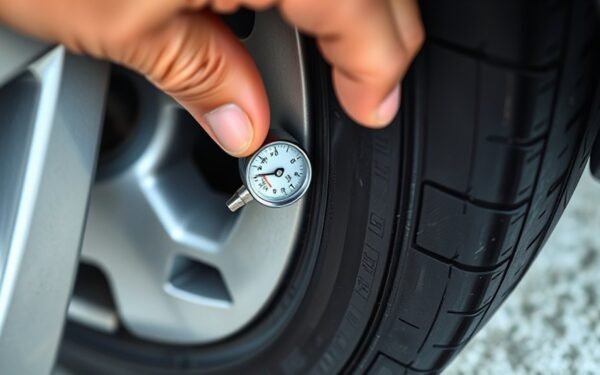
How to Use a Tire Gauge: Step-by-Step Guide for Accurate PSI Readings
Using a tire gauge correctly reveals your true PSI, but the key step most drivers miss can change everything.
Read More
How to Loosen Tire Nuts: Tools, Torque & Step-by-Step Guide
Know the safest way to loosen tire nuts, avoid common mistakes, and discover the tools and steps that make removal easier.
Read More