
How to Turn a Tire Inside Out: Step-by-Step Method
To turn a tire inside out, you first gather safety gear, a cutting tool, clamps, and a marker. Then you mark a symmetrical cut pattern on the tread and sidewalls, avoiding steel cords. Cut the tire carefully, then use bricks, a partner, and your body weight to pry the carcass outward in short sections. Keep steady tension, trim rough edges, and fix stubborn spots with controlled leverage, and you’ll see the process get easier step by step.
Key Takeaways
- Gather safety gear, cutting tools, clamps, and a clear workspace before starting.
- Mark the tire with evenly spaced cut lines to keep the inversion symmetrical.
- Cut along the marked tread and sidewall lines, avoiding steel cords whenever possible.
- Use leverage, body weight, and a helper to pull the cut sections outward gradually.
- Finish by trimming rough edges and checking the inverted tire for a clean, stable shape.
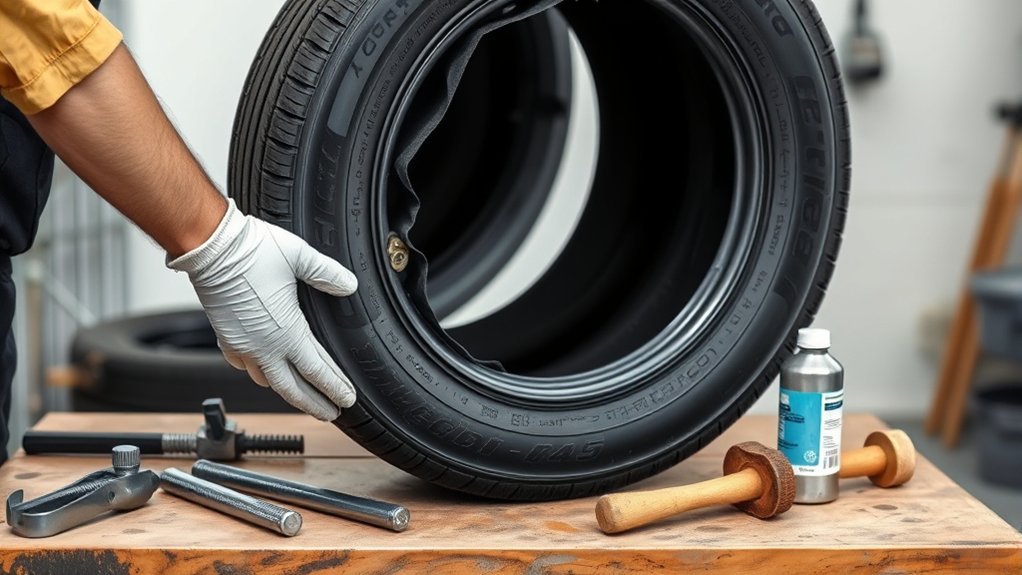
Gather Your Tools First
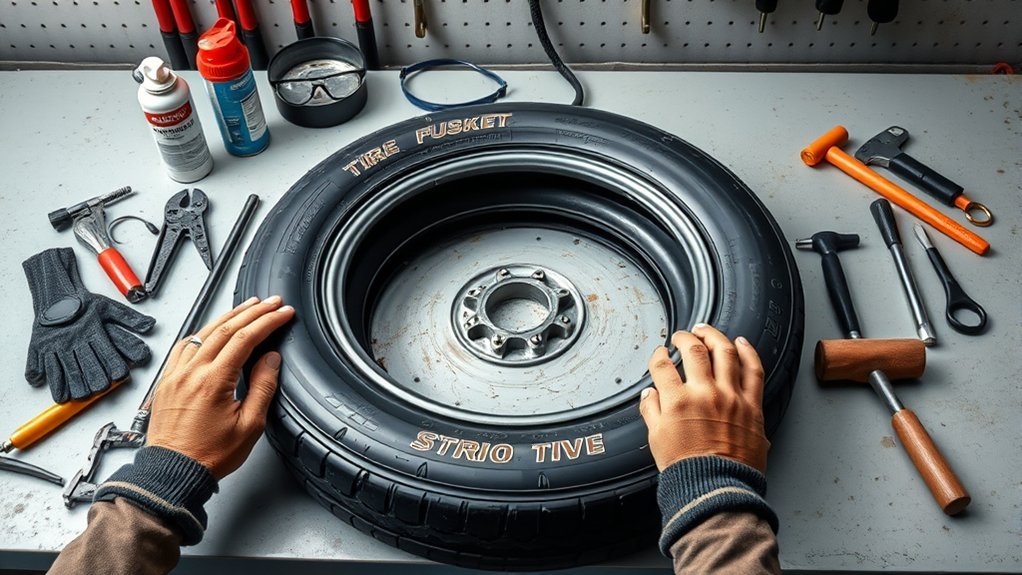
Before you start the inversion process, gather the tools and safety gear you’ll need so you can work efficiently and avoid interruptions. You’ll need a jigsaw or Dremel tool for cutting, chains for pulling, and clamps for holding the tire steady. Keep eye protection and a dust mask nearby to protect yourself from debris and airborne dust. Set the tire on a sturdy surface, such as a concrete culvert or wooden beams, so it won’t shift while you work. Bring a measuring tape and a wax marker to verify dimensions and lay out your pattern accurately. Clear the workspace so you’ve got room to move around the tire without tripping or fighting obstacles. When you prepare these tools in advance, you reduce delays, improve control, and keep the task focused. A well-organized setup helps you reclaim the labor, direct the process, and cut with confidence. Additionally, ensuring your tire choice matches your driving style and location can enhance safety and performance during the project.
Mark the Tire for Cutting
Choose a cut pattern that matches your goal, then inspect the tire for a deep profile and no visible steel cords on the inner rim. Measure the tire in equal sections and mark 14 points with a wax marker, repeating the halving process to keep the layout symmetrical. If you want a diamond-style result, mark the triangle points precisely and recheck every line before you cut. Additionally, consider checking the tire’s UTQG rating to ensure you’re working with a suitable option for your project.
Choose Cut Pattern
Start by selecting an old tire with a deep profile and marking your cutting pattern with a wax marker, keeping the layout clear while avoiding any steel cords in the inner rim. Choose a diamond point cut pattern; it gives the tire inside a clean decorative effect and supports a liberated garden-bed form.
| Mark | Purpose | Result |
|---|---|---|
| 1 | Set 14 points | Balanced spacing |
| 2 | Halve sections | Equal geometry |
| 3 | Trace outer points | Sharp outline |
You can divide the circumference by halving repeatedly until you have 14 marked points. That layout keeps your cuts uniform and lets you follow each line with control. Keep the marks visible, then cut only on those guides for a precise, repeatable shape.
Measure Tire Sections
Divide the tire into halves, then keep splitting those sections until you’ve marked 14 evenly spaced points around the tread. Choose a deep-profile tire if you can, and use a wax marker to make each marking clear. Measure each section carefully so the layout stays symmetrical and the cutting path remains controlled. Keep every point visible on both the inner and outer edges, but stay away from the steel cords in the inner rim. If you’re aiming for a diamond-point pattern, mark it now so your cuts follow a disciplined route. Precise measuring gives you freedom later: it lets the Dremel track the lines cleanly, reduces error, and keeps your hands focused on the work instead of fighting the material.
Mark Triangle Points
With your 14 evenly spaced points laid out, use a wax marker to connect them into triangle points for the cutting pattern, keeping every line bold and easy to follow. Turn the tire so you can reach the inside surface and keep your marking controlled. Trace each triangle cleanly, making sure the points stay distinct and visible for cutting. Stay clear of the steel cords near the inner rim; you’re outlining the shape, not weakening the structure. Check each line twice against your measurements before you move on. If a point looks off, correct it now. Precise marking gives you a uniform pattern and helps you cut with confidence. This step frees the tire’s form while protecting the material you’ll need later.
Cut the Tread Safely
Mark the tread with a wax marker so you can follow clean cutting lines and avoid the steel cords in the inner rim. Fit your Dremel Multi-Max MM40 with a new Multi-Knife attachment, since a sharp blade cuts more cleanly and with less force. Start at the outer points of the triangles, plunge in at each tip, and pull the blade steadily along the marks to keep the edges precise. Additionally, ensure that you’re wearing safety gear to protect yourself while performing this task, as proper tire maintenance can help prevent accidents and prolong tire life.
Mark Cutting Lines
Use a wax marker to lay out your cutting pattern clearly on the tire, keeping every line visible and clear of the steel cords in the inner rim. Divide the tire into equal sections, then place 14 points so your marking pattern stays balanced and repeatable. Connect those points with straight cutting lines, checking each segment before you move on. This layout gives you control and supports effective slicing when you start the next phase. If your design includes triangles, mark the outer points first so you can open the shape cleanly later. Keep your measurements consistent, because precision now saves effort and protects the structure you need to free the tire. After you finish marking, inspect the full outline once more.
Use Sharp Blade
Take a sharp blade, such as a jigsaw or Dremel, and cut around the tread from the outside, following your marked lines closely so the rubber stays cleanly separated. Wear eye protection and a dust mask before you start, because debris and rubber dust will fly. Keep the sharp blade moving with steady pressure, and don’t let it wander into the steel cords near the inner rim, or you’ll weaken the tire’s structure. Work methodically and let the tool do the cut instead of forcing it. Once the tread is fully released, grip it and pull it up toward yourself. Use leverage, not brute force, and keep pulling until the tread begins to invert. Stay patient; controlled effort gives you freedom without damage.
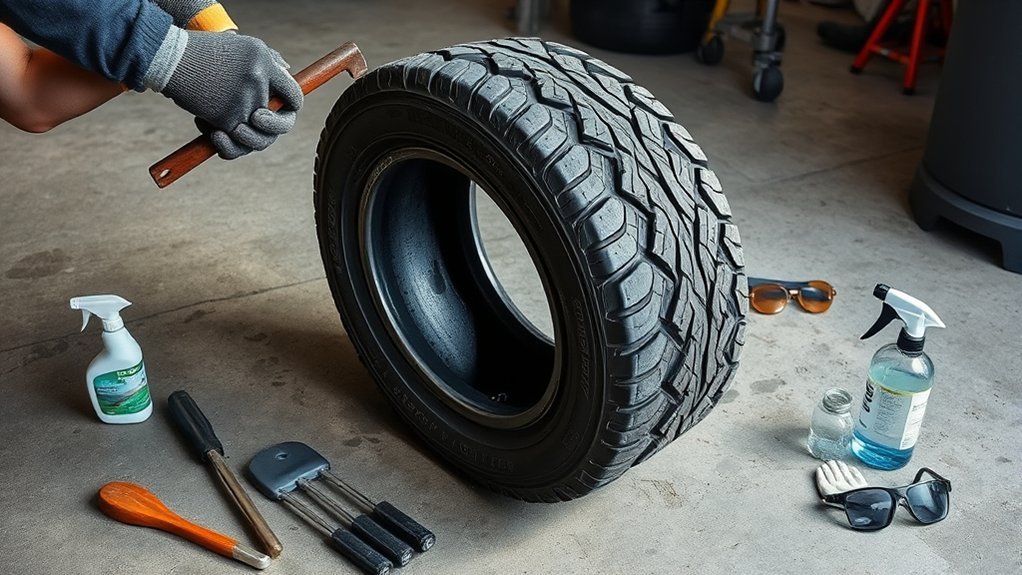
Loosen the Sidewalls
Cut the tire’s sidewalls along the marked lines with a Dremel or jigsaw, keeping the blade clear of the steel cords. This first cut should loosen the tire enough that the sidewalls begin to separate cleanly. Set the tire on bricks or another rigid support so it stays stable while you work. Then press down on the tread and pull the cut edges upward in short, controlled motions. You’re not forcing a full flip yet; you’re freeing material and reducing resistance. If the rubber feels stubborn, keep coaxing it with steady pressure and repeated pulling until the sidewalls relax and become pliable. A second person can help by holding the tire, bracing the tread, or pulling opposite edges at the same time. Working together cuts effort and gives you better control. Stay precise, keep the cuts even, and let the tire yield gradually to your hands. Additionally, having a reliable spare tire kit ensures you’re prepared for any unexpected tire issues during your project.
Flip the Tire Inside Out
Kneel on the tread for leverage and pull the cut edge toward yourself, working one section at a time to start inverting the tire. Keep the cut bead close as you turn it inside, using controlled pulls and pushes to roll the carcass over itself. If the tire resists, brace it with bricks or another heavy object so it stays stable while you work. For larger tires, ask for assistance; one person can hold tension while the other guides the section over. Expect this phase to take about 20 minutes, though size and strength change the pace. Stay patient and persistent, because the tread won’t fully flip without sustained force and precise motion. As each segment is pulled over, the shape will change steadily. Additionally, ensure you’re working on a surface that provides good traction features to prevent slipping. Continue until the inside face is exposed and the end result is a clean, inverted tire ready for the next step.
Use Leverage on Stubborn Sections
When a section won’t roll over easily, use your body weight to your advantage by kneeling on the tread and pulling the cut edge toward you with steady pressure. This gives you leverage without fighting the tire’s full mass. If you need to turn a stubborn span, work in short segments instead of forcing the whole side at once. Ask a helper to hold the completed section steady while you advance the next one; that keeps the tire from slipping and cuts your effort. For extra lift, prop the tire with bricks or other sturdy objects so the edge sits higher and you can pull more effectively. You can also secure the rim with clamps to create a stable base. Keep your motions controlled: pull, shift, and reset before continuing. That method lets you reclaim the material step by step and keeps the inversion process efficient and under your command. Additionally, ensure you’re using tires that are suited for your vehicle’s all-season performance to maximize efficiency during the inversion process.
Shape the Tire for a Clean Finish
For a clean finish, you’ll want to shape the tire deliberately before and during the inversion. Mark your cutting pattern carefully so you don’t nick the steel cords in the inner rim; that protects the tire’s structure and keeps the change smooth. Secure the tire with clamps, then use a Dremel Multi-Max fitted with a new Multi-Knife blade to follow the marked lines precisely. This controlled cut helps preserve form and reduces fraying, which improves tire aesthetics and supports a cleaner pull. When you flip the tire, apply steady pressure on the tread while you draw the cut edges upward. That motion lets you manage the material with less force and a more refined result. After inversion, trim any rough edges so the tire looks polished and ready for gardening applications. Additionally, understanding how tire compounds are formulated can enhance your approach to recycling, as it emphasizes the variety of materials that can be repurposed. A careful finish also strengthens recycling benefits by turning discarded rubber into a useful, liberated form.
Fix Common Tire Flipping Problems
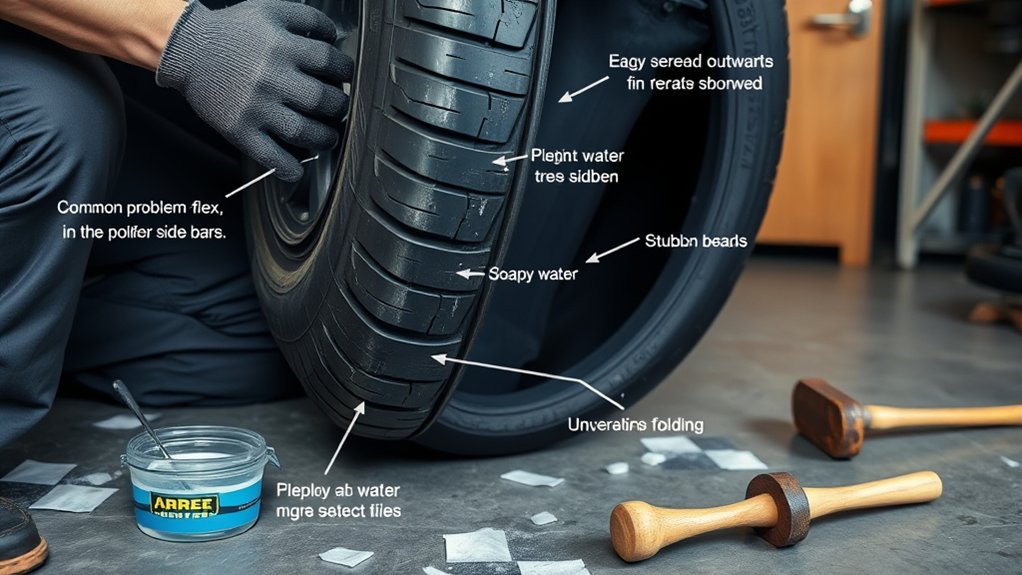
If the tire resists turning inside out, combine pulling and pushing motions and use your body weight to gain leverage on the tread. This is one of the most effective tire flipping techniques when brute force alone stalls. Set bricks or sturdy objects under the carcass so it stays stable while you work. If the sidewall slips, clamp the tire or ask a helper to hold it; that lets you pull the tread upward without losing control. Grip the cut edge with both hands and draw it toward you, then shift a few inches at a time. Don’t try to invert the whole tire in one push; that’s a common mistake that wastes energy and strains your back. Instead, use a steady rhythm and reset your stance often. These troubleshooting tips keep the process efficient, reduce fatigue, and help you reclaim the tire on your terms. Additionally, maintaining proper tire pressure is crucial for safety and performance, which can further aid in the ease of tire manipulation.
Frequently Asked Questions
How to Rotate Tires Step by Step?
You rotate tires by loosening the lug nuts, jacking up the vehicle, and securing it on stands. Remove each wheel, follow the maker’s rotation pattern, and reinstall them in their new positions. Hand-tighten the nuts, lower the vehicle, then torque them in a star pattern. Check tire wear patterns, track tire rotation frequency, and apply tire maintenance tips to extend life and keep you moving freely.
Can I Flip My Tires Inside Out?
Yes, you can, but that theory deserves scrutiny: tire wear analysis shows whether inversion is even safe or useful. You’ll need strong leverage, clamps, and patience to reverse the casing without damage. Follow tire safety guidelines, wear eye and respiratory protection, and inspect for cracks before you start. For practical tire maintenance tips, treat this as a fabrication project, not a routine service, and respect the material’s limits.
What Is the 3 Tire Rule?
The 3 tire rule means you use three tires to build a stable, layered garden bed: one base tire, one inverted on top, and a third for height or shape. You’ll improve drainage, support roots, and create a clean, practical structure. For tire maintenance tips, check tire wear indicators and keep tire pressure monitoring regular; that freedom from waste helps you repurpose materials with precision and control.
How to Properly Do Tire Flips?
You do tire flips like a coiled spring exploding: set your feet shoulder-width, squat to the tire, and drive through your hips. Use tire flipping techniques—tight grip, flat back, and powerful extension—to lift, then shift your hands under the edge and push it over. Keep safety precautions tight: brace your core, clear the area, and wear solid shoes. You’ll build workout benefits fast—power, endurance, and freedom.
Conclusion
Now you’ve turned the tire inside out, but why stop there? Check the cut edges, confirm the sidewalls have fully released, and reshape any stubborn sections with steady pressure. If the tire resists, revisit the cut line and apply leverage in small, controlled increments. Clean, even results come from patience and precision. With the right tools and a careful method, you can finish the job safely and get a usable flipped tire every time.
Related Articles

How to Rebead a Tire: Proven Methods for a Perfect Seal
Great tire sealing starts with the right prep, but one overlooked step can make all the difference—discover the proven method inside.
Read More
How to Program Tire Sensors (TPMS): Step-by-Step Guide
Master tire sensor programming with our step-by-step TPMS guide, and discover the crucial trick that can keep your warning light on.
Read More
How to Bead a Tire: Methods, Tips & Tools You’ll Need
Just what you need to bead a tire safely, with the tools, tricks, and pitfalls that can make or break the job.
Read More