
How to Get a Tire to Bead: Proven Tricks When It Won’t Seat
To get a tire to bead, center the tire on the rim, lube both beads with a thin film of tire soap or dish soap, and wrap a ratchet strap around the tread to push the sidewalls outward. Inflate it quickly with the valve stem aligned and keep clear as the beads pop into place. If one spot won’t seat, mark it, relube it, and adjust the strap for more reliable results and safer seating methods.
Key Takeaways
- Apply a thin, even coat of tire lube or soapy water to both beads to reduce friction and help the tire slide into place.
- Wrap a ratchet strap around the tread and tighten it evenly to center the tire and push the sidewalls outward.
- Inflate the tire quickly and safely until you hear the bead pop into place, then check both bead lines.
- Keep the rim and bead aligned; reset the tire if it looks twisted, offset, or uneven before adding more air.
- For stubborn spots, relubricate, massage the bead area, and reinflate gradually while watching for leaks or uneven seating.
Start the Tire Bead Seating
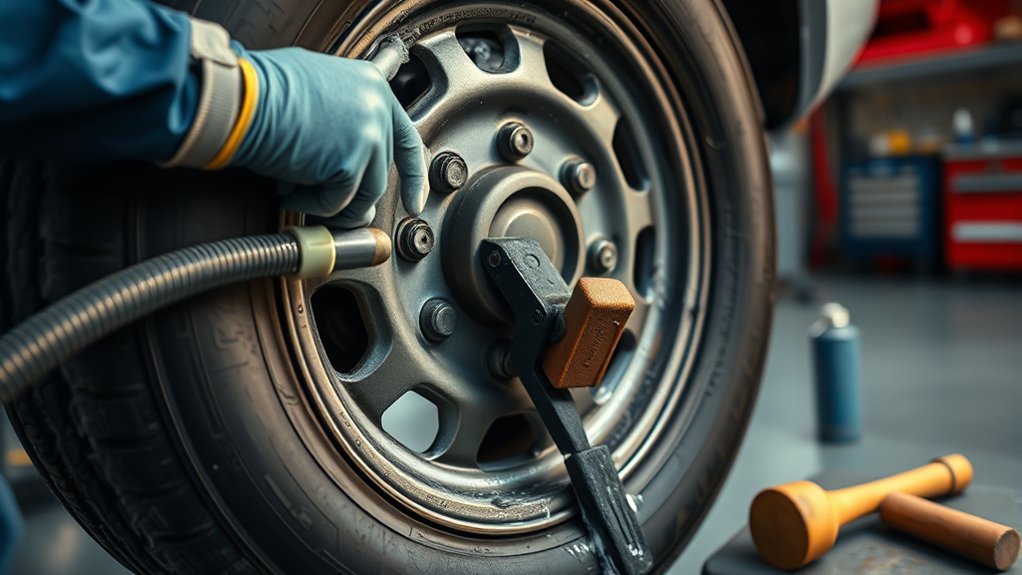
Position the tire on the rim with the valve stem aligned and accessible for inflation, then wrap a ratchet strap around the tread and tighten it evenly to center the tire and help push the bead outward. You should keep the strap snug, but don’t crush the sidewalls; you’re aiming to reshape the carcass, not damage it. Make sure the valve stem stays clear so you can air up without obstruction. With the tire centered, inspect both beads for a uniform position against the rim. This setup gives you control and helps the tire start moving toward its seat. If the tire looks twisted or offset, reset it before adding air. A properly placed ratchet strap can free a stubborn bead by forcing the casing outward and improving contact. Additionally, maintaining proper tire pressure ensures effective bead seating and overall performance. Work deliberately, stay focused, and use the tire’s own structure to your advantage.
Apply Tire Lube Around the Bead
With the tire centered and the bead ready to move, apply tire lube evenly around the entire bead on both sides before you add any air. You want a continuous, thin film that lowers friction and lets the rubber slide cleanly against the rim. Use tire soap, liquid dish soap, or even WD-40 if that’s what you’ve got; each creates a slick surface that helps the bead engage. If you have a tire mounting compound, use it, since it can improve lubrication and reduce installation stress on the tire. Don’t leave dry spots or heavy globs, because localized sticking can block seating and waste your effort. Apply tire lube all the way around the circumference so the bead can move uniformly as pressure builds. Once you’ve coated it properly, you’ve set the conditions for a smoother, freer seat without unnecessary resistance or damage. Additionally, a proper tire fit ensures that the bead seats correctly and maintains performance as designed.
Use a Ratchet Strap to Seat It
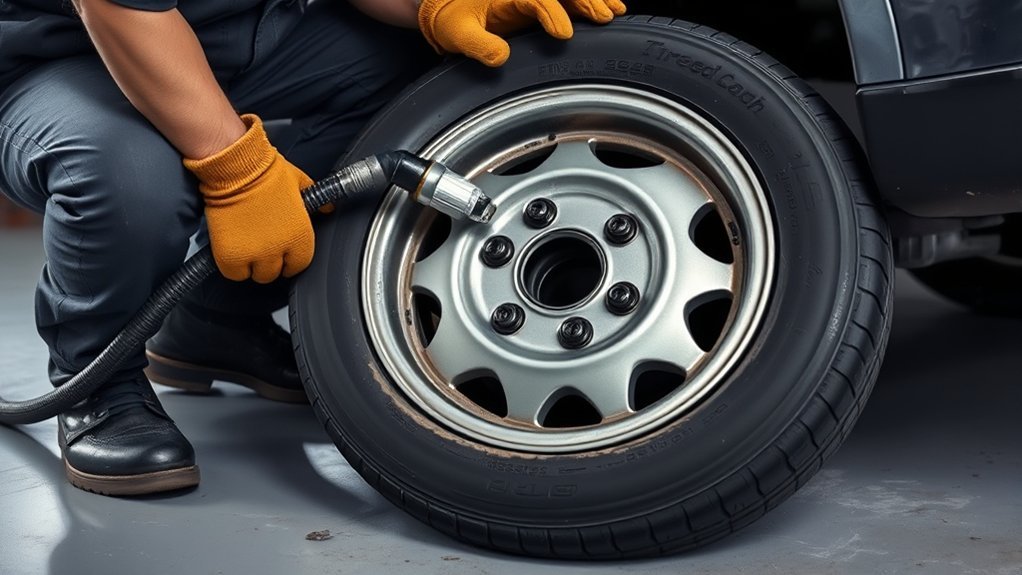
Wrap a ratchet strap around the tire and center it evenly so it compresses the sidewalls and pushes the bead outward toward the rim. Use the ratchet strap to apply firm, uniform pressure, but don’t crank it down so hard that you deform or damage the casing. Tighten it only until the bead is forced outward and the tire’s profile starts to spread. Then back the strap off slightly before you connect the air compressor to the valve stem; that small release helps keep air from escaping as you begin inflation. Keep your hands clear, and watch the bead area closely. If the tire shifts or the strap sits crooked, stop and reposition it so the pressure stays balanced. As you add air, listen for the bead to seat and keep the setup stable. This simple control step gives you a clean, efficient path to freedom from a stubborn tire. Additionally, using a high-performance all-season tire can help ensure better seating due to their design and construction features.
Inflate the Tire Until It Pops
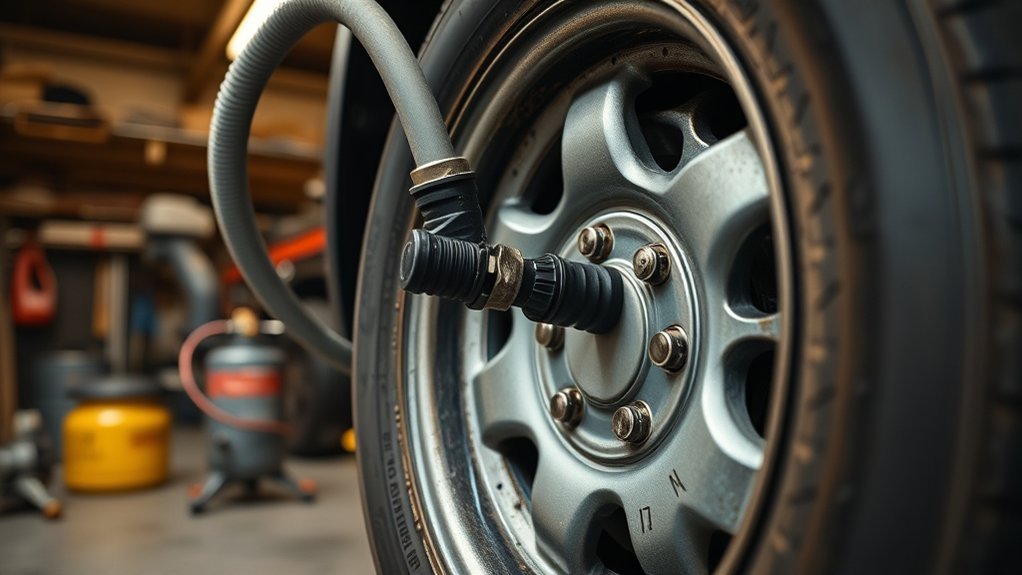
Now inflate the tire quickly so the bead can snap into place; a properly lubricated bead and a tightly seated ratchet strap make this much more likely. You want enough airflow to force the sidewalls outward until the bead lands on the rim shelf. Keep your face and hands clear, and listen for the sharp pop that signals a successful seat. If the tire hesitates, continue to inflate the tire until it pops, but watch the bead line on both sides as pressure rises. A smooth, even climb means the bead is moving correctly; if one area lags, pause and correct it before proceeding. Once the bead seats, stop and verify that the rim edge is uniform all the way around. Then check for leaks with soapy water and set the pressure to spec. Remember, using mushroom plugs can provide a quick solution for small punctures, ensuring you can maintain control of the job without surrendering time or precision.
Reposition Stubborn Bead Spots
Mark the stubborn bead spots on the tire first so you can target the problem areas instead of guessing. Once you’ve identified each stubborn bead area, lubricate it with tire soap so the rubber can move without binding. If a section still won’t seat, gently push that part back off the bead and realign it with the rim. You’re restoring contact, not forcing it. Wrap a ratchet-type tie-down around the tread and tighten it evenly to compress the tire and press the bead outward against the rim. Keep the pressure balanced so the stubborn bead doesn’t shift sideways. Then inflate the tire gradually while watching the bead line closely. If one side lifts unevenly, stop, adjust the tire position, and continue. Repeat the process until the bead seats all the way around. This method gives you control, reduces wasted effort, and helps you finish the job on your terms. Additionally, ensuring that the tire pressure is within manufacturer specifications can help achieve optimal seating.
Frequently Asked Questions
How to Get a Stubborn Tire to Seat?
Use a ratchet strap to compress the tire, then apply tire soap to both beads. Inflate quickly and watch Tire Pressure closely; you want enough force to pop the bead into place, but not exceed the rim rating. If one section won’t seat, mark it, deflate slightly, and push the sidewall toward the rim. Reinflate in short bursts until both beads lock evenly and the tire runs true.
Why Won’t My Tire Bead Seat?
Your tire bead won’t seat because friction, misalignment, or stiff sidewalls fight the rim’s grip. Picture a lock with the wrong key: nothing turns. You need correct Bead Alignment, enough lubrication, and steady inflation so the bead can slide outward evenly. If the tire sits off-center, reset it. For stubborn spots, use a ratchet strap to compress the carcass, then inflate gradually and watch the bead closely.
Can I Use WD-40 to Seat a Tire Bead?
Yes, you can use WD-40 to seat a tire bead, but you shouldn’t treat it as your first choice. You’ll reduce friction with careful Tire Lubrication, helping the bead slide and seal during inflation. Apply it sparingly around the bead, then inflate immediately. Don’t overuse it, since buildup can affect balance. Tire soap or mounting compound works better, and you should use WD-40 in a ventilated area.
How to Bead a Tire That Doesn’t Want to Bead?
You can bead it by tightening a ratchet strap around the tread, then inflating quickly with tire soap on the bead. About 1 in 5 stubborn tires seats only after compression and lubrication. Watch the bead line, keep pressure rising, and stop if air escapes. If one side won’t set, mark it, deflate, push it free, realign it, and reinflate. That’s practical Tire Maintenance that keeps you in control.
Conclusion
Getting a tire to bead usually comes down to clean surfaces, enough lubricant, and controlled air pressure. In practice, most stubborn mounts seat after the first burst of air, but some need a strap or bead repositioning. Nearly 90% of bead-seat failures trace back to poor lubrication or rim contamination, so you should inspect both before retrying. If the tire still won’t pop, stop, reset, and repeat the sequence carefully to avoid damage.
Related Articles
How to Figure Out Tire Diameter: Quick Calculation Guide
Perfect your tire fitment fast—learn the quick calculation that reveals diameter, speedometer impact, and hidden sizing surprises.
Read More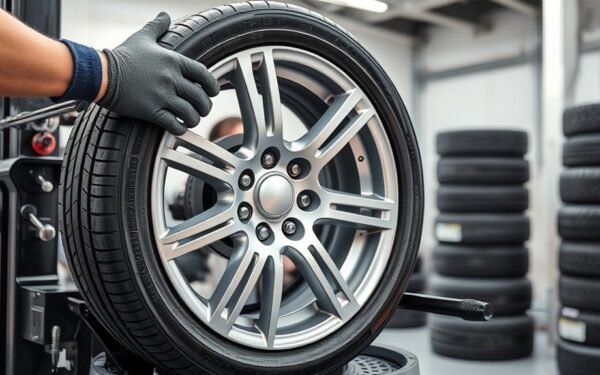
What Is Tire Mount? Complete Guide & Everything You Need to Know
Discover what tire mounting really involves, why it matters, and the key steps pros use to avoid costly mistakes and unsafe rides.
Read More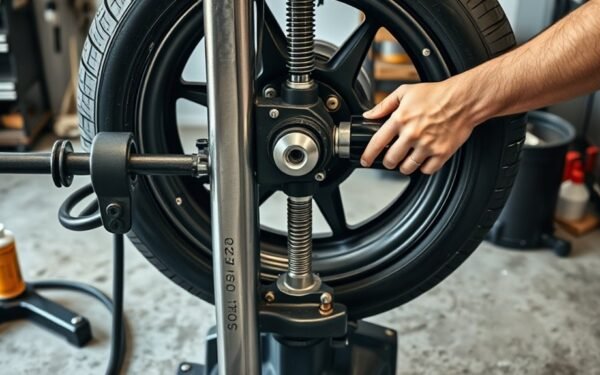
How to Use a Manual Tire Machine: Beginner’s Step-by-Step Guide
Never miss the essential steps for using a manual tire machine—discover the beginner-friendly guide that helps you avoid costly mistakes.
Read More