
How to Seat a Tire Bead: Proven Methods for a Proper Seal
Seat the tire bead by first cleaning the rim and bead, then checking for dents, cracks, dirt, or damaged valve parts. Lubricate both bead seats with soapy water, and use a ratchet strap around the tread if the sidewalls are stiff. Remove the valve core for faster airflow, then hit it with high-volume air until both beads pop. Recheck for leaks and pressure. If it still won’t seat, the next steps can save time.
Key Takeaways
- Inspect the tire, rim, and valve stem for damage, dirt, cracks, or corrosion before inflation.
- Clean both bead and rim surfaces, then apply a thin layer of soapy water for lubrication.
- Remove the valve core and use a ratchet strap around the tire’s center to help the bead expand outward.
- Inflate with a high-flow air source in short bursts until both beads snap into place evenly.
- Check for leaks with soapy water, reinstall the valve core, and verify pressure after seating.
What Stops a Tire Bead From Seating

Several common issues can keep a tire bead from seating properly. You may be fighting stiff sidewalls from worn, damaged, or aged tires, and that rigidity can make it hard for the tire to seat under inflation. If the rim and tire don’t match, the bead can’t engage the rim profile correctly, so you get an incomplete seal and air leakage. Friction also matters: without enough suitable lubrication, the bead can drag instead of sliding into position. You should check for air escaping at the bead or valve stem, because leakage drops pressure before the bead can lock in. Cold conditions can make rubber less pliable, which slows movement and raises failure risk. When you understand these limits, you can diagnose the problem fast and work with the material instead of wasting effort against it. Additionally, proper tire maintenance ensures that the tire remains flexible and ready for inflation.
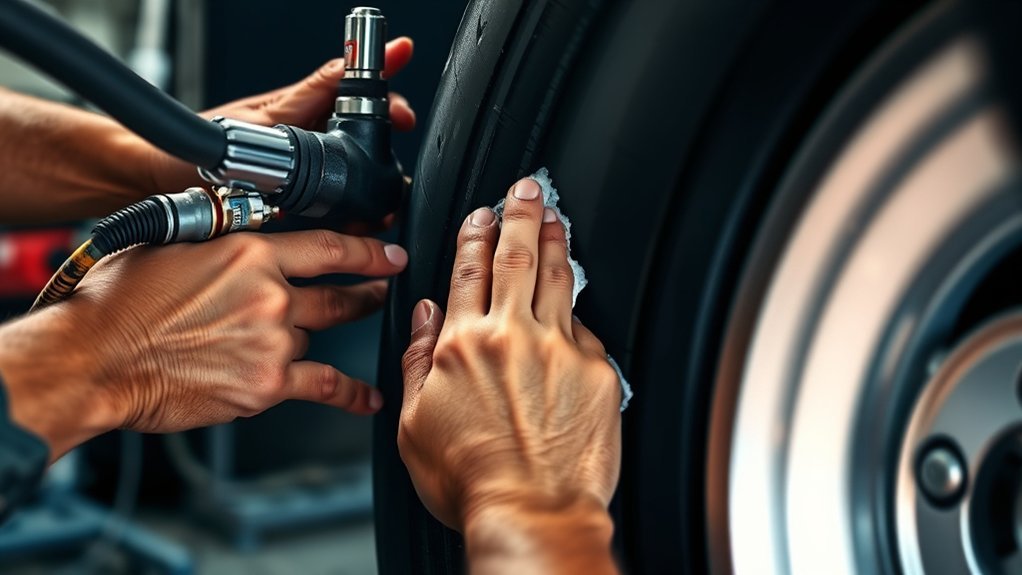
Prep the Rim and Tire for Seating
Inspect the rim and tire for damage, rust, dirt, or other debris before you try to seat the bead, since any contamination can block a proper seal. Clean both surfaces until they’re smooth and dry, then check that the tire sits correctly on the rim. Push the bead into position around the valve area first so you don’t trap air or create a leak path. Next, apply a thin, even coat of soapy water or wheel bearing grease to the bead and rim flange. This reduces friction and helps the tire slide into place under pressure. Keep the lubricant off the tread and braking surfaces. If the tire looks twisted, reset it now so the circumference of the tire stays uniform. A clean, aligned setup gives you the best chance of fast, reliable seating when you bring in the air compressor. Additionally, ensuring that the rim and tire are free from damage is crucial for achieving effective, long-lasting repairs.
Use a Strap to Compress the Tire
With the rim and tire cleaned and aligned, wrap a ratchet strap around the tire’s center and tighten it evenly to compress the sidewalls against the rim. This tension forces the beads outward so air can seat them faster. Remove the valve core, then charge the tire until tire pressure rises and the beads snap into place. Keep the strap centered; uneven placement can shift the load and waste air. Additionally, using tires with 6-ply construction can enhance durability during the sealing process.
| Action | Result |
|---|---|
| Center the strap | Uniform bead compression |
| Remove the valve core | Faster air entry |
| Adjust strap tension | Better sealing odds |
| Use a second strap | More force if needed |
If the bead won’t seat, retension the strap or add another one. Stay controlled and deliberate; you’re directing pressure, not fighting it. Once sealed, confirm the tire holds on the road surface demands ahead.
Apply Soapy Water to the Bead
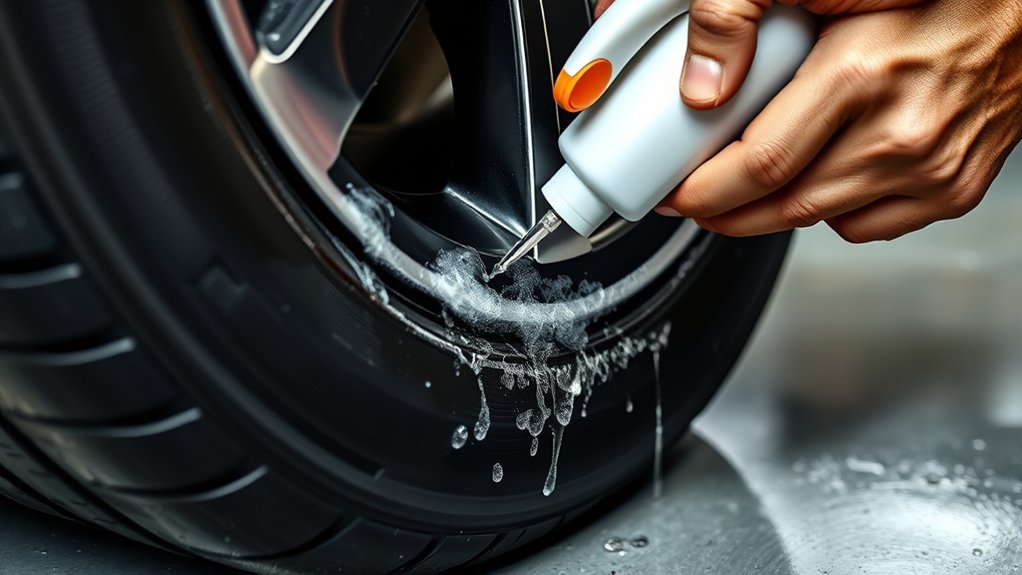
Brush a mix of water and dish soap around the tire bead and rim to create a thin, slippery film. Apply it evenly around the full circumference so every section can move freely as air starts to fill the tire. You only need a little bit; too much just makes a mess without helping the seal. This low-friction layer lets the bead slide into place instead of hanging up on the rim edge, which speeds seating and supports a proper seal. Use dish soap and water because they lubricate well and won’t damage the tire or rim. As you inflate, keep watching the bead line on both sides. Take a look for uniform movement and any dry spots or areas that still resist seating. If you see uneven progress, add a small amount more and continue. With steady, even lubrication, you give the tire the freedom to seat cleanly and lock in. Additionally, ensuring that you choose a tire with a high UTQG rating can further enhance the overall performance and longevity of the tire.
Remove the Valve Core for Faster Airflow
**
Pop out the valve core with a proper valve core removal tool to open the stem for unrestricted airflow. This valve core removal step gives you a wide-open passage, so air enters fast and builds pressure quickly. In tire inflation techniques, that extra flow can help the bead snap into place before leaks steal momentum. Make sure the tire sits centered on the rim first; if it’s crooked, you’ll lose air and waste effort. Use steady, controlled air, and watch the sidewalls rise evenly as you apply bead seating tips that favor alignment and speed. Keep your hands clear and inspect the rim edge as pressure climbs. Once the bead seats and the tire holds shape, reinstall the valve core right away. That restores normal pressure control and prevents air loss. Work clean, use the right tool, and you’ll free the bead without damaging the stem or fighting the process. Additionally, ensuring the tire has a reliable treadwear warranty can enhance your overall confidence in tire performance during inflation.
Use a High-Flow Air Burst
Connect a blow gun or high-flow nozzle directly to the compressor so you can dump air into the tire fast. With the valve core removed, you’ll build pressure quickly and improve your chances of snapping the bead into place. Keep the tire upright and watch closely for the bead to seat. Consider using a tire repair kit to address any punctures that may occur during the process.
Direct Air Connection
For a direct air connection, remove the valve core so the compressor can deliver a high-flow burst straight into the tire and help the bead seat quickly. Fit a high-flow air nozzle or adapter, then check bead alignment before you connect the hose. Set the tire squarely on the rim so both beads can expand evenly. Once you open the air line, the burst should move fast enough to force the bead outward and create a seal. Watch the pressure gauge closely and listen for the sharp pop that signals seating. Stop if pressure climbs too fast, since overinflation can damage the tire or rim. With the core out and airflow unrestricted, you keep control, speed, and precision while the bead locks in place.
Fast Pressure Build
Build pressure quickly with a high-flow air burst so the tire can expand fast enough to seat the bead against the rim. Remove the valve core, then connect the inflator straight to the valve stem to maximize airflow. Make sure bead alignment is correct and use ratchet straps if the sidewalls need extra compression. Fire short bursts, not a long blast, so you can watch tire pressure rise and catch slippage before it starts. This control gives you cleaner inflation techniques and a better chance of a uniform seat. Once the bead snaps into place, stop and inspect both sides. Check for leaks with soapy water to confirm a tight seal. That’s how you move fast without losing control or freedom.
Check the Rim, Valve, and Bead for Leaks
Inspect the rim for dents, debris, or corrosion that could stop the bead from sealing properly. Check the valve stem and core for cracks or damage, then apply soapy water around the valve and bead to spot bubbles. Make sure the bead is clean and seated evenly, and recheck for slow leaks after inflation. Additionally, ensure you have a tubeless tire repair kit on hand for quick fixes in case of punctures during your inspection.
Inspect Rim Damage
Before you inflate the tire, check the rim for dents, cracks, or corrosion that could keep the bead from sealing properly. Compare rim materials; steel can bend, aluminum can crack, and each needs different dent repair techniques. If damage is deep or the bead seat is pitted, replace the rim instead of forcing a seal. Use corrosion prevention methods on clean metal so future leaks don’t trap you again. Next, inspect the valve stem for cuts, splits, or looseness, then examine the tire bead for nicks, dirt, or old rubber. Any flaw can block seating and let air escape. After inflation, brush soapy water around the bead and valve area; bubbles show a leak. Keep checking until the tire sits evenly all the way around.
Test Valve Core
Once the tire is inflated, test the valve core and check for leaks around the rim and bead with a soapy water solution. Watch for bubbles; they show escaping air. Confirm the valve core is tight, centered, and working properly, because solid valve core maintenance protects inflation and keeps pressure stable. Use these leak detection techniques across the valve stem, rim edge, and bead line. Inspect the bead visually to verify it sits evenly all the way around, with no gaps. If you spot a leak, deflate, reapply lubricant to the bead and rim, then reinflate so the tire can seat cleanly. After installation, keep up tire pressure monitoring; a pressure drop means the seal isn’t holding and you need to act fast.
Check Bead Seal
Check the rim, valve stem, and bead for leaks as soon as the tire is inflated. Spray soapy water on the rim, valve stem, and full bead line; bubbles show escaping air. Inspect the rim for nicks, dirt, or corrosion that can block rim compatibility and ruin the seal. Watch bead alignment all the way around the circumference; the bead should sit evenly against the rim without gaps. If your tire size doesn’t match the wheel, stop and verify fitment before forcing more pressure. Recheck the valve stem and core after seating. If bubbles persist, deflate, clean the surfaces, and reinflate. Don’t leave the setup unattended. Monitor pressure after installation; a slow drop means the seal isn’t holding and you need to correct it now.
Reposition the Tire and Retry
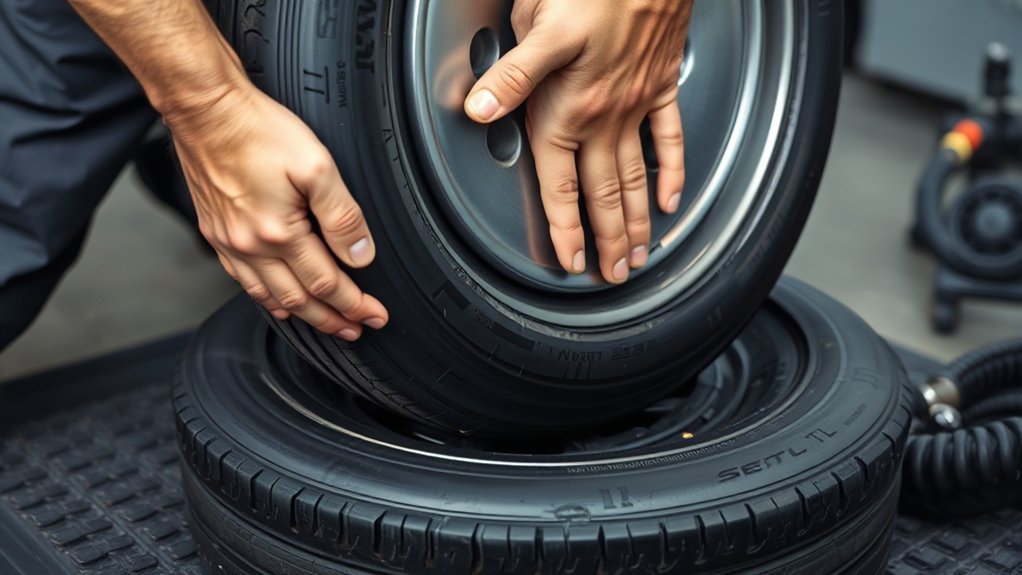
If the bead still won’t seat, reposition the tire on the rim and make sure the bead isn’t hanging up on any debris or rim irregularity. Clean both surfaces first; a dirty rim blocks a proper seal and wastes air. Use tire rotation techniques to shift the carcass so the bead rides evenly, especially around the valve stem, where air leakage prevention matters most. A tie-down strap can help compress the sidewalls, and bead seating tools can guide stubborn sections into place. Additionally, ensuring a tire with strong wet-road traction can help maintain control during the inflation process.
| Step | Action |
|---|---|
| 1 | Inspect the rim edge |
| 2 | Clear debris and rust |
| 3 | Rotate the tire around the valve stem |
| 4 | Strap the tread evenly |
| 5 | Inflate gradually, pressing sidewalls |
After adjustment, add air slowly and watch the bead. If one area lags, apply firm sidewall pressure there and retry. This method keeps you in control and gets the bead seated without unnecessary struggle, preserving your freedom to move forward.
Add Sealant After the Bead Pops In
Once the bead pops in, you’ll remove the valve core right away so you can add sealant through the valve stem without dropping pressure. Use a wheelie wrench Pro to speed the core removal, then inject the sealant quickly and let it distribute inside the tire. Tire sealants are essential for preventing flat tires and maintaining optimal performance. Reinstall the valve cap, then recheck tire pressure to confirm the tire stays sealed.
Remove Valve Core
Pop the valve core out before inflating so you can move a much larger volume of air into the tire and help the bead seat quickly. You’ll improve airflow techniques and speed bead expansion, which matters in tire bead troubleshooting. Use a tire lever first if the bead isn’t aligned on the rim, then remove the core and inflate fast.
- Keep the bead positioned evenly.
- Maintain pressure once it pops in.
- Reinstall the core and cap promptly.
After seating, inject sealant through the valve stem while pressure stays stable; that keeps air loss low and spreads the sealant uniformly inside. For reliable valve core maintenance, check the core threads, tighten them firmly, and protect the stem from dirt by securing the cap.
Add Sealant Quickly
After the bead’s seated, pull the valve core again and add about 2 ounces of tire sealant through the valve stem as fast as you can. Choose sealant types made for tires, and verify tire compatibility before you commit. Use clean application techniques: inject the sealant, then reinstall the core tight to lock in pressure.
| Step | Purpose |
|---|---|
| Add sealant fast | Preserves the seal |
| Match tire compatibility | Protects performance |
| Use proper sealant types | Limits damage |
| Rotate the tire | Spreads protection |
Now rotate the tire so the sealant coats the inner surface and reaches small punctures or imperfections. This quick move keeps you moving on your own terms, with less downtime and more control.
Recheck Tire Pressure
With the bead seated and sealant added through the valve stem, check the tire pressure right away and bring it back to the manufacturer’s spec if needed. Use tire pressure monitoring to confirm the reading, then keep the tire stable while the sealant spreads. If pressure dropped, apply proper inflation techniques and avoid overfilling. Your tire maintenance tips should stay simple and disciplined:
- Remove the valve core with a tool for controlled sealant flow.
- Reinstall the core, cap the stem, and watch for leaks.
- Recheck pressure after the sealant sets.
Hold pressure during this step so the sealant can coat evenly and lock in the seal. You’re preserving performance, safety, and the freedom to roll on your own terms.
Check Pressure and Test for Leaks
Confirm the tire pressure immediately after seating the bead and adjust it to the manufacturer’s specification, usually 30 to 35 PSI for standard tires. Use accurate tire pressure gauges, not guesswork, so you can verify the seal with confidence. If you noticed bead alignment issues during inflation, correct them before you move on. Different air compressor types can seat the bead, but the final pressure check stays the same. Apply a soapy water solution around the bead and valve stem; bubbles show exactly where air’s escaping. Watch closely for slow leaks, then let the tire sit for a few hours and confirm the pressure holds steady. If pressure drops, re-seat the bead with proper lubrication and repeat the test. Check the tire later for uneven wear or continued air loss, because those signs point to a weak seal. Additionally, using tires with strong off-road traction can enhance performance and reliability in diverse conditions. Tight control here protects your ride and keeps you free from avoidable roadside problems.
Frequently Asked Questions
How Do You Seat a Stubborn Tire Bead?
You seat a stubborn tire bead by checking rim compatibility, then using tire bead techniques like lubricant, a ratchet strap, and a removed valve core to boost airflow. Inflate in short bursts, watching air pressure and bead alignment all around. If it still hangs up, apply careful heat only as a last resort. You control the process, stay safe, and let the bead pop into place with confidence.
Can I Use WD-40 to Seat a Tire Bead?
No—don’t use WD-40 to seat a tire bead. It’s a lubricant, but tire pros report proper bead lubrication can cut mounting effort by up to 50%, so use the right product. For tire maintenance tips, choose soapy water or bead-specific lubricant instead. These bead sealing techniques help the tire slide and seal without residue. Safer lubricant alternatives also reduce fire risk and support clean, reliable inflation.
What Is the 105% Rule on Tires?
The 105% rule means you inflate your tire to about 105% of the recommended tire pressure to help with bead seating. You’ll create a slightly tighter fit that can seal stubborn beads, especially on stiff sidewalls. Watch the pressure closely so you don’t damage the tire or risk a blowout. Once seated, drop it back to spec. These maintenance tips keep your setup safe and ready.
What Are the Common Problems With Tire Bead Sealer?
Tire bead sealer can fail in a million annoying ways: you may apply it unevenly, and air leaks follow fast. You can run into temperature or humidity swings that weaken the seal, plus debris or rim damage that blocks contact. Stiff sidewalls also fight you hard. Don’t lean on sealer alone; use sound bead sealing techniques, follow tire maintenance tips, and avoid common sealing mistakes for lasting, liberated performance.
Conclusion
Now you’ve got the bead seated—simple, right? In reality, the “easy” part only happens after you clean the rim, free the valve core, use air and lube correctly, and check for leaks. If the tire still refuses to pop, don’t force it; reset and try again. The irony is that a proper seal usually comes from patient prep, not raw pressure. Finish by confirming inflation and rechecking the bead after a short drive.
Related Articles
How to Remove a Stuck Tire: Safe Methods When It Won’t Budge
Mechanical tricks can free a stubborn tire, but which safe method actually works when it won’t budge?
Read More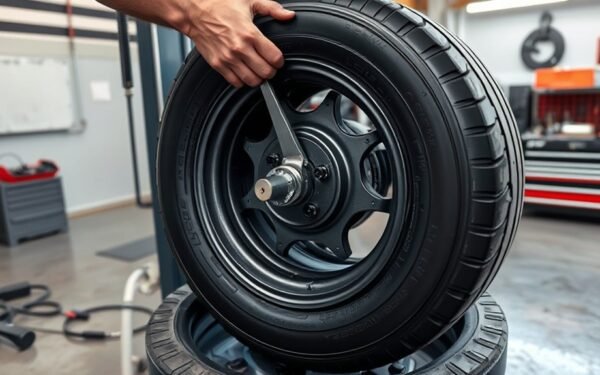
How to Operate a Tire Machine: Complete Beginner’s Tutorial
Master tire machine basics fast, but discover the crucial safety and setup steps that separate smooth swaps from costly mistakes.
Read More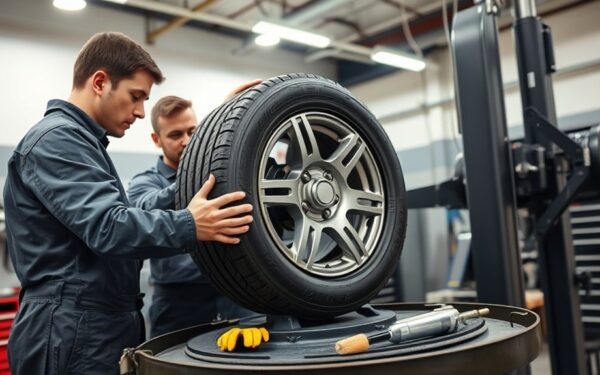
How to Use a Tire Changer Machine: Full Tutorial for Beginners
Master tire changing basics with this beginner-friendly guide—learn the essential steps, avoid costly mistakes, and discover the crucial final tips inside.
Read More