
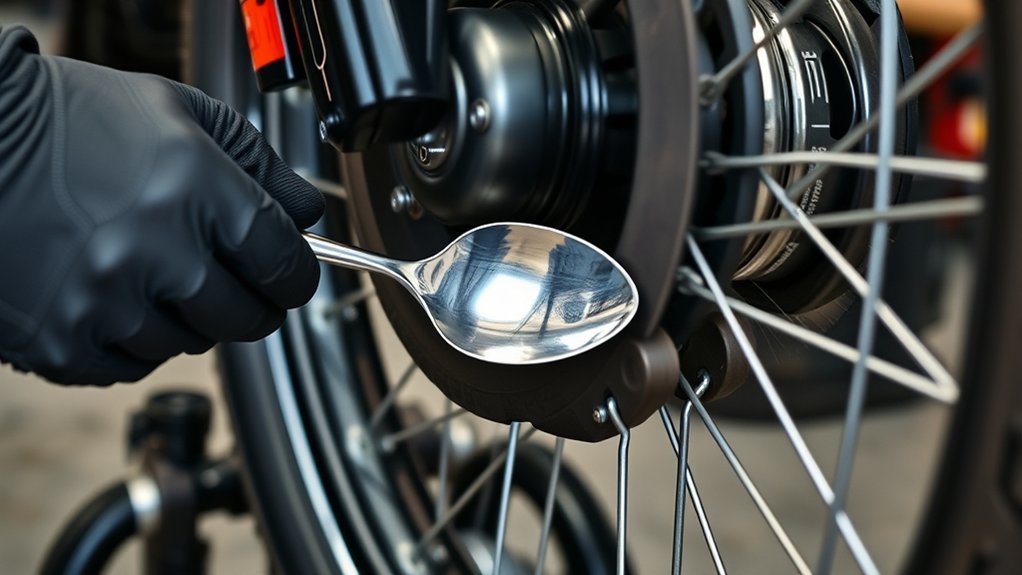
Use two tire spoons, a valve core tool, bead lubricant, and an air compressor with a pressure gauge. Start by confirming the tire and wheel are compatible, then deflate the tire fully, break both beads, clean the rim, and use the wheel’s drop center to create slack. Work in small steps, protect the valve stem and TPMS sensor, seat the beads with controlled air pressure, check for leaks, balance the wheel, and test drive carefully.
Quick Answer
To use a tire spoon, deflate the tire, break both beads, push the opposite bead into the wheel’s drop center, and pry small sections over the rim with two spoons. Lubricate the bead, protect the valve stem and TPMS sensor, then seat the bead with controlled air pressure and check for leaks.
Key Takeaways
- Use two tire spoons, not one, so one spoon can hold the bead while the other advances.
- Remove the valve core and fully deflate the tire before you break or pry the bead.
- Keep the opposite side of the bead in the drop center to reduce force and protect the bead.
- Use nonflammable tire bead lubricant instead of oil, grease, soap with additives, or flammable sprays.
- Stop and use a tire shop if the wheel is damaged, the tire is run-flat or very low-profile, or the bead will not seat safely.
At a Glance
| Time Required | 45 to 90 minutes for a basic passenger or small utility tire if the bead breaks cleanly |
| Difficulty | Moderate to hard; not recommended for split rims, multi-piece wheels, run-flats, or damaged wheels |
| Tools Needed | Two tire spoons, valve core tool, bead breaker or press method, tire lubricant, rim protectors, air compressor, pressure gauge, soapy water, wheel weights, and balancer |
| Cost | Usually low if you already own the tools; professional mounting is safer for stiff, expensive, or sensor-equipped assemblies |
Warning: Tire inflation can be dangerous. Never stand over the sidewall while seating a bead, never use fire or flammable sprays to seat a tire, and never exceed the tire or wheel manufacturer’s pressure limit. If the bead will not seat with normal, controlled inflation, deflate the tire, reposition it, and get professional help.
Check the Tire and Wheel Before You Start
Before you pick up a tire spoon, confirm that the tire belongs on that wheel. Check the tire size, rim diameter, rim width, load rating, speed rating, and direction of rotation. Use the vehicle placard or owner’s manual for the correct cold inflation pressure, not the maximum pressure molded on the tire sidewall. For light vehicles, tire placard requirements are covered under 49 CFR 571.110.
Inspect the wheel closely. Do not mount a tire on a wheel that is cracked, bent, badly corroded, deeply gouged, or missing a safe bead seat. Also inspect the tire for sidewall cuts, exposed cords, broken beads, dry rot, and punctures near the shoulder or sidewall. If you see structural damage, the tire is not a good candidate for hand mounting.
Be extra careful around TPMS sensors. On many passenger vehicles, the sensor sits near the valve stem inside the wheel. Keep spoon pressure away from that area, and do not use the valve stem as a pry point. The NHTSA TireWise guidance also notes that TPMS warnings do not replace regular pressure checks.
Note: This guide is for basic single-piece wheels and standard tire assemblies. Do not use tire spoons at home on split rims, multi-piece wheels, severe-duty truck wheels, run-flat tires, or very stiff low-profile tires unless you have the correct equipment and training.
Gather Your Tire-Changing Tools
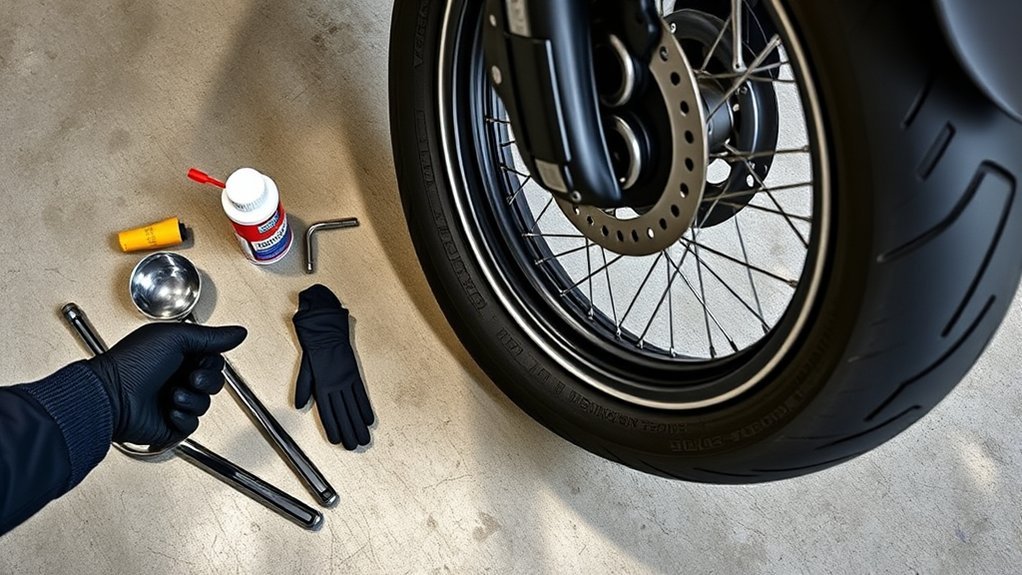
Gather the right tire-changing tools before you start so the job stays controlled. You need two tire spoons to lever and hold the bead, a valve core tool to remove and reinstall the valve core, and an air compressor with a working pressure gauge. Rim protectors are helpful on painted or alloy wheels because they reduce scratches where the spoon touches the rim lip.
Use a proper tire bead lubricant or nonflammable rubber lubricant on the bead and rim mating surfaces unless the tire or wheel maker says not to. Avoid petroleum grease, engine oil, harsh solvents, and flammable sprays. These can damage rubber, create a slip hazard, or make inflation unsafe. Keep safety glasses, gloves, soapy water, a torque wrench, wheel weights, and a bubble balancer nearby for the final checks.
If you plan to replace valve stems, add valve stem pullers or installers to your kit. If you are working on a vehicle with direct TPMS, confirm whether the sensor is separate from the stem or built into it before you pull anything apart. Many run-flat and stiff sidewall tires are better handled by a shop with professional mounting equipment.
[Products Worth Considering]
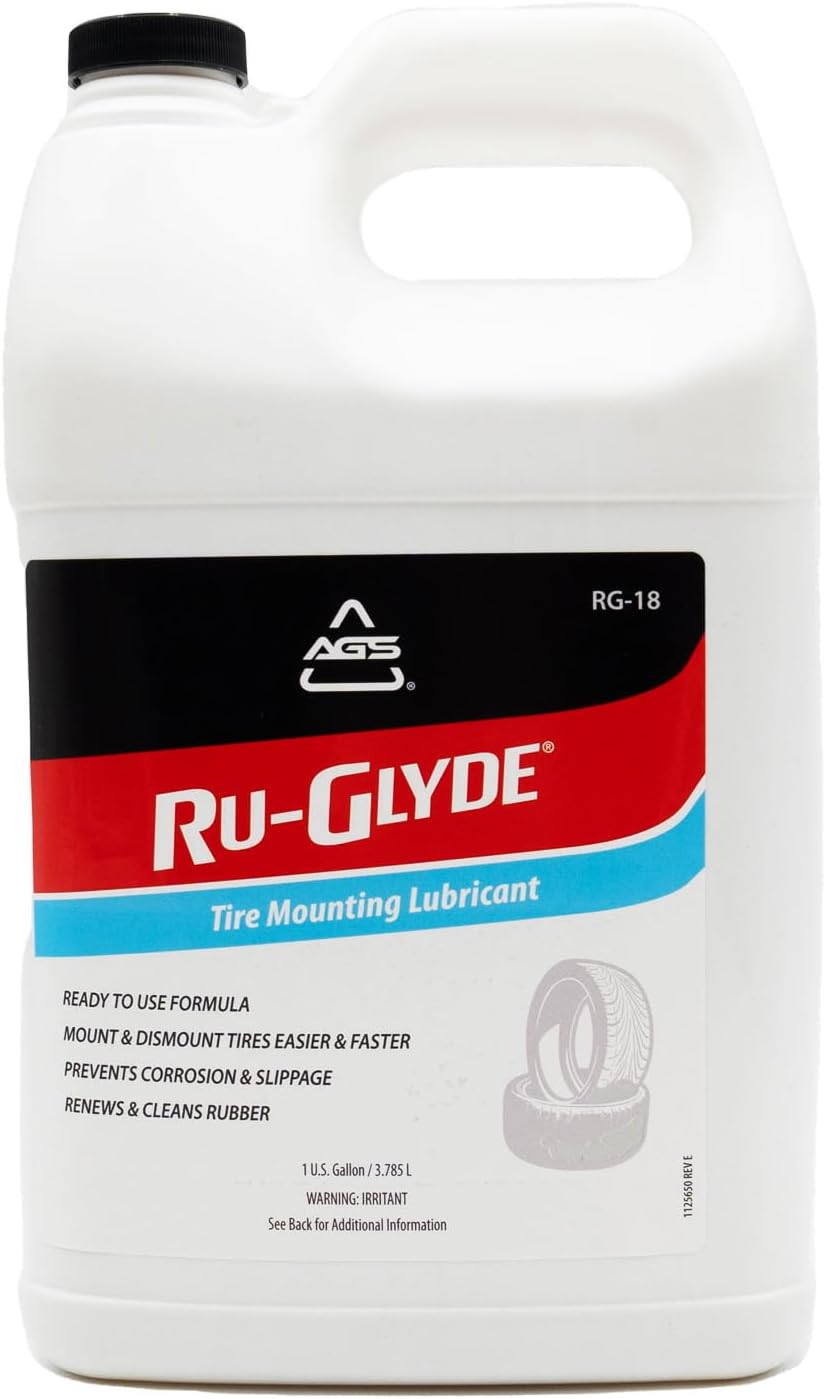
Ru-Glyde tire mounting lubricant from AGS seats tire beads smoothly on the first try with a thick, stay-put formula. It is ready to use with no mixing or dilution, helps prevent rim rust, and dries completely without causing bead slip residue. The water-based formula also conditions aged rubber, making it useful for sidewalls, gaskets, and door seals while remaining safe for tire, wheel, and technicians.

Malco tire mounting and demounting lubricant is a ready-to-use tire lube formulated to reduce friction during tire installation for passenger cars, light trucks, farm tires, and heavy-duty equipment. It provides rust-inhibiting protection to help reduce corrosion on rims and wheels, and helps support proper tire bead seating during inflation to reduce air leakage. The silicone-free, soap-free formula is whitewall safe to help prevent discoloration on whitewall tires and sensitive sidewall markings.

This 20-piece tire changer kit makes motorcycle and bike tire repairs easier with extended 14.5-inch spoons for leverage and access. Built from CrV steel with a corrosion-resistant chrome finish, it helps resist bending while protecting rims and tubes using smooth rounded spoons and included rim protectors. The all-in-one set includes valve removal and accessory tools for faster tire changes across motorcycles, bicycles, ATVs, and lawn equipment.
Break the Bead Without Damaging the Wheel
Start by removing the valve core so the tire can deflate completely. Wait until all air is out before you press on the sidewall. A tire that still has pressure can move suddenly, pinch a tool, or throw the spoon back toward you.
Set the wheel flat on a stable surface that will not damage the face of the rim. Use a bead breaker if you have one. If you use a jack, clamp, or vehicle/trailer pressure method, press on the tire sidewall close to the bead but not on the rim lip, valve stem, or TPMS area. Increase pressure slowly. You are separating rubber from the bead seat, not crushing the wheel.
Once one section breaks loose, rotate the wheel and repeat until the bead releases all the way around. Flip the wheel and repeat the process on the other side. If the bead will not break, add tire lubricant around the bead seat, reset your pressure point, and work in smaller sections. Do not hammer the rim or heat the wheel.
After both beads are loose, the tire should move freely on the wheel. This makes the next steps easier and lowers the chance of bending a spoon, scuffing the rim, or tearing the bead. Maintaining proper tire pressure after installation is also important for safe handling and tire life.
[Products Worth Considering]
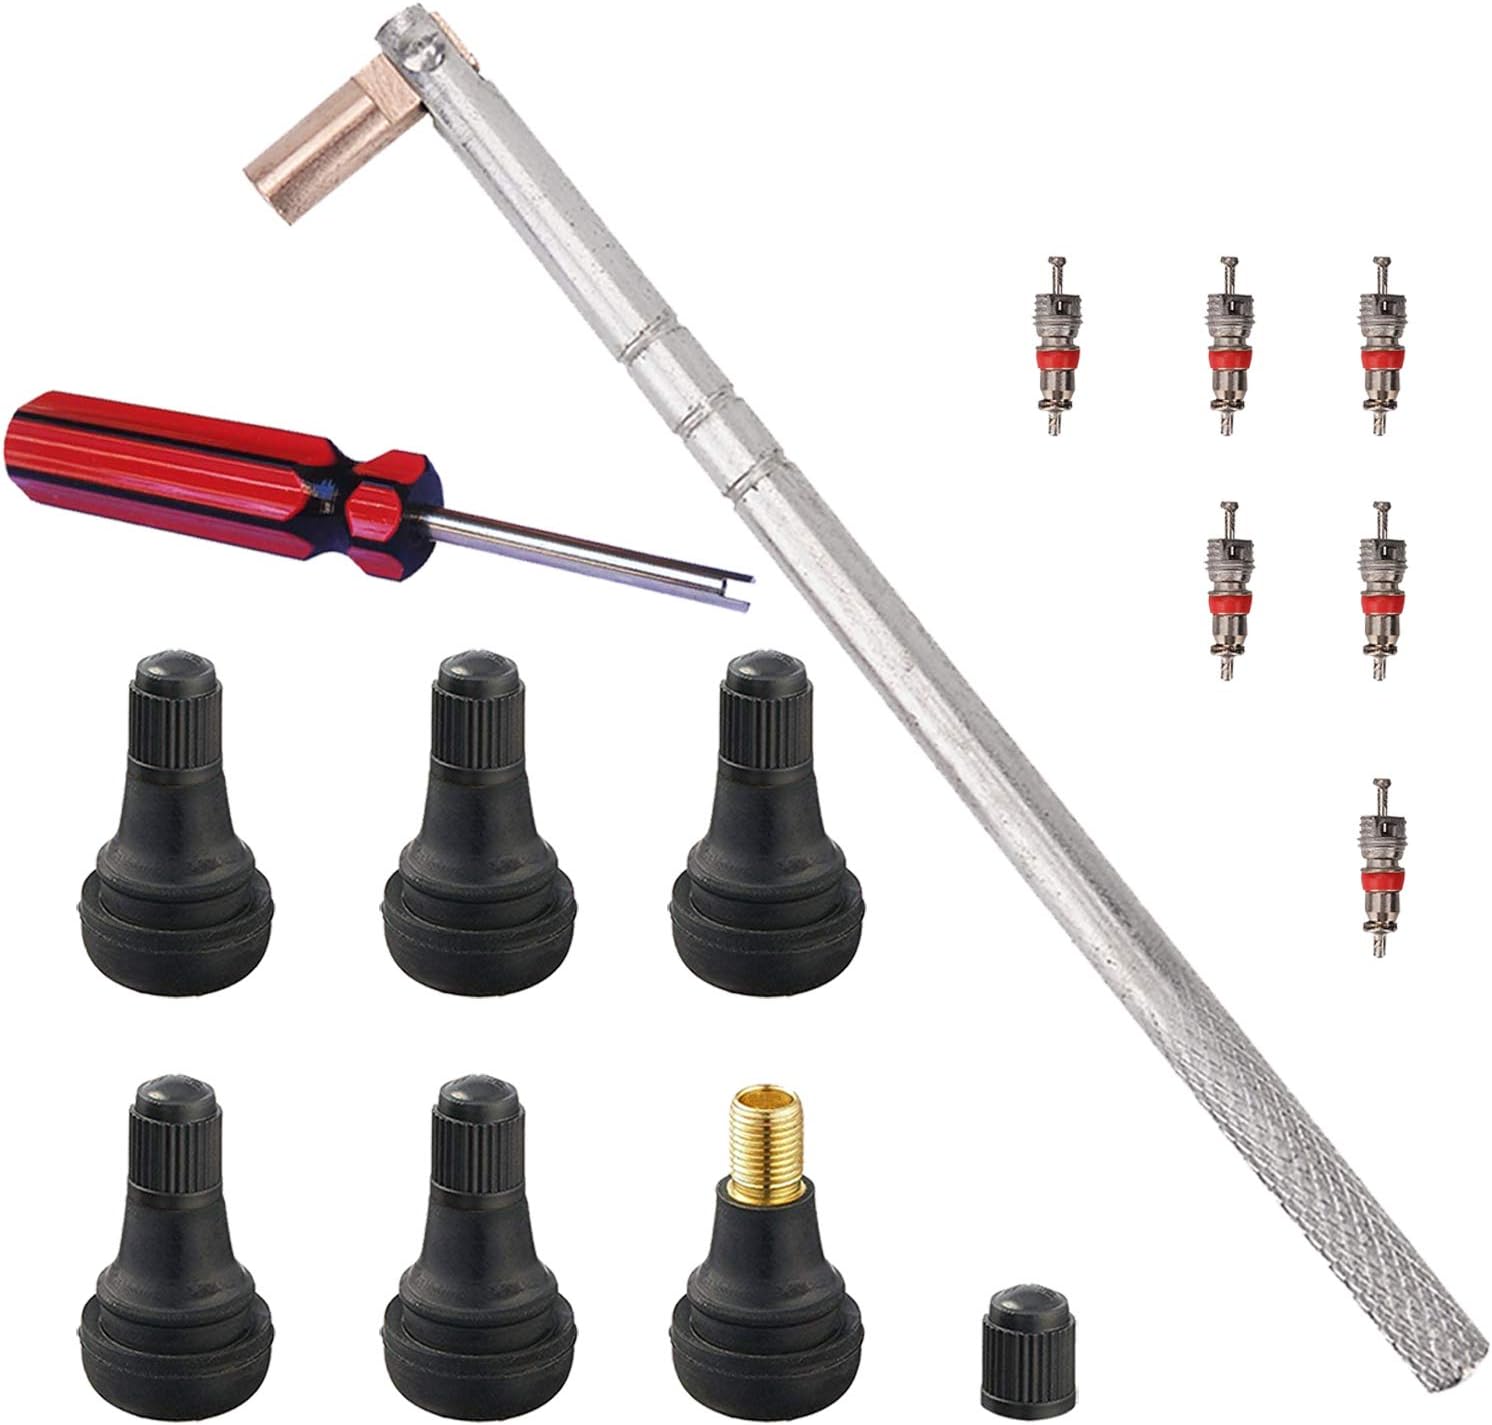
This FEBRYTOLD tire valve stem tool set makes it easy to remove and install standard 0.453 inch snap-in valve stems for tubeless tires. It includes valve stem cores and a single-head valve core remover/installer tool to help you complete repairs quickly. Designed to help avoid scratching wheels and damaging valve stems during service.

This VEVOR tire bead breaker uses a slide-hammer impact and wedge tip to separate tire beads from rims quickly and efficiently without damaging hub surfaces. The long handle and sturdy steel construction help reduce user strain while providing reliable, portable tire changing for cars, trucks, and more. Ideal for home mechanics and repair shops handling multiple vehicle tire sizes.

This tire inflator with pressure gauge delivers long-lasting performance with a durable rubber-protected gauge and sturdy build. The longer hose and 360 swivel air chuck help you seal the valve securely and keep your hands free while measuring, inflating, or deflating. It’s battery-free for reliable use and provides ±2 PSI accuracy in the mid-range for most typical tires, with universal compatibility for 1/4 NPT compressor outputs.
Find the Drop Center First
The drop center is the lower, narrower channel in the wheel barrel. It gives the bead extra room so you can move it over the rim lip without using excessive force. If the bead stays high on the rim shoulder, you will fight the tire the whole way.
Spot the Drop Center
Look across the inside of the wheel and find the lowest valley in the barrel. That valley is the drop center. On many wheels, the drop center is closer to one side than the other, so mounting and demounting should be done from the correct side. If you are unsure, compare both sides of the wheel and work from the side with the shorter, easier bead path.
| Clue | What it means |
|---|---|
| Lower channel | The bead can drop in and create slack |
| Narrower barrel section | Less stretch is needed to move the bead |
| Easier spoon movement | You are using the wheel shape correctly |
| Less bead tension | Lower risk of scuffs, pinches, and bead damage |
Push Bead Into Center
Push the opposite side of the tire bead into the drop center before you pry. This is the main trick behind using tire spoons well. The bead you are not prying must stay low in the valley so the section you are prying has room to climb over the rim.
Use your hands, knees, a bead clamp, or the flat face of a tire spoon to keep the bead down. Work around the circumference and keep checking the opposite side. If the spoon suddenly feels stuck, the bead has probably climbed out of the drop center.
Pry From the Valley
Once the bead is seated in the drop center, insert the curved end of the tire spoon under the bead and lift only a small section at a time. Keep the spoon’s flat side against the rim protector or rim lip. Do not dig the sharp edge of the spoon into the tire bead.
For puncture repairs, remember that spoon work and tire mounting are separate from repair approval. A repair kit may help in specific off-road or emergency cases, but a sidewall, shoulder, or bead injury usually needs professional inspection.
Start at the Valve Stem
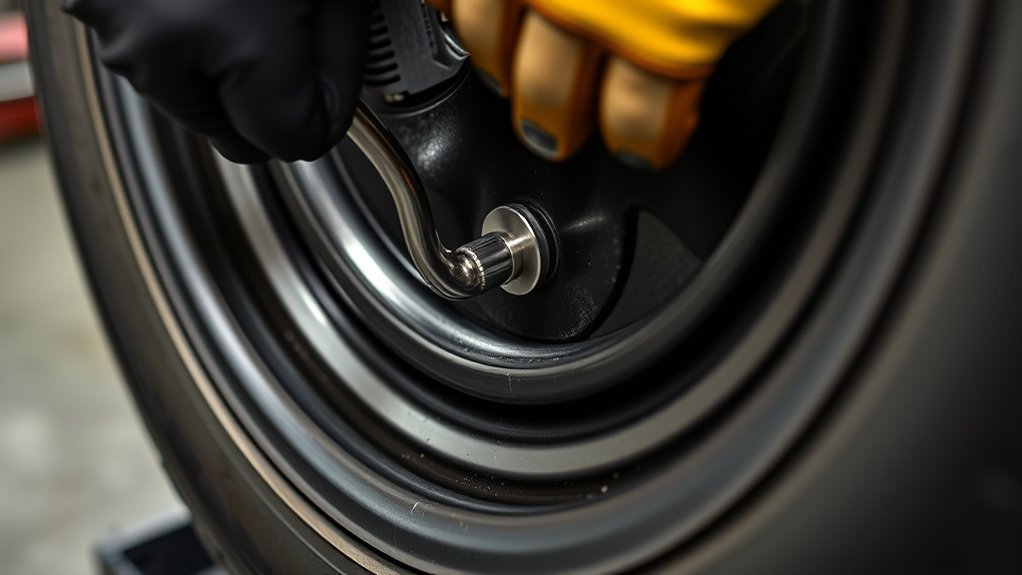
Start near the valve stem when removing the first bead, but do not pry against the stem or TPMS sensor. Place the spoon beside the valve area, hook the bead, and keep the opposite side of the tire pressed into the drop center. This gives you leverage while reducing stress on the bead.
Anchor the first spoon, then use the second spoon a few inches away to lift the next section. Move in short steps around the rim. The goal is steady movement, not one large pull. If the bead gets tight, stop and push more of the tire into the drop center before you continue. A spare tire kit can help with roadside emergencies, but hand mounting should still be done slowly and safely.
Pro Tip: If the tire spoon needs heavy force, something is wrong. Add lubricant, push the opposite bead deeper into the drop center, and take a smaller bite with the spoon.
Pry the First Bead Over the Rim
With the tire sidewall facing up, slip the hook end of the first tire spoon under the first bead near the valve stem. Lift the bead over the rim lip, then hold that section in place. Insert the second spoon a few inches away and lift the next small section. Keep alternating spoons until the first bead comes over the rim.
Keep the opposite side of the tire pushed down into the drop center throughout the whole step. If it climbs out, the tire will feel too tight and the spoon may slip. Use rim protectors on alloy wheels, and keep the spoon face smooth against the rim so you do not gouge the wheel or cut the bead.
- Hook the first spoon under the bead near the valve stem.
- Press the opposite side of the tire into the drop center.
- Lift a small section of bead over the rim lip.
- Hold that section with one spoon while the other spoon advances.
- Repeat in small steps until the first bead is free.
This careful technique helps prevent bead nicks and rim damage. If you are repairing a puncture separately, use a proper tubeless tire repair kit only when the puncture location and tire condition are repairable.
Remove the Tire and Swap the Valve Stem
After the first bead is over the rim, repeat the same drop-center method for the second bead. Stand the tire up if that gives you better control, or keep it flat if the wheel is small. Use one spoon to start the bead over the rim and the second spoon to hold progress while you work around.
If you are replacing a rubber snap-in valve stem, remove the old stem after the tire is off the wheel. Pull it straight through the valve hole with the proper valve stem tool. Clean the valve hole, inspect it for corrosion or cuts, then lubricate and install the new stem straight. Do not twist it sideways or leave it partly seated.
If the wheel has TPMS, do not force the sensor. Some sensors use a service kit with a new seal, nut, cap, and valve core. If the sensor is cracked, corroded, or loose, replace or service it before the tire goes back on. This process is especially helpful during routine tire swaps, but only if the wheel and sensor are still in safe condition.
[Products Worth Considering]

This 100-piece set of snap-in tubeless tire valve stems is designed for standard 0.453 in (11.5 mm) rim holes and helps maintain reliable, steady tire pressure. Made with ozone-resistant rubber and brass cores, the valves are built for durability and long-term use. Easy to install by hand, they support safe driving and are suitable for cars, light trucks, trailers, and more.

The Trivd Frol 1/2" air impact wrench delivers high performance torque up to 1500 ft-lbs with a twin hammer impact mechanism for strong, balanced blows. It features an ergonomic grip, compact lightweight design, and quick-stop control with 3 forward speeds up to 8000 RPM plus a reverse speed. Built for demanding automotive repair and tire shop work, the rear exhaust helps keep debris away from the surface.

This multi-function tire valve stem removal tool set makes it fast to remove, install, bleed, and clean valve cores for easier tire maintenance. It includes valve core removers, a 4-way spool tool, replacement valve caps, and spare cores to handle replacements and repairs with confidence. Universal compatibility suits cars, trucks, motorcycles, bicycles, and more for roadside convenience.
Clean the Rim Before Mounting
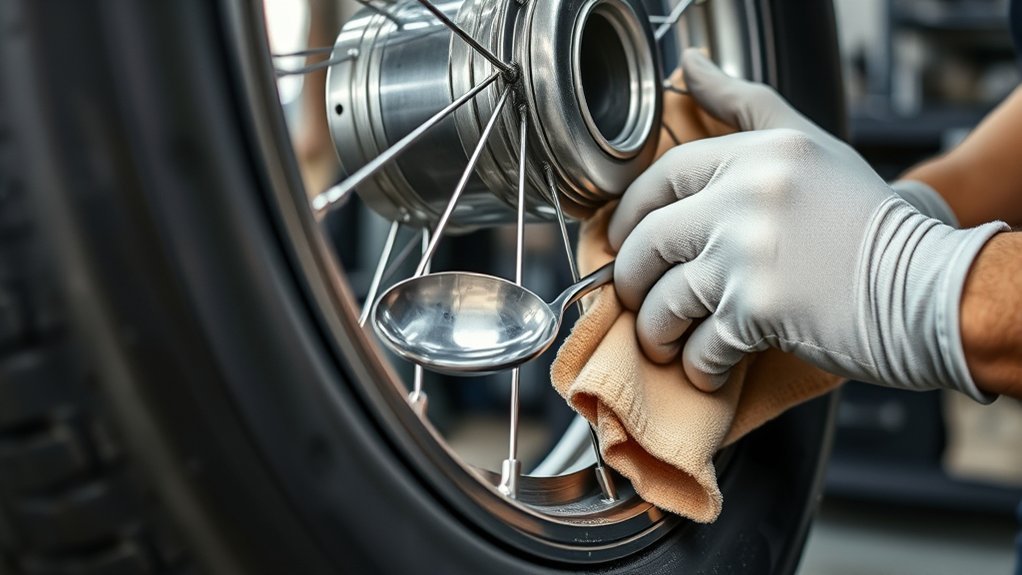
Before you mount the tire, clean the bead seat area with a Scotch-Brite pad or similar non-gouging abrasive. Remove old sealant, rubber buildup, dirt, corrosion, and adhesive from old wheel weights. A dirty bead seat can cause slow leaks and uneven seating.
Inspect both rim lips and the inner bead seat. Look for sharp edges, dents, bends, cracks, and deep corrosion. A small amount of surface residue can be cleaned, but structural damage is a stop sign. Do not mount a tire on a wheel that cannot hold the bead evenly.
Remove Old Residue
Scrub the bead area until the tire can seal against clean metal. Wipe away loosened residue instead of leaving it inside the tire. Remove old wheel weights before balancing, because leftover weights can throw off the new assembly.
- Scrub the bead seat and rim lip.
- Clean around the valve stem hole.
- Remove old wheel weights and adhesive.
- Wipe the wheel dry and inspect for damage.
Prep Bead Surface
Apply a thin coat of tire bead lubricant to the tire bead and rim mating surface. Lubricant lets the bead slide instead of tearing or folding. It also helps the bead seat more evenly during inflation. Proper cleaning and pressure checks support consistent mileage because the tire seals, balances, and wears more predictably.
Mount the Tire With Two Spoons
Place the tire on the rim and start the first bead by hand if possible. Most standard tires will let the first bead slip over the rim with lubricant and firm hand pressure. Keep the bead low in the drop center as it moves across the wheel.
For the second bead, start at the 6 o’clock position and insert one tire spoon to lift a small section over the rim. Use the second spoon to hold that section while the first spoon moves a few inches farther along. Work toward 12 o’clock in short, controlled steps. Keep pushing the mounted side into the drop center as resistance increases.
- Lubricate the bead and rim seat.
- Start the bead by hand where possible.
- Use one spoon to lift a small section over the rim.
- Use the second spoon to hold progress.
- Keep the opposite bead in the drop center until the bead clears the rim.
Before inflation, inspect the full circumference on both sides. The bead should not be pinched, folded, or trapped under the spoon. Also confirm proper tire fitment before adding air.
Seat the Beads With Controlled Air Pressure
Set the tire upright or flat in a stable position where you are not in the sidewall trajectory. Use an air compressor with a gauge. A clip-on chuck and a hose long enough to let you stand away from the sidewall are safer than holding your face and hands near the tire while it seats. OSHA’s rim-wheel servicing standard is written for covered workplace tire servicing, but its inflation warnings are useful safety guidance for anyone handling tire pressure.
Inflate only enough to move the beads onto the bead seats. Watch both sidewalls as the tire takes air. You may hear one or two pops as the beads seat. If a bead hangs up, stop, release the air, add lubricant, and reposition the tire. Do not keep adding pressure to force a stuck bead.
Once both beads are seated, adjust the tire to the vehicle manufacturer’s recommended cold pressure. Check the bead area and valve stem with soapy water. Bubbles mean a leak. If the bead leaks, deflate the tire, break the bead back down, clean and lubricate again, then reseat it. If the stem leaks, service or replace the stem before driving. Correct bead seating helps the tire deliver dependable grip and stable pressure.
Balance the Wheel and Test Drive
After the tire is mounted and leak-free, balance the wheel. NHTSA notes that new tires should be balanced when installed because balance helps prevent shake and vibration. Place the wheel on a bubble balancer or use a professional spin balancer for better accuracy, especially on highway-driven vehicles.
- Let the wheel settle on the balancer.
- Add small weights gradually.
- Recheck after each weight change.
- Install the wheel on the vehicle and torque the lug nuts to spec.
- Test drive slowly first, then check at higher speed if everything feels normal.
During the test drive, feel for vibration, shimmy, steering pull, thumping, or air loss. If anything feels wrong, stop and inspect the tire before continuing. Recheck pressure after the tire cools. Over time, monitor tread wear and wet-weather handling, especially if the tire is part of a set used in rain, snow, or standing water. Related tire choices can affect tire performance in wet conditions.
Troubleshooting Common Tire Spoon Problems
| Problem | Likely Cause | Fix |
|---|---|---|
| Tire spoon keeps slipping | Too large a bite, dry bead, or wrong spoon angle | Add lubricant, use a smaller bite, and keep the spoon face flat against the rim protector |
| Bead will not move over the rim | Opposite side is not in the drop center | Push the bead deeper into the drop center and hold it there before prying again |
| Bead will not seat with air | Dry bead, dirty rim, poor tire position, or incompatible/damaged parts | Deflate, relubricate, inspect compatibility, and stop if it still will not seat safely |
| Slow leak at bead | Dirty bead seat, corrosion, torn bead, or bent rim | Break the bead down, clean the rim, inspect damage, and remount only if safe |
| Leak at valve stem | Old stem, damaged seal, loose TPMS hardware, or dirt in valve hole | Replace or service the stem and check again with soapy water |
| Vibration after mounting | Wheel out of balance, bead not seated evenly, or tire/wheel damage | Inspect bead seating, rebalance, and use a shop balancer if vibration remains |
Frequently Asked Questions
How do you properly use a tire spoon?
Use a tire spoon by hooking the curved end under the tire bead, keeping the opposite side of the bead in the drop center, and prying small sections over the rim. Use two spoons so one holds progress while the other advances. Add tire bead lubricant, protect the rim, and avoid prying against the valve stem or TPMS sensor.
What is the 3 tire rule?
The “3 tire rule” is informal advice that says if three tires are new or nearly new, the fourth tire should closely match them. It matters most on AWD, 4WD, and some performance vehicles because large tread-depth differences can affect handling and drivetrain stress. Check the owner’s manual before replacing only one tire.
What is the easiest way to put a tire on the rim?
The easiest way is to lubricate the bead, start the first bead by hand, and keep the opposite side of the bead in the drop center while using two tire spoons. Take small bites and keep pressure away from the valve stem and TPMS sensor. If the tire is stiff, low-profile, or run-flat, professional mounting is safer.
What is the 7/32 rule for tires?
There is no universal rule that tires must be replaced at 7/32 inch. NHTSA says tires are not safe and should be replaced when tread reaches 2/32 inch. Many drivers replace earlier for rain, snow, towing, or long trips, but 7/32 is best treated as a conservative planning point, not a legal minimum.
Can tire spoons damage alloy wheels?
Yes. Tire spoons can scratch or gouge alloy wheels if you pry with too much force or skip rim protectors. Use smooth tire spoons, plastic rim guards, bead lubricant, and small pry movements. If the wheel has a polished, painted, or expensive finish, a tire machine is usually the safer choice.
Should you use soap or tire lubricant with tire spoons?
Use proper tire bead lubricant when possible. It is made to help the bead slide and then dry without attacking rubber. Avoid petroleum products, greasy lubricants, and flammable sprays. If you use a mild soap-water mix in an emergency, keep it light and clean the area afterward.
Conclusion
A tire spoon works best when you use the wheel’s drop center, not brute force. Deflate the tire fully, break both beads, clean and lubricate the bead seat, and move each bead in small steps with two spoons. Protect the rim, valve stem, and TPMS sensor the whole time. Once the tire is mounted, seat the beads with controlled air pressure, check for leaks, balance the wheel, and test drive before you trust it at speed.
Sources
- OSHA 29 CFR 1910.177, Servicing multi-piece and single-piece rim wheels — safety principles for deflation, rim inspection, bead/rim cleaning, lubrication, inflation equipment, and trajectory avoidance.
- NHTSA TireWise — tire pressure, tread depth, balancing, TPMS, tire aging, and replacement guidance.
- 49 CFR 571.110 — tire selection, rim, load, and vehicle placard requirements for light vehicles.

