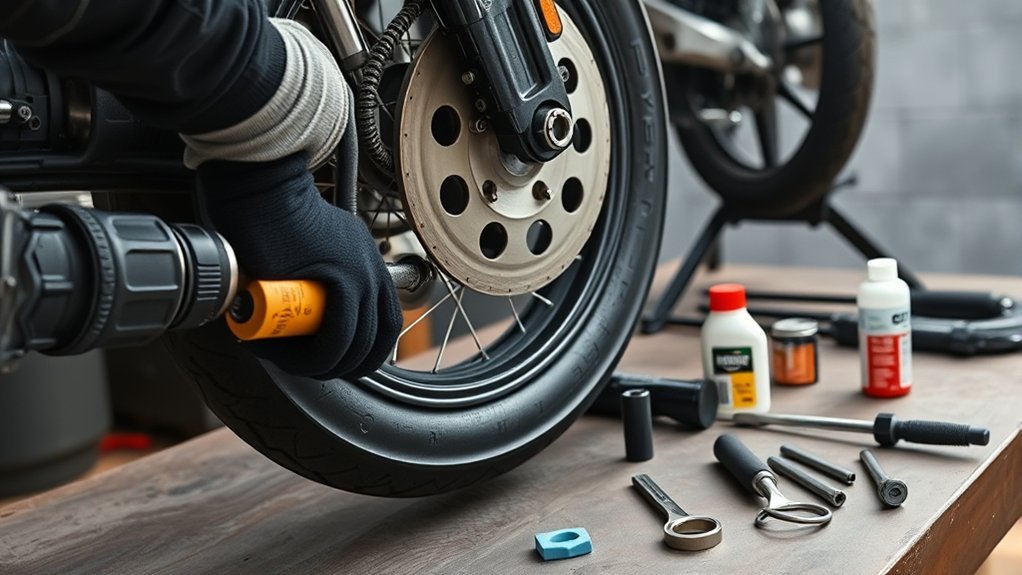
Taking off a motorcycle tire is a step-by-step job that starts with a stable bike and ends with the tire fully separated from the rim. You need the right tools, complete deflation, steady bead-breaking pressure, and careful use of tire spoons so you do not damage the rim, tube, valve stem, brake parts, or tire bead.
Quick Answer
To take off a motorcycle tire, support the bike securely, remove the wheel, remove the valve core to release all air, break both beads away from the rim, then use lubricated tire spoons and rim protectors to work each bead over the rim in small sections.
Key Takeaways
- Use a stable stand, lift, or approved jack point before loosening the axle or removing the wheel.
- Remove the valve core so the tire is completely deflated before you break the bead.
- Use tire lubricant, rim protectors, and short movements with tire spoons instead of forcing the bead.
- Keep the opposite side of the bead down in the rim’s drop center to reduce strain on the tire and rim.
- Before reassembly, check tire size, rotation direction, load rating, tube condition, rim strip, valve stem, and wheel hardware.
At a Glance
| Time Required | 45 to 90 minutes for an experienced DIY rider; longer if the bead is stiff or the wheel has a tube and rim lock. |
| Difficulty | Moderate. The hard part is bead breaking and prying without pinching a tube or scratching the rim. |
| Tools Needed | Motorcycle stand or lift, sockets, wrenches, valve core tool, bead breaker or C-clamp, tire spoons, rim protectors, tire lube, gloves, blocks, and torque wrench. |
| Cost | Usually $25 to $100 in basic hand tools if you already have a stand; more if you buy a dedicated bead breaker or tire-changing stand. |
Warning: Motorcycle wheels, axles, brake calipers, spacers, chain adjusters, and ABS sensors are safety-critical parts. Use your motorcycle service manual for the correct removal order and torque specs. If the bike is unstable, the bead will not release, or you are unsure about reassembly, stop and have a qualified technician handle the job.
Before You Start: Safety and Fit Checks
Before you remove the wheel or tire, confirm that you are working on the correct tire size and type for your motorcycle. Match the size, load rating, speed rating, and tube or tubeless marking against your owner’s manual, tire placard, or tire manufacturer’s fitment data. Federal motorcycle tire standards require performance and marking information so the tire can be selected and used properly, and those sidewall markings matter when you choose a replacement.
Look for the rotation arrow on directional tires before removal. Take a quick photo of the wheel, spacers, brake caliper position, chain adjusters, and valve stem area so reassembly is easier. If the wheel has a rim lock, common on many off-road and dual-sport motorcycles, loosen the rim-lock nut before you try to break the bead.
Work on a clean, flat surface with good lighting. Wear gloves and eye protection, keep your fingers away from bead and lever pinch points, and never balance the motorcycle on loose blocks or an unstable jack.
What Tools Do You Need for Motorcycle Tire Removal
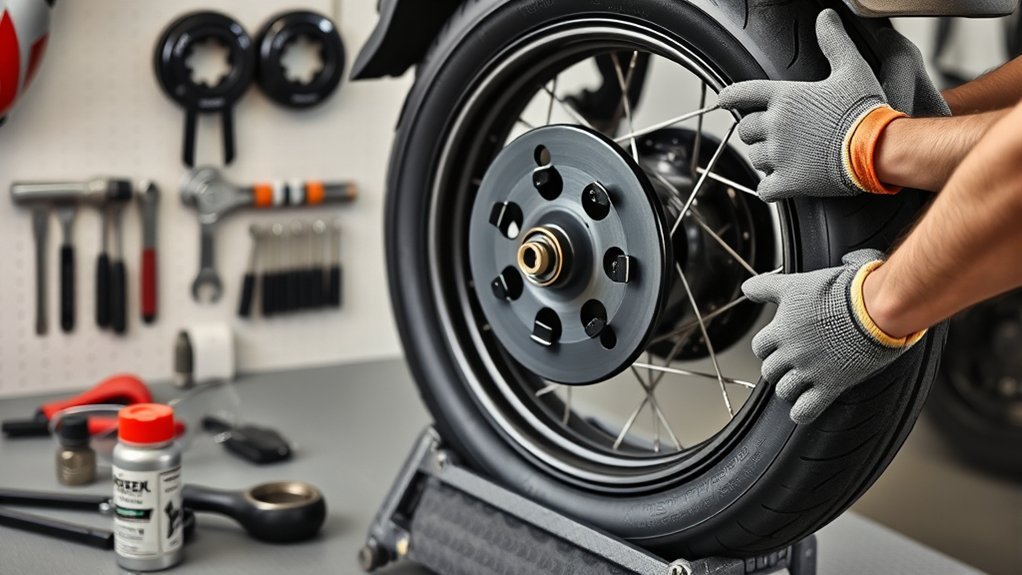
Gather your tools before the wheel comes off the bike. You need tire spoons or tire levers, a valve core removal tool, the correct axle nut socket, wrenches for the brake caliper or chain adjusters, and a torque wrench for reassembly. A dedicated bead breaker makes the job easier, but a strong C-clamp can work if you use it carefully and protect the rim.
Rim protectors are worth using on painted, polished, or cast wheels because tire spoons can gouge the edge of the rim. Tire lubricant or a mild tire-mounting soap helps the bead slide instead of tearing or binding. Avoid petroleum-based lubricants unless the tire manufacturer specifically allows them, because the wrong lubricant can damage rubber.
Keep small containers or magnetic trays nearby for axle spacers, pinch bolts, cotter pins, washers, and caliper bolts. These small parts often look symmetrical, but some are side-specific.
Pro Tip: Before pulling the axle, mark left and right spacers with tape or set them on the floor in the same orientation they came off the bike. Mixing spacers can affect wheel alignment and brake fit.
[Products Worth Considering]

This Dr.Roc tire valve stem puller tools set helps install or remove snap-in tubeless valve stems safely and efficiently. It includes ozone-resistant EPDM snap-in valve stems, a valve stem installer, and a valve core remover for quick core removal or installation during tire service. Designed for reliable tubeless tire repair on motorcycles, ATVs, lawn equipment, cars, and trucks.

This VEVOR tire bead breaker uses a slide-hammer impact and wedge tip to separate tire beads from rims quickly and efficiently without damaging hub surfaces. The long handle and sturdy steel construction help reduce user strain while providing reliable, portable tire changing for cars, trucks, and more. Ideal for home mechanics and repair shops handling multiple vehicle tire sizes.

This 1/2-inch drive breaker bar delivers powerful leverage for loosening and tightening stubborn lug nuts and automotive fasteners. The 180-degree flex head helps you reach tight spaces at the angle you need, making tire and brake jobs easier. A spring-loaded ball detent design holds 1/2-inch sockets securely while the chrome-moly head provides durable strength for everyday use.
How to Stabilize Your Motorcycle Safely
Set the motorcycle on a flat, stable surface. Use a center stand, rear paddock stand, front stand, motorcycle lift, or approved jack points listed in the service manual. The goal is not always to lift both wheels at once. The goal is to support the bike securely and free the wheel you are removing.
| Support Method | Best Use | Main Benefit |
|---|---|---|
| Center stand | Routine rear-wheel work on bikes equipped with one | Simple, centered support |
| Paddock stand | Sport, naked, and street bikes | Stable wheel access when used correctly |
| Motorcycle lift | Cruisers, touring bikes, and shop work | Better height and access |
| Chocks and straps | Extra security with a lift or stand | Reduces rolling or tipping risk |
Once the bike is supported, shake it gently at the bars and rear frame to confirm it does not rock, lean, or roll. Do not rely on the side stand alone for wheel removal. If you use ratchet straps, tighten them evenly and avoid compressing the suspension so much that the bike becomes unstable.
[Products Worth Considering]

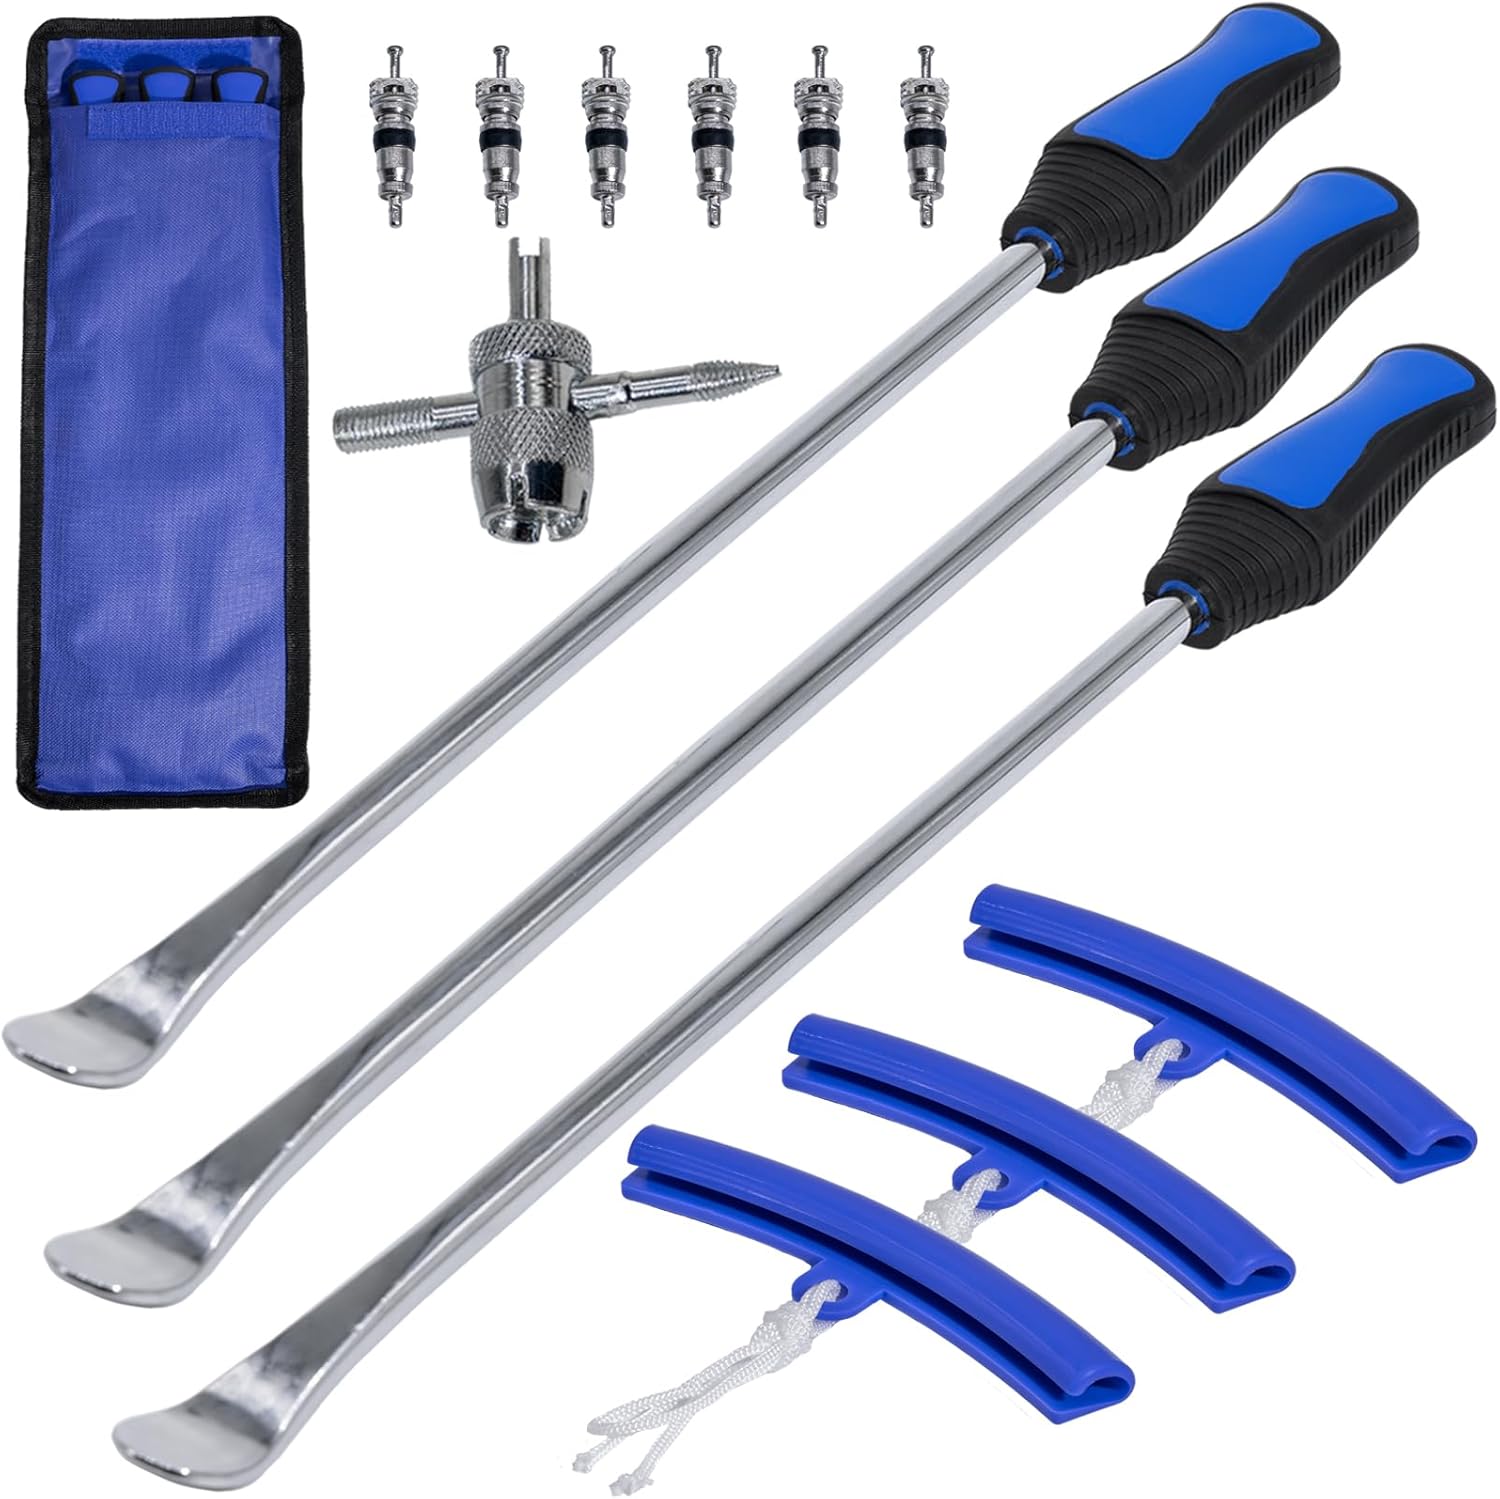
This 20-piece tire changer kit makes motorcycle and bike tire repairs easier with extended 14.5-inch spoons for leverage and access. Built from CrV steel with a corrosion-resistant chrome finish, it helps resist bending while protecting rims and tubes using smooth rounded spoons and included rim protectors. The all-in-one set includes valve removal and accessory tools for faster tire changes across motorcycles, bicycles, ATVs, and lawn equipment.

Keep your tires performing with these valve core removal tools designed to quickly disassemble and reinstall standard valve cores. The compact, portable design makes it easy to carry for bicycle, motorcycle, car, or truck repairs. Durable stainless steel construction helps you handle routine tire maintenance with less hassle.
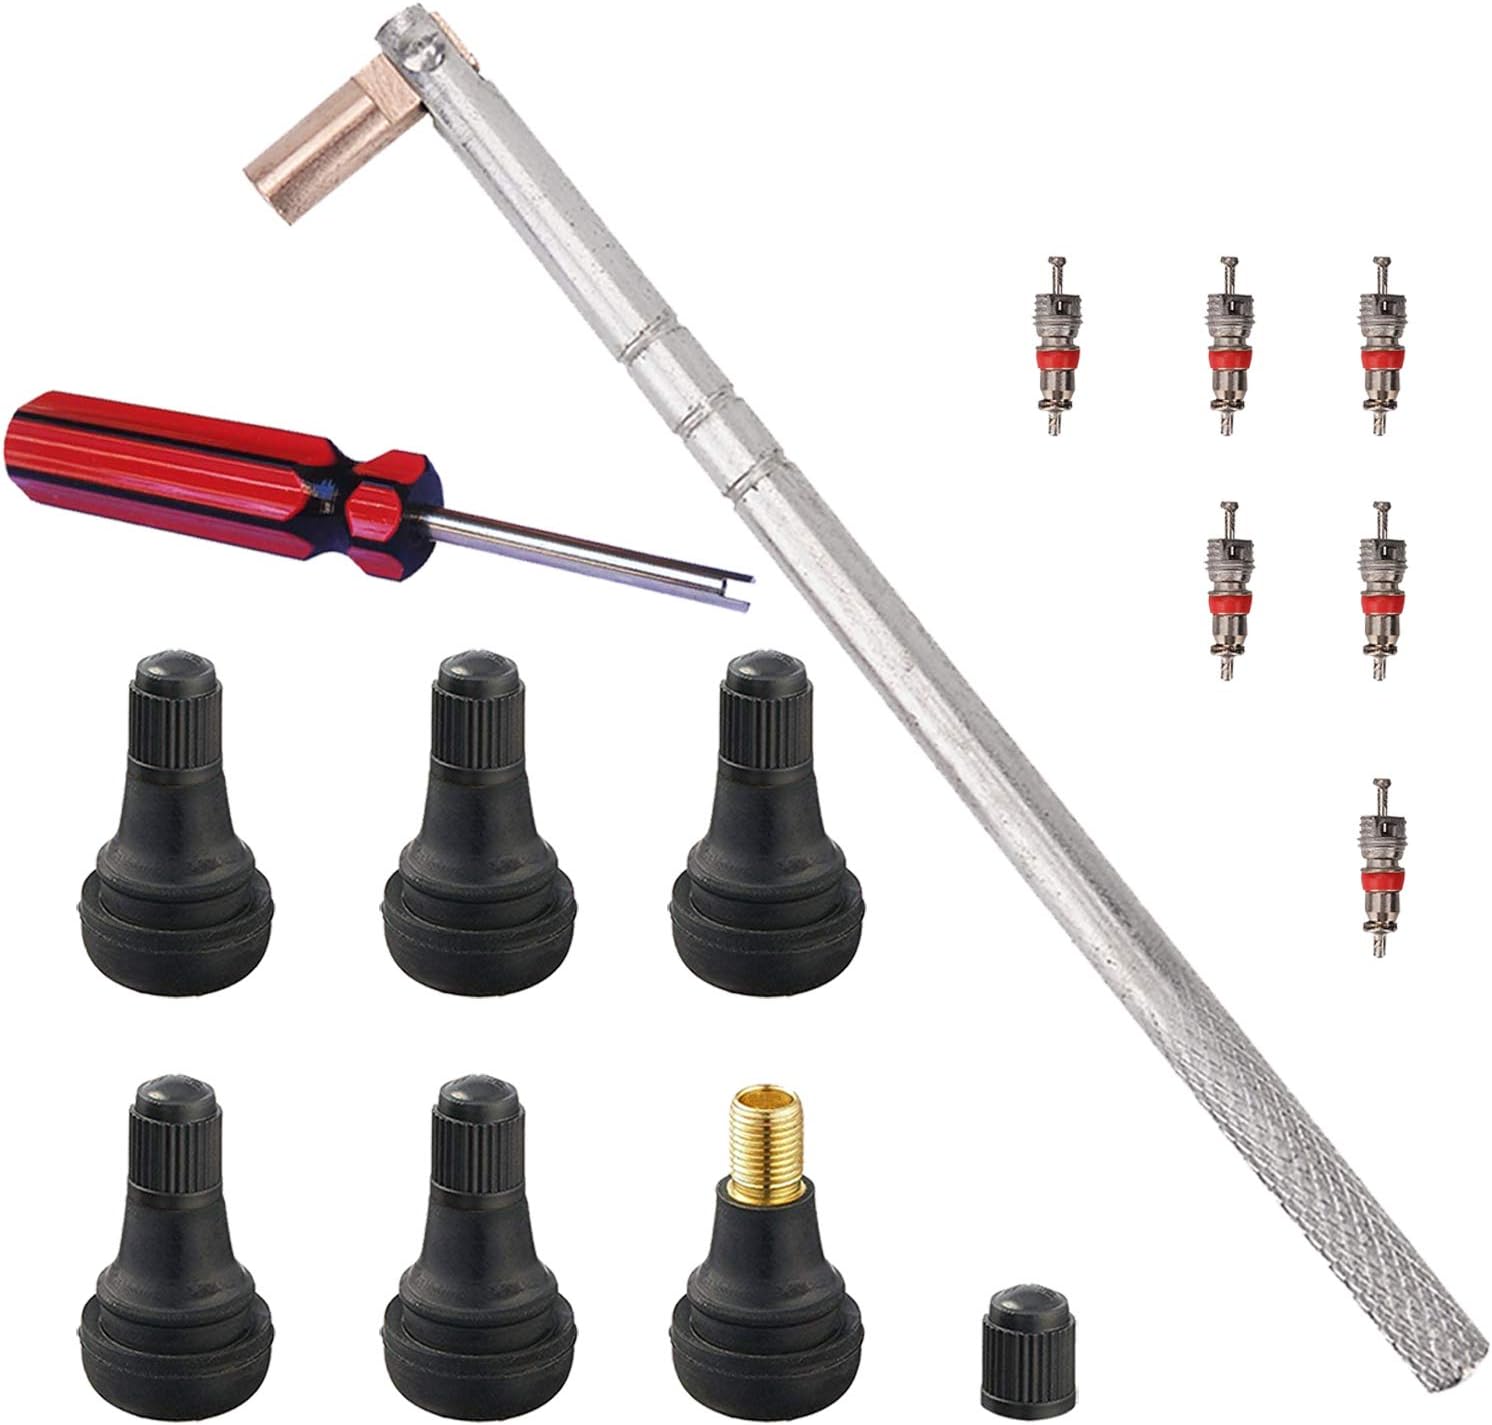
This FEBRYTOLD tire valve stem tool set makes it easy to remove and install standard 0.453 inch snap-in valve stems for tubeless tires. It includes valve stem cores and a single-head valve core remover/installer tool to help you complete repairs quickly. Designed to help avoid scratching wheels and damaging valve stems during service.
How to Remove the Motorcycle Wheel
With the bike securely elevated, loosen the axle nut with the correct socket or wrench. If your bike uses axle pinch bolts, loosen them in the order your service manual gives. Do not pull the axle yet.
For a rear wheel, back off the chain adjusters if needed, move the chain clear of the sprocket, and note the location of each spacer. For a belt-drive bike, follow the belt-tension procedure in the service manual. For a shaft-drive bike, follow the manufacturer’s wheel-removal sequence because the hub and final drive may have model-specific steps.
Remove the brake caliper only if the wheel cannot clear it. Hang the caliper with a strap or wire so it does not dangle from the brake hose. If the bike has ABS or a wheel-speed sensor, unplug or unclip it gently and keep it away from tools and impact.
Withdraw the axle while supporting the wheel. Lower the wheel out of the fork or swingarm and keep track of spacers, collars, washers, and dust seals. While the wheel is off, inspect the axle for scoring, the bearings for roughness, the brake rotor for damage, and the sprocket or cush-drive area for wear.
[Products Worth Considering]

Upgrade your tires with YUIQIEUY aluminum valve stem caps that provide an airtight, hermetically sealed fit to help keep moisture and debris out. The durable anodized finish helps protect against wear and corrosion, while the screw-in thread makes installation quick and secure. Designed for cars, SUVs, trucks, motorcycles, and bicycles, these caps help maintain valve performance and a clean, stylish look.

This 4-in-1 tire valve core removal tool helps you deflate, unblock, and remove or install valve cores quickly for easier tire repair. The multifunction design also supports re-taping damaged threads and reaming inside the valve stem for smoother service. Included as a 2-pack, it’s compact for convenient carry and works for cars, bicycles, and motorcycles.
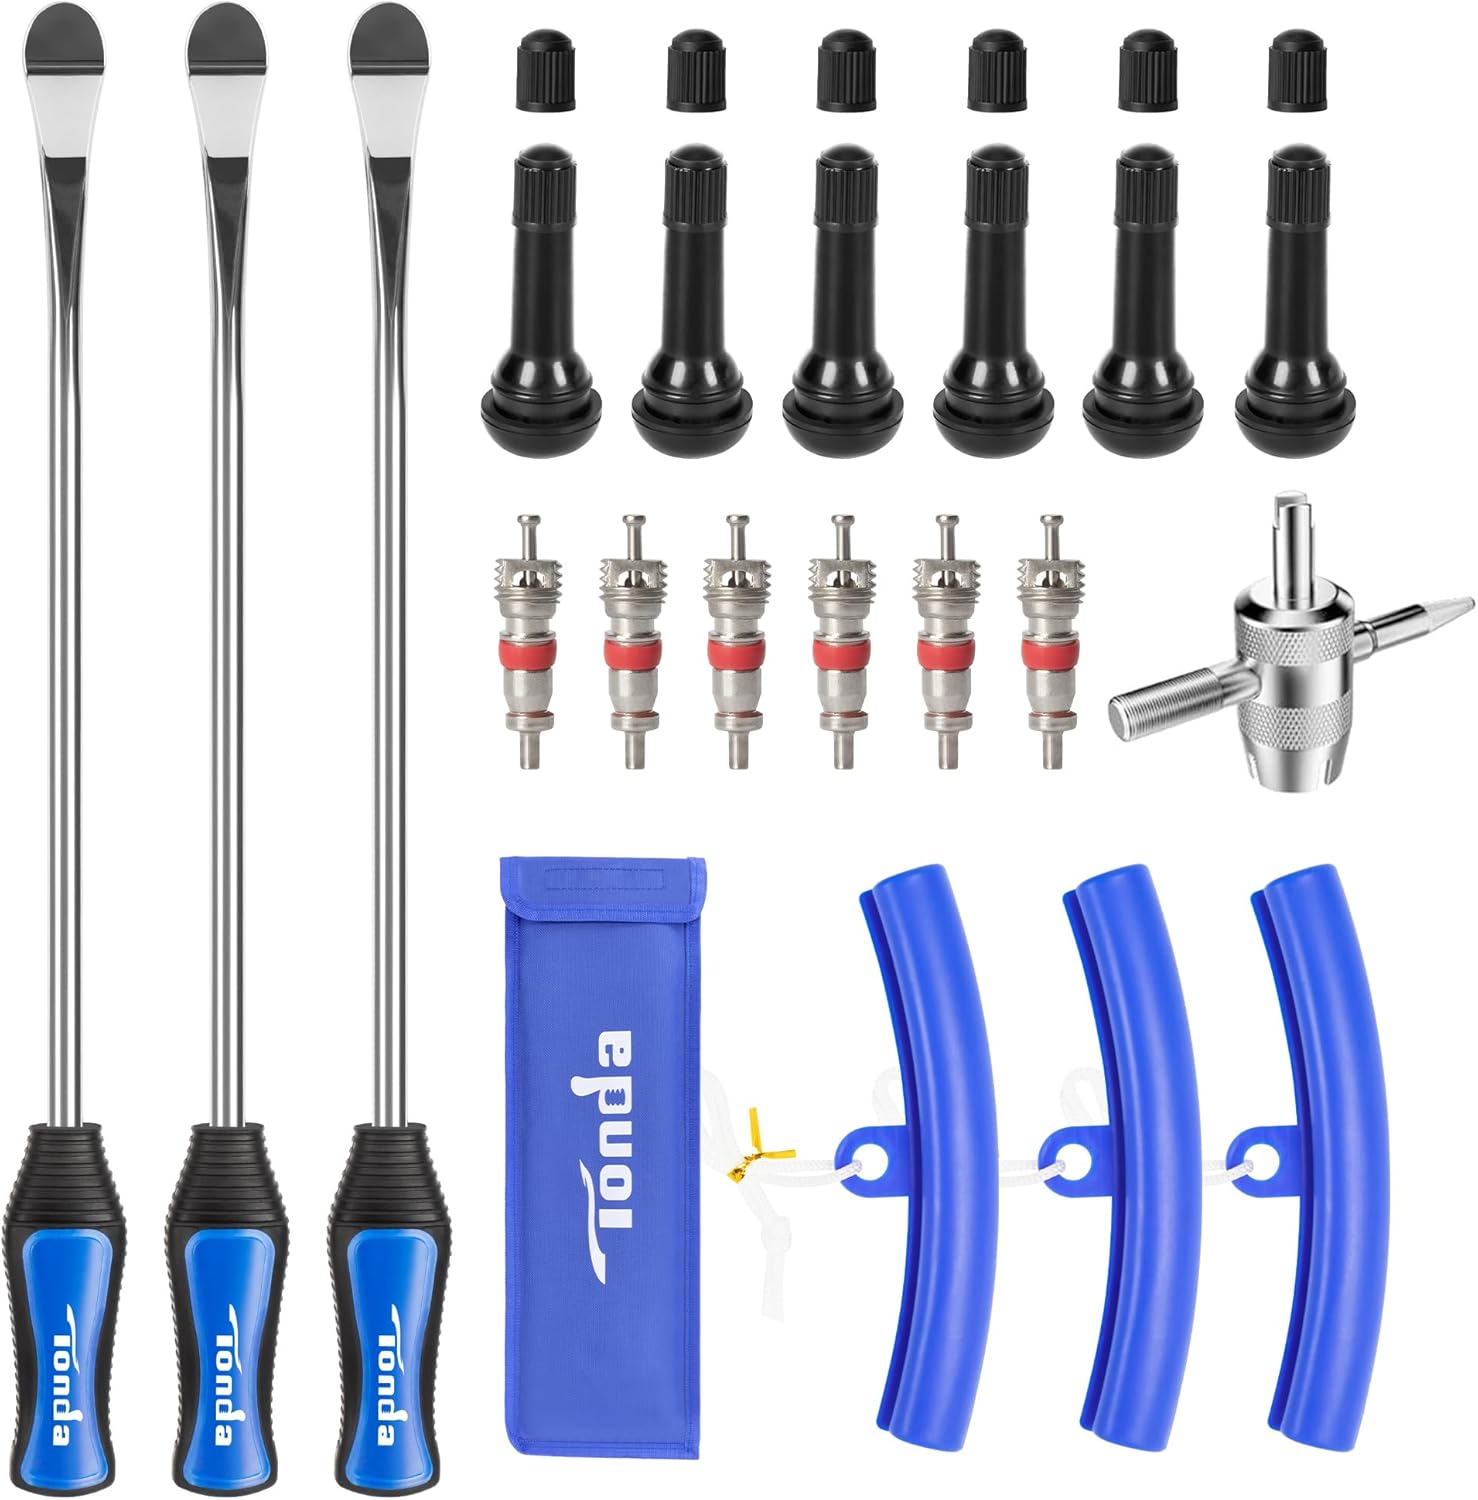
This TONDA tire changing kit makes motorcycle, dirt bike, ATV, lawn mower, and tractor tire swaps easier with heavy-duty tire spoon levers and added leverage. Rounded rim protectors help prevent scratches, while the included valve tools, cores, caps, and stems provide a more complete roadside or garage solution. The set comes with non-slip handles and a storage bag for convenient organization.
How to Deflate the Motorcycle Tire
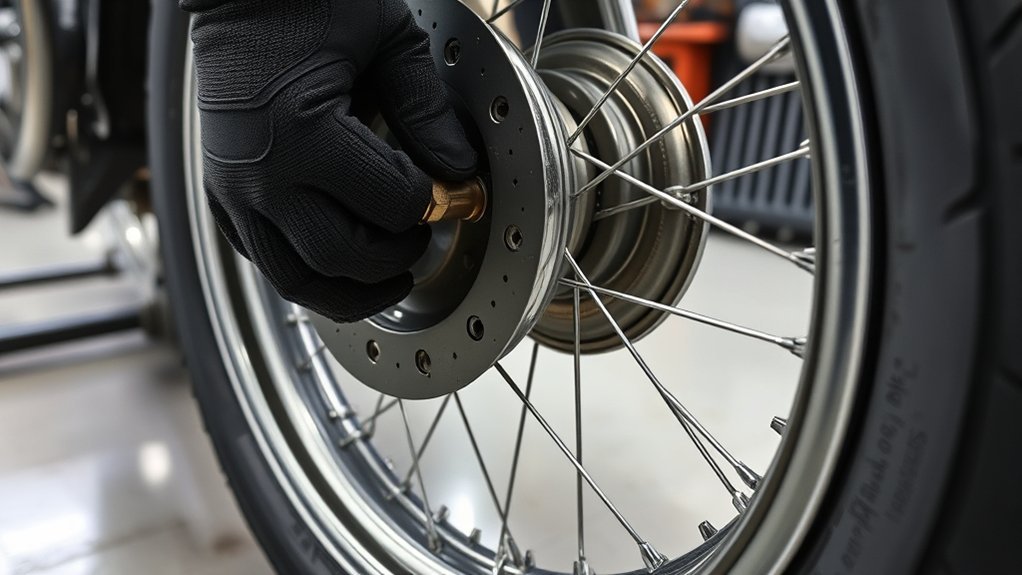
Remove the valve stem cap, then use a valve core removal tool to unscrew and remove the valve core. Let all air escape before you press on the sidewall or use a bead breaker. A tire that still holds pressure can fight the tools and increase the chance of a sudden slip.
If the wheel uses a tube, loosen the valve-stem nut so the stem can move slightly as the tire bead shifts. If the wheel has a rim lock, loosen the rim-lock nut until the rim lock can move inward, but do not remove it unless your service manual or repair plan calls for it.
As the tire deflates, inspect the tread and sidewalls for punctures, cuts, bulges, cracks, exposed cords, or embedded debris. Tire pressure and tread condition are safety items, and general tire safety guidance recommends checking pressure cold and inspecting tread regularly.
Confirm the tire is fully flat by pressing the sidewall inward. If air still hisses or the tire rebounds, check that the valve core is fully removed and the valve stem is not blocked.
How to Break the Bead on Both Sides of the Rim
Breaking the bead means separating the tire bead from the rim seat. Lay the wheel on a clean mat or cardboard so the brake rotor, sprocket, and rim finish are protected. Apply tire lubricant or soapy tire-mounting solution around the bead.
Use a bead breaker, C-clamp, or tire spoons to press the bead away from the rim. Work in small sections around the wheel instead of forcing one spot. Once the first side releases, flip the wheel and repeat on the opposite side. Both beads must be fully loose before you try to remove the tire.
Bead Breaking Tools
A dedicated bead breaker is the easiest option because it presses the sidewall evenly near the rim edge. A C-clamp can also work if the clamp pads are wide enough and the rim is protected. Tire spoons can break a bead on some tires, but stiff sidewalls may need more leverage.
- Keep the tool square to the sidewall.
- Apply steady pressure instead of sudden force.
- Use lubricant generously around the bead.
- Protect painted and aluminum rims from metal tools.
- Repeat around the full circumference on both sides.
First-Side Bead Release
Start near the valve stem, but do not crush the valve stem, tube, or rim lock. Place the bead breaker or clamp close to the rim edge and press the sidewall down until the bead pops loose from the bead seat. Move a few inches at a time until the full side is free.
If the bead resists, add more tire lubricant and let it soak for a minute. Do not hammer the rim or use sharp tools on the bead. A damaged bead may not seal correctly on a tubeless tire and may make the tire unsafe to reuse.
Flip And Repeat
Once the first bead is free, turn the wheel over and repeat the same process on the second side. Support the wheel so the brake rotor is not carrying the wheel’s weight. Keep your hands clear of the clamp and bead breaker as the sidewall releases.
- Check that all air pressure is gone.
- Reapply lubricant on the second side.
- Protect the rim face before using tools.
- Press steadily around the wheel.
- Confirm both beads move freely before prying.
How to Pry the Tire Off the Rim
With both beads broken, lay the wheel flat with the valve stem facing up. Push the bead opposite your working area down into the rim’s drop center. This is the shallow center channel of the rim, and it gives the tire enough slack to lift over the outer rim edge.
Insert a rim protector, then slide the first tire spoon under the bead near the valve stem. Lever a small section of bead over the rim and hold it. Place a second spoon a few inches away and lift the next small section. Continue around the wheel in short bites. If the spoon takes too much force, stop and push the opposite bead deeper into the drop center.
Keeping the Bead Loose While You Work
The bead may try to climb back onto the rim seat as you pry. Keep pressing the far side of the tire into the drop center, and add lubricant as needed. This reduces tool pressure and helps prevent rim scratches, bent tire spoons, and torn beads.
- Use shallow lever angles.
- Move only a few inches at a time.
- Do not pry against the valve stem.
- Keep rim protectors under the spoons.
- Stop if the tire bead starts to tear.
Prying the Bead Over
After the first bead is over the rim, pull the tube out if the wheel uses one. For a tubeless wheel, continue to the second bead. Stand the wheel upright or keep it flat, then work the second bead over the rim using the same drop-center method.
Some tires can be pushed off by hand after the first bead is removed. Others need two or three tire spoons. Use patience, lubricant, and small movements. Forcing a stiff tire usually creates damage, not progress.
Note: If you plan to reuse the tire, do not cut it off unless it is already unsafe scrap. Cutting near the bead can also damage the rim, tube, valve stem, or your hands.
How to Remove the Tube and Rim Strip
If your motorcycle uses a tube, remove it after the first bead is loose. Push the valve stem inward, then guide the tube out carefully by hand. Do not drag it across sharp rim edges or hook it with a tire spoon.
Peel the rim strip or rim tape away enough to inspect it. The strip protects the tube from spoke nipples and sharp edges. Replace it if it is cracked, shifted, torn, brittle, or too narrow to cover the spoke holes. On tubeless spoked wheels, do not disturb the sealing band unless you are prepared to reseal and test the wheel properly.
- Do not twist or stretch the tube.
- Check the tube for pinch marks, patches, cracks, or valve-stem damage.
- Inspect spoke nipples and rim edges for sharp spots.
- Replace damaged rim strips before reinstalling a tube.
- Clean dirt and old rubber from the bead seat.
What to Inspect Before Installing the New Tire
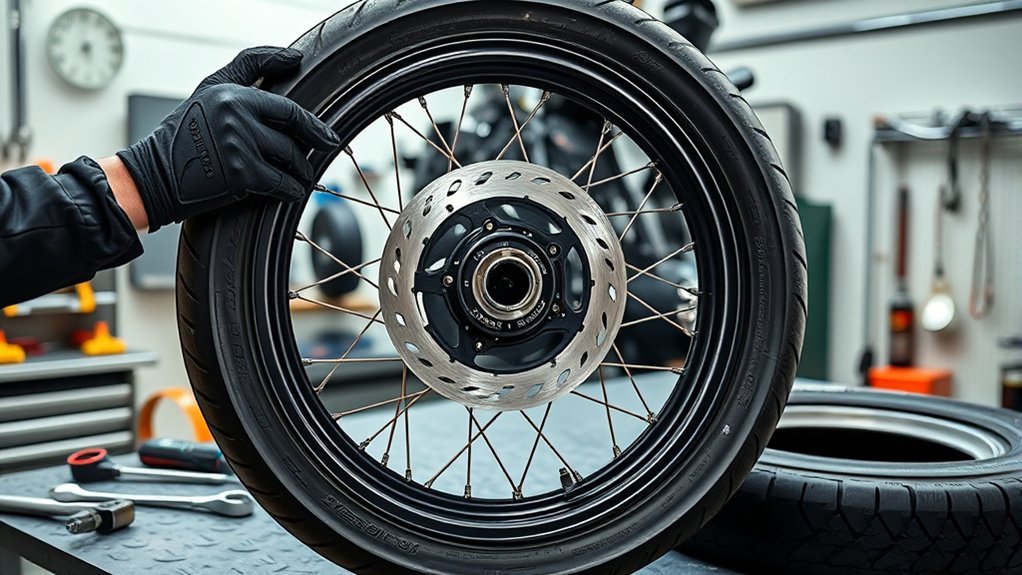
Before you mount a new tire, inspect it closely. Check the sidewalls, bead edges, and tread for cuts, bulges, cracking, bead damage, exposed cords, or shipping damage. A tire with bead damage may not seat or seal correctly.
Verify the size, load rating, speed rating, tube or tubeless marking, and rotation arrow. Motorcycle tires are regulated with required markings, including size designation, maximum load rating, inflation pressure, and tube-type or tubeless marking. Tire and rim matching also matters, so use a tire approved for your rim size and motorcycle.
Inspect the rim at the same time. Clean the bead seat, remove old lubricant, check for dents or corrosion, and make sure the valve stem is not cracked. For tube-type wheels, check the tube and rim strip. For tubeless wheels, inspect the valve stem and sealing area.
Also check tire age and condition. Even an unused tire can age from heat, sunlight, ozone, and storage conditions. If the date code is old or the rubber is cracked or hardened, replace it instead of installing it.
Troubleshooting Common Motorcycle Tire Removal Problems
If the tire will not come off smoothly, the problem is usually bead tension, not lack of strength. Slow down and fix the cause before you bend a rim or pinch a tube.
| Problem | Likely Cause | Fix |
|---|---|---|
| Bead will not break | Old tire, dry bead, or hidden pressure | Remove the valve core, add lubricant, and press around the bead in several spots. |
| Tire spoons keep slipping | Too much force or poor angle | Use rim protectors, take smaller bites, and keep the opposite bead in the drop center. |
| Tube gets pinched | Levering too deep under the bead | Use shallow spoon tips and pull the tube out after the first bead is loose. |
| Rim starts to scratch | Metal tools touching the wheel edge | Add rim protectors or plastic guards before continuing. |
| Wheel hardware order is confusing | Spacers or washers moved during removal | Check your photos and service manual before reassembly. |
Frequently Asked Questions
How do you remove a tire off a motorcycle?
Support the motorcycle, remove the wheel, remove the valve core, deflate the tire fully, break both beads, and use tire spoons with rim protectors to lift the bead over the rim. If the wheel has a tube, remove the tube after the first bead is loose.
How do you take off a motorcycle tire step by step?
Start by stabilizing the bike and removing the wheel. Then remove the valve core, loosen the rim lock if fitted, break the bead on both sides, lubricate the bead, pry the first bead over the rim, remove the tube if fitted, and work the second bead off the rim.
How can you make a motorcycle tire easier to remove?
Use tire lubricant, warm the tire slightly in the sun if the weather is cool, take small bites with the tire spoons, and keep the opposite bead pressed into the rim’s drop center. A dedicated bead breaker also makes stiff tires much easier to remove.
How do you pop a motorcycle tire off the bead?
Remove the valve core so all pressure is gone, apply tire lubricant around the bead, then press the sidewall down near the rim with a bead breaker, C-clamp, or tire spoon. Work around the tire in several spots, then flip the wheel and repeat on the other side.
Can you remove a motorcycle tire without a bead breaker?
Yes, but it is harder. You may be able to use a strong C-clamp or tire spoons, but you must protect the rim and work slowly. If the bead is old, dry, or extremely stiff, a bead breaker or professional tire machine is safer.
Should you replace the tube when changing a motorcycle tire?
Replace the tube if it is old, patched, cracked, pinched, stretched, or damaged around the valve stem. Many riders install a new tube with a new tire because the labor is already done and an old tube can cause a slow leak.
Conclusion
A motorcycle tire does not simply peel off after you release the air. You need a stable setup, the right tools, full deflation, bead-breaking pressure, lubricant, and careful tire-spoon technique. Work slowly, protect the rim, track every spacer and fastener, and inspect the tire, tube, rim strip, valve stem, and wheel parts before reassembly. That careful process helps you avoid leaks, pinched tubes, damaged rims, and unsafe wheel installation.
Sources
- NHTSA TireWise — supports tire pressure, tread inspection, tire maintenance, and tire-related crash safety context.
- eCFR 49 CFR 571.119 — supports motorcycle tire performance, marking, treadwear indicator, and tire/rim matching requirements.
- NHTSA Recalls — supports checking tires and vehicles for safety recalls before continued use.
- NHTSA Motorcycle Safety — supports the general safety importance of proper motorcycle maintenance and rider preparation.