
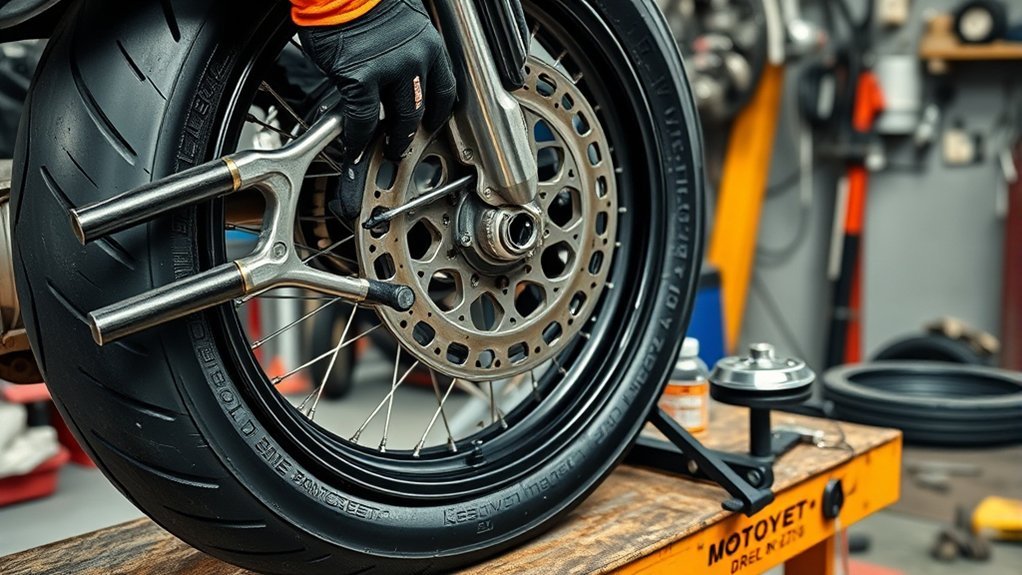
Removing a motorcycle tire is a hands-on job that requires patience, the right tire tools, and careful handling of the wheel, brake parts, axle spacers, and rim. You can do the tire removal at home if the motorcycle is supported securely and you follow your service manual. If you are unsure about brake removal, axle alignment, tire fitment, or reinstallation torque, stop and use a qualified motorcycle tire shop.
Quick Answer
To remove a motorcycle tire, support the bike securely, remove the wheel, fully deflate the tire, break the bead on both sides, lubricate the bead, then use tire irons to lift each bead over the rim in small sections. Tubed tires require extra care so you do not pinch or tear the inner tube.
Key Takeaways
- Use a center stand, motorcycle lift, or paddock stand before loosening the wheel.
- Remove the valve core and fully deflate the tire before you try to break the bead.
- Work in small sections with tire irons and use tire lube to protect the bead and rim.
- For tubed tires, loosen the valve nut and rim lock, then pull the tube out carefully after one bead is free.
- Inspect the rim, bead seat, valve stem, spacers, brake rotor, and bearings before installing a new tire.
At a Glance
| Time Required | 45 minutes to 2 hours for removal, depending on experience and bead stiffness |
| Difficulty | Moderate to advanced DIY, especially on stiff sport, cruiser, or tubeless tires |
| Tools Needed | Center stand or lift, axle tools, tire irons, rim protectors, valve core remover, bead breaker, tire lube, gloves, eye protection, and torque wrench for reinstallation |
| Cost | Usually $20 to $100 for basic hand tools if you already have a lift or stand; shop labor varies by wheel and tire type |
Warning: A motorcycle wheel, tire, axle, brake caliper, and ABS sensor are safety-critical parts. Use your service manual for the correct removal order and torque values. If the wheel has damage, the tire will not seat, or you cannot reinstall the wheel exactly as specified, have the work finished by a qualified motorcycle technician.
Motorcycle Tire Removal Tools
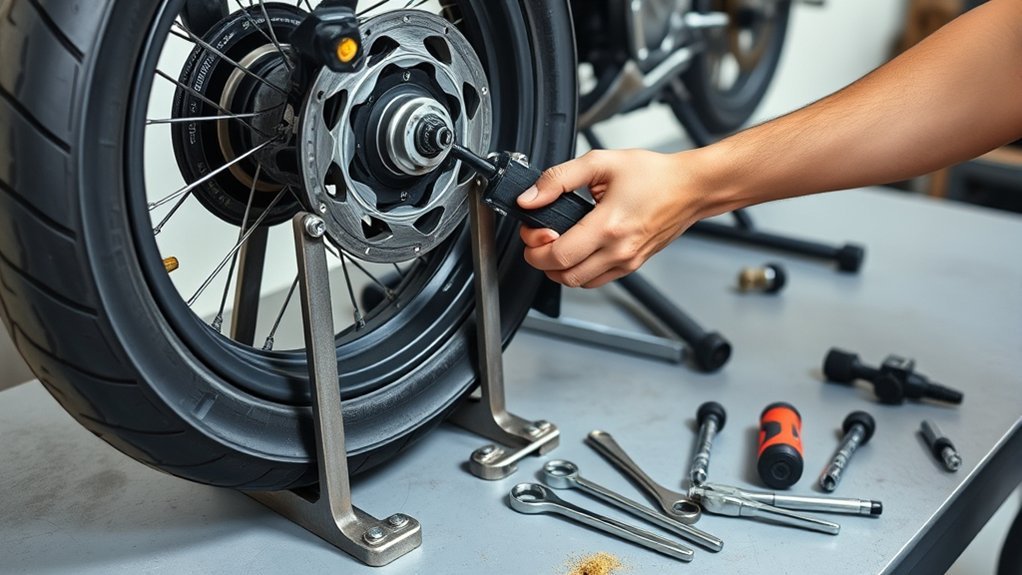
Before you start, gather the right motorcycle tire removal tools so the job goes smoothly and safely. You will need tire irons or motorcycle tire spoons, rim protectors, a valve core remover, tire lube, and the correct wrench or socket for the axle nut and pinch bolts. A dedicated bead breaker is safer and more controlled than improvised pressure.
You should also have nitrile or mechanic gloves, eye protection, a clean cloth, a small tray for spacers and hardware, and a marker or phone camera to record spacer order before removal. Keep a torque wrench ready for reinstallation, even if this guide focuses on removing the tire. Axle nuts, pinch bolts, brake caliper bolts, and chain adjusters must go back to the motorcycle maker’s specifications.
The Motorcycle Safety Foundation T-CLOCS checklist recommends checking tire condition, tread depth, weathering, seating, bulges, embedded objects, and cold air pressure as part of tire and wheel inspection. That same mindset applies during tire removal: inspect before you pry, and stop if you see damage you do not understand.
Pro Tip: Take photos before you remove the axle. Capture the brake caliper position, spacer order, chain adjusters, ABS sensor routing, and washer placement. These photos can prevent a costly reassembly mistake later.
[Products Worth Considering]

Measure tire tread depth quickly and accurately with this LUMITECO dial gauge that reads in 1/32" increments up to 14/32". The color-coded green/yellow/red zones make it easy to judge tire wear and know when replacement is needed. A rugged, compact design with a protective pouch helps keep the gauge ready for use on cars, trucks, motorcycles, and more.

This Dr.Roc tire valve stem puller tools set helps install or remove snap-in tubeless valve stems safely and efficiently. It includes ozone-resistant EPDM snap-in valve stems, a valve stem installer, and a valve core remover for quick core removal or installation during tire service. Designed for reliable tubeless tire repair on motorcycles, ATVs, lawn equipment, cars, and trucks.

This VEVOR tire bead breaker uses a slide-hammer impact and wedge tip to separate tire beads from rims quickly and efficiently without damaging hub surfaces. The long handle and sturdy steel construction help reduce user strain while providing reliable, portable tire changing for cars, trucks, and more. Ideal for home mechanics and repair shops handling multiple vehicle tire sizes.
Before You Start: Prepare the Bike and Work Area
Work on a flat, clean surface with enough room to move around the wheel. Put the motorcycle in gear if recommended for your model, then support it with a center stand, motorcycle lift, rear stand, front stand, or another stable setup designed for the bike’s weight. Do not rely on a side stand alone for wheel removal.
Read your service manual before loosening fasteners. Some motorcycles require you to remove brake calipers before wheel removal, while others only need the wheel angled carefully past the brake assembly. ABS sensors, speed sensors, chain adjusters, belt guards, axle blocks, and spacers can be easy to damage or misplace.
- Let the exhaust and brake parts cool before touching the wheel.
- Use the correct socket size so you do not round the axle nut.
- Keep brake rotors off the ground or rest the wheel on wood blocks.
- Do not squeeze the brake lever after the caliper is removed.
- Mark the tire rotation direction if you need it for reference.
Remove the Motorcycle Wheel Safely
Set the motorcycle on a stable surface, then support it with a center stand, motorcycle lift, or paddock stand before you touch the wheel. Confirm the bike’s weight is fully supported. Loosen the axle nut, pinch bolts, and related wheel fasteners in the order listed in your manual.
If your motorcycle uses brake calipers that block wheel removal, unbolt the caliper and hang it with a strap or bungee cord so its weight is not pulling on the brake hose. Move any ABS or speed sensor only if the manual tells you to. Slide the axle out slowly and keep track of spacers, washers, axle blocks, and chain adjuster parts.
- Raise the wheel just enough to clear the floor.
- Loosen the axle nut and any pinch bolts while the bike is stable.
- Remove or support brake calipers if required by your model.
- Push the wheel forward slightly on chain-drive bikes to create chain slack.
- Slide the chain or belt clear without twisting it.
- Pull the axle out while supporting the wheel with your hand or knee.
- Guide the wheel away from the forks or swingarm without scraping the rotor.
Lay the wheel on cardboard, a rubber mat, or wood blocks. Avoid placing weight on the brake rotor, sprocket, pulley, ABS ring, or valve stem.
Break the Bead on a Motorcycle Tire
With the valve core removed and the tire fully deflated, you can break the bead using a bead breaker tool. The bead is the tire edge that seals against the rim. It can stick tightly, especially on tubeless tires, older tires, or rims with dried sealant or corrosion.
Apply tire lube or a diluted soap solution around the bead. Press the bead away from the rim in several spots instead of forcing one point. Once the bead drops into the center well of the rim, repeat the same process on the opposite side.
[Products Worth Considering]
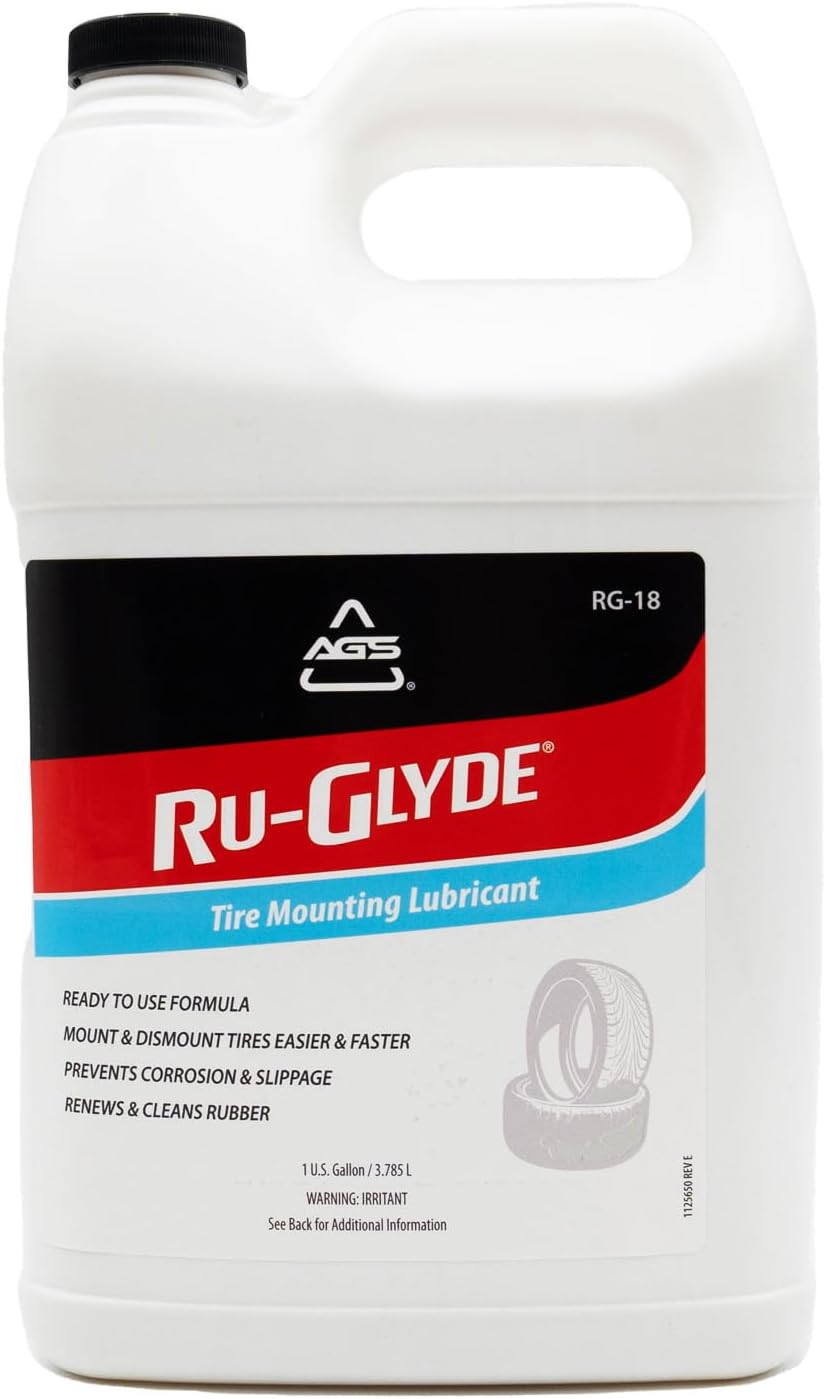
Ru-Glyde tire mounting lubricant from AGS seats tire beads smoothly on the first try with a thick, stay-put formula. It is ready to use with no mixing or dilution, helps prevent rim rust, and dries completely without causing bead slip residue. The water-based formula also conditions aged rubber, making it useful for sidewalls, gaskets, and door seals while remaining safe for tire, wheel, and technicians.
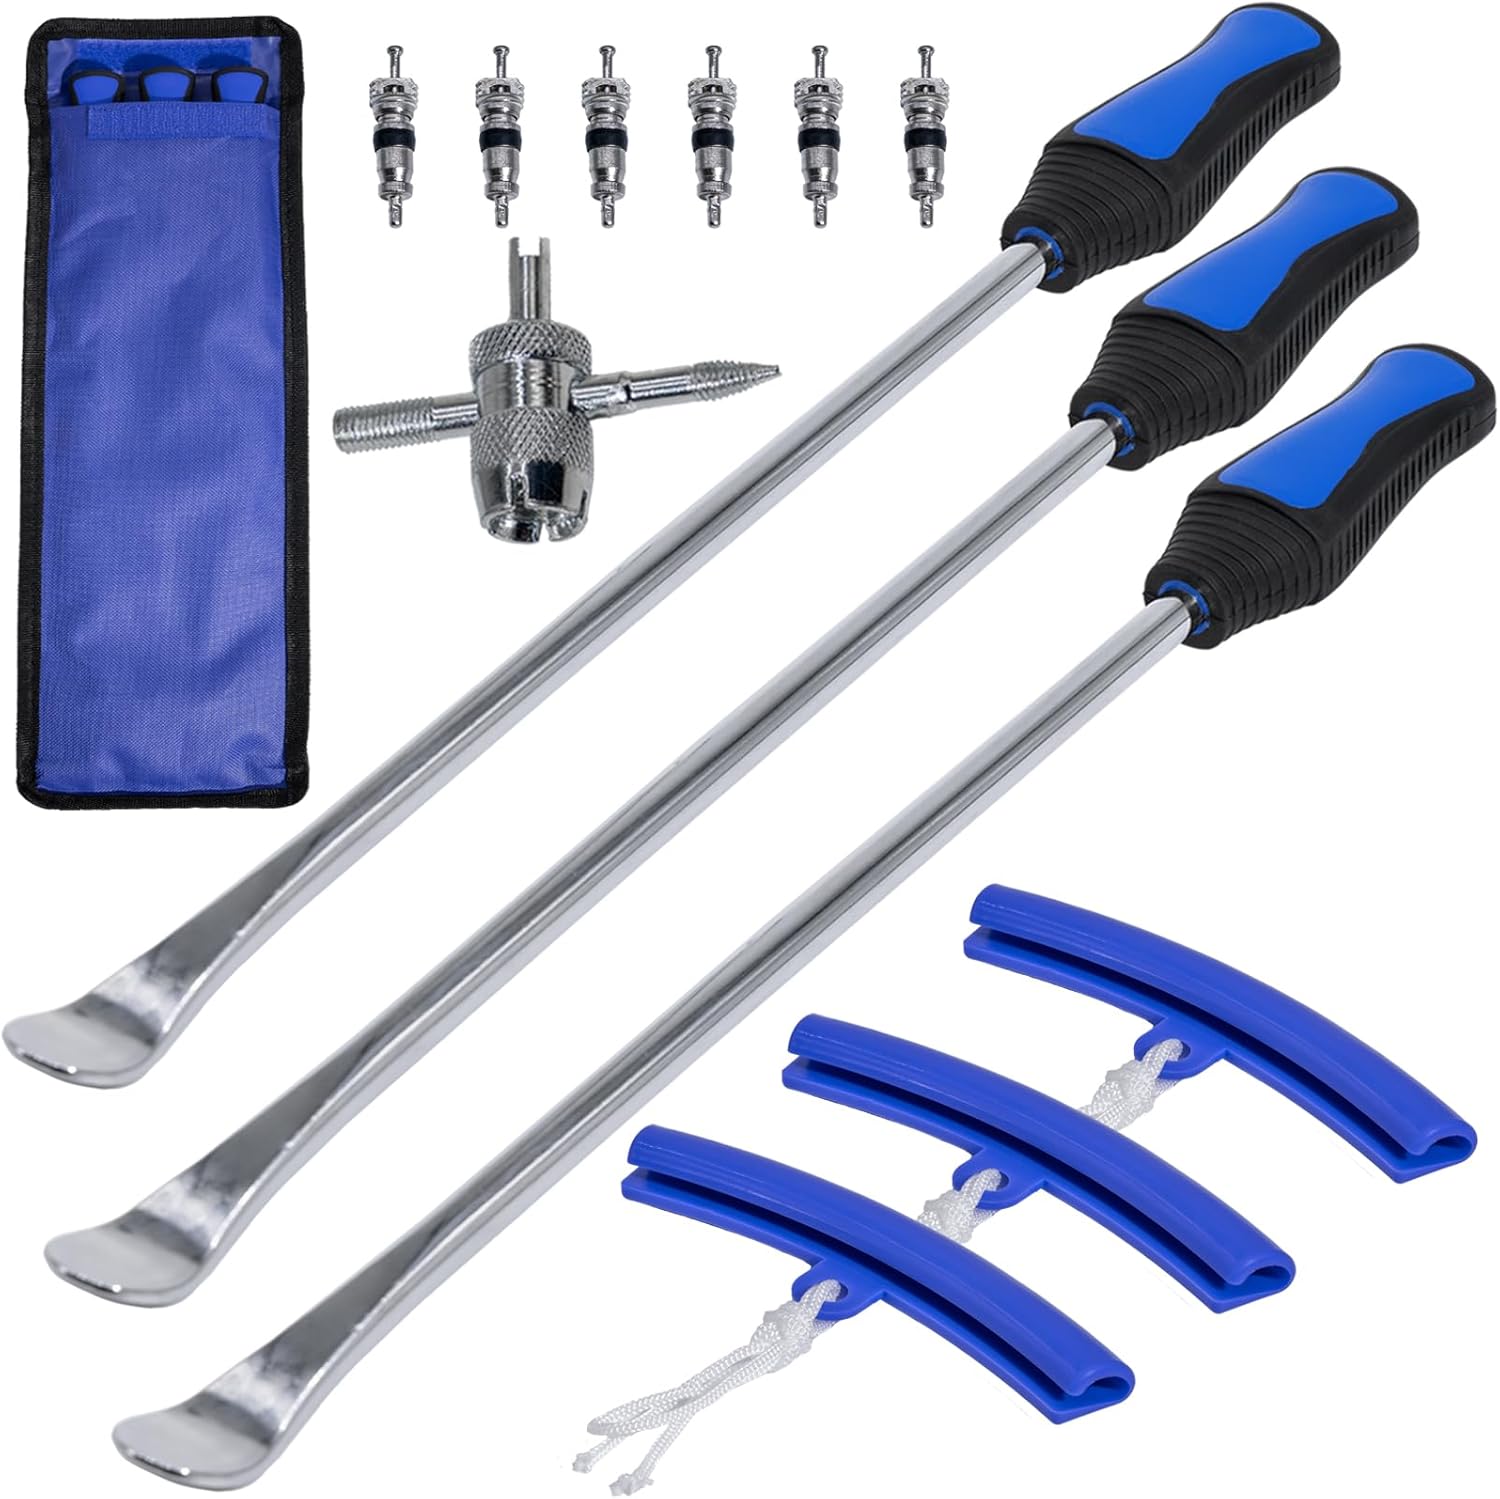
This tire spoon set helps you remove and install motorcycle, dirt bike, lawn tractor, and bicycle tires with extra leverage from a 14.5-inch spoon length. The kit includes tire removal tools, rim protectors, and a valve tool to simplify repairs and help protect rims during changing. Designed for quick, on-the-go service, it’s convenient for garage work, trails, and track-side fixes.

Malco tire mounting and demounting lubricant is a ready-to-use tire lube formulated to reduce friction during tire installation for passenger cars, light trucks, farm tires, and heavy-duty equipment. It provides rust-inhibiting protection to help reduce corrosion on rims and wheels, and helps support proper tire bead seating during inflation to reduce air leakage. The silicone-free, soap-free formula is whitewall safe to help prevent discoloration on whitewall tires and sensitive sidewall markings.
Bead Breaker Methods
A dedicated bead breaker is the best option for controlled tire removal. Manual bead breakers use a lever to press the sidewall down near the rim. Hydraulic bead breakers use pressure to separate stubborn beads with less effort. If you use a C-clamp, place protective blocks against the rim and work slowly so you do not bend, scratch, or crack the wheel.
Avoid using a vehicle, kickstand, sharp pry bar, or uncontrolled impact to break the bead. These methods can damage the rim, bend the rotor, or injure you if the wheel slips.
Lubricate and Pry
Once the bead is free, lubricate the tire bead and rim edge with tire lube. Keep the tire fully deflated before prying because trapped air fights your leverage. Push the opposite side of the tire down into the rim’s center well. This gives the bead more slack and makes the tire easier to lift over the rim.
Insert a tire iron between the bead and rim, starting several inches away from the valve stem. Use rim protectors if you care about the finish. Pry only a small section over the rim, then hold it with one iron while you move a second iron a few inches away. Work around the wheel in short steps.
Note: If the tire feels impossibly tight, the opposite bead is probably not sitting in the rim’s center well. Stop prying, push the opposite side deeper into the drop center, add lube, and try again.
Remove a Tubed Motorcycle Tire
A tubed motorcycle tire has an inner tube inside the tire. That tube can be pinched by tire irons, torn at the valve stem, or trapped under the bead if you rush. Work slowly and keep tire irons shallow once the tube is exposed.
[Products Worth Considering]

This 1/2-inch drive breaker bar delivers powerful leverage for loosening and tightening stubborn lug nuts and automotive fasteners. The 180-degree flex head helps you reach tight spaces at the angle you need, making tire and brake jobs easier. A spring-loaded ball detent design holds 1/2-inch sockets securely while the chrome-moly head provides durable strength for everyday use.

The Trivd Frol 1/2" air impact wrench delivers high performance torque up to 1500 ft-lbs with a twin hammer impact mechanism for strong, balanced blows. It features an ergonomic grip, compact lightweight design, and quick-stop control with 3 forward speeds up to 8000 RPM plus a reverse speed. Built for demanding automotive repair and tire shop work, the rear exhaust helps keep debris away from the surface.
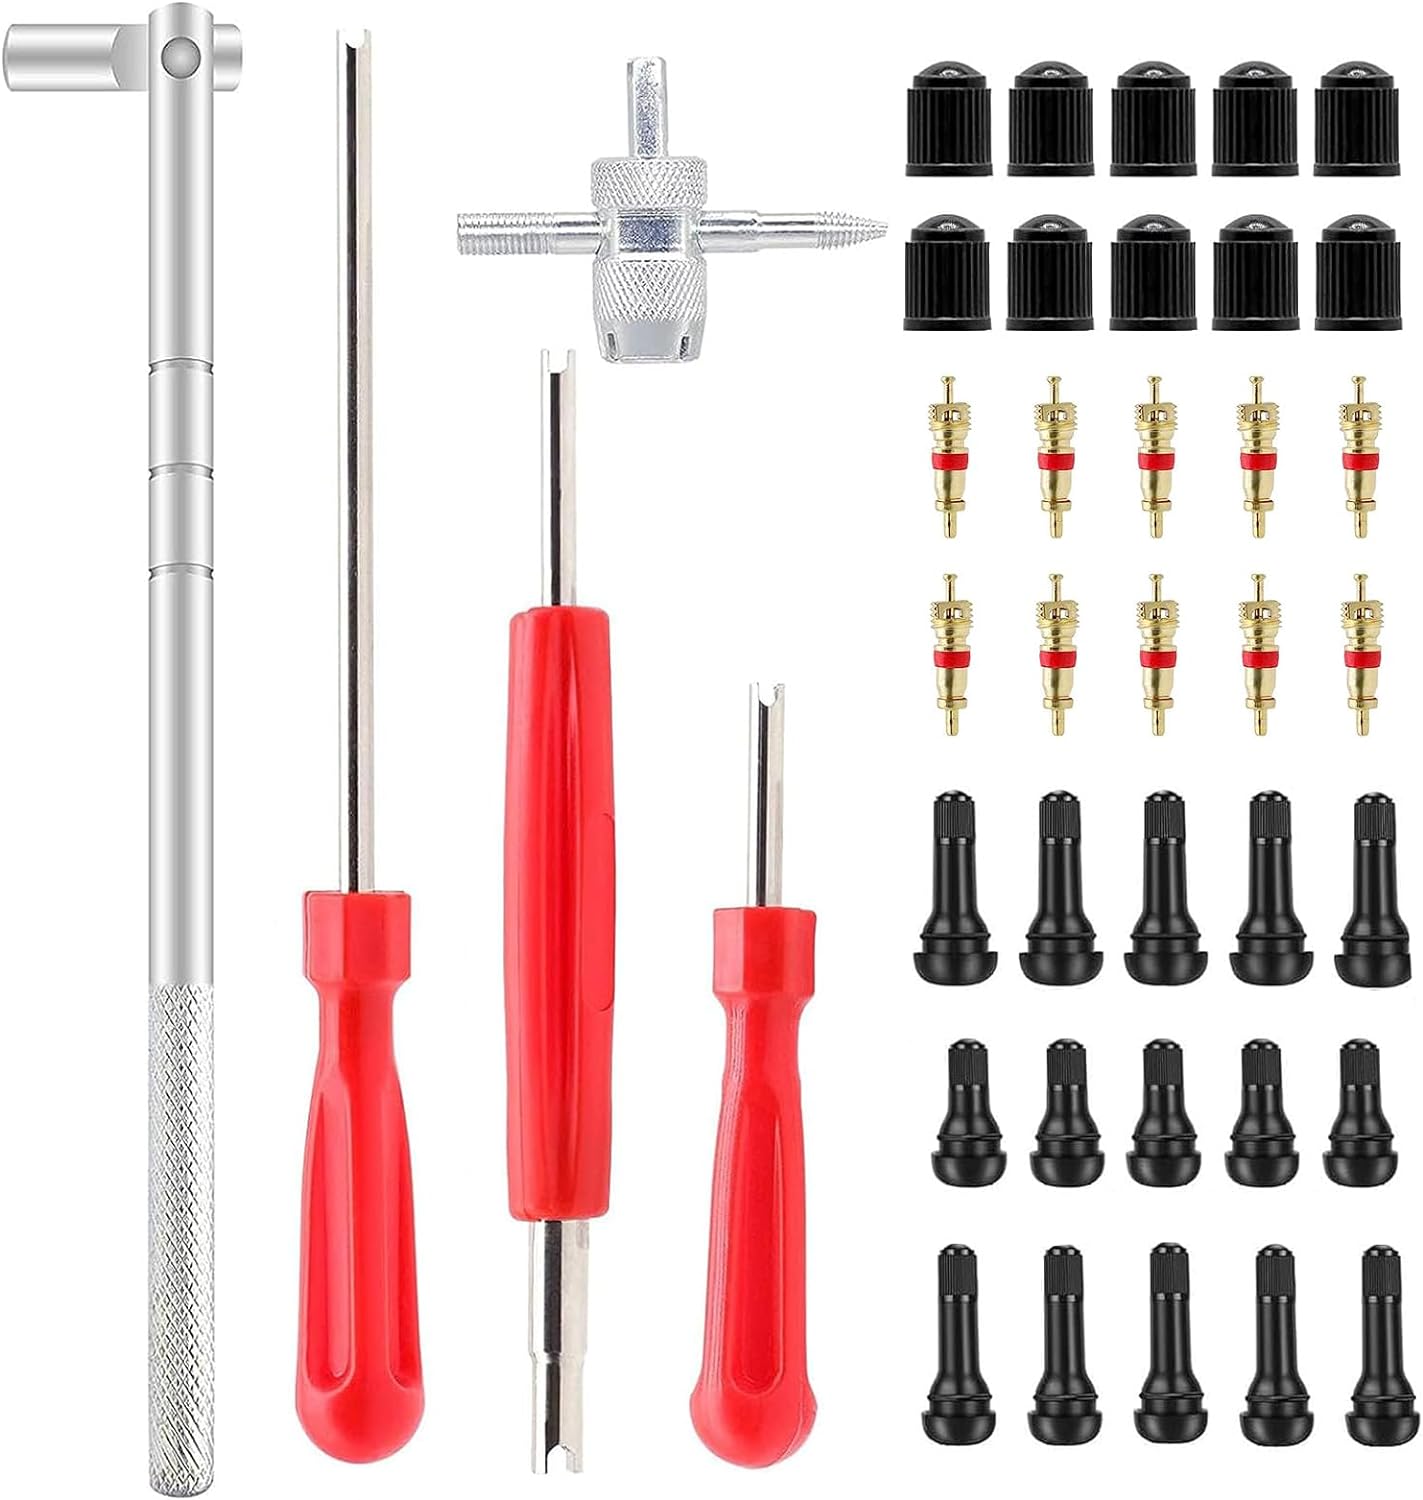
This ZHSMS valve stem puller and installer tool set makes it easy to remove and install tire valve stems without damaging wheels or valves. It uses a leverage design to save effort and includes valve stem tools plus removable valve core functionality for quick tire repairs. Compatible with tubeless tires for passenger cars, motorcycles, ATVs, off-road vehicles, and trucks.
Deflate the Tube
Remove the valve cap and valve core with a valve core remover so the tube deflates completely. Press the sidewalls to push out trapped air. If the wheel has a rim lock, loosen the rim lock nut until the lock can move inward. If the valve stem has a retaining nut, loosen it so the stem can move freely as the bead shifts.
Once the tube is flat, inspect the valve stem area. A torn valve base, rusty valve hole, or crooked stem can explain slow leaks or sudden failure.
Break the Bead
With the tube fully deflated and the valve core removed, apply tire lube around both bead areas. Use a bead breaker or careful hand pressure to press the bead away from the rim. Move around the rim a few inches at a time. If a rim lock is present, push it inward so the tire bead can move past it.
Do not pry hard near the valve stem or rim lock. These are common pinch points, and the tube is most vulnerable there.
Pry Off Tire
Slip a tire iron under the bead and lift a small section over the rim. Move around the wheel in short increments until one side of the tire clears the rim. Then reach inside and pull the tube out carefully, starting opposite the valve stem and finishing at the stem.
After the tube is out, remove the second bead from the rim. You can often stand the wheel up and work the tire off by hand with a small amount of lube. If you use tire irons, keep them shallow so you do not scrape the rim or damage the rim strip.
Before installing a new tire, check the motorcycle tire size, load index, speed rating, tube-type or tubeless marking, rotation arrow, and manufacturer fitment guidance. Do not use passenger-car tire ratings as your main motorcycle tire selection guide.
Remove a Tubeless Motorcycle Tire
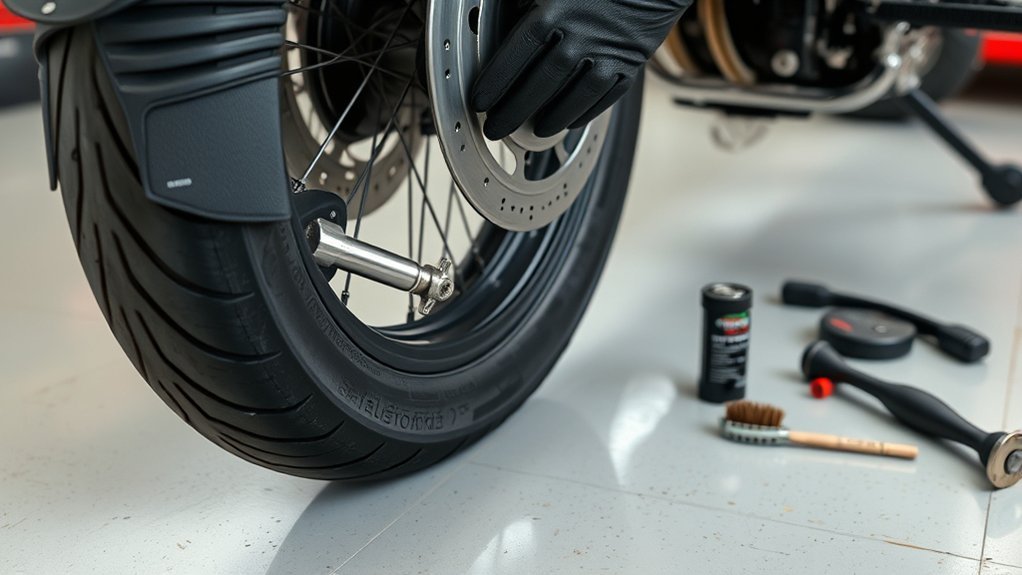
Start by fully deflating the tubeless tire with a valve core remover. Tubeless motorcycle tires often hold the bead tightly, so expect more resistance than you would with many tubed tires. Use a bead breaker to push the bead off the rim evenly, then repeat on the other side.
Once both beads are loose, lubricate the bead and rim edge. Start prying away from the valve stem, especially if the wheel has a metal valve stem or TPMS sensor. Work in small sections and keep the opposite side of the tire pressed into the center well of the rim. After the first bead clears the rim, repeat the process for the second bead.
| Tool | Purpose | Tip |
|---|---|---|
| Valve core remover | Deflates the tire fully | Confirm pressure is zero before bead breaking |
| Bead breaker | Separates the bead from the rim | Move around the wheel instead of forcing one spot |
| Tire irons | Lift the bead over the rim | Use rim protectors and short bites |
| Tire lube | Reduces friction and bead damage | Use real tire lube when possible, not oily products |
If the old tire contains liquid sealant, wipe the rim and bead seat clean after removal. Dried sealant can prevent the new tire from sealing correctly. If the valve stem is old, cracked, corroded, or leaking, replace it before mounting the next tire.
Inspect the Rim Before Installing a New Tire
With the tire off, inspect the rim for cracks, dents, corrosion, sharp burrs, flat spots, or damaged bead-seat areas. Clean the bead seat completely because debris, rust, and old sealant can block a tight seal and cause leaks after installation.
Run your fingers carefully along the rim edge to find burrs or sharp spots. Smooth minor burrs only if you know how to do it without changing the rim profile. Replace or professionally inspect the wheel if you find cracks, serious dents, deep corrosion, or damage near the valve hole.
Also inspect the brake rotor, ABS tone ring, wheel bearings, seals, spacers, sprocket carrier, and cush drive if your wheel has one. The National Highway Traffic Safety Administration notes that tire pressure, tread, aging, and visible damage all affect tire safety. A tire removal job is a good time to check these items before the wheel goes back on the motorcycle.
If you find cracks, bulges, exposed cords, severe corrosion, a bent rim, or a bead that will not seat correctly, stop the DIY job and have the wheel inspected by a motorcycle tire professional.
Common Mistakes and Troubleshooting
If the tire is fighting you, do not simply use a longer pry bar. Most tire removal problems come from bead position, lack of lube, or working too much of the bead at once.
- The bead will not break: Recheck that the valve core is removed, apply more lube, and use steady pressure around the rim instead of one hard push.
- The tire iron keeps slipping: Use rim protectors, take smaller bites, and keep the opposite bead in the drop center.
- The tube gets pinched: Stop, deflate fully, remove the tube after one bead is free, and keep irons shallow.
- The rim is getting scratched: Add rim protectors and slow down. Scratches near the bead seat can cause sealing problems on tubeless wheels.
- The wheel will not come out of the bike: Recheck brake calipers, axle blocks, chain slack, spacers, fender clearance, and sensor brackets before forcing it.
Frequently Asked Questions
How do I dispose of the old motorcycle tire properly?
Take the old tire to a motorcycle shop, tire retailer, licensed tire recycler, or local tire collection event. Disposal rules vary by location, and some areas charge a small tire recycling fee. Do not dump the tire or leave it outdoors because waste tires can create public health, fire, and environmental problems. CalRecycle, for example, regulates waste tire management and provides tire recycler resources.
Can I remove a tire without damaging the valve stem?
Yes, but you need to deflate the tire fully, remove the valve core, and keep tire irons away from the valve area. On tubed tires, loosen the valve-stem retaining nut and avoid pulling the tube sideways. On tubeless tires, be extra careful around metal valve stems and TPMS sensors.
What is the best way to store a motorcycle wheel overnight?
Store the wheel upright or flat on wood blocks, cardboard, or a rubber mat. Keep weight off the brake rotor, sprocket, pulley, ABS ring, and valve stem. Store it in a clean, dry area away from direct sun, moisture, fuel, oil, and harsh chemicals.
How often should motorcycle tire pressures be checked?
Check motorcycle tire pressure before rides or at least weekly during regular use, and always check it when the tires are cold. Use the pressure listed by the motorcycle manufacturer for your load, not the maximum pressure molded on the tire sidewall. The MSF pre-ride checklist also includes checking cold air pressure and adjusting for load.
When should a motorcycle tire be professionally replaced?
Use a professional if the tire has sidewall damage, exposed cords, severe cracking, bulges, puncture damage outside a repairable area, uneven wear, or age-related concerns. NHTSA notes that some vehicle and tire manufacturers recommend replacing tires at six to ten years regardless of treadwear, so check the tire date code and follow the tire maker’s guidance.
Can I remove a motorcycle tire without taking the wheel off the bike?
It is not recommended for normal tire removal. Removing the wheel gives you safer access to the bead, protects brake and suspension parts, and lets you inspect the rim, bearings, valve stem, and spacers. Leave wheel-on tire service to emergency roadside repairs or very specific tools and situations.
Do I need to balance the wheel after installing a new motorcycle tire?
Yes, a newly installed motorcycle tire should be balanced before riding at normal road speeds. An unbalanced wheel can cause vibration, uneven tire wear, and poor handling. If you remove the tire at home but do not have balancing equipment, take the wheel to a shop before reinstalling it.
Conclusion
Removing a motorcycle tire is manageable when you work in the right order: support the bike, remove the wheel carefully, deflate the tire fully, break both beads, lubricate the bead, and pry in small controlled sections. The safest work happens slowly, with the opposite bead in the rim’s center well and all spacers, sensors, and brake parts protected.
Before the next tire goes on, inspect the rim, valve stem, bearings, brake rotor, and bead seat. If anything looks cracked, bent, badly corroded, or uncertain, pause the job and get professional help. A clean tire removal is useful only if the wheel goes back on safely.
Sources
- Motorcycle Safety Foundation T-CLOCS Pre-Ride Inspection Checklist — tire, wheel, pressure, brake, chassis, and stand inspection points.
- NHTSA TireWise Tire Safety — tire pressure, tread, tire aging, visible damage, and tire-related safety guidance.
- CalRecycle Tire Management — waste tire management, recycling resources, and public safety concerns related to tire stockpiles.
