
Mount a Tire at Home: 7 Safe Hand-Tool Steps
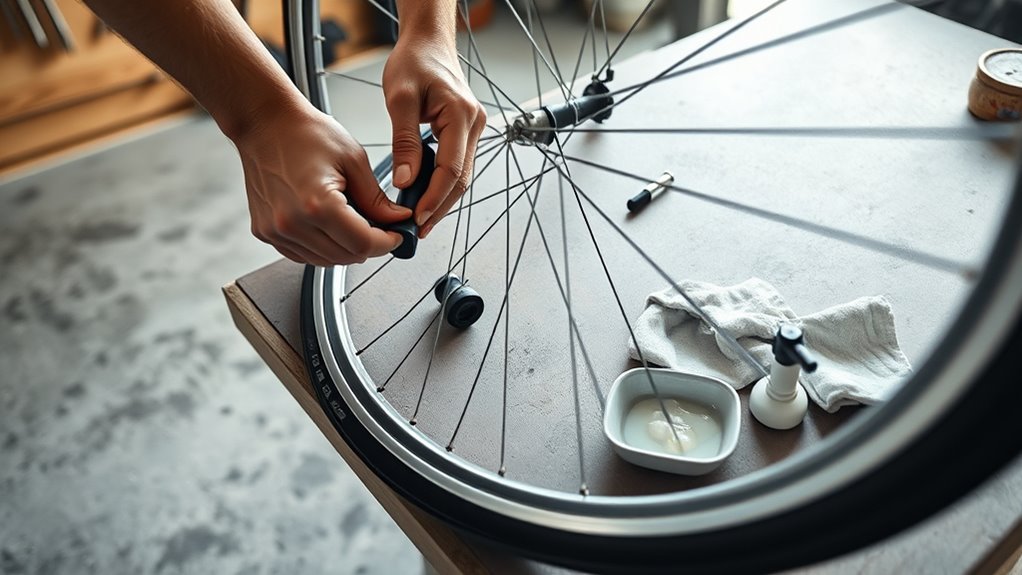
Can You Mount This Tire at Home? Quick Checklist
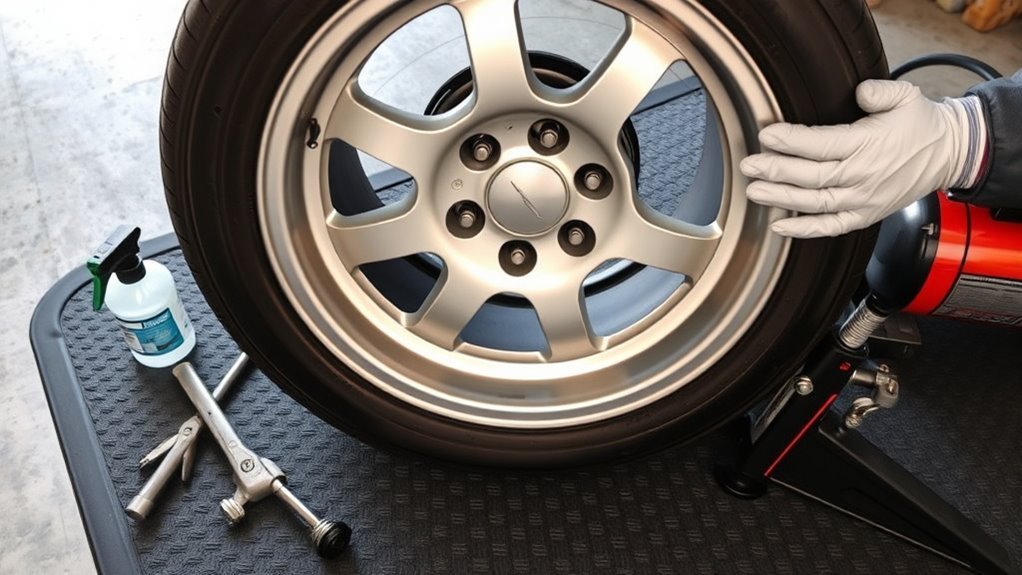
By: Editorial Team · Last updated: July 7, 2026
Yes, you can mount a passenger tire at home, but only when the tire and wheel match, the rim is clean and undamaged, and you have safe tire tools. Treat this as a careful tire-service job, not a shortcut. A mismatched bead diameter, cracked rim, damaged sidewall, pinched tube, or uneven bead seat can cause air loss once the vehicle carries weight.
This guide shows you how to check fit, prepare the wheel, mount the tire with hand tools, inflate it slowly, check for leaks, and know when to stop. Use your vehicle manual, tire sidewall, wheel maker instructions, and tool instructions as the final authority for your specific wheel.
Quick Answer
You can mount a passenger tire at home if the tire size, rim diameter, load rating, and valve setup match, the rim has no bends or cracks, and you use safe tire tools. Clean the bead seat, apply nonflammable rubber lubricant, keep the bead in the drop center, and inflate slowly while you stand clear of the sidewall path. Stop and use a tire shop if the bead will not seat, the rim looks damaged, the tire has sidewall damage, or you cannot balance the wheel before road use.
Key Takeaways
- Match the tire size, bead diameter, rim width, load rating, speed rating, and valve type before you start.
- Clean and inspect the rim so the bead can seal against a smooth, undamaged surface.
- Use nonflammable tire lubricant or a light soapy water mix to reduce force on the bead.
- Keep the bead in the rim drop center while you work with tire irons.
- Inflate slowly, stay clear of the sidewall trajectory, check for leaks, and balance the wheel before normal driving.
| Check | Safe to Continue | Stop and Use a Tire Shop |
|---|---|---|
| Tire and rim fit | Sidewall size and bead diameter match the wheel and vehicle spec. | Size, width, load rating, speed rating, or valve setup is uncertain. |
| Rim condition | Bead seat is clean, smooth, and free of cracks or bends. | Rim is cracked, bent, heavily corroded, welded, or pitted at the bead seat. |
| Tire condition | No bead tears, bulges, exposed cords, punctures, or sidewall cracking. | Tire has sidewall damage, torn bead rubber, exposed cords, or repeated air loss. |
| Inflation control | You have a gauge, controlled air source, and a way to stand clear while inflating. | You need excessive pressure, heat, flame, ether, or force to seat the bead. |
Start by checking the fit, tools, and work area. Confirm the tire size on the sidewall matches the rim diameter and vehicle requirements. Check the width, load rating, speed rating, and valve type before you mount anything.
Inspect the rim condition for bends, cracks, sharp burrs, rust, and corrosion. A damaged rim can stop the bead from seating and may leak air under load. Clear a flat, well-lit workspace before you remove the old tire.
- Use tire irons, a manual tire changer, and a dead-blow hammer instead of screwdrivers.
- Keep tire soap or a light soapy water mix ready for bead lubrication.
- Stop if the tire, tube, valve stem, or rim shows damage you can’t safely repair.
What You’ll Need Before You Start
Set out every tool before you break the bead. Missing tools can make you rush, and rushed tire work can damage the tire or injure you.
- Tire irons with smooth, rounded edges
- Manual tire changer or bead breaker
- Schrader valve core removal tool
- Nonflammable tire soap or a light soapy water mix
- Dead-blow hammer or large rubber mallet
- Vise Grips or bead clamps with rim protection
- Air source, hand pump, or portable inflator rated for tire use
- Pressure gauge and torque wrench
- Gloves and eye protection
Estimated total time: Plan on 45 to 90 minutes per tire if you work by hand. Stubborn beads, corrosion, or tube repairs can take longer.
Warning: Never exceed the tire sidewall limit, wheel maker limit, or bead-seating limit from the tire/wheel manufacturer while trying to seat a bead. Never use starter fluid, ether, flame, or heat to seat a passenger tire bead.
Safety source note: NHTSA tells drivers to use the tire size and inflation pressure from the owner’s manual or Tire and Loading Information Label, not a guess from the tire sidewall alone. OSHA’s workplace rim-wheel standard does not apply to ordinary automobile tires, but its professional safety rules still reinforce key practices: check tire/wheel compatibility, clean bead surfaces, use rubber lubricant, avoid damaged wheels, and stay out of the inflation trajectory. See NHTSA TireWise and OSHA 1910.177 for the underlying safety references.
[Products Worth Considering]

This VEVOR tire bead breaker uses a slide-hammer impact and wedge tip to separate tire beads from rims quickly and efficiently without damaging hub surfaces. The long handle and sturdy steel construction help reduce user strain while providing reliable, portable tire changing for cars, trucks, and more. Ideal for home mechanics and repair shops handling multiple vehicle tire sizes.
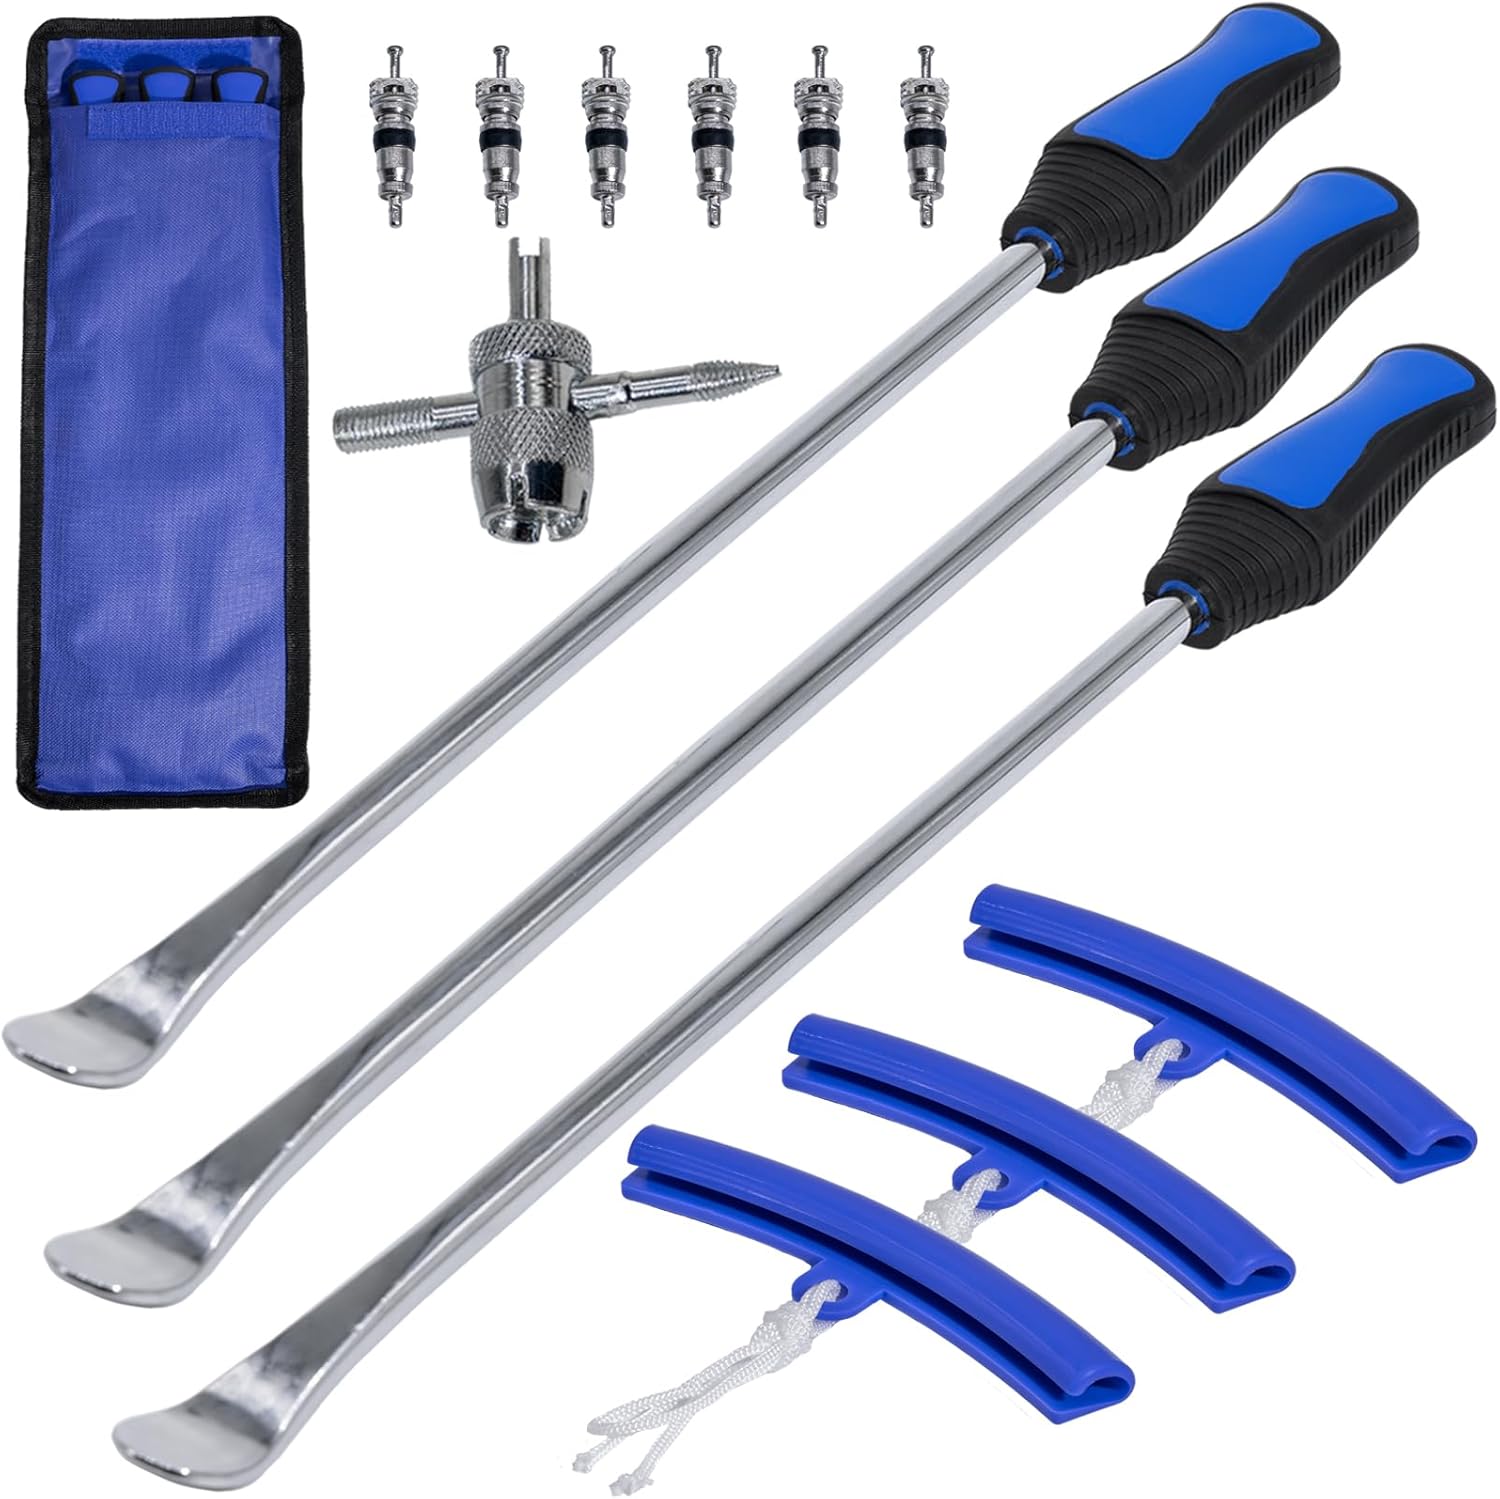
This tire spoon set helps you remove and install motorcycle, dirt bike, lawn tractor, and bicycle tires with extra leverage from a 14.5-inch spoon length. The kit includes tire removal tools, rim protectors, and a valve tool to simplify repairs and help protect rims during changing. Designed for quick, on-the-go service, it’s convenient for garage work, trails, and track-side fixes.

Universal magnetic jack pad with aluminum grooved design to protect vehicle pinch welds during lifting. Durable nylon pad inserts are upgraded and secured with screws to resist damage and keep in place. Designed to fit most single vehicle pinpoint welds for safer, stable jacking when changing tires, repairs, or performing oil changes.
Tool Setup and Workspace Safety (No Shop Machine)
Gather the essential hand tools so you can work securely and control airflow during inflation. Use tire irons instead of screwdrivers, because screwdrivers can cut the bead, scratch the rim, or puncture a tube. Keep a Schrader valve removal tool nearby so you can remove the valve core when you need controlled deflation or faster initial airflow.
Keep a large rubber mallet or dead-blow hammer and a sturdy work surface nearby. These tools help you guide stubborn beads without striking the rim with metal. Mix tire soap or soapy water as a lubricant so the bead can slide over the rim with less force.
[Products Worth Considering]

EVOULTES heavy duty tire inflator with an integrated gauge delivers accurate pressure readings from 10–120 PSI, helping you inflate, deflate, and check tires in one tool. The 16.5-inch extended dual-head air chuck with swivel base reaches hard-to-access dual wheel valves on trucks and RVs. A brass trigger core and side-mounted air release valve make operation smooth, with standard 1/4" NPT threading and quick-connect compatibility for easy setup.

This portable cordless tire inflator delivers up to 160 PSI with fast 17 L/min airflow to help you quickly top up tires and get back on the road. It features dual power mode, running on a 21V rechargeable battery or a 12V DC adapter for convenient roadside use. An automatic shut-off with digital pressure gauge helps prevent overinflation, and a built-in LED light improves visibility in low-light conditions.

Efficient Tire Disassembly and Installation: Our manual tire changer provides a complete set of tools for disassembling and installing tires, allowing you to easily remove the tire rim from the wheel hub, perform replacements, refurbishments, cleanings, and more. Get back on the road quickly and enjoy your driving trip with a new tire. (Note: Not for commercial vehicles.)
Essential Hand Tools
The right hand tools make tire mounting safer and more controlled. Use tire irons with smooth edges, a manual tire changer, a 3 to 4 inch dead-blow hammer, bead clamps, tire lubricant, and a valve core tool. Inspect each tool before you start.
Keep the tire irons clean and free of burrs. Check the manual changer’s clamps and protect the rim finish if needed. Wear gloves and eye protection while you break beads, pry sidewalls, and inflate the tire.
Lubricants and Accessories
The right lubricant helps the bead move over the rim and lowers the risk of tearing rubber or pinching a tube. Use nonflammable tire soap when you have it. A light soapy water mix also works for many home tire jobs.
Use lubricant sparingly. Too much liquid can hide a slow leak or make the bead slip while you work. Keep Vise Grips or bead clamps ready, but protect the rim surface before you clamp anything.
Prepare the Wheel and Tire for Safe Mounting
Before you mount the tire, prepare the wheel and tire to reduce damage and improve sealing. Clean the rim with a wire brush to remove rust, dirt, old rubber, and sealant. Wipe the bead seat so the tire can seal against a smooth surface.
Inspect the tire for cuts, cords, bulges, punctures, bead damage, and sidewall cracks. Confirm the tire and rim sizes match before you apply force. Check the valve stem and replace it if it looks cracked, loose, or worn.
- Clean the rim surface and remove corrosion from the bead seat.
- Confirm tire condition and size before mounting.
- Lubricate the bead and rim with tire soap or a light soapy mix.
- Place the tire bead in the rim’s drop center before you lever it over the edge.
Remove the Old Tire From the Rim, Step by Step
- Deflate the tire fully. Remove the valve cap, then remove the valve core with a Schrader valve tool.
- Break the bead. Use a bead breaker, manual changer, or approved hand method to free both beads from the rim seats.
- Lubricate the bead. Apply tire soap or tire lubricant around the bead so it can slide over the rim.
- Keep the opposite side low. Push the far side of the tire into the rim drop center to create slack.
- Pry in small steps. Insert a tire iron between the bead and rim, then work around the rim in one direction.
- Protect the tube if present. Keep the tube away from the tire iron so you don’t pinch or puncture it.
- Remove the second bead. Use the same slow, controlled method until the tire comes off the rim.
Move slowly and keep your hands clear of pinch points. Stop if resistance feels abnormal, because extra force can bend the rim or tear the bead.
[Products Worth Considering]
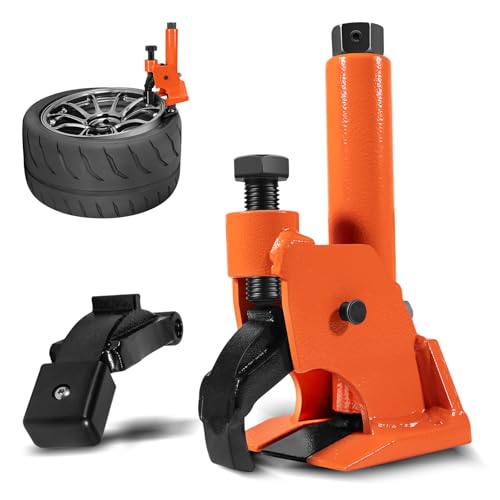
【Heavy-Duty Truck Tire Bead Breaker Tool】Compatible with 38–42 inch heavy-duty tires, this manual truck tire bead breaker tool works on agricultural equipment, farm implements, lawn mowers, ATV/UTV tires, buses, and other large vehicles. Ideal for truck owners, farmers, and fleet maintenance.

✅【Perfect Removal Tool】: It is a essential tool for your tire processing. This tool can easily loosen the tire bead from the rim through leverage without removing the wheel. Featuring an upgraded rubber pad on the front paw to enhance grip and effectively protect the wheel hubs

ALL NEW DESIGN UPDATE - 12/2024 - major improvements over old design.
Position and Lubricate the New Tire Beads
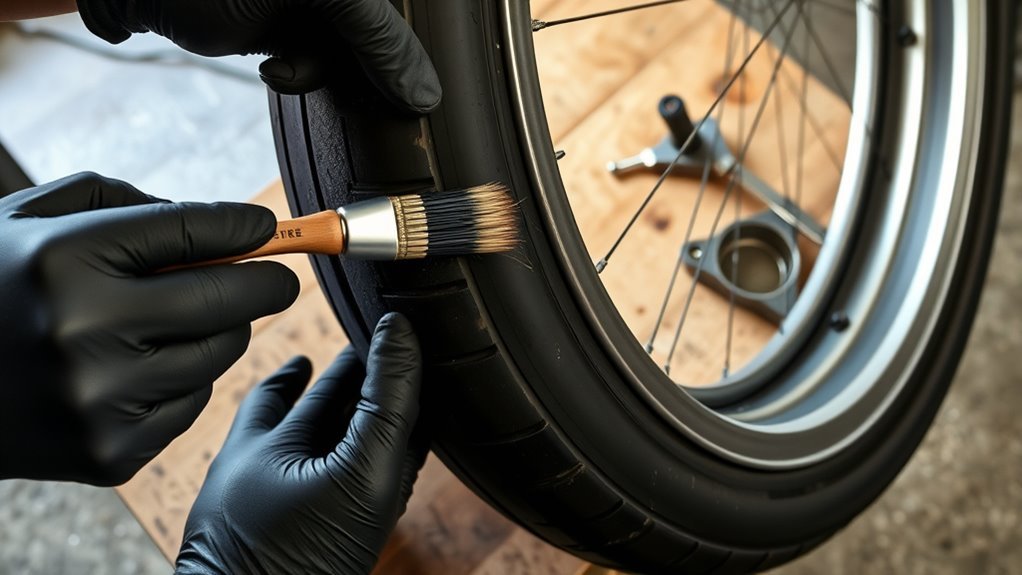
Set the tire upright and align one bead with the rim’s drop center. Keep the bead low in the deepest part of the rim so the opposite side has room to stretch. Apply a thin layer of tire lubricant to the bead and rim.
Good bead alignment makes the tire easier to mount and lowers the chance of damage. Use light pressure and work in small sections. Recheck the bead position often so it does not climb out of the drop center.
- Check bead seating often as you work.
- Push the opposite side toward the drop center to create slack.
- Keep hands and tools clear of pinch points.
Mount the Tire Using Tire Irons (Safe Technique)
- Seat the first bead. Start with one bead in the rim drop center and press it over the rim by hand when possible.
- Anchor the bead. Hold one tire iron steady so the bead does not slip backward.
- Lever the bead in small bites. Place the second iron shallow and flat against the rim flange.
- Work in one direction. Move around the rim a few inches at a time while keeping the far side low.
- Watch the tube. If the tire uses a tube, keep it pulled slightly inward from the bead.
- Check the bead before inflation. Confirm the bead sits evenly around the rim on both sides.
Use more lubricant if the bead drags. Do not force the last section with a long pry motion, because that can tear the bead or pinch the tube.
Proper Tire Iron Placement
Place the first iron at a shallow angle and keep it flat against the rim flange. This gives you steady leverage while reducing the chance of cutting the bead or scratching the rim. Insert the second iron a short distance away and move the bead in controlled steps.
Hold the first tool steady as you advance the second. Keep both irons clear of any inner tube. After each small move, check that the bead still sits in the drop center.
- Use shallow tool angles.
- Support the bead from the opposite side.
- Verify bead seating before inflation.
Preventing Tube Pinches
Most modern passenger tires are tubeless, but some specialty, trailer, motorcycle, lawn, or older wheels may use tubes. If your tire uses a tube, confirm that the tire, rim, and tube are compatible before you mount it.
To prevent tube pinches, keep the tube visible while you work the bead around the rim. Move clockwise or counterclockwise only, and avoid jerky pulls. Keep the tube slightly inflated only enough to hold its shape if that helps it stay clear.
Apply tire soap to the bead for friction reduction. Pause every few inches and check tube position before you continue. If you suspect a pinch, stop, deflate, reseat the tube, and inspect it for damage.
Seat the Bead and Inflate Tubeless Tires Without a Compressor
Fit the tire bead into the rim’s drop center to create as much slack as possible. Apply soapy water to the bead, then check that the valve stem and valve core are accessible. For tubeless tires, remove the valve core briefly if you need faster initial airflow.
A rope or ratchet strap around the tread can help push the beads outward toward the rim. Tighten it only enough to help the bead contact the rim. Release the strap as soon as the bead contacts the rim and before you raise pressure toward the driving PSI.
- Use soapy water for lubrication and leak checks.
- Tighten a rope or strap only enough to help the beads contact the rim.
- Tap evenly around the sidewall with a rubber hammer instead of striking the rim.
- Keep your body out of the sidewall path while air pressure rises.
Inflate slowly to the vehicle or tire maker’s recommended pressure. Watch the bead line on both sidewalls and stop if the bead does not seat evenly.
Pro tip: Mark the valve stem area before inflation so you can track bead movement and spot uneven seating faster.
Common Problems (Bead Slip, Pinched Tube, Inflation) and Quick Fixes
Bead slip, pinched tubes, and stubborn inflation cause most home mounting problems. If you spot bead slip, clamp the bead with protected Vise Grips or bead clamps, then reseat it evenly. Work slowly so the bead stays aligned around the rim.
If you pinch a tube, deflate the tire, pull the bead back, and inspect the tube before you inflate again. For stubborn tubeless inflation, remove the Schrader valve core to increase initial airflow, then reinstall it once the bead seats. If the bead still won’t seat with safe, controlled air pressure, stop and take the wheel to a tire shop.
- Bead slip: Clamp, lubricate lightly, and reseat the bead in small sections.
- Pinched tube: Deflate, free the tube, inspect it, and replace it if damaged.
- Slow leak: Apply soapy water, watch for bubbles, and check the valve stem and bead seat.
- Uneven bead: Deflate, relubricate, push the bead into place, and reinflate slowly.
What Not to Try When the Bead Won’t Seat
Do not use starter fluid, ether, brake cleaner, gasoline, flame, or any explosive method to seat a tire bead. These tricks can damage the tire, deform the wheel, injure you, or leave flammable residue inside the tire.
Do not hammer, weld, heat, or bend a damaged wheel back into shape. Do not keep adding air when the bead line sits unevenly or disappears under the rim edge. Deflate, relubricate, reseat, and stop if the bead still will not seat with safe pressure.
When to Get Professional Help
Some tire jobs do not belong in a home workspace. Use a professional tire shop if the rim has bends, cracks, heavy corrosion, prior weld repairs, or bead-seat damage. You should also stop if the tire has sidewall bulges, exposed cords, bead tears, or repeated leaks.
Low-profile tires, run-flat tires, stiff sidewalls, TPMS-equipped wheels, and larger vehicle tires can need special machines. A shop can also balance the wheel after mounting. Balancing helps reduce vibration and uneven wear after the tire goes back on the vehicle.
Final Safety Checks Before You Drive
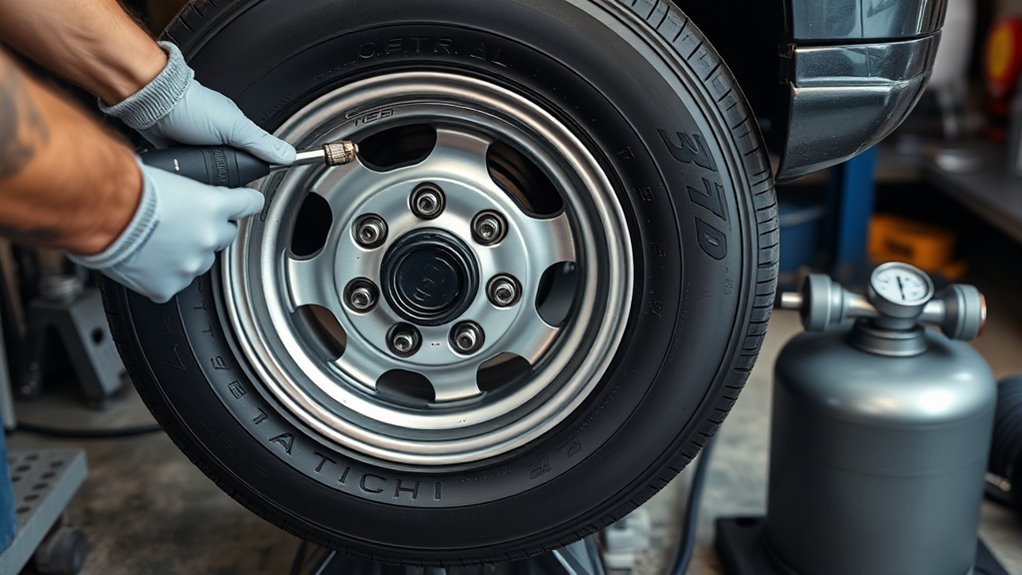
Before you drive, perform a final safety sweep. Confirm the bead sits fully on both sides with no gaps, bulges, or uneven bead lines. Set tire pressure to the manufacturer-recommended PSI from the door-jamb label, owner’s manual, or tire guidance.
Inspect the valve stem for cracks, damage, and leaks. Torque the lug nuts to the vehicle spec with a torque wrench, and use a star pattern. Scan the tread and sidewalls for cuts, bulges, or embedded debris.
- Verify pressure with a calibrated gauge.
- Tighten lug nuts in a star pattern to the vehicle spec.
- Rotate the wheel and recheck the bead, valve stem, and tire surface.
- Check for leaks with soapy water before the first drive.
- Have the mounted tire balanced before normal road use.
Drive slowly at first and listen for vibration, rubbing, or air loss. Recheck tire pressure and lug nut torque after a short test drive if your vehicle manual recommends it.
Frequently Asked Questions
Can You Put a Tire on a Rim by Yourself?
Yes, you can mount a tire on a rim yourself if you have the right tools, a safe workspace, and a compatible tire and rim. Work methodically, use tire lubricant, protect the tube if present, stay clear during inflation, and confirm bead seating before driving.
Can you mount a tire without a tire machine?
You can mount some standard passenger tires without a powered tire machine, but stiff sidewalls, low-profile tires, run-flat tires, and corroded wheels often need shop equipment. If the tire needs excessive force, stop before you damage the bead or rim.
How do you know if the tire bead seated correctly?
Check the bead line molded into the sidewall near the rim. It should sit evenly around the full rim on both sides. If the line dips, bulges, or disappears under the rim edge, deflate and reseat the tire.
Can you use dish soap to mount a tire?
You can use a light soapy water mix when tire soap is not available. Use only a thin layer, because too much soap can make the bead slip or hide a small leak. Use nonflammable rubber lubricant when available.
Is it safe to seat a tire bead with starter fluid?
No. Do not use starter fluid, ether, flame, or any explosive bead-seating method. Use controlled airflow, proper lubricant, correct bead position, and professional help if the bead will not seat safely.
Do you need to balance a tire after mounting it?
Yes, most road tires should be balanced after mounting. An unbalanced wheel can cause vibration, faster tire wear, and extra stress on suspension parts.
What should you do if the tire won’t hold air?
Deflate the tire and check the bead seat, valve stem, rim surface, and tire sidewall. Use soapy water to find bubbles. If the leak continues, take the wheel to a tire shop.
Safety Disclaimer: This article is for informational purposes only and does not replace professional tire service or vehicle repair advice. Always follow your vehicle owner’s manual, tire maker guidance, rim specifications, and tool instructions before you work on a wheel or tire.
Mount the Tire Safely and Know When to Stop
The safest home tire mount starts with fit checks, clean parts, steady tool use, and slow inflation. Take your time with the bead, tube, valve stem, pressure, balance, and lug nut torque. If anything looks damaged or feels unsafe, stop and get professional help. A careful tire job protects your wheel, your vehicle, and everyone on the road.

Related Articles

Are Premium Tires Worth the Extra Money?
Worth the extra money? Premium tires promise more grip, comfort, and longevity—but the real tradeoff may surprise you.
Read More
What Are OE Tires? Original Equipment Explained
Discover what OE tires really mean and why choosing the right replacement could change everything for your car’s ride, handling, and safety.
Read More
305 Tire Size Explained: How Big Is It?
I explain how big a 305 tire really is—and why the exact fit can surprise you.
Read More