
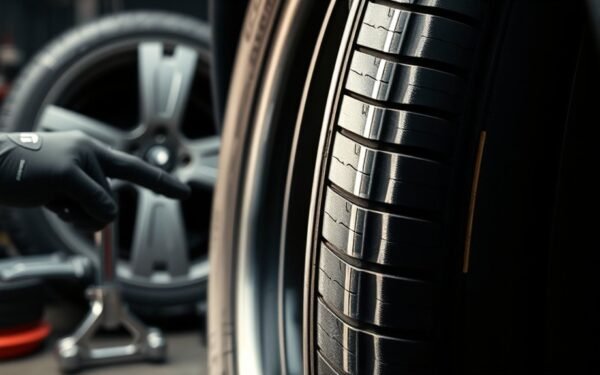
How to Break a Tire Bead Safely: Methods, Tools, and Tips
As an Amazon Associate I earn from qualifying purchases.
You should break a tire bead with controlled, incremental force while the wheel is secured. Wear eye and hand protection and fully deflate the tire first. Choose a method that fits your tire and tools: a bumper jack for gradual force, a C-clamp or large-faced clamp with wood blocks for containment, a loader bucket for heavy-duty rims, or a rim-clamp machine for repeatable work. Improvised techniques like rolling or driving a board over the tire can work if you secure the wheel and monitor deformation. Keep reading for detailed steps, tips, and hazards.
Quick Guide: Break a Tire Bead Safely
Before you try any method, prioritize safety and control. Work on a flat, stable surface. Chock the opposite wheels, wear eye and hand protection, and deflate the tire fully by removing the valve core.
For some setups, you can roll the tire back and forth while the valve stem is removed to rupture the seal. This low-tech approach works well on rigs with good stability, like sidecar outfits. Tubed tires usually separate more easily than stiffer tubeless rims, so expect more effort with tubeless.
You can also use a large C-clamp, a jack lowered onto the tire, or a loader bucket for downward pressure. Apply force slowly and watch bead movement the whole time. If you are unsure, consult experienced community members before starting.
How to Choose a Bead-Breaking Method: Tire Type, Tools & Safety
Now that you know the basics, pick the method that matches your tire type, available tools, and comfort level. Inspect the tire condition and secure the assembly before applying any force.
Choose a bead-breaking method suited to tire type, tools, and risk. Inspect, secure, and proceed cautiously.
- Evaluate tire type: Tubed tires flex more easily. Tubeless tires require controlled force to avoid rim damage.
- Match tools to task: Use available bumper jacks, C-clamps, or hydraulic drawbars. Pick a method you can control precisely.
- Risk controls: Secure the tire to prevent flipping, wear PPE, and avoid techniques that stress damaged casings.
Try your chosen technique cautiously, document what works, and stop if the tire shows unexpected signs of failure.
[Products Worth Considering]

The 5 Gallon Air Tire Bead Seater quickly inflates tire sidewalls to seat the bead onto the rim, works for tires up to 24.5 inches on vehicles ranging from cars to ATVs. Its heavy‑duty all‑steel construction with powder coating ensures durability, while the easy‑to‑read gauge lets you monitor pressure accurately. The long‑reach metal barrel delivers a precise air blast at the perfect angle for efficient bead seating. Ideal for automotive shops and DIY enthusiasts needing reliable tire repair performance.
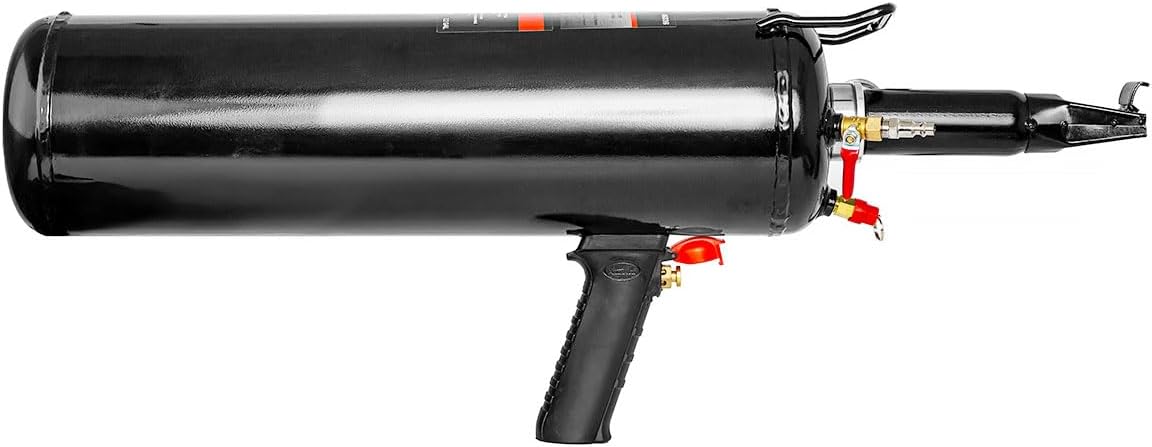
The XtremepowerUS Tire Bead Seater delivers rapid, high‑pressure inflation for a wide range of vehicles, from motorcycles to large tractors, with a 12‑liter capacity and 116 PSI maximum pressure. Its ergonomic, handheld design features a push‑button switch, non‑slip grip, and built‑in piston valve for precise control and easy operation. The durable steel construction and large‑diameter exhaust valve ensure reliable performance and efficient air release, making tire bead seating quick and hassle‑free.

The VACASSO portable tire inflator delivers rapid 36L/min airflow, inflating a standard car tire from 28 to 36 PSI in just 45 seconds. It offers four preset inflation modes, a smart auto‑off feature, and a dual LED display for precise pressure monitoring. Built with overheat protection, a built‑in flashlight, and a USB power bank, it’s ready for roadside emergencies and everyday use.
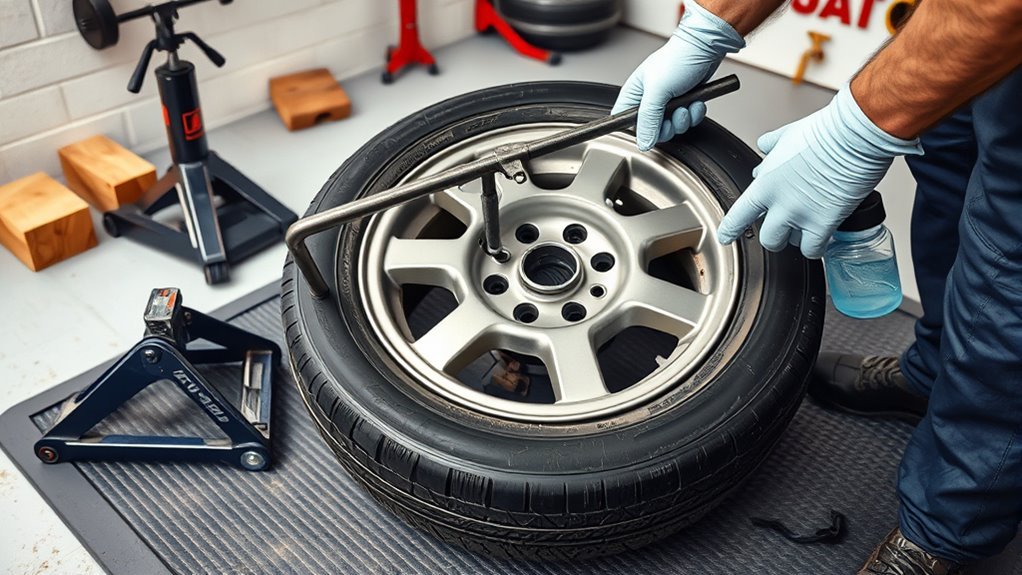
Jack, C-Clamp, Loader & Rim-Clamp Techniques for Bead Breaking
Start by selecting the method that matches your tools, tire type, and workspace. A bumper jack or C-clamp gives controlled, low-cost force for occasional jobs. A loader bucket delivers consistent pressure for large, stiff tires. A rim-clamp tire machine offers repeatable, safer results for frequent use.
Bumper jack: Seat its base against the rim flange and lever gradually, watching bead movement as you go.
C-clamp: Use large clamp faces with wooden blocks to spread the load and prevent rim damage. Tighten slowly and alternate positions around the bead.
Loader bucket: Position the bucket edge squarely on the bead and apply steady downward force.
Rim-clamp machine: This centers and clamps the rim, then pushes the bead off mechanically.
With every method, secure the rim against flipping and wear PPE. Apply force gradually rather than all at once.
[Products Worth Considering]

The LICORNE portable tire inflator delivers rapid, cordless inflation with a built‑in rechargeable battery, offering up to 2 hours of runtime and 5× faster performance than standard pumps. Its digital LCD display, automatic shut‑off, and multiple pressure units ensure precise control for car, bike, motorcycle, and ball inflations. Integrated LED light and USB power output add emergency utility, while the compact design and storage bag make it ideal for travel and home use.

The Joltekon 5000A jump starter combines a powerful 4‑in‑1 roadside solution with a 150 PSI tire inflator, delivering rapid battery boosts, fast tire inflation, device charging, and emergency lighting in one compact unit. Its high‑efficiency 37 Wh battery and V0 fire‑proof construction ensure reliable performance from -4 °F to 140 °F, while the smart display and safety protections keep you in control during any roadside emergency.
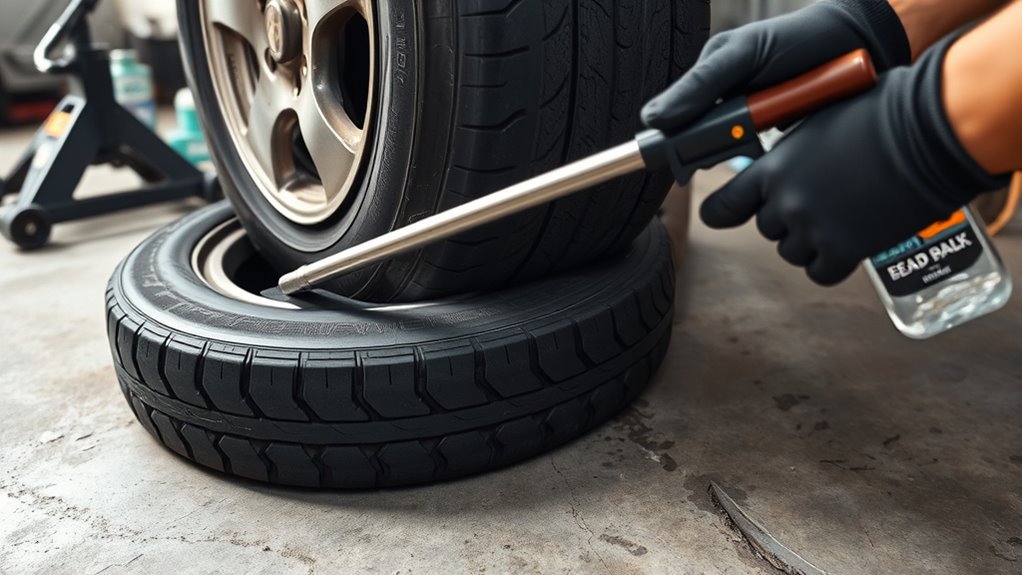
Safe Improvised Bead-Breaking Methods When You Have No Tools
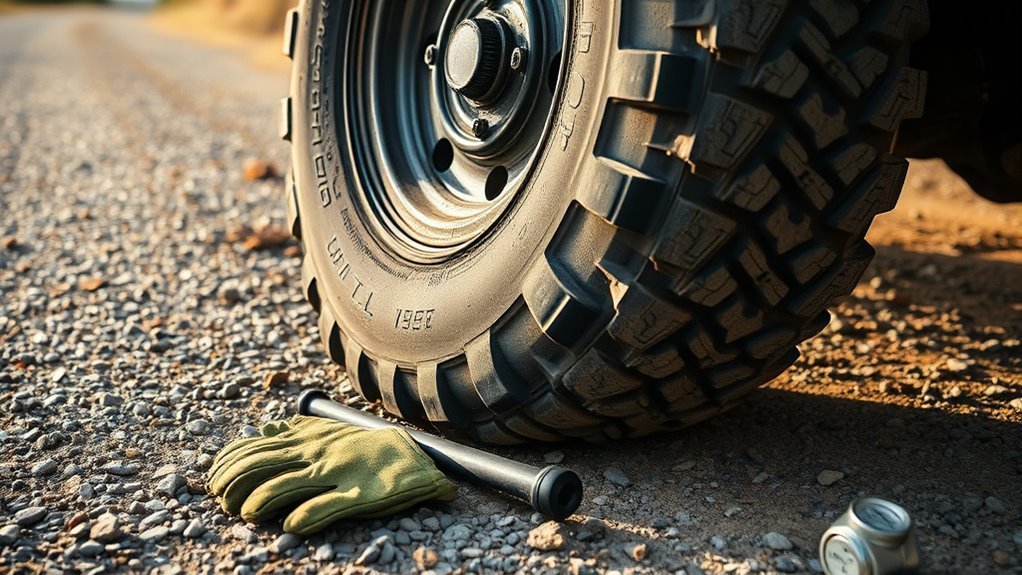
If you lack specialized gear, focus on stabilizing the wheel and controlling force to avoid sudden releases or rim damage. Remove the valve stem to fully deflate the tire, sit the wheel flat, and plan your force points ahead of time. Use steady, incremental actions rather than sudden impacts.
- Roll technique: Roll the tire back and forth while the bead edge is pushed against the rim lip. Repeated motion plus low tire pressure encourages bead separation.
- Board-over-wheel: Place a wide wooden board over the bead area and drive a vehicle slowly onto it. The board spreads the load and limits direct rim contact. Monitor deformation closely.
- Jack or C-clamp substitute: Use a bottle jack or heavy C-clamp with wood blocks to apply slow, centered pressure at the bead until it breaks free.
Use Bead Lubricant to Make the Job Easier
Applying lubricant to the bead area before you start can reduce the force needed and lower the risk of damage. Soapy water, commercial tire mounting paste, or a dedicated bead lubricant all work. Spray or brush it generously around the rim-to-bead contact area on both sides. This reduces friction between the rubber and metal, making separation smoother. Lubricant also helps you spot bead movement more clearly as the seal starts to give way. For stubborn tubeless tires that have been mounted for years, lubricant can make the difference between a clean break and a frustrating struggle.
Watch Out for TPMS Sensors
Most modern vehicles have tire pressure monitoring system (TPMS) sensors mounted inside the wheel, usually near the valve stem. These sensors are fragile and easy to snap off during bead breaking if you apply force too close to them.
Before you start, locate the valve stem and apply your force at least 180 degrees away from it. If you are using a drive-over or board method, position the board on the opposite side of the wheel from the sensor. Once the bead breaks loose in one spot, you can work around the rim more carefully. If you need to access or remove the sensor, break the bead first at a safe distance, then gently pry the tire back near the valve area. For more detail on tire safety practices, the NHTSA offers a helpful guide.
Common Problems When Breaking a Tire Bead: How to Avoid Them
Breaking a bead raises a few predictable hazards you should address before applying force. You can prevent most common failures by maintaining even pressure, especially on stiffer tubeless tires. Secure the tire when using a loader or bottle jack, avoid excessive force on old or compromised tires, and handle valve stem removal carefully. Try different angles with your C-clamp or drive-over setup to find the safest effective method.
| Problem | Consequence |
|---|---|
| Uneven pressure | Bead tears |
| Unsecured tire | Sudden movement |
| Excessive force | Rim or tire damage |
| Valve stem error | Injury or leak |
Control your force, secure the tire, and clear the area before every attempt.
Frequently Asked Questions
How Much Force Does It Take to Break a Tire Bead?
It depends heavily on the tire size, type, and age. Small motorcycle or aircraft tires may need only 250 or more pounds of force. Standard passenger car tires often require several hundred pounds. Larger off-road or truck tires can take 1,000 to 1,800+ pounds at zero pressure. Tires that have been mounted for many years tend to bond more tightly to the rim and need even more force. Use mechanical advantage from jacks, clamps, or dedicated bead breaker tools to generate the force safely, and always secure the rim and wear protection.
Conclusion
You now have safe, reliable ways to break a tire bead. Pick the method that fits your tire, tools, and skill level, and make PPE, correct jack and clamp placement, and gradual force your priorities. Treat the bead like a coiled spring: controlled release prevents injury and rim damage. If you are unsure, stop and get professional help. Following these steps keeps you and your equipment safe while getting the job done efficiently.
Related Articles
How Does Tire Sizing Work? Decoding Every Number & Letter
Know what those tire numbers and letters really mean, and you’ll avoid costly fitment mistakes—until one crucial code changes everything.
Read More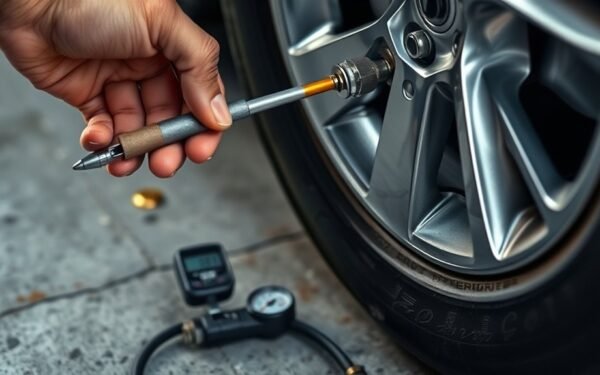
How Does a Tire Gauge Work: Complete Guide, Tips & Expert Advice
Tire gauges reveal your PSI by sealing onto the valve stem, but the real accuracy tricks and expert tips might surprise you.
Read More
How Big Is a 265 Tire? Full Size Breakdown & Dimensions
How big is a 265 tire, really? Discover the full dimensions, hidden differences, and fitment surprises before choosing the wrong size.
Read More