
How to Reseal a Tire Bead: Step-by-Step Fix for Leaking Beads
To reseal a tire bead, first fully deflate the tire and check the leak with soapy water. Break the bead loose, remove the tire, and clean the rim and bead with a wire brush to remove corrosion or debris. Apply tire bead sealer or TireJect at the bead interface, reinstall the valve core, then inflate to the recommended PSI. Drive slowly for a few minutes, then recheck pressure and seepage for a lasting fix.
Key Takeaways
- Fully deflate the tire, check for leaks with soapy water, and inspect the valve stem, bead, and rim corrosion.
- Remove the valve core, then break the bead carefully with a shovel or bead-breaking tool without damaging the rim.
- Clean the rim and tire bead thoroughly with a wire brush or sandpaper, then dry all surfaces before sealing.
- Apply tire bead sealer or sealant at the bead interface, reinstall the valve core, and inflate to the manufacturer’s recommended PSI.
- Drive briefly to spread the sealant, then recheck for seepage and pressure loss; seek professional help if leaks continue.
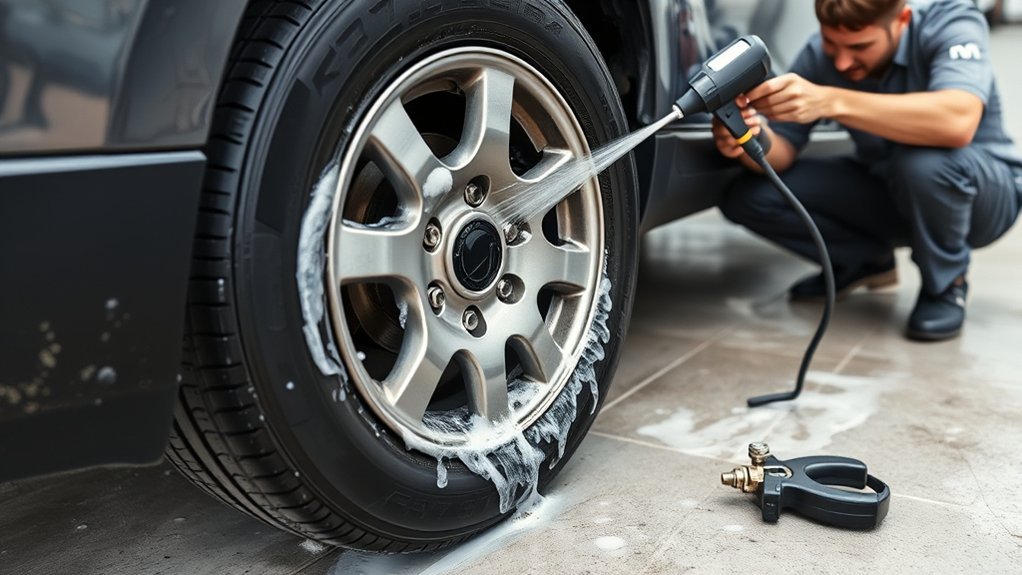
How to Find a Tire Bead Leak?
To find a tire bead leak, start by fully deflating the tire, then spray soapy water over the tread and watch for bubbles that show escaping air. This method lets you locate the leak without guessing. If the tread stays clean, move to the valve stem and the bead where the tire meets the rim. Apply soapy water there and look closely for small bubbles. Those bubbles mark the exact escape point. Before you test, check your tire pressure so you know whether the loss is significant. Keep the tire fully deflated during inspection; partial inflation can hide the leak and distort the result. Also inspect the rim for corrosion, because rust can break the seal and let air out. When you find the bubbling area, you’ve identified the faulty seal and can plan the next repair with confidence and control. Additionally, consider using tires with long tread life and warranties to reduce the frequency of replacements.
Tools and Materials for Resealing a Tire Bead
You’ll need a few basic tools and materials to reseal a tire bead safely and effectively. Gather the core tools and materials for resealing a tire bead: a shovel to break the Tire Bead, a valve stem core removal tool, and an air compressor for reinflation. Keep a tire bead sealer on hand, such as TireJect, or use a suitable alternative sealant like hair spray to bridge the gap between rim and tire. A can of soapy water helps you spot leaks fast by showing bubbles where air escapes. Before you apply any sealant, wipe the rim and Tire Bead area with a clean cloth so the surface bonds properly. Wear gloves and goggles to protect yourself from sealant splash, sharp edges, and grime. With the right gear ready, you can work efficiently, reclaim control, and get the tire holding air again. Additionally, having a comprehensive tire plug kit ensures you’re prepared for punctures during your repairs.
How to Deflate the Tire Safely
Put on safety goggles and gloves, then remove the valve stem core with the tool from your TireJect kit to let the air out gradually. To deflate the tire safely, keep a firm grip on the core and turn it slowly so you don’t drop it. Let the pressure bleed off in a controlled stream instead of forcing a fast release. If you need more control, press the core with the tool in short intervals.
- Watch the airflow and pause if it starts venting too quickly.
- Keep the core in a clean pocket or tray so it doesn’t vanish.
- Confirm the tire is fully flat before moving on.
You’re not surrendering to the leak; you’re taking command of the setup. Once the sidewall no longer flexes and no air remains inside, stop and verify the tire is completely flat. That prepares you for the next repair step without surprises.
Break the Bead Loose From the Rim
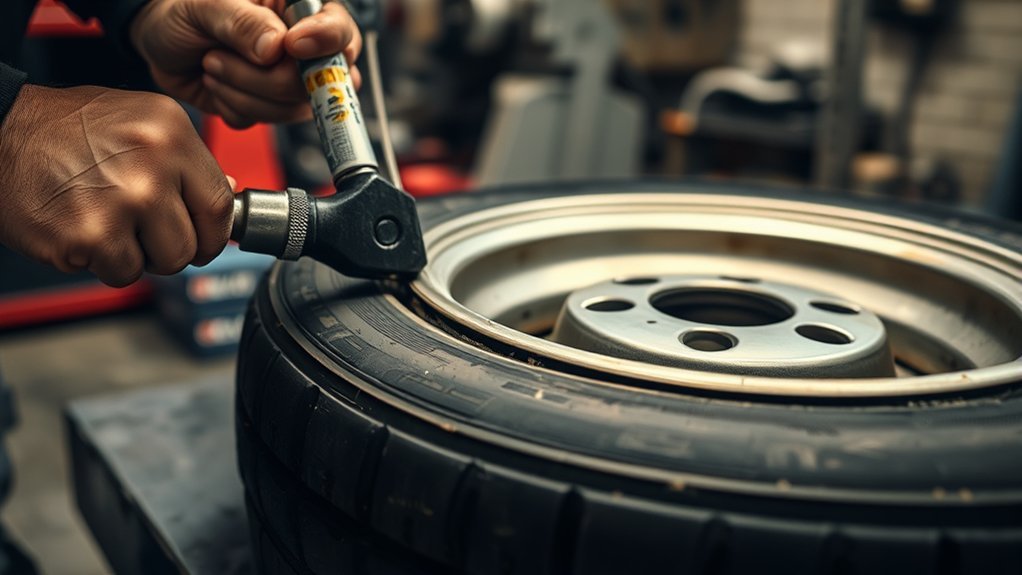
Remove the valve core and make sure the tire’s fully deflated before you start. Then use controlled pressure at the bead with a shovel or similar tool to separate it from the rim without damaging either surface. Once it’s loose, inspect the rim and bead for corrosion, dirt, or damage so you can reseal it properly. Additionally, ensure that the tire is suitable for your vehicle’s load rating to prevent further issues during the resealing process.
Deflate the Tire Fully
Fully deflate the tire before breaking the bead loose from the rim by unscrewing the valve stem core and releasing all remaining air pressure. When you deflate the tire fully, the sidewall relaxes, and you can work the bead free with control. Remove the Valve Stem core, then confirm no hiss remains.
- Check the rim edge for corrosion or dents.
- Clean off dirt, rust, and debris that could block resealing.
- Position a shovel against the sidewall and prepare to apply force.
Once the tire is flat, you can use the shovel to press the bead loose from the rim. Stomp firmly on the handle to generate enough leverage without specialized equipment. Inspect both surfaces after separation so you’re ready for a clean, reliable reseal.
Break the Bead Safely
With the tire fully deflated and the valve stem core removed, use a shovel or similar tool to press at the tire’s edge and start separating the bead from the rim. Position the blade close to the bead, then apply controlled force until the rubber gives way. To break the bead safely, work methodically around the circumference, shifting the tool and using your body weight as needed. You’re not prying blindly; you’re freeing a locked interface with steady leverage. If the bead resists, stomp on the handle or reset your angle and try again. Keep pressure even so you don’t twist the tire or slip the tool. Once the bead releases, repeat on the other side and keep moving with purpose.
Inspect Rim And Bead
Once the bead has broken free, inspect the rim and bead area before you reseal anything. You’ve already done the hard work; now verify the surface that must hold air under pressure. Use this inspect rim and bead step to spot defects that’ll sabotage the seal.
- Check the rim for corrosion, dents, or sharp damage.
- Clean the bead seat and rim edge until they’re free of dirt and debris.
- Confirm the tire bead isn’t torn, hardened, or warped.
If you see rust or pitting, address it before inflating. A shovel can break the bead, but a clean, intact mating surface keeps it sealed. Remove the valve stem core if you haven’t already, then continue only when both parts look smooth and ready. This inspection helps you stay independent from repeat leaks and weak repairs.
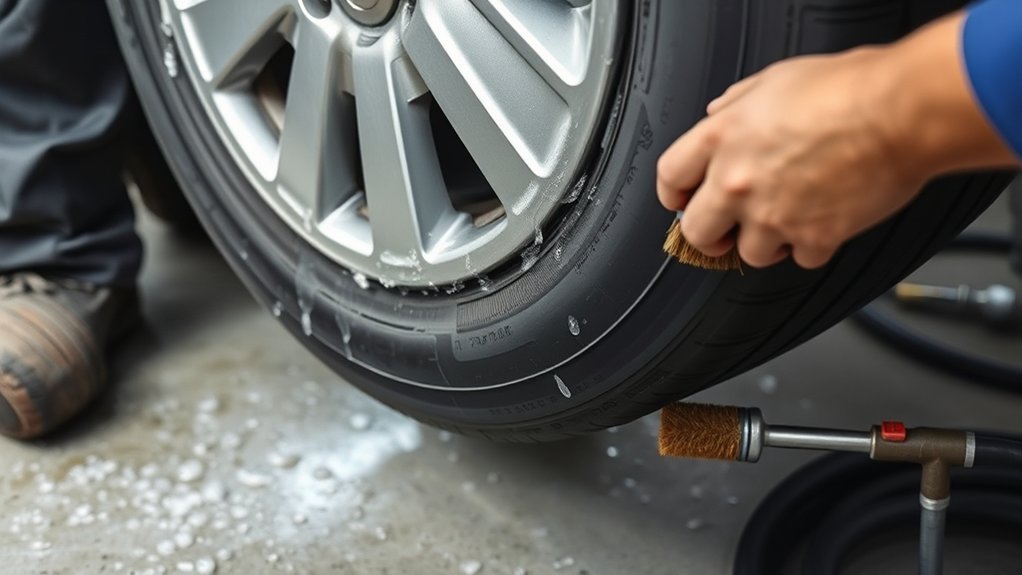
Clean the Rim and Tire Bead
Remove the tire so you can clean the rim and tire bead thoroughly. Use a wire brush or sandpaper to remove corrosion and debris from both surfaces, then wipe away dust and grease with a clean cloth. Inspect for sharp edges, smooth any rough spots, and make sure everything’s dry before you apply sealant. Ensuring a clean surface is crucial for optimal tire adhesion to prevent future leaks.
Remove Corrosion
Inspect the rim for visible corrosion or rust, since either can keep the tire bead from sealing properly. To remove corrosion, use a wire brush or fine sandpaper and work only on the affected spots. Keep your pressure light so you don’t scar the rim lip or distort the sealing surface. Then clean the tire bead area with degreaser or soapy water to strip away dirt and film that can block contact.
- Brush off loose rust
- Wipe away residue
- Rinse and dry both surfaces fully
After cleaning, rinse the rim and bead thoroughly, then let every surface dry completely before resealing. You’ll restore a cleaner interface, reduce leak points, and extend tire life through regular inspection and maintenance.
Prep Bead Surface
Scrub the rim and tire bead area with a wire brush to clear away corrosion, dirt, debris, and any old sealant that could block a tight seal. Then inspect the rim and bead closely for cuts, bends, or wear that could weaken the bond. Use soapy water to wet the bead and look for bubbles before you finish the prep bead surface; this shows you where leaks persist. Keep brushing until the metal and rubber are clean and residue-free. Wipe the area dry with a lint-free cloth, then let it air-dry completely so sealant can adhere properly. A clean, dry bead gives you control over the repair and helps you reclaim a reliable seal without wasted effort or guesswork.
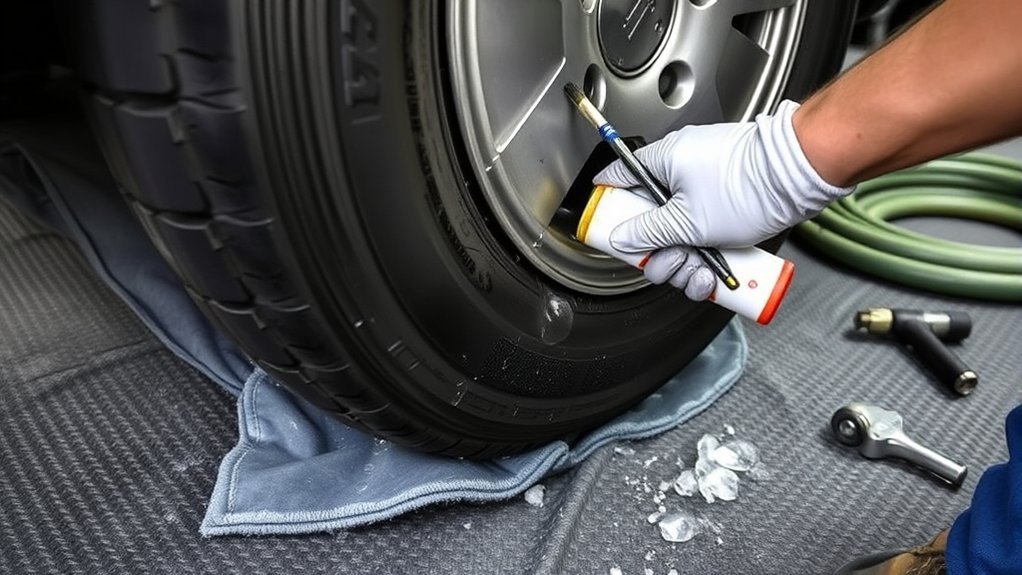
Apply TireJect Sealant to the Tire Bead
With the tire fully deflated and the bead leak confirmed with soapy water, use the supplied 2 oz injector and small hose to add 4 oz of TireJect sealant into the tire. This tire repair step targets the bead interface directly, so you’re not wasting product. Keep the injector steady and feed the sealant slowly to avoid backflow. Once the full dose is in, remove the hose, then reinstall and tighten the valve stem core securely to lock the system.
With the tire fully deflated, slowly inject 4 oz of TireJect sealant at the bead, then tighten the core securely.
- Confirm the leak sits at the bead, not the tread.
- Meter in exactly 4 oz for consistent coverage.
- Tighten the core fully before you move on.
You’re now setting up a controlled seal that supports long-term mobility and freedom from repeat air loss. Don’t rush or improvise; precise delivery matters here. Additionally, ensure that you have a tubeless tire repair kit on hand for any unexpected punctures during your travels.
Inflate the Tire to the Right PSI
Once the sealant is in place and the valve core is tightened, inflate the tire to the manufacturer’s recommended PSI using the vehicle manual or the tire sidewall as your guide. Use an air compressor or manual pump, and add air gradually so you don’t overinflate. This step helps you inflate the tire to the right psi and restore stable bead contact. Ensuring proper tire inflation is crucial for maximizing tread life and performance.
| Tool | Use | Tip |
|---|---|---|
| Manual | Find PSI spec | Check door placard too |
| Gauge | Verify pressure | Read after each fill |
| Compressor | Add air | Stop near target PSI |
Work in short bursts, then recheck with a reliable gauge until you hit the target. Precision matters because correct pressure supports handling, wear, and sealing performance. Once set, keep your gauge handy and inspect pressure monthly and before long trips. You’re not guessing; you’re taking control with accurate inflation and disciplined measurement.
Drive and Recheck the Tire Bead Leak
Take the vehicle for a short drive at low speed for about 5 minutes so the sealant can spread evenly around the tire bead and help close the leak. Keep the motion smooth; this lets the bead seat and gives the sealant a chance to work without excess heat or stress. After the drive, park on level ground and inspect the tire bead area for seepage.
- Check the tire pressure the next day.
- Listen for unusual sounds or vibrations.
- Reinspect for wear or corrosion around the bead.
If the tire still loses air, add 2 oz more sealant, especially on larger tires, then repeat the low-speed drive. When you check the tire again, confirm it’s holding pressure steadily. Regular follow-up keeps your setup reliable and lets you maintain freedom of movement without wasted time or avoidable roadside trouble. Additionally, consider the recommended tire types for your vehicle’s specific needs, as this can influence overall performance and longevity.
When to Call a Tire Pro
If the tire still leaks after a few resealing attempts, it’s time to call a tire pro. Persistent air loss usually means you’ve got more than a bead issue, and more DIY steps won’t fix it. A tire pro can inspect the rim for corrosion, bends, or damage that blocks a proper seal. They’ll also check for bulges, cuts, or deformities in the tire, because those defects can fail under load. If you’ve already repaired the tire multiple times, or the tread is close to worn out, ask about replacement options instead of chasing another temporary fix. Internal damage and sidewall leaks need experienced hands, since patching the wrong area can make the tire unsafe. Bringing it to a tire pro protects your time, your vehicle, and your freedom to drive without doubt. Don’t gamble on a compromised tire when a skilled inspection can give you a clear, reliable path forward. Additionally, being aware of treadwear ratings is crucial in determining if a tire is still safe for use.
Frequently Asked Questions
How Do You Seal a Tire Bead Leak?
You seal a tire bead leak by finding the leak with soapy water, then fully deflating the tire and removing the valve core. Next, inject a bead sealer through the valve stem, or use hair spray if needed. Reinstall the core, inflate to spec, and drive slowly for five minutes. Check pressure tomorrow and add more sealant if needed. This Tire Maintenance keeps you moving with control and independence.
Can You Fix a Bead Leak Without Removing a Tire?
Yes, you can fix a bead leak without removing the tire. You’ll deflate it, find the leak with soapy water, then apply a tire bead sealer or a light mist of hair spray at the rim interface. Inflate to spec, then drive slowly so the sealant spreads. This Bead Maintenance method keeps you rolling free, saves labor, and preserves the mounted assembly while you restore a proper seal.
Can You Use WD-40 to Seal a Tire Bead?
No—you shouldn’t use WD-40 to seal a tire bead. It’s a temporary helper, not a true sealant alternative for this job, and it won’t hold air reliably. You might ease mounting, but you’ll also invite chemical mischief that can harm rubber over time. Use a dedicated tire bead sealer or a safer Sealant Alternatives product instead, then recheck pressure to keep your setup free and dependable.
What Can I Use as a Tire Bead Sealer?
You can use a dedicated tire bead sealer, which gives you the most reliable bond. If you don’t have that, you can try Sealing Alternatives like hair spray or a dish soap and water mix for a temporary fix. Clean and dry the bead and rim first, then apply the product evenly. Inflate the tire, let it seat, and test drive to confirm the seal.
Conclusion
To reseal a leaking tire bead, you first verify the leak, then safely deflate the tire, break the bead, clean the rim and bead surfaces, apply TireJect sealant, and reinflate to the correct PSI. After that, drive a short distance and recheck for pressure loss. If the leak persists, or you see rim damage, corrosion, or sidewall damage, you’ll need a tire professional. This process gives you a clear, practical fix path.
Related Articles
How to Get Tire Marks Off a Driveway: Effective Cleaning Tips
A simple method can erase stubborn tire marks from your driveway, but the best results depend on one surprising step.
Read More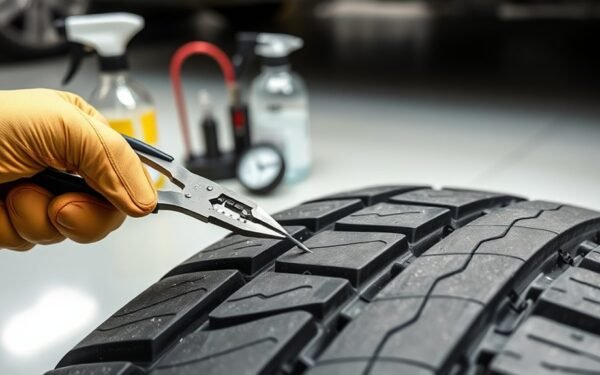
How to Get a Nail Out of a Tire: Safe Removal Steps
Stop wondering what to do next—learn the safest nail removal steps before a tiny puncture turns into a costly tire disaster.
Read More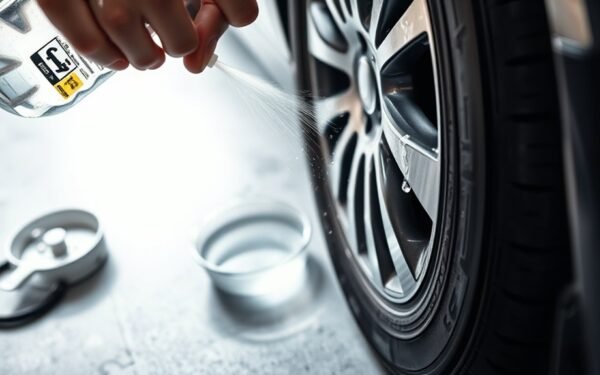
How to Check a Tire for Leaks: 3 Easy Methods at Home
Now learn three simple at-home leak tests to spot hidden tire problems fast before a small issue leaves you stranded.
Read More