
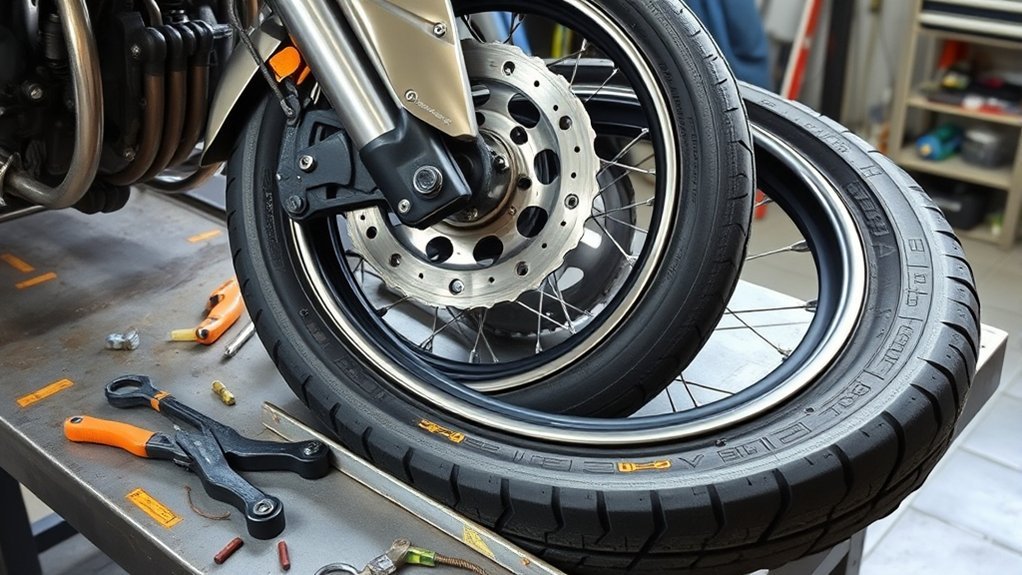
Dismounting a motorcycle tire is a hands-on job that rewards patience more than strength. The safest approach is simple: support the bike, remove the wheel, remove the valve core, break both beads, use lubricant, keep the bead in the rim’s drop center, and inspect everything before the tire goes back on.
This guide walks you through the process for tube and tubeless motorcycle tires. It also shows when to stop and use a motorcycle shop, especially if you find rim damage, a torn bead, a leaking valve stem, or you are not sure how to reinstall the wheel to factory torque specs.
Quick Answer
To dismount a motorcycle tire, remove the wheel, pull the valve core so the tire is fully flat, break both beads, lubricate the bead area, then use tire spoons to lift one bead and the second bead over the rim. Work slowly, protect the rim, and inspect the wheel before reinstalling a tire.
Key Takeaways
- Always remove the valve core and confirm the tire is completely deflated before breaking the bead or prying.
- Use tire spoons, rim protectors, and tire lube instead of screwdrivers or sharp pry bars.
- Keep the opposite side of the bead pushed into the rim’s drop center to reduce force.
- Tube-type wheels need extra care around the tube, valve stem, rim strip, and rim lock.
- Stop if you find cracks, dents, corrosion, a torn bead, a leaking valve stem, or damaged spoke hardware.
At a Glance
| Time Required | 45 to 90 minutes for the tire removal, longer if the bead is stuck or the wheel has a tube and rim lock. |
| Difficulty | Moderate. Hard beads, stiff sidewalls, low-profile sport tires, and spoke wheels make the job harder. |
| Tools Needed | Motorcycle stand or jack, socket set, valve core remover, bead breaker, tire spoons, rim protectors, tire lube, gloves, eye protection, and a torque wrench for reassembly. |
| Cost | About $30 to $150 if you already have a stand. More if you need a bead breaker, tire stand, or torque wrench. |
Warning: Never break the bead or pry on a motorcycle tire while it is pressurized. Remove the valve core first and confirm the tire is fully flat. If the wheel has cracks, dents, heavy corrosion, a damaged bead seat, a torn tire bead, or a leaking valve stem, stop and have a qualified motorcycle tire shop inspect it.
Prepare Your Work Area and Tools
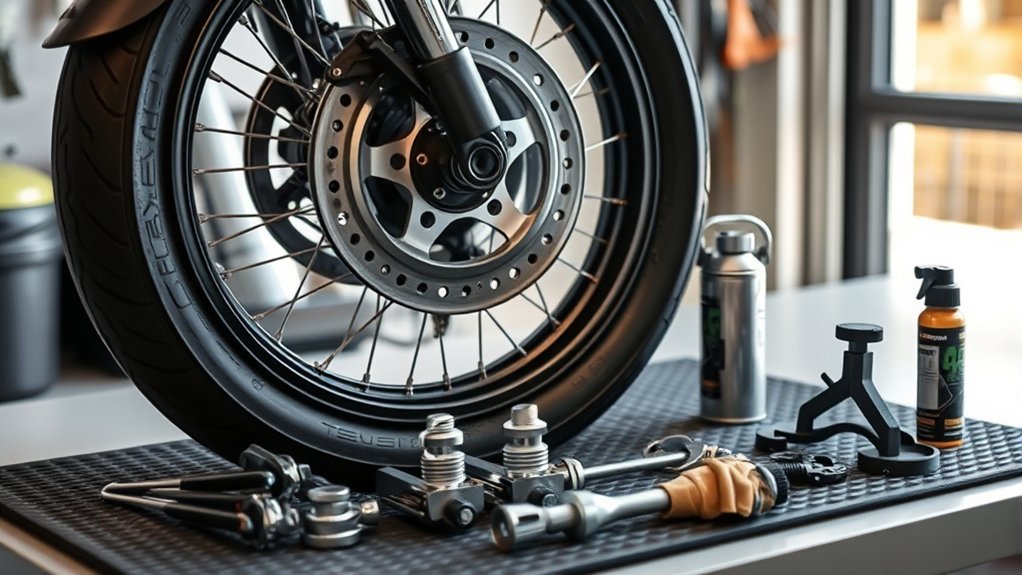
Start with a clean, level work area. You need enough room to lay the wheel flat without resting weight on the brake rotor, sprocket, ABS tone ring, or valve stem. Wear gloves and eye protection, and keep small parts in order as they come off the bike.
Gather these tools before you start:
- Motorcycle center stand, paddock stand, lift, or jack rated for your bike
- Socket set and wrenches for the axle nut, pinch bolts, brake caliper bolts, and chain adjusters
- Torque wrench for reinstalling the wheel to the motorcycle manufacturer’s specs
- Valve core remover
- Bead breaker, C-clamp style bead tool, or motorcycle tire changing stand
- Tire spoons or strong steel spoons
- Rim protectors for painted, polished, anodized, or aluminum rims
- Tire lube or mild soapy water
- Shop towels, soft brush, and mild soap for cleaning the rim
- New tube, rim strip, valve stem, or valve core if inspection shows wear
Pro Tip: Before you remove the wheel, take photos of axle spacers, brake caliper brackets, chain adjuster marks, rim locks, and washer order. Photos make reassembly much easier.
[Products Worth Considering]

This VEVOR tire bead breaker uses a slide-hammer impact and wedge tip to separate tire beads from rims quickly and efficiently without damaging hub surfaces. The long handle and sturdy steel construction help reduce user strain while providing reliable, portable tire changing for cars, trucks, and more. Ideal for home mechanics and repair shops handling multiple vehicle tire sizes.

This Dr.Roc tire valve stem puller tools set helps install or remove snap-in tubeless valve stems safely and efficiently. It includes ozone-resistant EPDM snap-in valve stems, a valve stem installer, and a valve core remover for quick core removal or installation during tire service. Designed for reliable tubeless tire repair on motorcycles, ATVs, lawn equipment, cars, and trucks.

Malco tire mounting and demounting lubricant is a ready-to-use tire lube formulated to reduce friction during tire installation for passenger cars, light trucks, farm tires, and heavy-duty equipment. It provides rust-inhibiting protection to help reduce corrosion on rims and wheels, and helps support proper tire bead seating during inflation to reduce air leakage. The silicone-free, soap-free formula is whitewall safe to help prevent discoloration on whitewall tires and sensitive sidewall markings.
Lift the Motorcycle and Remove the Wheel
Secure the motorcycle before loosening anything. Use a center stand, paddock stand, lift, or jack that fits your bike. The motorcycle must sit stable enough that it will not tip when the wheel is removed.
- Loosen the axle nut while the tire is still touching the ground, if your service manual allows it.
- Raise the bike only high enough to unload the wheel and create clearance.
- Remove brake calipers, ABS sensor brackets, chain guards, or speed sensors only if they block wheel removal.
- Support any brake caliper with a strap or wire so it does not hang from the brake hose.
- Slide the axle out while tracking spacers, washers, adjuster blocks, and caliper brackets.
- Roll the wheel free from the forks or swingarm.
Do not squeeze the brake lever after a caliper is removed. The brake pads can close and make reassembly harder. If your motorcycle has ABS, a fragile tone ring, or a wheel-speed sensor, keep tools away from those parts.
Deflate the Motorcycle Tire Fully
Set the wheel flat on blocks, a tire stand, or a clean mat. Keep the brake rotor off the floor. Remove the valve cap, then use a valve core remover to remove the valve core. Air should escape quickly at first, then slow to a faint hiss.
Wait until no air is coming out. Press the sidewall by hand to confirm the tire is soft all the way around. If it is a tube-type tire, loosen the valve stem nut, but do not pull the stem hard. If the wheel has a rim lock, loosen the rim-lock nut until the rim lock can move, but leave the nut threaded on a few turns so small parts do not get lost.
The OSHA rim-wheel servicing standard requires complete deflation by valve-core removal before demounting in covered workplace tire service. For a home motorcycle tire job, the same safety habit is worth following: valve core out first, bead work second.
Break the Bead on Both Sides
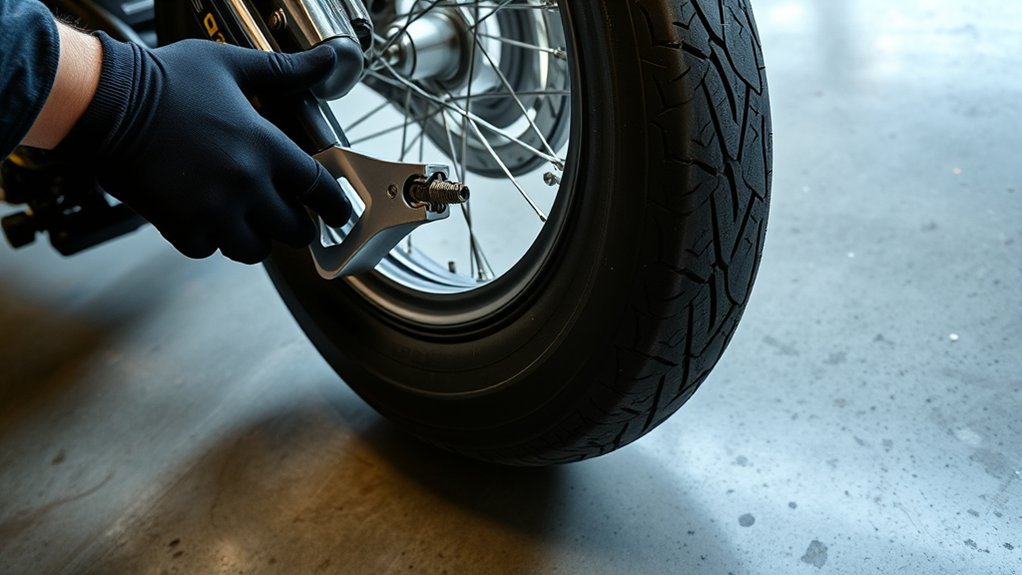
The bead is the stiff inner edge of the tire that seals against the rim. To remove the tire, you must push that bead away from the rim shoulder on both sides.
- Brush dirt away from the bead and rim edge.
- Apply tire lube or mild soapy water around the bead.
- Place the bead breaker close to the rim, not in the middle of the sidewall.
- Apply steady pressure until the bead drops inward.
- Rotate the wheel and repeat around the tire until the bead is free.
- Flip the wheel and break the bead on the other side.
Do not shock the bead loose with hammer blows. Do not use heat. Do not pry against the brake rotor, sprocket, or ABS ring. If the bead will not move, add more tire lube, reposition the bead breaker, and work in smaller sections.
Note: Stiff sport-touring tires, old tires, and tires that have been mounted for years can grip the rim hard. More lubricant and better bead-breaker placement usually work better than more force.
[Products Worth Considering]

This 15-inch tire spoons kit makes tire removal and installation easier with added leverage, reducing time and effort for everyday repairs. It includes tire spoons, rim protectors, a valve tool, and valve cores/caps, helping protect rims and streamline deflation and re-sealing. Built with durable hardened steel and a non-slip ergonomic grip for confident use on motorcycles, dirt bikes, ATVs, and lawn equipment.

This professional wheel and rim cleaning brush set lifts brake dust, grime, and dirt with soft, scratch-free microfiber and synthetic wool fibers. The rim brush bends up to 360 degrees for easy access to hard-to-reach areas around spokes, lips, and faces. Ideal for thorough cleaning of car, truck, motorcycle, bicycle, RV, and more wheel and tire surfaces.

This 20-piece tire changer kit makes motorcycle and bike tire repairs easier with extended 14.5-inch spoons for leverage and access. Built from CrV steel with a corrosion-resistant chrome finish, it helps resist bending while protecting rims and tubes using smooth rounded spoons and included rim protectors. The all-in-one set includes valve removal and accessory tools for faster tire changes across motorcycles, bicycles, ATVs, and lawn equipment.
Use the Drop Center Before Prying
The drop center is the lower channel in the middle of the rim. It gives the tire bead extra slack. If one side of the bead stays up on the rim shoulder, the opposite side will feel almost impossible to lever over the rim.
Before you use tire spoons, push the bead opposite your working area down into the drop center. Hold it there with your knees, a bead buddy, or a helper. This one step reduces tool force and lowers the chance of scratching the rim or tearing the bead.
Pry the First Bead Off the Rim
Install rim protectors where the tire spoons will touch the rim. Insert the first spoon under the bead and lift a small section over the rim. Keep that spoon in place, then insert a second spoon a few inches away. Work in small bites around the tire.
Use steady pressure. If the tire fights you, stop and check two things: the opposite bead must be in the drop center, and the working bead must be wet with tire lube. Forcing a dry bead can scratch the rim, bend a spoon, pinch a tube, or tear the tire bead.
- Start near the valve stem on tube-type tires, but avoid levering directly against the stem.
- Use small spoon movements instead of large bends.
- Keep rim protectors under the tool contact points.
- Add lubricant as the bead comes over the rim.
- Move around the tire until the first bead is fully outside the rim.
Remove the Tube and Second Bead
If the tire uses a tube, push the valve stem through the rim, then pull the tube out gently. Do not yank it. A tube can snag on a rim lock, spoke nipple, or rough rim strip. If you plan to reuse the tube in an emergency, inflate it slightly and check for cuts, pinches, cracking, or valve-stem damage.
Most tube-type motorcycle tire work is a good time to install a new tube. Reused tubes can fail from hidden pinch marks or aged rubber. Also inspect the rim strip. It should cover spoke nipples fully and sit flat without tears, shifting, or hardened edges.
For the second bead, stand the wheel upright or keep it flat on a protected surface. Push the remaining bead into the drop center, lubricate it, then work the bead over the rim with spoons. Some tires let the second bead push off by hand once the first bead and tube are out.
If the tire is tubeless, inspect the valve stem after the tire is off. A cracked rubber stem, loose metal stem, or damaged sealing washer should be replaced before the tire is mounted again. A tubeless tire repair kit can help with some roadside punctures, but it does not fix rim damage, bead damage, or a bad valve stem.
Clean and Inspect the Rim
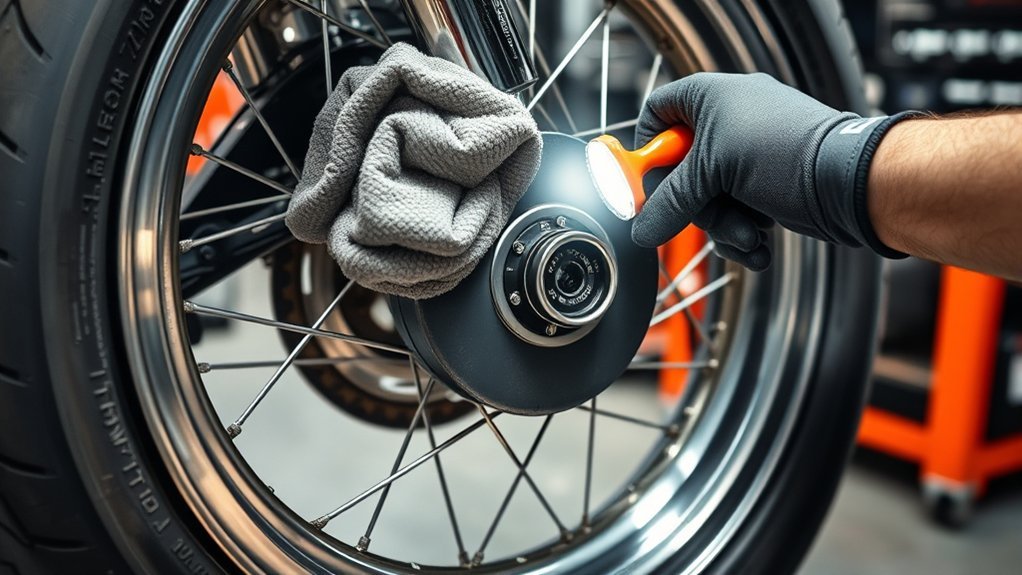
With the tire removed, clean the rim before you install another tire. Use a soft brush, mild soap, and water to remove dirt, dried lubricant, rubber residue, and corrosion from the bead seating area. Dry the rim completely.
Inspect these areas closely:
- Bead seat: Look for dents, gouges, corrosion, cracks, and old rubber buildup.
- Rim edge: Check for bends, sharp spots, and tool marks that could cut the bead.
- Valve stem hole: Look for cracks, rust, burrs, or an oval-shaped hole.
- Spokes: Check for loose, bent, broken, or missing spokes.
- Rim strip: On spoke wheels, confirm the strip covers spoke nipples and is not torn.
- Rim lock: Check for cracks, rounded hardware, and rubber damage.
- TPMS sensor: If equipped, inspect for cracks, loose mounting, or damaged seals.
The Motorcycle Safety Foundation T-CLOCS checklist includes tire condition, cold air pressure, tread depth, evenly seated tires, bulges, embedded objects, wheel cracks, dents, spokes, bearings, and seals as tire and wheel inspection points. Use that same mindset before you put the wheel back in service.
Check the Tire and Rim for Damage
Do not reinstall a tire just because you managed to remove it cleanly. Check the old tire if you plan to reuse it, and check the replacement tire before mounting.
Do not reuse or reinstall a tire if you find:
- Cracks in the sidewall or tread
- Bulges, exposed cords, deep cuts, or separated tread
- A torn, kinked, or deformed bead
- Damage from riding while flat or severely underinflated
- Uneven wear that points to suspension, alignment, pressure, or balance issues
- Embedded nails, screws, or debris that created structural damage
Do not reuse the wheel if you find cracks, severe dents, heavy corrosion, damaged spoke seats, a distorted bead seat, or a leaking valve-stem area. A motorcycle tire depends on a clean, compatible wheel to seat correctly and hold pressure. The NHTSA TireWise guidance also stresses tire pressure, tread, and tire condition as core tire-safety checks.
Warning: If you are unsure whether a wheel, tire, valve stem, rim lock, spoke, bearing, or TPMS part is safe, do not guess. Have a motorcycle tire shop inspect it before the wheel goes back on the bike.
What to Do If the Bead Will Not Break
A stubborn bead is common on old tires, tubeless rims, and tires that have been exposed to heat, dirt, or corrosion. Do not rush. Use this order instead:
- Confirm the valve core is removed and the tire is fully flat.
- Add more tire lube around the bead.
- Place the bead breaker closer to the rim shoulder.
- Work around the tire in several small sections.
- Flip the wheel and loosen the other side too.
- Let the lubricant sit for a few minutes, then try again.
If the bead still will not move, take the wheel to a shop. Extra force can bend a rim, scar the bead seat, damage a brake rotor, or tear a tire bead.
[Products Worth Considering]
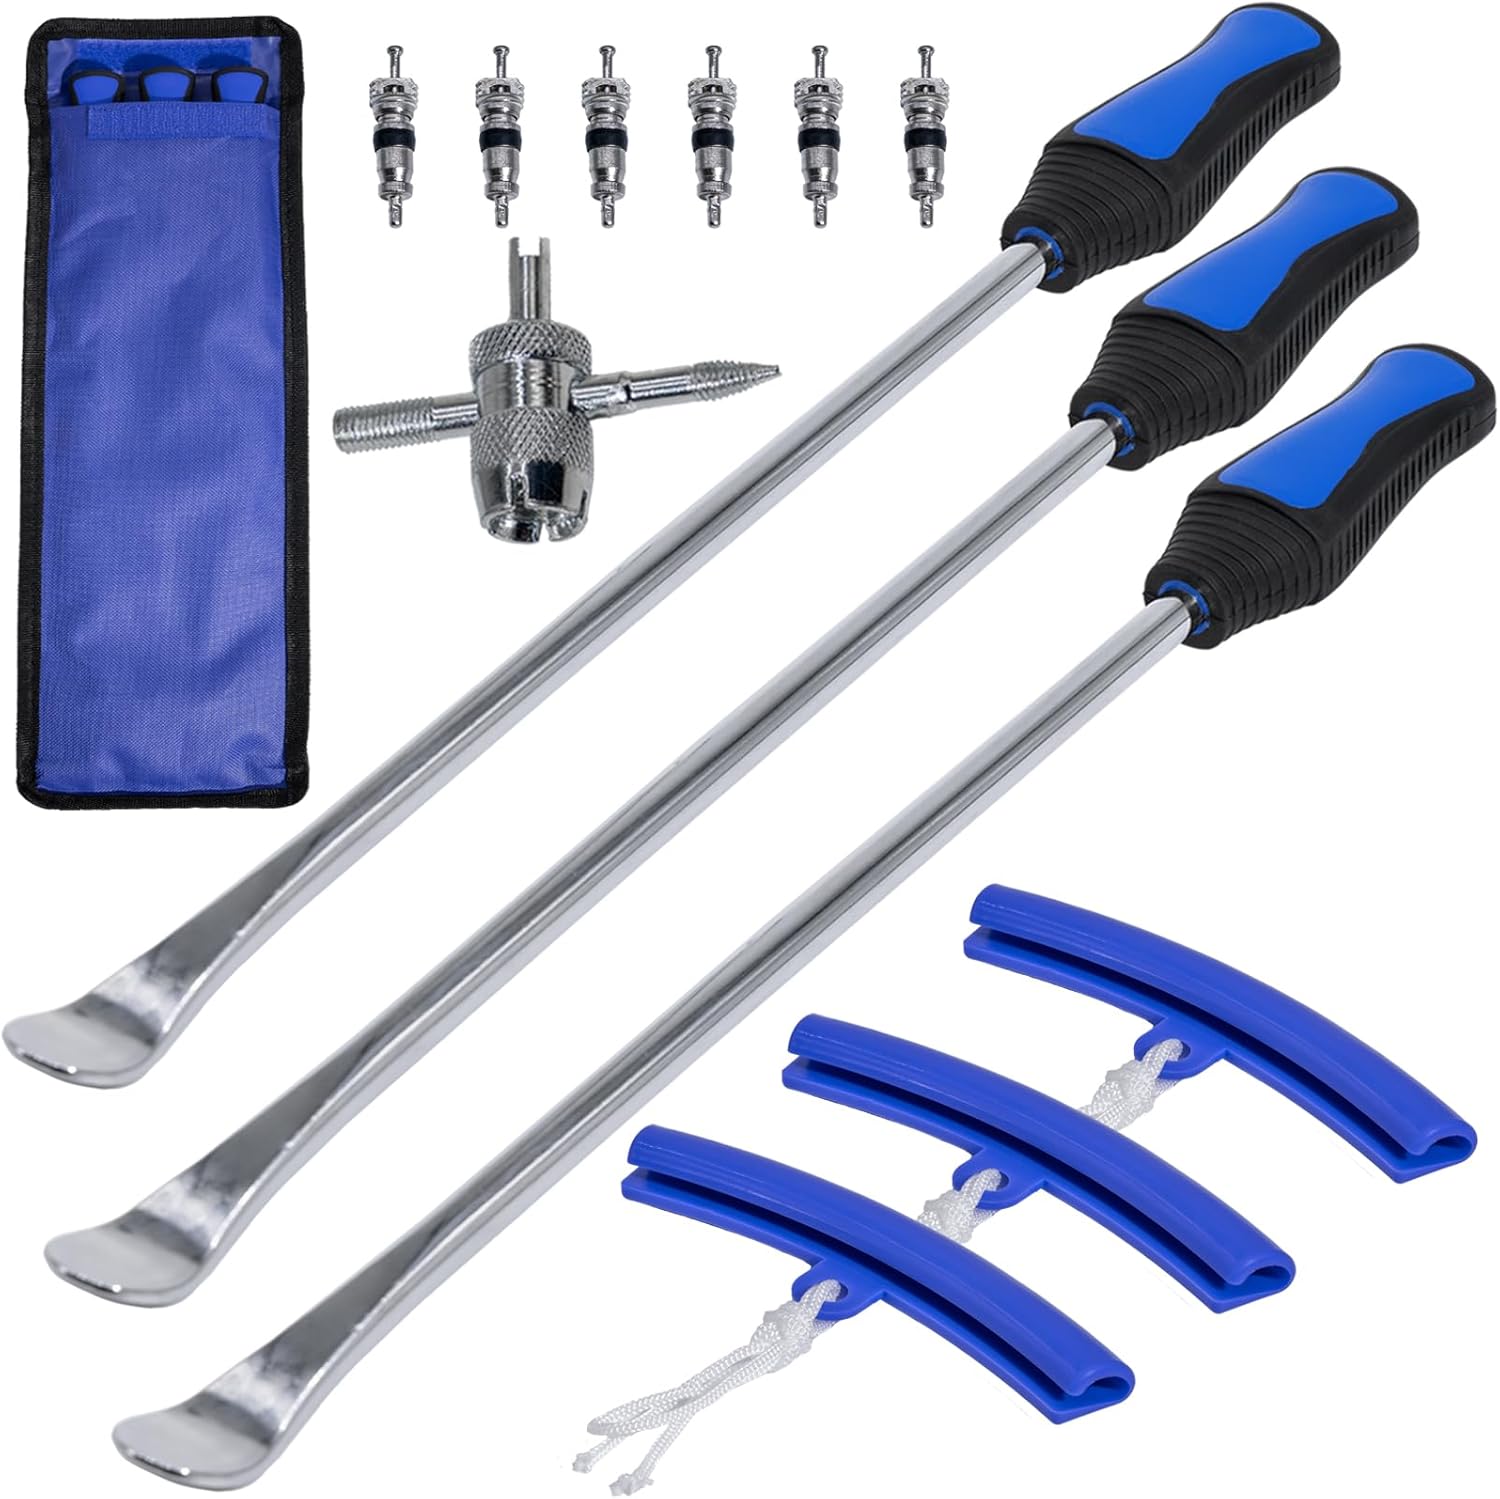
This tire spoon set helps you remove and install motorcycle, dirt bike, lawn tractor, and bicycle tires with extra leverage from a 14.5-inch spoon length. The kit includes tire removal tools, rim protectors, and a valve tool to simplify repairs and help protect rims during changing. Designed for quick, on-the-go service, it’s convenient for garage work, trails, and track-side fixes.
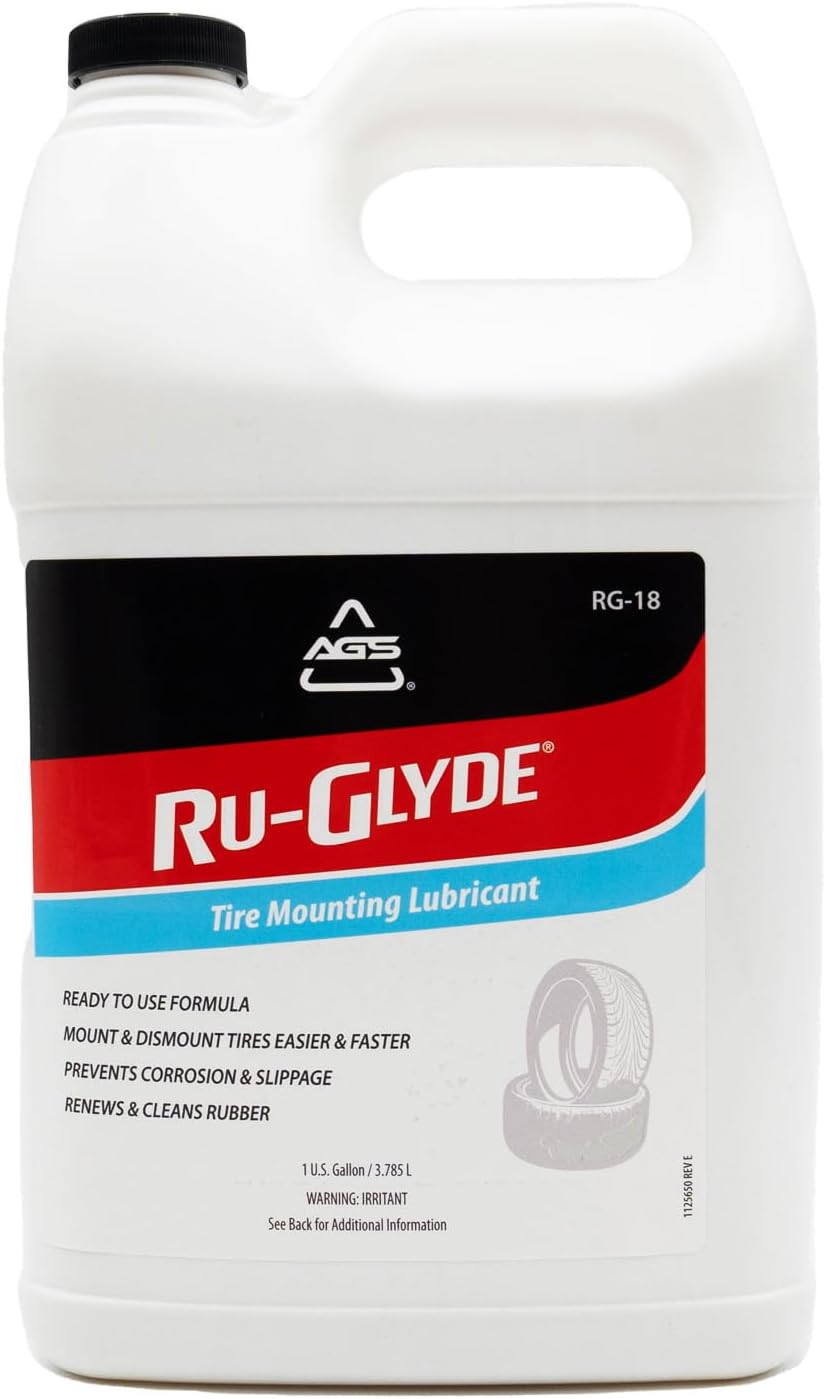
Ru-Glyde tire mounting lubricant from AGS seats tire beads smoothly on the first try with a thick, stay-put formula. It is ready to use with no mixing or dilution, helps prevent rim rust, and dries completely without causing bead slip residue. The water-based formula also conditions aged rubber, making it useful for sidewalls, gaskets, and door seals while remaining safe for tire, wheel, and technicians.

This universal wheel alignment tool helps you accurately restore tire tilt angles after tire or suspension repairs using an adjustable camber gauge. It features a powerful magnetic base that firmly attaches to brake rotors for stationary, slip-free readings, improving consistency during measurement. Built from durable PC plastic, it resists wear and corrosion and is compact enough for car, truck, RV, and motorcycle alignment tasks.
Before You Reinstall a Tire
This article covers dismounting, but the inspection before reinstallation matters just as much. Before a tire goes back on, confirm the tire size, load rating, speed rating, tube type, and rim type match your motorcycle and wheel. Use the motorcycle owner’s manual or tire placard for cold tire pressure, axle torque, brake caliper torque, chain slack, and wheel alignment instructions.
Before riding, make sure:
- The bead is fully seated on both sides.
- The valve stem is straight and not leaking.
- The tire is inflated to the correct cold pressure for the motorcycle and load.
- Axle spacers and adjusters are back in the correct order.
- Brake calipers, pinch bolts, cotter pins, and axle hardware are torqued correctly.
- The wheel spins freely without brake drag, wobble, or rubbing.
- The wheel is balanced if a new tire was installed.
- The brakes are pumped back up before the first ride.
After the first short ride, recheck tire pressure, valve-stem leaks, axle hardware, and any chain adjuster marks. A slow leak or loose part is easier to fix in the garage than on the road.
Frequently Asked Questions
What is the first step in dismounting a motorcycle tire?
The first step is to secure the motorcycle and remove the wheel safely. Once the wheel is off the bike, remove the valve core and fully deflate the tire before breaking the bead or using tire spoons.
Can I dismount a motorcycle tire without a tire machine?
Yes, many riders dismount motorcycle tires with a bead breaker, tire spoons, rim protectors, and tire lube. A tire machine is faster and easier, but hand tools can work if you fully deflate the tire, use the drop center, and avoid sharp tools.
How do I avoid scratching the motorcycle rim?
Use rim protectors, tire lube, and small spoon movements. Keep the opposite bead in the drop center so you do not need excessive force. Avoid screwdrivers, pry bars, and metal tools with sharp edges.
Do I need to remove the valve core before breaking the bead?
Yes. Remove the valve core and confirm the tire is completely flat before bead-breaking or prying. A pressurized tire can move suddenly and make bead work unsafe.
Should I reuse the motorcycle tube?
A tube can sometimes be reused in an emergency if it is not cracked, pinched, patched poorly, or damaged at the valve stem. For normal tire replacement, a new tube is often the safer choice, especially on a tire that has been ridden hard or run low on air.
Why is the second bead harder to remove?
The second bead is harder when the opposite side is not sitting in the rim’s drop center. Push the bead into the center channel, add lube, and take smaller bites with the tire spoons.
Conclusion
You can dismount a motorcycle tire at home if you work slowly and respect the safety steps. Support the bike, remove the wheel, pull the valve core, break both beads, lubricate the bead area, and use tire spoons in small movements. The job should feel controlled, not forced.
The biggest DIY risks are working on a tire that is not fully deflated, using sharp tools, letting the bead sit outside the drop center, and ignoring rim or tire damage. If anything looks cracked, bent, torn, corroded, or unfamiliar, stop and get professional help before the wheel goes back on the motorcycle.
Sources
- eCFR 29 CFR 1910.177, Servicing multi-piece and single-piece rim wheels — supports complete deflation, valve-core removal, bead/rim lubrication, component inspection, and compatibility principles.
- NHTSA TireWise — supports tire pressure, tread, tire condition, and general tire-safety checks.
- Motorcycle Safety Foundation T-CLOCS Pre-Ride Inspection Checklist — supports motorcycle tire, wheel, rim, spoke, bearing, seal, pressure, and tread inspection points.
