
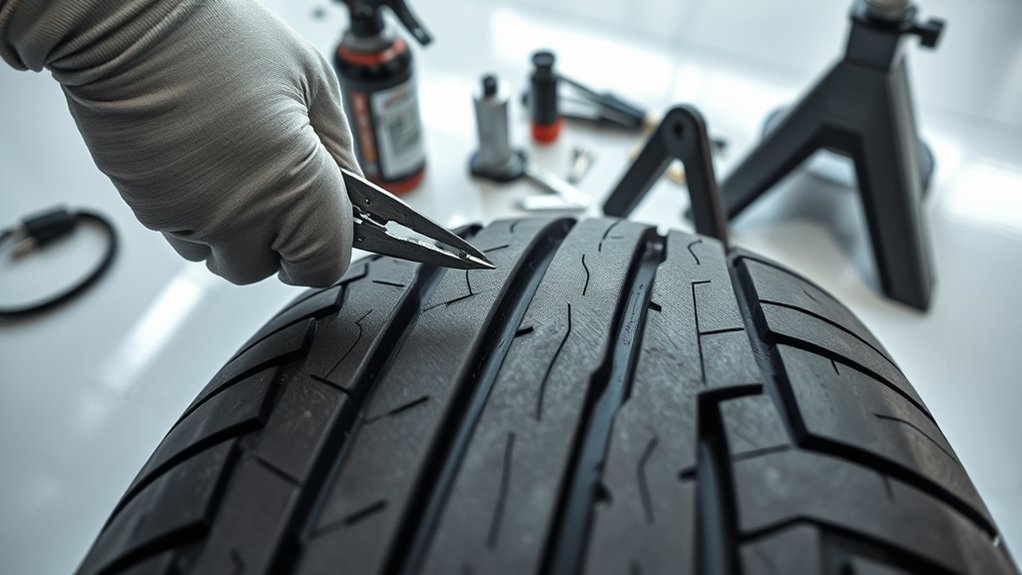
If you find a nail in your tire, do not pull it out right away. First, check the tire pressure, look at where the nail entered, and decide whether the tire is safe to move or needs roadside help. A nail in the center tread may be repairable, but sidewall, shoulder, large, angled, or fast-leaking punctures need a tire professional.
Quick Answer
Remove a nail from a tire only after you confirm it is in the repairable tread area and you are ready to seal and test the leak. A roadside plug can help you reach a shop, but a proper repair usually requires the tire to be removed, inspected inside, and repaired with a patch-plug.
Key Takeaways
- Check tire pressure before touching the nail, and use the vehicle placard or owner’s manual pressure, not the number molded on the tire sidewall.
- Do not remove the nail unless you are ready to plug the tread puncture, install the spare, or call roadside help.
- Only small punctures in the main tread area are usually repairable; sidewall, shoulder, large, or multiple punctures need professional service.
- A string plug is best treated as a temporary roadside repair, not a permanent substitute for an internal inspection and patch-plug repair.
- After any plug, reinflate the tire, test with soapy water, drive slowly, and have the repair checked by a tire technician.
At a Glance
| Time Required | 10 to 30 minutes for a temporary roadside plug; longer if you must install a spare or visit a tire shop. |
| Difficulty | Moderate. Safe only for small tread punctures when you have the right tools and the tire is not badly underinflated. |
| Tools Needed | Tire pressure gauge, soapy water, pliers or vice grips, tire plug kit, portable air compressor, gloves, eye protection, and wheel chocks. |
| Cost | A plug kit usually costs less than a shop repair, but a professional internal patch-plug is the safer long-term fix. |
Is It Safe to Drive With a Nail in Your Tire?
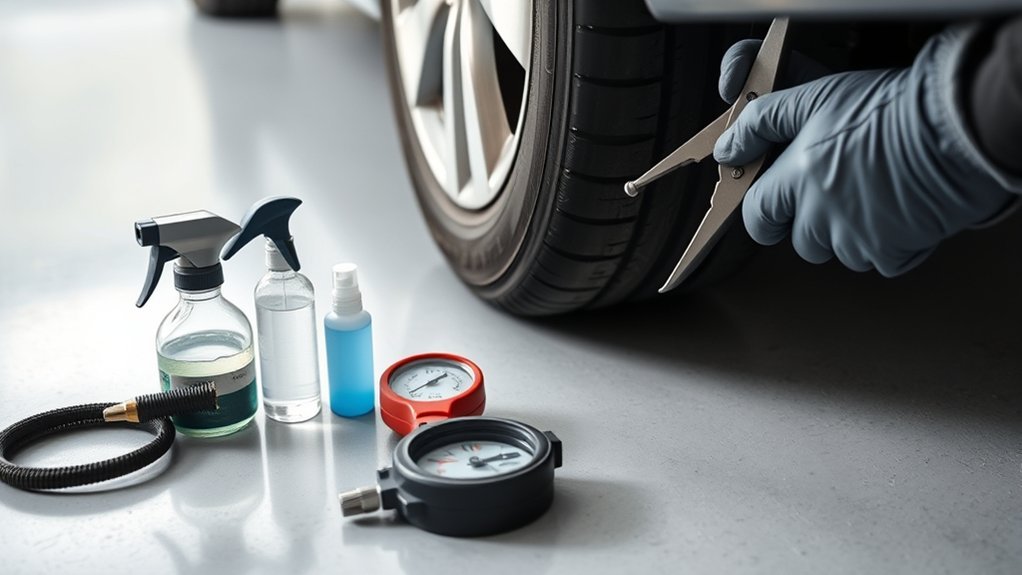
You can sometimes drive a short distance with a nail in your tire, but only if the tire still holds air, the vehicle feels stable, and the puncture is in the tread. Treat it as an urgent repair, not something to ignore for days. Check the pressure before you move, then recheck it after a short drive.
The correct tire pressure is the vehicle manufacturer’s recommended pressure on the driver-side door placard or in the owner’s manual, not the maximum pressure printed on the tire. NHTSA recommends checking tire pressure at least once a month when tires are cold, including the spare. If you have been driving, let the tire cool when possible or recheck it later for an accurate cold reading.
Warning: Do not drive on a tire that is flat, hissing loudly, visibly bulging, showing cords, or losing pressure quickly. Install the spare, use roadside assistance, or call a tire shop instead.
Do not keep driving long-term with the nail in place. Slow leaks can become low-pressure driving, and low pressure can overheat the tire, damage the casing, and raise the risk of a blowout. If the tire pressure drops fast, the steering feels heavy, the TPMS light stays on, or you hear a clicking sound from the nail, drive no farther than needed to reach a safe stopping place.
Regular visual inspections and monthly pressure checks help you catch nail punctures early. Good consistent tread life also makes it easier to notice fresh damage before it turns into a roadside problem.
Find the Nail and Inspect the Puncture
Start by locating the puncture. Most nails and screws lodge in the tread grooves, but you still need to inspect the full tire. Use strong light and scan the tread, shoulder, and sidewall. Look for cuts, bulges, exposed cords, cracked rubber, or metal that entered at a sharp angle.
If you cannot find the nail right away, spray soapy water or window-cleaner solution over the suspected area and watch for bubbles. Bubbles show where air is escaping. Inflate the tire to its recommended pressure first if it is safe to do so, because a properly inflated tire makes small leaks easier to spot.
Pro Tip: Before pulling the nail, mark its location and angle with chalk or tape. That helps you follow the same puncture path when using a plug tool.
Also check the tread depth. NHTSA says tires should be replaced when tread wears to 2/32 inch. A nail hole in a worn-out tire may not be worth repairing, even if the puncture looks small. Basic UTQG ratings can help you compare treadwear when you are deciding whether an older tire is still worth saving.
Decide If the Tire Can Be Repaired
Before you remove the nail, decide whether the tire is even a candidate for repair. A small puncture in the main tread area may be repairable. A puncture in the sidewall or shoulder should not be repaired because those areas flex heavily and carry structural loads.
| Usually Repairable | Small puncture in the center tread, tire still holds air, no sidewall bulge, no visible cords, and no signs of run-flat damage. |
| Call a Pro | Sidewall or shoulder puncture, hole larger than 1/4 inch, multiple punctures close together, rapid air loss, exposed cords, tire run flat, or tread at 2/32 inch. |
Tire repair guidance commonly limits repairs to tread-area punctures up to 1/4 inch. Larger injuries and punctures in the shoulder or sidewall are not recommended for repair. When in doubt, leave the nail in place, keep the vehicle parked, and call a technician.
[Products Worth Considering]

KEVWR self-service tire repair nails are made to firmly fix punctures with strong bite and reliable sealing, helping prevent water from entering the wound. The spiral rubber screws are easy to insert without removing the tire, providing a simple DIY repair for many vehicle and tire types. Suitable for cars, motorcycles, trucks, bikes, buses, and agricultural tires with two size options for different puncture nails.

This self-service tire repair nail kit includes 60 pieces (30 small + 30 large) to help seal punctures quickly without needing an auto shop visit. The nails are designed to fit different hole sizes and provide a tight connection with sealing glue to help prevent air and water intrusion. Suitable for cars, motorcycles, trucks, and other vehicles, it’s an easy, efficient way to patch roadside tire damage.

CKAuto Universal Tire Repair Kit provides a complete emergency solution for fixing flat tire punctures using plug-style repairs without removing the tire from the rim. The kit includes insertion/probe tools, repair plugs, lubricant, valve accessories, and a convenient carry bag for quick roadside use. Designed for tubeless tires across cars, SUVs, trucks, motorcycles, RVs, and more, it’s easy enough for anyone to perform a proper repair.
Remove a Nail From Your Tire
Remove the nail only after you have confirmed the puncture is in the tread and you have a plan to seal the leak or install the spare. Park on a flat surface, set the parking brake, and chock the wheels if possible. Wear gloves and eye protection because air, dirt, or small metal pieces can escape when the object comes out.
- Check and record the tire pressure before removal.
- Mark the nail position and angle.
- Grip the nail with pliers, vice grips, or the claw of a hammer.
- Pull straight out along the same angle the nail entered.
- Listen for air loss and watch the hole for tearing or widening.
- Spray the area with soapy water to confirm the leak point.
If the tire starts losing air quickly, stop the repair attempt. Install the spare if your vehicle has one, or call roadside assistance. A reliable spare tire kit can make this situation safer and less stressful.
[Products Worth Considering]

Monitor tire tread wear with a smart, color-coded depth gauge that shows clear condition ranges at a glance. The bar is range marked for fast, easy readings, helping you maintain safer traction and performance. Each gauge is portable with a pocket clip, and the set includes 20 units for daily use and sharing.

Rhino USA’s 86-piece tire repair kit provides everything you need for quick, emergency flat repairs, including a reamer and plug insertion tool plus 60 reusable tire plugs. The heavy-duty, metal-handled design helps you fix punctures from nails and screws on tubeless tires for cars, trucks, motorcycles, ATVs, UTVs, and more. A high-visibility compact case stores easily for on-the-go use, with illustrated instructions to help you complete repairs with confidence.

This AUTOWN flat tire repair kit is designed for quick, reliable puncture repairs using a plug kit and spiral probe tool to simplify installation. Built for durability and safe handling, it offers strong adhesion and flexibility to help maintain tire air tightness. With a portable storage case and a multi-vehicle approach, it’s suitable for cars, motorcycles, ATVs, tractors, lawn mowers, RVs, jeeps, and trucks.
How to Plug the Tire Hole
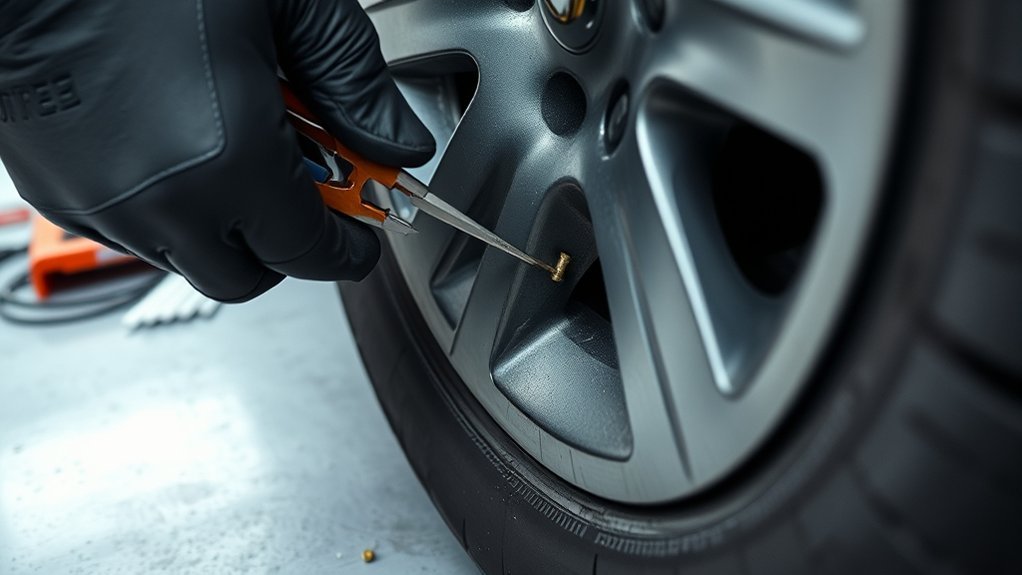
A tire plug kit can seal a small tread puncture long enough to get you moving again, but treat it as a temporary roadside repair. A proper long-term repair usually means the tire is removed from the wheel, inspected inside, and repaired with a patch-plug that seals the inner liner and fills the puncture path.
| Step | Action |
|---|---|
| 1 | Insert the reaming tool into the puncture path and work it in and out to clean and size the hole. |
| 2 | Thread a plug through the insertion tool so both sides are even. |
| 3 | Push the plug straight into the tread until only a short tail remains outside. |
| 4 | Pull the insertion tool out in one firm motion so the plug stays seated. |
| 5 | Trim the plug close to the tread, reinflate the tire, and test with soapy water. |
If bubbles appear around the plug, the repair is not sealed. Do not keep driving on it. Reinstall the spare or call a tire shop. If the bubbles stop and the pressure holds, drive slowly and avoid highway speeds until a technician checks the tire from the inside. A compact kit can help during emergencies, but it does not replace a professional inspection.
A plug can stop an air leak at the roadside, but the safest finished repair is an internal inspection and patch-plug when the tire is repairable.
[Products Worth Considering]

This screw-in tire plug kit seals punctures fast using the included screwdriver, letting you repair tread damage without removing the tire or using messy glue. It includes two plug sizes for different puncture types and uses high-density rubber for an airtight, heat-resistant temporary seal that helps you reach a tire shop safely. Compact and universal, it works on tubeless tires across cars, trucks, motorcycles, tractors, and more.

AUTOWN’s 68-piece tire repair kit helps you fix punctures and plug flats quickly and effectively. It includes a T-handle and spiral probe tool for easy insertion, while the steel patch and plug materials are designed for strong adhesion and long-lasting airtight performance. The compact case makes it convenient for roadside repairs across a wide range of vehicles.

TireJect Off-Road Tire Sealant Kit provides 5-in-1 sealing to help fix tread punctures up to 3/8", sidewall punctures up to 3/8", bead leaks, slow leaks, and minor dry rot on low-speed tires. It permanently seals with liquid rubber, recycled tire particles, and Aramid fibers, making it ideal for flats caused by thorns, nails, and screws. The included dispensing cap attaches to the valve stem for a no-mess installation, along with a metal valve core remover tool and valve stem cap. This kit is for off-road use only.
When to Stop and Call a Pro
Stop and call a professional if the tire loses pressure quickly, the puncture is outside the main tread, or you are not sure how far the nail went. A tire can look repairable from the outside while hiding inner-liner, belt, or sidewall damage inside.
- Call a pro if the nail is in the sidewall, shoulder, or near the tread edge.
- Get professional service if the hole is larger than 1/4 inch or the nail entered at a steep angle.
- Replace or professionally inspect the tire if it was driven flat or severely underinflated.
- Do not repair a tire with exposed cords, bulges, cracks, or tread worn to 2/32 inch.
- Get help if there are multiple punctures, previous repairs near the new hole, or damage close to an old patch.
- Use a shop if your vehicle has run-flat tires, tire sealant foam, or no spare and you are unsure of the repair method.
A trained technician can remove the tire from the wheel, inspect the inside, clean the injury, and decide whether a patch-plug repair is safe. If the repair is not safe, replacement is the better choice. Tire treadwear ratings and warranties may help when comparing replacement options, but they do not make an unsafe puncture repairable.
After the Repair, Check Pressure and Leaks
After plugging a tire, inflate it to the recommended pressure and spray the repair area with soapy water. No bubbles should form. Then check the pressure again after a few minutes. If pressure drops, the tire is still leaking.
Drive slowly at first and avoid long highway trips until the tire is professionally inspected. Recheck pressure when the tire is cold. Bridgestone recommends starting with cold tires when possible and checking pressure monthly. Keep the pressure gauge in your vehicle so you can confirm the tire is not losing air after the temporary repair.
Frequently Asked Questions
How do you remove a nail from a tire at home?
Check pressure first, confirm the nail is in the tread, mark the angle, then pull it out with pliers or vice grips. Remove it only when you are ready to plug the puncture, install the spare, or get professional help. After removal, seal the hole, reinflate the tire, and test with soapy water.
Is it safe to remove a nail from a tire?
It is safe only when the puncture is in the repairable tread area, the tire is not badly underinflated, and you are prepared to seal and test the leak right away. If the nail is in the sidewall or the tire is losing air quickly, do not remove it. Call a tire professional or roadside assistance.
Can I drive with a nail in my tire?
You may be able to drive a short distance to a nearby tire shop if the tire holds pressure and the vehicle feels normal. Do not take a long trip, drive at highway speed, or continue driving if the tire is low, flat, hissing, or showing sidewall damage.
How do you get a nail out of a tire without pliers?
Use vice grips, a claw hammer, or a similar gripping tool if it can hold the nail firmly. Pull straight along the entry angle. Do not drill into the tire or pry sideways. If the nail is deep, broken, or hard to grip, let a tire technician remove it.
Is a tire plug permanent?
A string plug installed from the outside is best treated as temporary. It can stop a leak long enough to get you to a shop, but a proper repair usually requires removing the tire, inspecting the inside, and using a patch-plug repair if the puncture is repairable.
What is the 3 tire rule?
The phrase is not a universal tire-industry rule. In normal use, if three tires are badly worn or damaged, replacing all four often makes more sense for balanced traction. On AWD vehicles, tire diameter matching can be especially important, so check the owner’s manual or ask a tire shop before replacing only one or two tires.
Can a sidewall nail puncture be repaired?
No. A sidewall puncture should not be plugged or patched for normal road use. The sidewall flexes too much and is a structural part of the tire. Replace the tire or have a professional confirm the damage and replacement need.
Conclusion
A nail in your tire is manageable only when you slow down and make the right safety checks. Check pressure first, inspect the puncture location, and remove the nail only if you are ready to seal and test a small tread puncture. A roadside plug can help you reach a shop, but it should not replace a proper internal inspection and patch-plug repair. If the damage is on the sidewall, near the shoulder, larger than 1/4 inch, or still leaking, stop driving and call a tire pro.
Sources
- NHTSA TireWise — tire pressure checks, tread depth, TPMS, tire-related crash data, and blowout safety.
- Tire Rack: Can Flat Tires Be Repaired? — repairable tread puncture limits, sidewall/shoulder cautions, and plug-only repair warnings.
- Bridgestone: How to Check Tire Pressure — cold tire pressure, monthly pressure checks, and pressure-gauge use.

