
How to Set a Bead on a Tire: Easy Methods That Actually Work
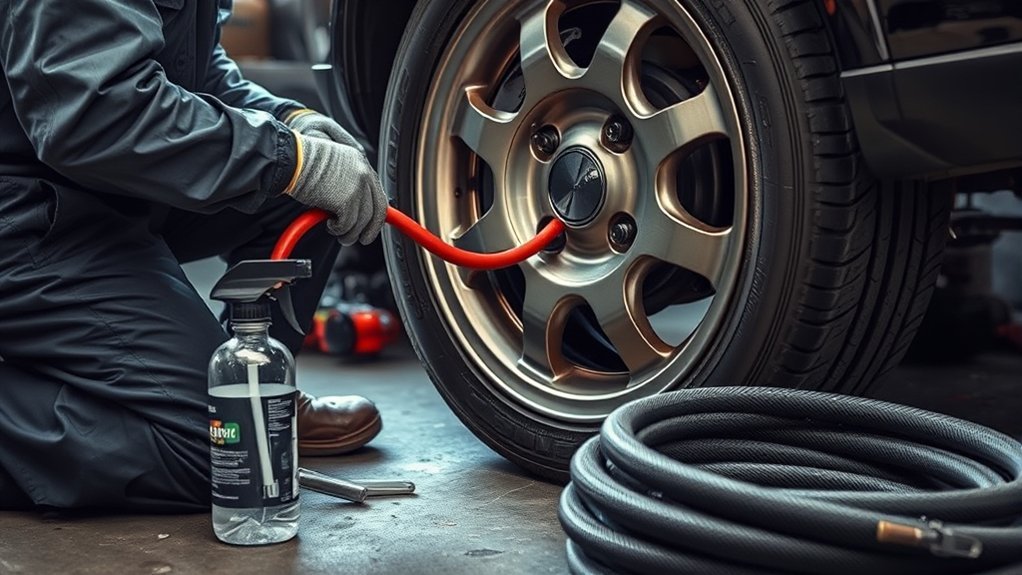
Prep the tire and rim first: make sure the tire is fully off the bead, clean the bead seat, inspect for damage, and secure the vehicle. Wrap a tie strap around the tire’s center and tighten it evenly to push the sidewalls out. Inflate with a compressor until you hear the bead pop and see it seat uniformly. Avoid starter fluid unless you know the risks. If it won’t seat, there’s more to check.
Key Takeaways
- Make sure the tire is fully off the rim bead, and clean both bead surfaces before starting.
- Use a high-flow air compressor to inflate the tire until both beads seat with a loud pop.
- A tie strap around the tire’s center can help push the sidewalls outward for easier seating.
- Check for even bead contact all around the rim and use soapy water to spot leaks.
- Avoid unsafe methods, inspect for damage, and secure the vehicle before inflating the tire.
How Do You Prep the Tire and Rim?
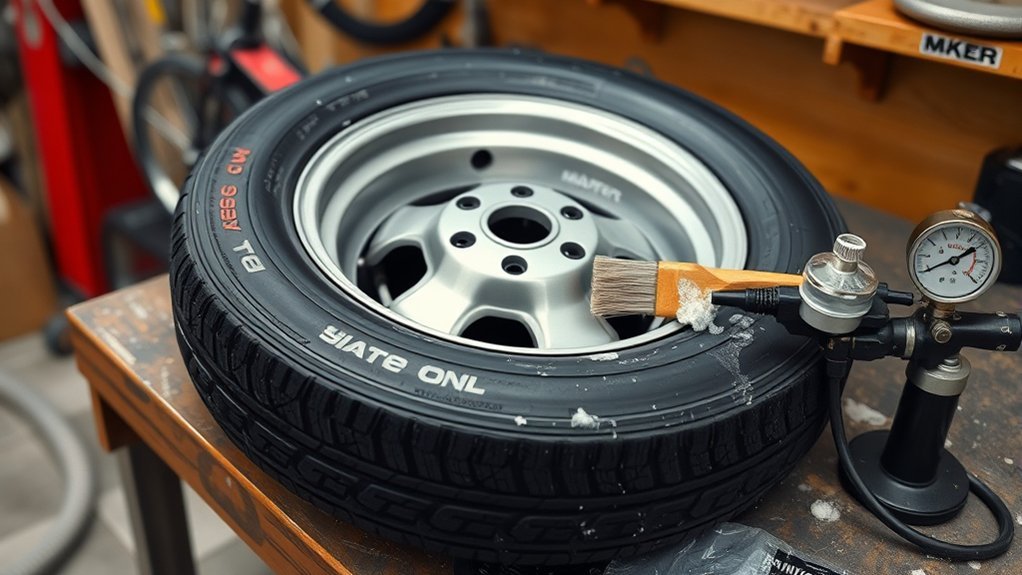
Before you set the bead, make sure the tire is completely off the rim’s bead so it can re-seat properly. Then raise the vehicle on stable supports so it can’t shift while you work. Lock it down; your safety comes first. Inspect the tire sidewalls and the rim edge for cracks, bends, or other damage that could stop a tight seal. If you find a defect, don’t force the setup. Clean the bead seat and tire bead thoroughly with a brush and dry cloth, removing dirt, rust, and debris. A clean surface helps the bead lock in without resistance. Gather your compressor, tire levers, and safety gear before you start so you can move efficiently and keep control. When everything’s ready, you’ll be able to put air in with confidence and fill your tires only after the bead seats correctly. Additionally, consider checking the UTQG ratings to ensure your chosen tires have the durability needed for your driving conditions.
How Do You Set the Bead With a Tie Strap?
To set the bead with a tie strap, first make sure the tire is fully off the bead and the vehicle is securely supported. Wrap the tie strap around the tire’s circumference near the center so you apply even sidewall pressure. Then crank it down gradually. This tire compression pushes the sidewalls outward, helping the bead seating process without drama or guesswork.
Secure the tire, wrap the tie strap at the center, and tighten gradually to push the sidewalls outward.
- Position the tie strap evenly around the tread area.
- Tighten it until the sidewalls begin to bulge.
- Check both bead edges, then release the strap only after you see full seating on both sides.
Keep your eyes on the rim as you work. If the bead isn’t seated all the way around, tighten a bit more and inspect again. Once both beads are locked in place, remove the strap and inflate the tire with an air compressor to the recommended pressure. That final inflation confirms the seal and gets you back in control. Using tools like the ROTATION 11.5 Inch Tire Spoon Kit can further assist in achieving a proper tire bead seat.
Should You Use Starter Fluid?
You can, but you shouldn’t treat it as a first-choice technique. The method works by spraying a small amount inside the tire and igniting it, which rapidly expands air and may pop the bead onto the rim. But the starter fluid dangers are real: you’re dealing with combustion, flash fire, and possible explosion. That risk can injure you, damage the tire, or launch debris. If you ever attempt it, use strict safety precautions: wear eye and hand protection, keep your face and body away, and never stand directly over the tire during ignition. Better yet, choose alternative methods that don’t rely on fire. The tie strap method applies inward pressure at the tread center and helps the bead seat without the same hazard. For practical work and personal freedom, safer control beats risky improvisation every time. Additionally, considering treadwear ratings can help you choose safer and more effective tires for your needs.
How Do You Know the Bead Is Seated?
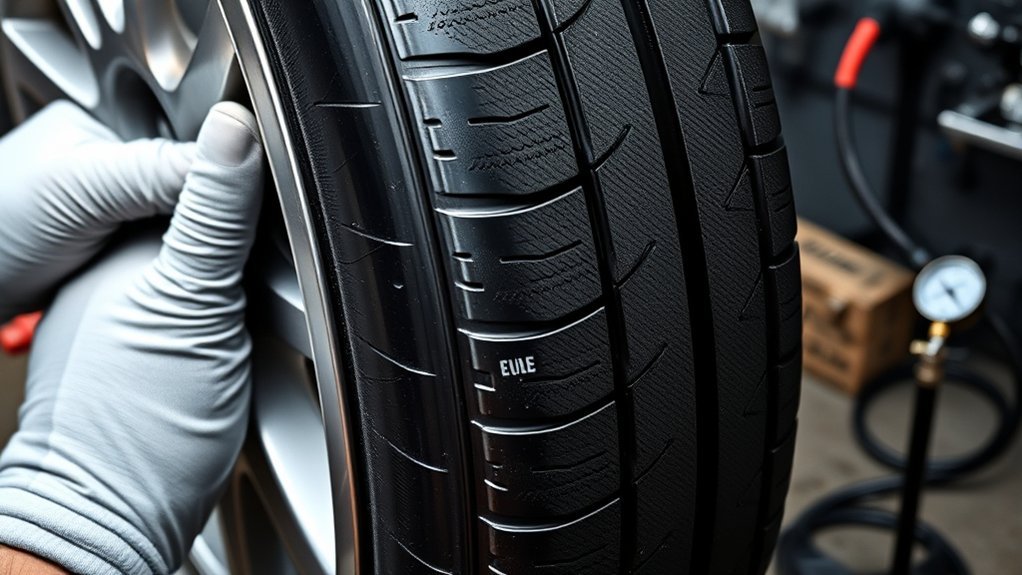
Once the bead is set, you need to verify that it’s fully seated on the rim. Use bead alignment techniques to confirm an even gap all the way around; you shouldn’t see any bulges, pinches, or open spaces between the tire and wheel. During inflation, pay attention to common inflation sounds: a sharp, distinct pop usually means the bead has snapped into place. Then use these visual inspection tips:
Verify the bead is fully seated by checking for an even gap, a clean pop, and no bulges.
- Check both sidewalls for uniform contact with the rim edge.
- Look for a consistent line showing the bead sits evenly.
- Brush soapy water around the bead and watch for bubbles.
If you see bubbling, the seal isn’t right. Additionally, a properly seated bead is crucial for tire plug kits to function effectively, ensuring your repairs hold under pressure. Afterward, hold pressure and monitor the tire; a seated bead keeps air in without a noticeable drop over time. This quick verification protects your work, keeps your setup reliable, and lets you move forward with confidence and control.
What If the Tire Bead Won’t Pop On?
If the bead won’t pop on, first make sure the tire is fully off the bead and clean both the rim and bead area so you’ve got a proper sealing surface. Next, use a tie strap to compress the tire and push the sidewalls outward against the rim. If it still won’t seat, elevate the tire, relieve pressure, and use a high-flow air compressor to inflate it quickly, then confirm both sides are seated before you release any tension. Additionally, ensuring a proper tire rotation can help maintain optimal performance and longevity, making it easier to seat the bead effectively.
Check Rim And Bead
Inspect the rim and bead carefully before trying again, since dents, damage, dirt, or rust can keep the tire from sealing and seating correctly. Use these rim inspection tips to verify the rim edge is straight and the bead seat is smooth. Look for tire damage signs like cuts, cracks, or deformation that could block inflation. Apply bead cleaning techniques to remove debris, corrosion, and old residue so the rubber contacts bare metal. Confirm the tire is fully off the bead before reseating.
- Check the rim lip for bends.
- Wipe the bead until it’s clean.
- Refit and inflate with a compressor gradually.
When you clear these obstacles, you restore a clean seal and reclaim control over the setup.
Use Strap Pressure
When the bead still won’t pop onto the rim, use a tie strap to help force the sidewalls outward. Wrap it around the tire’s circumference and center it so you compress the tread, not the bead. This tire compression method pulls the sidewalls up toward the rim and can free a stubborn seat. Crank the strap tightly while the tire is jacked up and the load is relieved. Those strap tension techniques create outward expansion without forcing the bead with crude bead setting tools. Make sure the tire is fully off the bead and the rim is clean first, so the seal can form. Then inspect both sides visually before loosening the strap. Good maintenance keeps bead problems rare and helps you stay in control.
Try Safe Inflation
Once the bead is ready, move to safe inflation with a compressor and bring the tire up gradually so the bead can pop into place without overpressurizing it. If the tire bead won’t pop on, stop and verify the tire is fully off the bead, then clean the rim and bead area to restore sealing. Elevate the vehicle to reduce load and improve access. Use these inflation techniques with discipline:
- Center a tie strap on the tread to push the sidewalls outward.
- Keep tire pressure low while watching for both beads to seat.
- Release the strap only after visual confirmation on both sides.
Follow these safety precautions, keep the compressor ready, and finish at the specified tire pressure.
What Common Bead-Setting Mistakes Happen?
You can miss the bead if you don’t clean the rim and bead area first, or if you leave the tire loaded instead of relieving sidewall pressure. You can also damage the tire or rim by using excessive tie-strap force or by trying unsafe bead-setting methods before the tire’s fully off the bead. Don’t skip the visual check after seating, because an unconfirmed bead can lead to improper inflation and tire failure. Additionally, understanding the tire manufacturing process can help you appreciate the importance of ensuring proper bead seating to maintain tire integrity.
Improper Tire Preparation
Improper tire preparation is one of the most common reasons a bead won’t seat correctly. You need clean surfaces, a free bead, and a sound rim before you add air. Use tire cleaning techniques to remove dirt, rust, and old rubber from the bead area; even small debris can break the seal. Apply these rim inspection tips before you proceed, because cracks, bends, or corrosion can defeat the setup. Bead seating importance matters here: if the tire isn’t fully off the rim, it can hang up and resist inflation.
- Clean the rim and bead area.
- Confirm the tire is fully unseated.
- Inspect both tire and rim for damage.
Check both sides for visual confirmation as the bead rises. Secure the vehicle properly, then work with confidence and control.
Unsafe Bead-Setting Methods
Unsafe bead-setting methods can turn a routine tire job into a serious hazard, especially when starter fluid is used to force the bead into place. You’re dealing with starter fluid dangers the moment you ignite flammable vapor, and too much fluid can trigger a violent burst. Don’t rely on improper techniques that leave the tire unsecured or the rim dirty; both raise the chance of a failed seal and repeated attempts. You should confirm the bead has seated before moving on, because a partial seal can lose air or slip off the rim in service. Use safety precautions every time: wear protective gear, keep your body clear, and preserve an open exit path. Precision gives you control, and control keeps the job free from preventable harm.
Skipping Safety Checks
Even when you avoid hazardous bead-setting methods, skipping basic safety checks can still ruin the job. You need to follow safety protocols before you inflate, or you’ll lose tire stability and waste time. First, confirm the tire is fully off the bead; if it isn’t, your attempt can damage the rim. Second, clean the rim and bead area so the seal forms correctly and doesn’t leak. Third, inspect both tire and rim for cuts, bends, or cracks, because hidden damage can trigger blowouts. Secure the vehicle so it can’t shift, then watch the bead seat visually before releasing pressure. For accident prevention, stay disciplined:
- Verify separation
- Remove debris
- Check for full seating
That’s how you keep control and set the bead right.
What Should You Check Before Inflation?

Before you inflate the tire, make sure it’s completely off the bead and inspect both the tire and rim for any visible damage, including cracks or punctures. Do a precise rim inspection: any deformation can block seating and weaken the assembly. Confirm tire compatibility with the rim size before you proceed; mismatched parts fight pressure and won’t lock correctly. Clean the bead surfaces and rim channel so dirt can’t sabotage the seal. Check valve maintenance too: the stem should be intact, open, and free of blockages so air moves without resistance. Use this quick checklist:
| Check | What you want | Risk if skipped |
|---|---|---|
| Bead clearance | Tire fully unseated | False seating |
| Damage | No cracks/punctures | Failure |
| Cleanliness | No debris | Leak path |
| Valve stem | Clear and intact | Restricted airflow |
| Size match | Compatible rim/tire | Poor fit |
When you verify these points, you keep control, protect the setup, and move toward inflation with confidence and freedom. Additionally, understanding the UTQG ratings can help ensure you’re selecting tires that maintain safety and performance during inflation.
How Do You Finish Inflation and Check Pressure?
Once the bead is seated, inflate the tire with an air compressor to the manufacturer’s recommended pressure, which you’ll usually find on the driver’s side door jamb or in the owner’s manual. Use safety measures: stand clear, keep the hose secure, and watch the gauge as the inflation process climbs. Then:
- Check tire pressure with a calibrated gauge.
- Wait a few minutes, then recheck, because the tire can expand slightly.
- Add air in small increments if the reading’s low, and test again.
Keep your movements deliberate and independent; you’re not guessing, you’re verifying. If the tire pressure still won’t hold, inspect the bead, valve stem, and sidewall for leaks or damage. Listen for hissing air escaping from the bead or a puncture. Remember, proper tire maintenance is crucial for optimal performance and safety. When the reading stays steady at spec, stop inflating and confirm the tire’s sealed. That final check protects your wheel, preserves performance, and gets you back on the road with confidence and control.
Frequently Asked Questions
How to Set a Bead on a Stubborn Tire?
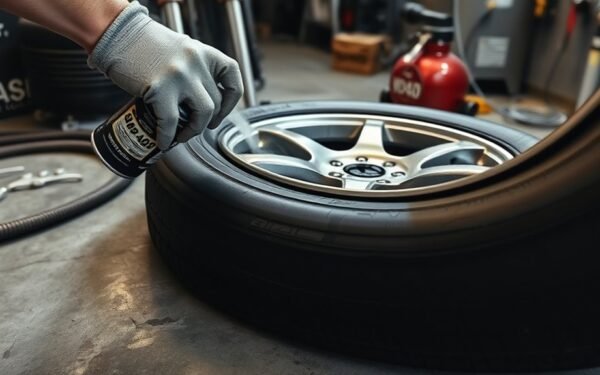
You set a stubborn bead by cleaning the rim and bead, then using tire inflation techniques to force air in fast. Wrap a tie strap around the tread, crank it tight, and apply tire lubricant if needed. Elevate the vehicle, keep clear, and watch both sides seat. If airflow still fails, use bead seating tools like an air tank. These tire mounting tips help you finish safely and freely.
Can You Use WD-40 to Seal a Tire Bead?
No, you shouldn’t use WD-40 to seal a tire bead. You’ll weaken rubber, trap grime, and still risk leaks. For tire maintenance tips, choose tire sealants comparison products made for pneumatic tires and safer bead setting techniques. You’ll get a tighter, longer-lasting seal without voiding warranties or creating hazards. Use a proper bead lubricant or approved sealant, and you’ll keep your tire secure, clean, and ready to roll.
What Can I Use to Set a Tire Bead?
You can use a ratchet tie strap, bead-seating air tank, or high-volume air compressor techniques to set a tire bead. First, clean the rim and tire, then pull the sidewalls outward with the strap to help the bead seat. If needed, use tire bead tools for guidance, but avoid starter fluid. Follow tire maintenance tips: wear eye protection, keep clear, and verify full inflation after the bead locks in place.
Do Balancing Beads in Tires Actually Work?
Yes, balancing beads can work, especially if you want a hands-on, low-infrastructure fix. In this age of steel wheels and open roads, you’ll get bead balancing benefits when you match bead mass to tire size and load. They reduce vibration by shifting dynamically to counter imbalance. Follow tire maintenance tips, verify installation, and treat them as one of several DIY tire solutions, not magic. Results vary by tire design and road conditions.
Conclusion
In the end, seating a tire bead comes down to prep, pressure, and patience. You need a clean rim, the right lubricant, and a safe inflation setup before you even start. If the bead still won’t pop, don’t force risky shortcuts like starter fluid. Check for leaks, confirm both beads are fully seated, and set the final pressure to spec. When you follow the steps, you’ll avoid trouble and get the job done right the first time.
Related Articles
How to Seat a Tire Bead With WD-40: Step-By-Step Guide
Need a quick, safe way to seat a tire bead with WD-40? Discover the step-by-step method and the one caution that could save your tire.
Read More
How to Manual a Bicycle: Lifting the Front Tire Off the Ground
Manualing a bicycle starts with the right body position, but one small shift can make all the difference—discover the key to lifting the front tire.
Read More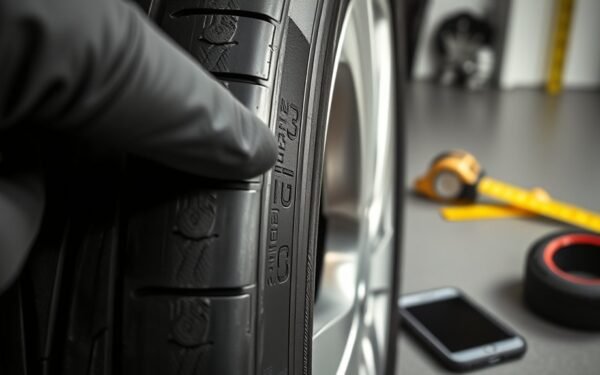
How to Find Tire Diameter: Read the Sidewall in 30 Seconds
Check your tire’s sidewall code to uncover its true diameter fast—and discover the detail most drivers overlook.
Read More