
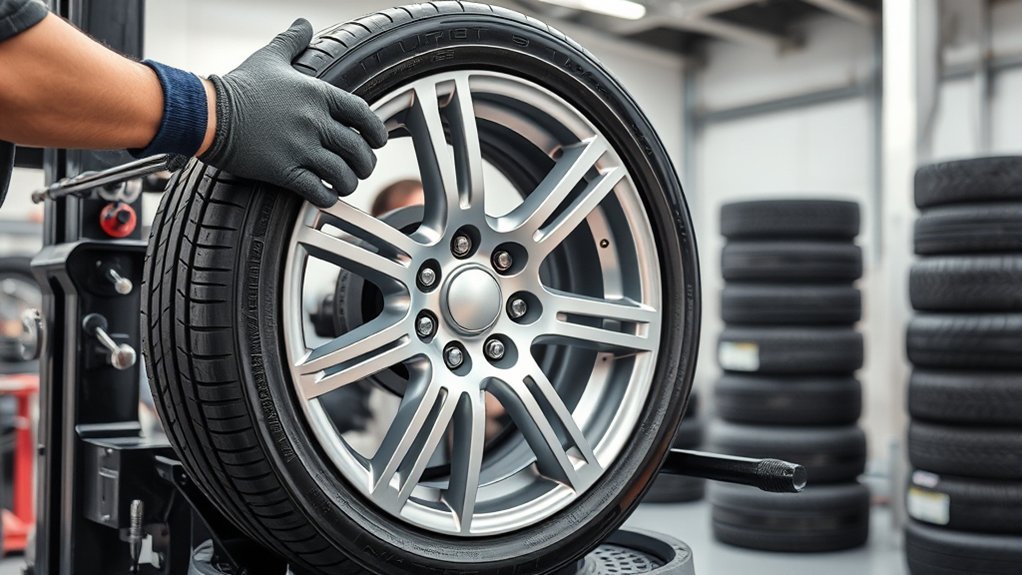
A tire mount is the process of fitting a tire onto a wheel so the tire bead seats against the rim and the assembly can hold air safely. It sounds simple, but correct tire mounting depends on the right tire size, rim diameter, rim condition, valve hardware, bead lubricant, controlled inflation, and final balancing. Done correctly, mounting helps prevent leaks, vibration, bead damage, and unsafe fitment.
Quick Answer
A tire mount means fitting a tire onto its wheel so the beads seat against the rim and hold air. The job includes checking tire and rim compatibility, inspecting the wheel, lubricating the beads, inflating safely, checking the valve or TPMS parts, and balancing the assembly before it goes back on the vehicle.
Key Takeaways
- Tire mounting is the tire-to-wheel part of the job; installation is putting that wheel assembly back on the vehicle.
- The tire bead diameter, rim diameter, approved rim width, load rating, and speed rating must match the vehicle and wheel.
- Approved tire lubricant, correct tools, and controlled inflation help prevent bead, rim, valve, and sidewall damage.
- Tires should be balanced after mounting because imbalance can cause vibration, bounce, and faster tread wear.
- Professional mounting is the safest choice because tire and rim assemblies can release explosive force if mismatched, damaged, or inflated incorrectly.
At a Glance
| Time Required | Usually 15–30 minutes per tire at a shop, depending on tire type, wheel condition, TPMS service, and balancing. |
| Difficulty | Professional service recommended. Tire mounting can be dangerous without the right equipment and training. |
| Tools Needed | Tire changer, approved bead lubricant, valve-core tool, inflation system with gauge, TPMS tools when needed, balancing machine, wheel weights, and torque wrench. |
| Cost | Varies by shop and tire type. As a current reference, Sam’s Club lists a $20 per tire installation package for most vehicles, while some retailers bundle mounting, balancing, and lifetime maintenance with tire purchase. |
What Is Tire Mounting?
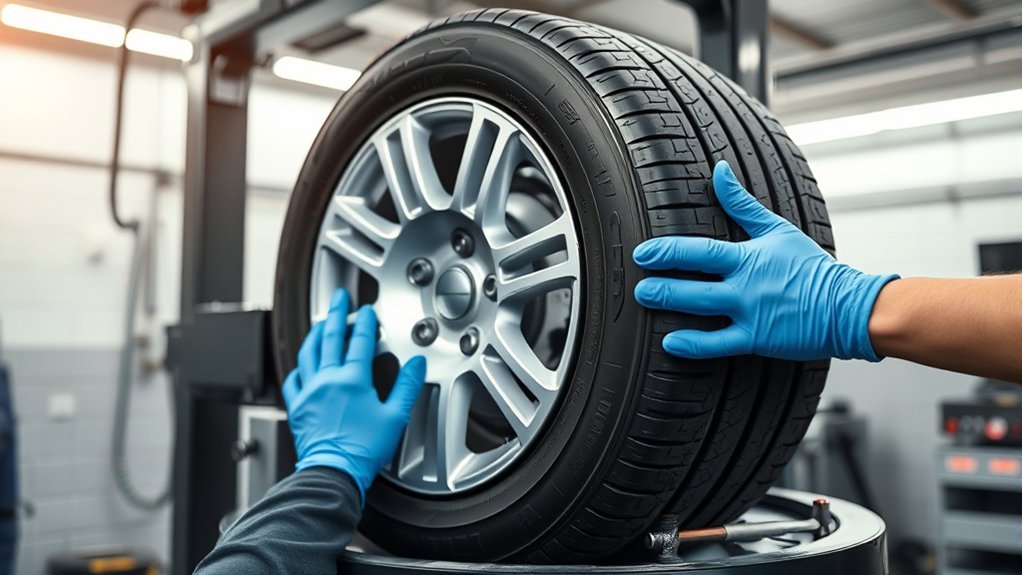
Tire mounting is the process of placing a tire onto a wheel rim, seating the tire beads, and inflating the assembly so it seals correctly. In plain language, the tire is mounted on the wheel; then the wheel-and-tire assembly is installed on the vehicle.
That difference matters. Mounting is not the same as balancing, and it is not the same as installing the wheel on the car. A complete tire service often includes all three:
- Mounting: fitting the tire onto the wheel and seating the beads.
- Balancing: adding wheel weights so the tire and wheel spin evenly.
- Installation: putting the mounted and balanced wheel assembly on the vehicle and tightening the lug nuts to the correct torque.
The tire must match the wheel’s bead-seat diameter and approved rim width. The tire also needs the correct size, load rating, and speed rating for the vehicle. The U.S. Tire Manufacturers Association passenger and light-truck tire care manual warns that tire service requires professional training, especially for mounting, demounting, balancing, TPMS work, and tire repair.
Note: If you are asking a shop for a quote, use clear wording: “mount and balance these tires” means the shop should put each tire on its wheel and balance the assembly. “Install the tires” may also include putting the wheels back on the vehicle.
Why Tire Mounting Is a Safety Issue
You need proper mounting because a tire that is mismatched, damaged, forced onto the wrong rim, or inflated incorrectly can fail suddenly. Tire and rim assemblies store a large amount of energy under pressure. If a bead breaks, a rim component separates, or a damaged tire fails during inflation, the release can cause serious injury.
Warning: Tire mounting is not a place to improvise. Never use flammable substances to seat a bead, never force a tire onto the wrong rim diameter, and never exceed the tire or manufacturer’s bead-seating instructions. Michelin and USTMA guidance state that bead-seating pressure should not exceed 40 psi unless the tire manufacturer gives different instructions.
Proper Mounting Procedures
Safe tire mounting starts before the tire ever touches the rim. A trained technician should inspect the tire, wheel, valve, and TPMS parts first. The wheel should be clean, undamaged, and compatible with the tire. Any wheel that is cracked, bent, severely corroded, or the wrong size should be rejected.
A good pre-mounting check includes:
- Confirming the tire size, bead-seat diameter, load index, speed rating, and service description.
- Checking that the rim diameter and approved rim width match the tire.
- Inspecting both tire beads for cuts, bends, exposed cords, or prior damage.
- Cleaning the wheel’s bead-seat area and checking for corrosion or old bead sealer.
- Checking whether the tire is directional or asymmetric before positioning it.
- Replacing snap-in valve stems when new tires are installed.
- Inspecting TPMS sensors and replacing TPMS service-kit components when required.
For broader tire-safety context, the NHTSA TireWise program explains that federal safety standards cover tires, rims, and tire pressure monitoring systems. For professional rim-wheel servicing on large vehicles, OSHA 29 CFR 1910.177 covers multi-piece and single-piece rim wheels used on large vehicles such as trucks, tractors, trailers, buses, and off-road machines.
Injury Risks
The biggest tire-mounting risks happen when a tire is damaged, mounted on the wrong wheel, inflated too aggressively, or handled with the wrong tools. A failed assembly can release air and parts with explosive force. It can also damage the tire internally, creating a later road failure that may not be obvious at the shop.
Common safety risks include:
- Wrong rim diameter: a tire cannot safely seat on a rim with a different bead-seat diameter.
- Damaged bead: torn or stretched bead wires can prevent a safe seal.
- Damaged rim: bends, cracks, and corrosion can cause leaks or unsafe seating.
- Unsafe lubricant: petroleum, solvent-based, silicone, or flammable products can damage components or create dangerous vapor.
- Overinflation during bead seating: excess pressure can break the bead or wheel assembly.
- Standing over the assembly: the operator should stay clear during inflation and use proper equipment.
The safest tire mount is not the fastest one. It is the one where the technician verifies fitment, inspects the parts, seats the beads evenly, controls inflation, and balances the finished assembly.
Trusted Tire Standards
The most reliable guidance comes from tire manufacturers, vehicle manufacturers, USTMA, NHTSA, OSHA where applicable, and professional tire-service training organizations. For everyday passenger vehicles, the shop should follow the tire manufacturer’s instructions, the vehicle placard, the owner’s manual, and recognized tire-industry service procedures.
Trusted standards and practices include:
- Using the exact tire size and rim diameter specified for the wheel.
- Using only approved tire bead lubricant.
- Keeping the operator out of the trajectory area during inflation.
- Checking bead seating on both sides of the tire.
- Setting final pressure according to the vehicle placard or manufacturer guidance.
- Balancing the wheel-and-tire assembly after mounting.
- Using a torque wrench for final lug-nut tightening during vehicle installation.
How Tire Mounting Works Step by Step
The exact process depends on the tire, wheel, tire changer, TPMS system, and vehicle. This overview explains what a professional shop usually does, not a DIY recommendation.
- Inspect the tire and wheel. The technician checks the tire size, rim diameter, rim width, bead condition, wheel damage, corrosion, valve condition, and TPMS hardware.
- Remove the old tire if needed. The existing assembly is deflated completely, the beads are broken away from the rim, and the old tire is removed without damaging the wheel or sensor.
- Clean the bead-seat area. Dirt, corrosion, old sealer, and debris can cause leaks, so the sealing area should be clean before the new tire goes on.
- Service the valve or TPMS parts. Snap-in rubber valves are normally replaced. TPMS-equipped wheels may need a service kit, grommet, nut, washer, cap, or sensor inspection.
- Apply approved bead lubricant. The technician lubricates the tire beads and rim contact areas so the bead can move into place without tearing or binding.
- Mount the lower bead. The first bead is guided over the rim using the tire changer while keeping the bead in the wheel’s drop center.
- Mount the upper bead. The second bead is guided over the rim with careful attention to sidewall, bead, TPMS, and wheel-finish protection.
- Inflate to seat the beads safely. The tire is inflated in a controlled way until the beads seat evenly. If the beads do not seat within safe pressure limits, the technician should deflate, relubricate, reposition, and try again.
- Set final air pressure. After bead seating, the tire is adjusted to the pressure listed on the vehicle placard or specified by the tire/vehicle manufacturer.
- Check for leaks and bead seating. The technician verifies that both beads are seated evenly and checks the valve and bead area for air leaks.
- Balance the assembly. The wheel and tire are placed on a balancing machine, and weights are added where needed.
- Install the wheel on the vehicle. Lug nuts or bolts are tightened in the correct pattern and finished with a torque wrench to the vehicle specification.
Pro Tip: If the vehicle has directional tires, asymmetric tires, staggered wheels, or TPMS sensors, tell the shop before the work starts. That helps avoid wrong-side mounting, sensor damage, and extra labor.
[Products Worth Considering]

This 100-piece set of snap-in tubeless tire valve stems is designed for standard 0.453 in (11.5 mm) rim holes and helps maintain reliable, steady tire pressure. Made with ozone-resistant rubber and brass cores, the valves are built for durability and long-term use. Easy to install by hand, they support safe driving and are suitable for cars, light trucks, trailers, and more.

Malco tire mounting and demounting lubricant is a ready-to-use tire lube formulated to reduce friction during tire installation for passenger cars, light trucks, farm tires, and heavy-duty equipment. It provides rust-inhibiting protection to help reduce corrosion on rims and wheels, and helps support proper tire bead seating during inflation to reduce air leakage. The silicone-free, soap-free formula is whitewall safe to help prevent discoloration on whitewall tires and sensitive sidewall markings.

The 22800 wheel stud installer makes replacing wheel studs quick and secure, saving time and effort during tire service. It uses a ratchet or impact wrench to pull new studs firmly into place, helping when existing studs are too long. Compatible with most automotive wheels and light-duty truck wheel studs, it’s designed for easy, tool-assisted installation.
Tools and Equipment for Tire Mounting
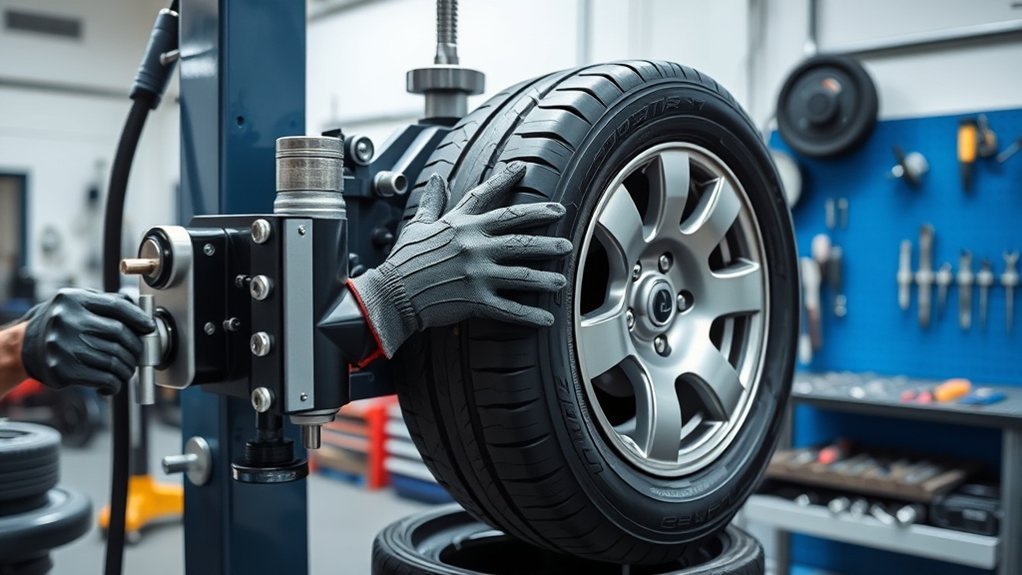
Correct tire mounting requires more than hand tools. A professional shop uses equipment designed to control the wheel, protect the bead, and reduce injury risk during inflation.
Common tools and equipment include:
- Tire changer: holds the wheel and guides the tire beads over the rim.
- Approved bead lubricant: reduces friction and helps the bead seat without tearing.
- Valve-core tool: removes and installs the valve core for deflation and inflation control.
- TPMS tools: help service, rebuild, replace, or relearn tire-pressure sensors when needed.
- Inflation system with gauge: controls pressure during bead seating and final inflation.
- Clip-on chuck and extension hose: allow safer inflation positioning where required.
- Balancing machine: finds static and dynamic imbalance in the tire-and-wheel assembly.
- Wheel weights: correct imbalance after the tire is mounted.
- Torque wrench: tightens lug nuts or bolts to the vehicle manufacturer’s specification.
Some tires need extra care. Low-profile, run-flat, performance, off-road, and large light-truck tires often have stiffer sidewalls. That can make mounting harder and increase the risk of bead or wheel damage if the technician uses the wrong process.
[Products Worth Considering]

Autel MX TPMS sensors combine 315MHz and 433MHz in a single easy-to-install press-in design for faster tire service. They support wireless programming with strong signal performance, and the sensors are clone-able for streamlined replacement. Built for reliability and tested to SAE standards, each sensor includes a series number for quality control.

Monitor tire tread wear with a smart, color-coded depth gauge that shows clear condition ranges at a glance. The bar is range marked for fast, easy readings, helping you maintain safer traction and performance. Each gauge is portable with a pocket clip, and the set includes 20 units for daily use and sharing.

This professional wheel and rim cleaning brush set lifts brake dust, grime, and dirt with soft, scratch-free microfiber and synthetic wool fibers. The rim brush bends up to 360 degrees for easy access to hard-to-reach areas around spokes, lips, and faces. Ideal for thorough cleaning of car, truck, motorcycle, bicycle, RV, and more wheel and tire surfaces.
Do Tires Need Balancing After Mounting?
Yes. Tires should be balanced after mounting because even a new tire and wheel can have small weight variations. Those variations can create vibration, steering-wheel shake, uneven tread wear, and ride complaints at road speed.
Balancing places the wheel-and-tire assembly on a machine that measures where weight is uneven. The technician then adds small weights to correct the imbalance. The USTMA tire care manual explains that tire/wheel balance is important for tread wear and that out-of-balance conditions can cause vibration and bounce.
There are two basic imbalance types:
- Static imbalance: causes up-and-down hop or bounce.
- Dynamic imbalance: causes wobble, shimmy, or side-to-side vibration.
Balancing is especially important after mounting new tires, replacing a valve or TPMS part, repairing a tire, or feeling vibration after a tire service. Some shops include balancing with installation packages, while others list it separately.
Common Tire Mounting Mistakes to Avoid
Most tire-mounting problems are preventable. The mistakes below can cause air leaks, vibration, damaged sensors, wheel scratches, bead failure, or unsafe driving.
- Mounting the wrong tire size: the bead diameter must match the wheel diameter exactly.
- Ignoring rim width: tires should be mounted only on approved rim widths.
- Skipping wheel inspection: cracked, bent, or corroded wheels can cause leaks or unsafe seating.
- Using the wrong lubricant: use approved tire lubricant, not petroleum, silicone, solvent-based, or flammable products.
- Forcing the bead: prying too aggressively can damage the tire bead or sidewall.
- Damaging TPMS sensors: careless bead breaking or lever placement can break a sensor or valve stem.
- Mounting directional tires backward: check arrows and outside/inside sidewall markings.
- Skipping balancing: even a correctly mounted tire can vibrate if the assembly is not balanced.
- Improper lug torque: over-tightening or under-tightening can damage studs, wheels, or the assembly.
Note: A TPMS light after tire service does not always mean the tire is leaking. It may mean a sensor was damaged, a sensor battery is weak, a relearn procedure is needed, or the pressure was not set correctly.
[Products Worth Considering]

Keep your tires performing with these valve core removal tools designed to quickly disassemble and reinstall standard valve cores. The compact, portable design makes it easy to carry for bicycle, motorcycle, car, or truck repairs. Durable stainless steel construction helps you handle routine tire maintenance with less hassle.
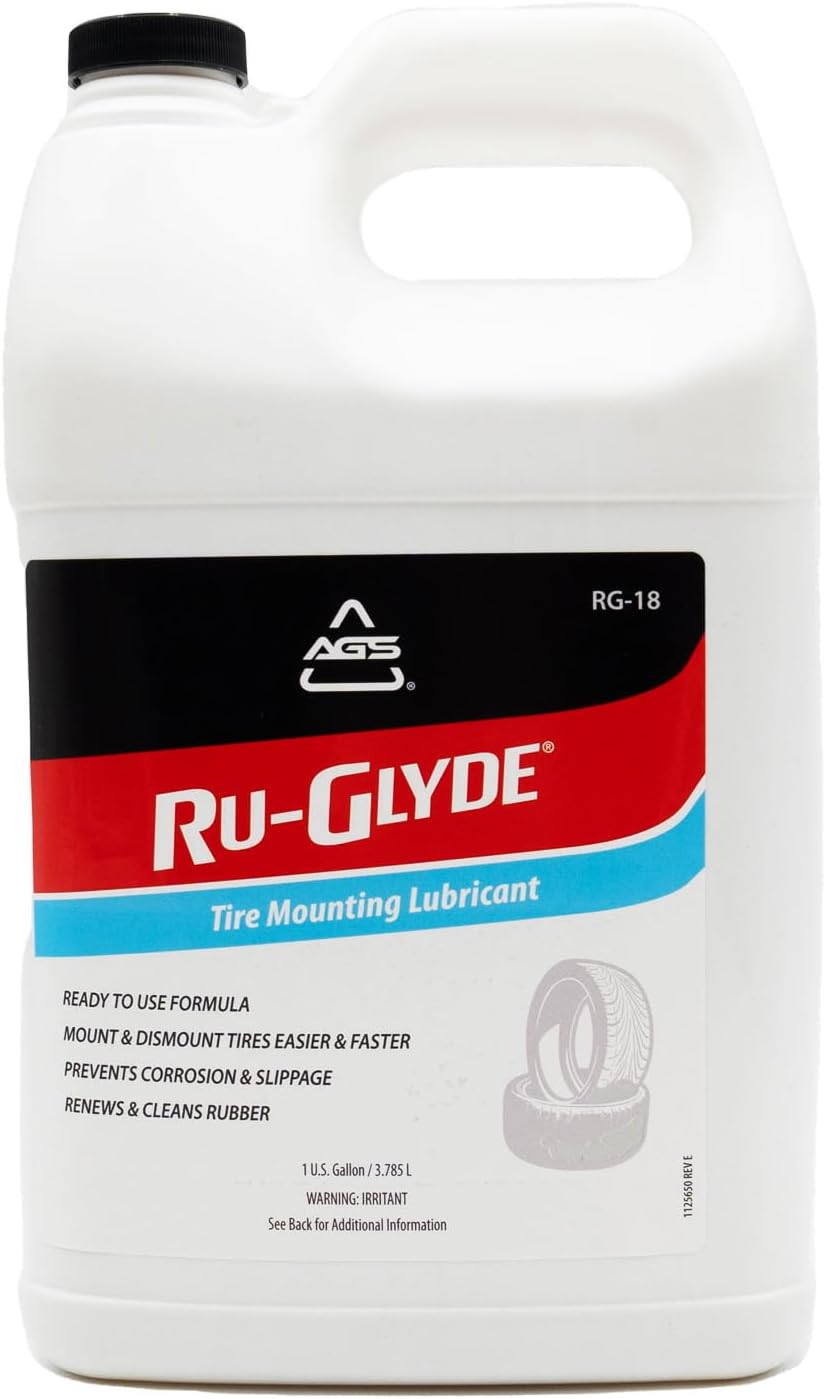
Ru-Glyde tire mounting lubricant from AGS seats tire beads smoothly on the first try with a thick, stay-put formula. It is ready to use with no mixing or dilution, helps prevent rim rust, and dries completely without causing bead slip residue. The water-based formula also conditions aged rubber, making it useful for sidewalls, gaskets, and door seals while remaining safe for tire, wheel, and technicians.
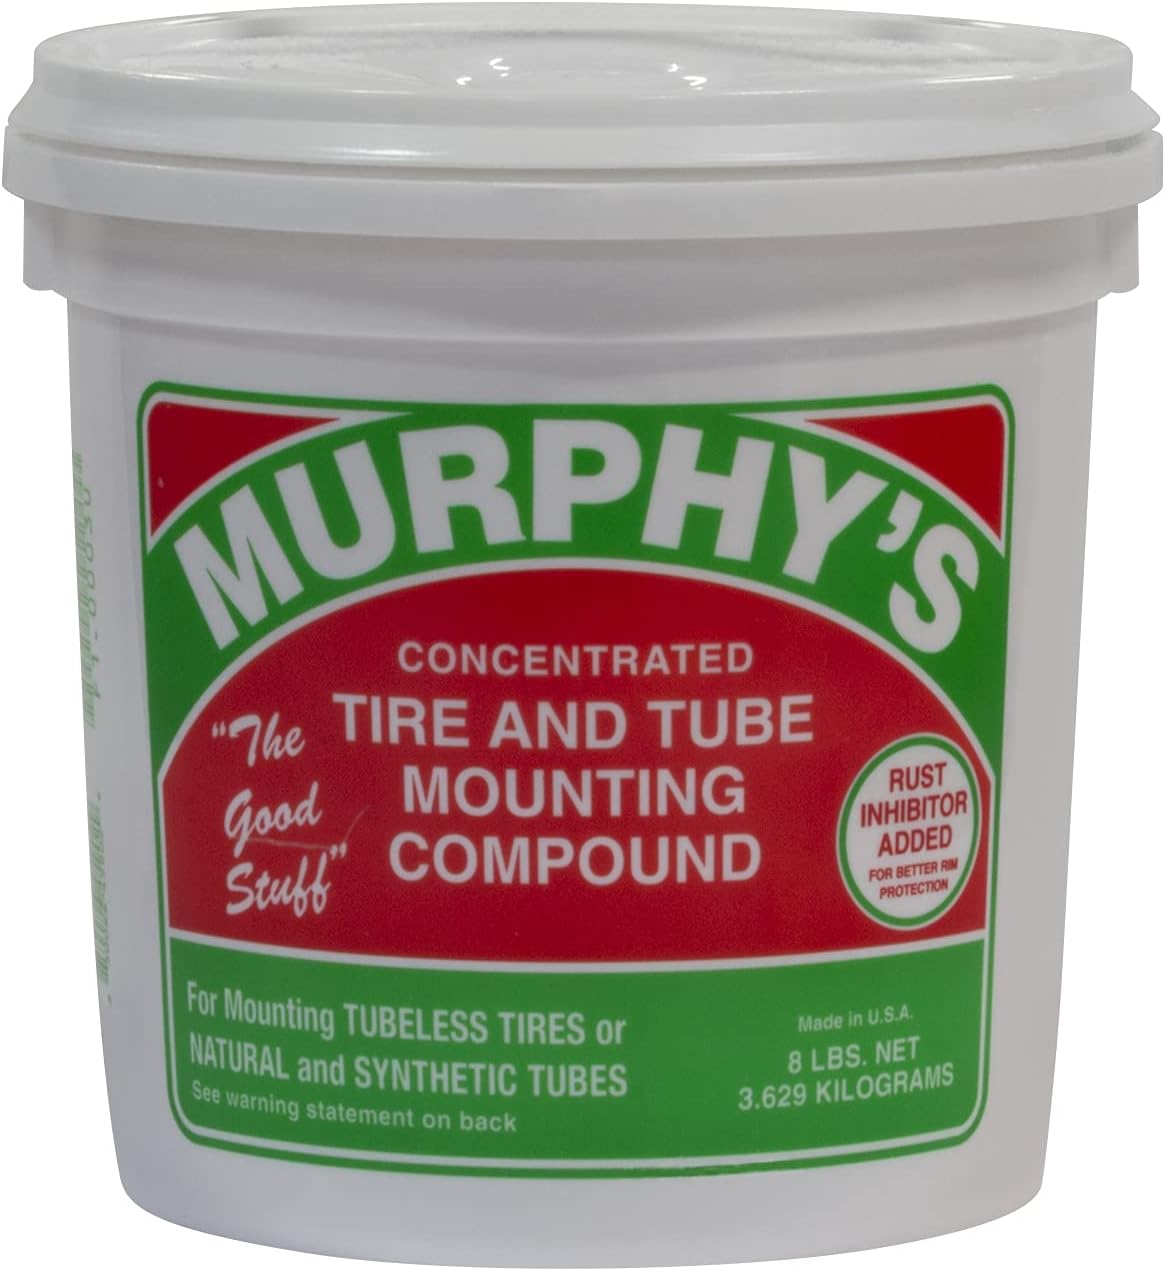
A concentrated tire and tube mounting compound designed to help simplify mounting rubber tires and tubes on passenger, semi truck, construction, and OTR applications. Its ultra-thick formula packs beads effectively and includes rust inhibitors to help protect against corrosion during use.
How Much Tire Mounting Costs
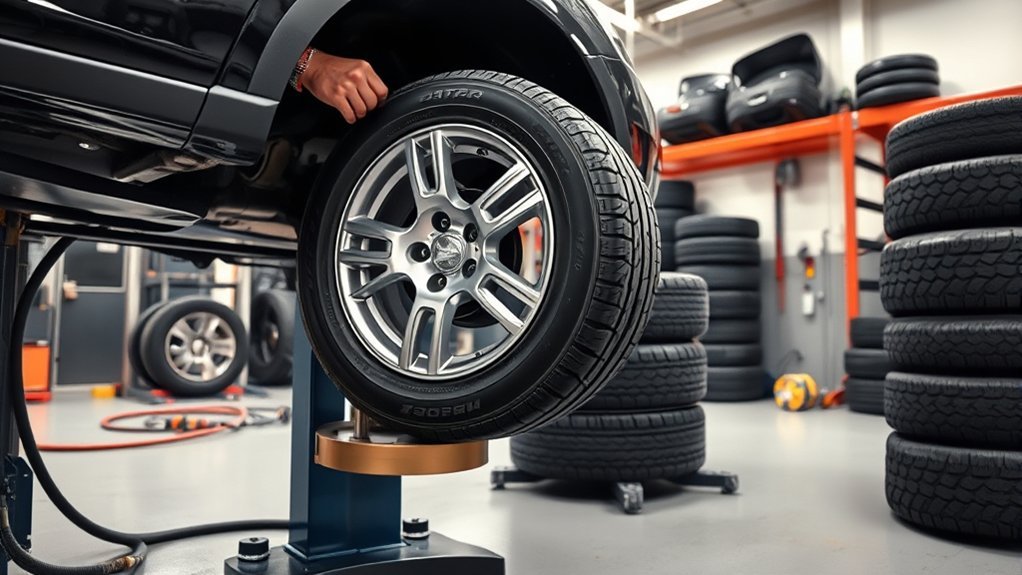
Tire mounting cost depends on the shop, vehicle, wheel size, tire type, location, and what is included. A simple passenger tire is usually cheaper to mount than a low-profile, run-flat, large SUV, off-road, or performance tire. Bringing tires purchased elsewhere may also cost more than buying tires from the same shop.
As a current retailer reference, Sam’s Club lists its Premium Tire Installation Package at $20 per tire for most vehicles. Costco says its installation package includes lifetime inflation pressure checks, tire balancing, tire rotations, and flat repairs for tires purchased through Costco, with some limits.
When comparing prices, ask whether the quote includes:
- Mounting each tire on the wheel.
- Computerized balancing.
- New rubber valve stems or TPMS service kits.
- Old tire disposal fees.
- Shop supplies or environmental fees.
- Road-force balancing, if needed.
- Lifetime rotations or rebalancing.
- Relearn or reset service for TPMS sensors.
Pro Tip: Ask for a line-item quote before approving the work. “Mounting” may not include balancing, valve stems, TPMS parts, disposal, or future rotations unless the shop clearly says so.
What to Check After Tire Mounting
After your tires are mounted, balanced, and installed, take a few minutes to check the results. You do not need to redo the technician’s work, but you should confirm the obvious items before driving far.
- Air pressure: check the pressure when the tires are cold and compare it with the vehicle placard.
- TPMS light: make sure the tire-pressure warning light is off after the relearn or reset process.
- Vibration: if the vehicle shakes at speed, the wheel may need rebalancing or road-force balancing.
- Air leaks: a slow pressure drop can come from the bead area, valve core, valve stem, TPMS seal, or wheel corrosion.
- Pulling: a pull after new tires may point to pressure differences, tire conicity, alignment issues, or suspension problems.
- Lug torque: follow the vehicle or shop recommendation for any re-torque check, especially on certain wheels or heavy-use vehicles.
Frequently Asked Questions
How much does it cost to fix a tire mount?
If the tire was mounted incorrectly, the cost depends on what needs to be corrected. A shop may charge for remounting, balancing, a new valve stem, a TPMS service kit, leak repair, or disposal. For a simple remount and balance, ask for a line-item quote and confirm whether TPMS parts or road-force balancing are extra.
What does tire mount mean?
A tire mount means fitting a tire onto a wheel rim and seating the beads so the tire can hold air. It is one part of a complete tire service. Balancing corrects weight imbalance, and installation puts the wheel-and-tire assembly back on the vehicle.
How long do tires last if not mounted?
Unmounted tires do not have one guaranteed shelf life. Age, heat, sunlight, ozone, humidity, chemical exposure, and storage position all affect tire condition. Store tires in a clean, dry, dark, mild-temperature area away from petroleum products, electric motors, battery chargers, and other ozone sources. Have older stored tires inspected before use and follow the tire or vehicle manufacturer’s age guidance.
Is mounting a tire the same as installing it?
No. Mounting puts the tire on the wheel. Installing puts the mounted wheel-and-tire assembly on the vehicle. Balancing is another separate step that helps the assembly spin smoothly.
Can I mount tires myself?
For most drivers, no. Tire mounting can be dangerous without proper training, equipment, lubricant, inflation controls, and balancing tools. A professional shop is the safer choice, especially for low-profile, run-flat, large light-truck, performance, or TPMS-equipped tires.
Do new tires need balancing after mounting?
Yes. New tires and wheels can still have small weight differences. Balancing after mounting helps prevent vibration, steering-wheel shake, uneven tread wear, and ride complaints.
Why is my car shaking after new tires were mounted?
Shaking after tire mounting often points to imbalance, wheel runout, uneven bead seating, a bent wheel, incorrect centering on the balancer, or a tire uniformity issue. Start by asking the shop to recheck balance, bead seating, air pressure, and wheel condition.
Conclusion
Tire mounting is a safety-critical service, not just a quick step before driving away. The tire must match the wheel, the rim must be clean and undamaged, the beads must seat evenly, the valve or TPMS parts must seal correctly, and the assembly should be balanced before installation. When in doubt, use a trained tire professional and ask for a clear quote that includes mounting, balancing, valve service, TPMS needs, and disposal fees.
Sources
- U.S. Tire Manufacturers Association — Care and Service of Passenger and Light Truck Tires — tire inspection, storage, mounting, TPMS, valve, balancing, and service-life guidance.
- U.S. Tire Manufacturers Association — Tire Information Service Bulletin, Demounting and Mounting Procedures — trained-personnel, bead seating, lubricant, inflation, and safety warnings.
- OSHA 29 CFR 1910.177 — rim-wheel servicing definitions and workplace safety requirements for covered large-vehicle applications.
- NHTSA TireWise — federal tire, rim, and TPMS safety information for consumers.
- Michelin Tire Safety Tips — bead-seating pressure and tire mounting safety guidance.
- Sam’s Club Premium Tire Installation Package and Costco Tire Advantage — current examples of tire installation package pricing and included services.

