
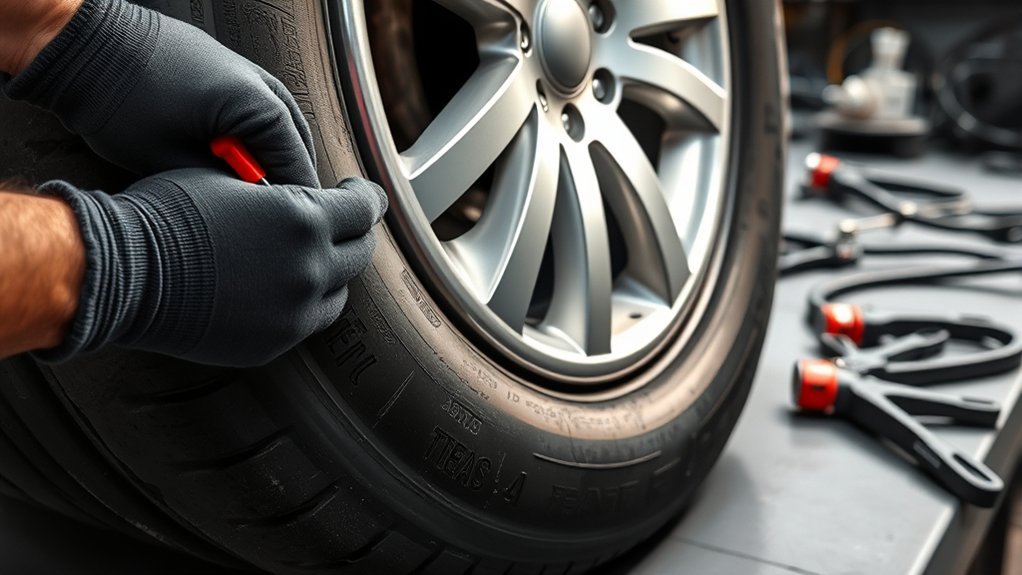
A slow tire leak can come from the bead, valve stem, tread, wheel, or a damaged tire. Before applying bead sealer, confirm exactly where the air is escaping and inspect the tire and wheel for damage. Diagnosing the leak is a reasonable DIY check, but demounting, remounting, and seating a tire bead require proper equipment and tire-service training.
Quick Answer
To reseal a tire bead leak, locate the leak, fully deflate and demount the tire, inspect the tire and wheel, remove light corrosion, apply a thin coat of approved bead sealer, remount with tire lubricant, and inflate using controlled professional equipment. Replace damaged tires or wheels instead of trying to seal them.
Key Takeaways
- Confirm that the leak is between the tire bead and rim before applying bead sealer.
- Do not reseal a cracked wheel, bent rim, badly corroded bead seat, torn tire bead, or tire with sidewall damage.
- Use approved bead sealer and nonflammable, rubber-compatible tire mounting lubricant as separate products.
- Never seat a tire with fire, fuel, ether, starting fluid, propane, hair spray, or another improvised propellant.
- Use a clip-on chuck, pressure gauge or regulator, proper restraint, and the tire or wheel manufacturer’s seating limits.
- Set final cold pressure from the vehicle placard or owner’s manual and retest the repaired area for bubbles.
At a Glance
| Time Required | About 30–60 minutes for a straightforward professional repair, excluding curing delays or wheel refinishing |
| Difficulty | Advanced; tire-service training and mounting equipment are recommended |
| Tools Needed | Pressure gauge, leak-detection solution, valve-core tool, tire changer, approved tire lubricant, bead sealer, clip-on chuck, inline gauge or regulator, and suitable restraint or barrier |
| Cost | Usually low for cleaning and sealing materials; substantially higher if the tire, valve, TPMS hardware, or wheel needs replacement |
Warning: An improperly mounted or inflated tire can burst or separate from the rim with enough force to cause severe injury or death. Do not break, mount, or seat a bead unless you have proper training, compatible tire-service equipment, a controlled air supply, and the required restraint. Never use fire or a flammable substance to seat a tire.
How to Reseal a Tire Bead Leak
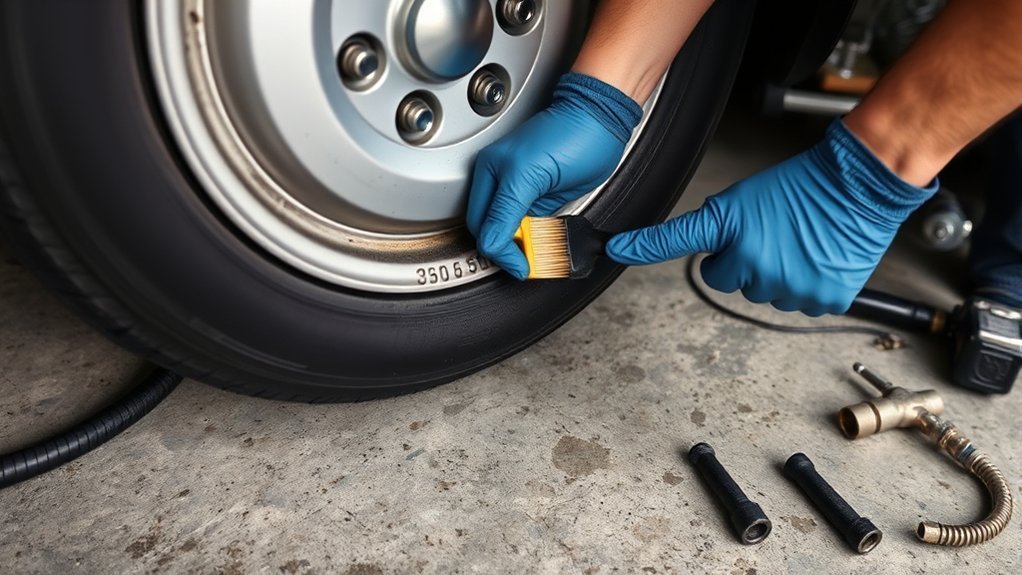
Resealing a bead leak involves more than brushing sealant around the outside of an inflated tire. The tire normally must be removed from the wheel so you can inspect both bead surfaces and the complete bead seat. Bead sealer should only fill minor surface imperfections after the underlying cause has been corrected.
- Locate every leak. Check the tread, sidewall, valve core, valve base, wheel, and both bead areas.
- Fully deflate the tire. Remove the valve core before any demounting work begins.
- Demount and inspect. Check the innerliner, both tire beads, wheel flange, bead seat, valve, and TPMS hardware.
- Clean light corrosion. Remove loose rust, scale, old sealant, dirt, and rubber residue without grinding away excessive wheel material.
- Apply bead sealer. Brush on a thin, continuous coat according to the product label and allow any required drying or setup time.
- Lubricate and remount. Apply approved tire mounting lubricant to the tire bead and wheel mating surfaces.
- Inflate, verify, and reinstall. Seat the bead with controlled equipment, set the correct cold pressure, test for leaks, and reinstall the wheel using the vehicle manufacturer’s torque procedure.
OSHA’s rim-wheel servicing standard is written for workplaces, but its equipment and inflation principles provide a useful safety benchmark for anyone working with mounted tires.
[Products Worth Considering]

The Trivd Frol 1/2" air impact wrench delivers high performance torque up to 1500 ft-lbs with a twin hammer impact mechanism for strong, balanced blows. It features an ergonomic grip, compact lightweight design, and quick-stop control with 3 forward speeds up to 8000 RPM plus a reverse speed. Built for demanding automotive repair and tire shop work, the rear exhaust helps keep debris away from the surface.

Malco tire mounting and demounting lubricant is a ready-to-use tire lube formulated to reduce friction during tire installation for passenger cars, light trucks, farm tires, and heavy-duty equipment. It provides rust-inhibiting protection to help reduce corrosion on rims and wheels, and helps support proper tire bead seating during inflation to reduce air leakage. The silicone-free, soap-free formula is whitewall safe to help prevent discoloration on whitewall tires and sensitive sidewall markings.

TireJect Off-Road Tire Sealant Kit provides 5-in-1 sealing to help fix tread punctures up to 3/8", sidewall punctures up to 3/8", bead leaks, slow leaks, and minor dry rot on low-speed tires. It permanently seals with liquid rubber, recycled tire particles, and Aramid fibers, making it ideal for flats caused by thorns, nails, and screws. The included dispensing cap attaches to the valve stem for a no-mess installation, along with a metal valve core remover tool and valve stem cap. This kit is for off-road use only.
Find Where the Tire Is Leaking
Inflate the tire only enough to perform a controlled leak test. Mix water with a small amount of dish soap in a spray bottle, apply it to each suspected location, and watch for growing bubbles. A few bubbles left by spraying are not proof of a leak. A continuing stream or expanding cluster shows escaping air.
Leak-Test Sequence
- Check the valve core by spraying the opening at the end of the valve stem.
- Check the base of the valve stem or TPMS valve where it passes through the wheel.
- Inspect the tread for nails, screws, cuts, plugs, or previous repairs.
- Inspect the shoulder and sidewall for cracks, bulges, cuts, exposed cords, or impact damage.
- Spray the complete outer and inner bead circumference.
- Check the wheel for a crack, casting porosity, damaged finish, or corrosion outside the bead area.
Note: Bead sealer will not repair a leaking valve, tread puncture, cracked wheel, damaged sidewall, torn bead, or porous wheel casting. Each problem needs its own approved repair or replacement procedure.
Mark every confirmed leak before deflating the tire. Multiple leak sources are common, especially on an older wheel with a worn valve and bead-seat corrosion.
Decide Whether the Bead Leak Can Be Resealed
[Products Worth Considering]
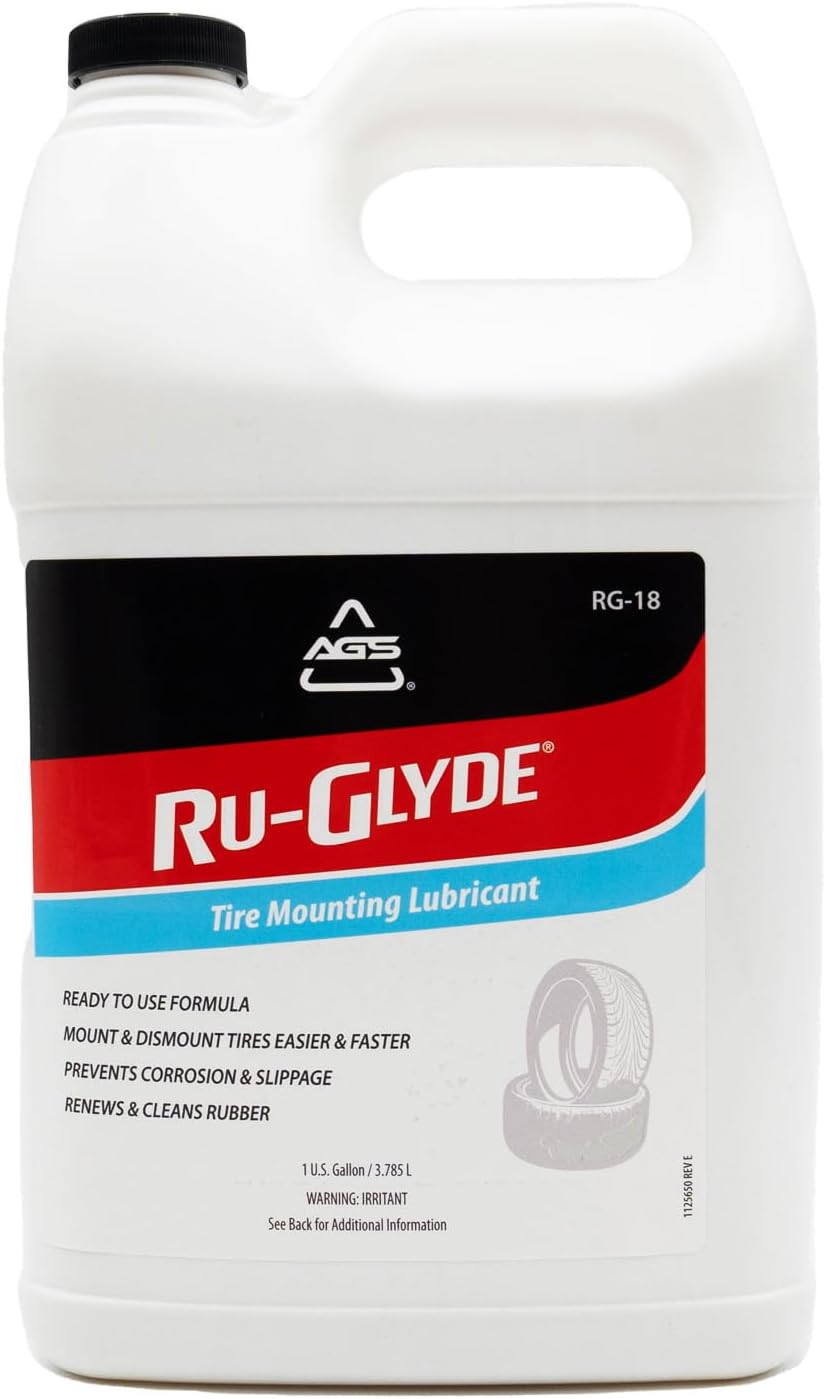
Ru-Glyde tire mounting lubricant from AGS seats tire beads smoothly on the first try with a thick, stay-put formula. It is ready to use with no mixing or dilution, helps prevent rim rust, and dries completely without causing bead slip residue. The water-based formula also conditions aged rubber, making it useful for sidewalls, gaskets, and door seals while remaining safe for tire, wheel, and technicians.

This 3-piece wheel brush set makes it easy to clean wheels and tires with soft, scratch-free brushes designed for lifting brake dust and grime. The flexible rim brush bends up to 360 degrees to reach hard-to-access areas for a thorough clean, while the comfortable grip helps control during detailing. A dedicated detailing brush supports gentle cleaning for sensitive surfaces, including interior use.

This professional wheel and rim cleaning brush set lifts brake dust, grime, and dirt with soft, scratch-free microfiber and synthetic wool fibers. The rim brush bends up to 360 degrees for easy access to hard-to-reach areas around spokes, lips, and faces. Ideal for thorough cleaning of car, truck, motorcycle, bicycle, RV, and more wheel and tire surfaces.
Bead Sealer May Be Appropriate When
- The leak is confirmed at the bead-to-wheel interface.
- The tire bead is intact and has no exposed bead wire, cuts, distortion, or mounting damage.
- The wheel has only light surface corrosion, paint lifting, or minor sealing irregularities.
- The tire and wheel sizes are compatible.
- The tire has not suffered internal damage from prolonged underinflated driving.
Do Not Reseal and Return the Assembly to Service When
- The wheel is cracked, bent, broken, badly pitted, or structurally corroded.
- The tire bead is cut, kinked, torn, stretched, or exposing wire.
- A sidewall has a bulge, exposed cord, deep cut, separation, or puncture.
- The tire shows innerliner abrasion, wrinkling, loose rubber, heat damage, or other signs of being driven flat.
- The tire and rim have different bead diameters or incompatible widths.
- The assembly continues leaking after correct cleaning, sealing, mounting, and valve inspection.
OSHA requires damaged, bent, cracked, broken, or significantly corrosion-pitted wheel components to be removed from service. Do not weld, heat, hammer, or straighten a pressurized wheel assembly.
Tools and Materials
- Accurate tire pressure gauge
- Water and mild dish soap for leak detection
- Valve-core removal tool
- Tire changing machine and correct mounting tools
- Approved, nonflammable, rubber-compatible tire mounting lubricant
- Commercial tire bead sealer
- Nylon brush, suitable wire brush, or fine abrasive approved for the wheel finish
- Clean lint-free cloths
- Clip-on air chuck with an inline pressure gauge or regulator
- Sufficient air hose to remain outside the tire’s trajectory
- Inflation cage, barrier, or other restraint when required for the wheel and service procedure
[Products Worth Considering]

Keep your tires performing with these valve core removal tools designed to quickly disassemble and reinstall standard valve cores. The compact, portable design makes it easy to carry for bicycle, motorcycle, car, or truck repairs. Durable stainless steel construction helps you handle routine tire maintenance with less hassle.

These aluminum alloy tire valve stem caps with an O-ring seal help protect valve stems from corrosion while adding a clean, stylish look to your vehicle. The universal fit works across cars, trucks, motorcycles, bicycles, and more, making them an easy upgrade for everyday driving and off-road use. Installation is quick, and the included four-pack keeps all your tires dressed and protected.

The Calvana Ultra-Durable Angled Tire Lube Bucket Kit provides reliable lubrication for faster, smoother tire changes. It includes an angled universal lube bottle and premium cotton swabs to help lubricate tire beads during removal and mounting. Built for rugged use with a reinforced handle and durable fiber design, it’s a direct replacement for Coats 8106259 to reduce downtime and compatibility concerns.
Clean the Tire Bead and Rim
After the tire is completely deflated and demounted, inspect both bead surfaces and the entire wheel bead seat. Cleaning should remove contamination without changing the wheel’s shape or removing unnecessary metal.
Bead Surface Cleaning
Wipe the tire bead with an approved rubber-safe cleaner or the cleaning method recommended by the tire or sealant manufacturer. Remove old sealant, loose rubber, dirt, and moisture. Do not use gasoline, brake cleaner, petroleum lubricant, WD-40, or an aggressive solvent on the tire bead.
Inspect the bead closely under good lighting. A smooth cosmetic mark may be serviceable, but a torn surface, exposed wire, deep cut, kink, or distorted bead requires professional evaluation and usually tire replacement.
Rim Prep Checks
Remove loose surface rust, scale, peeling coating, rubber buildup, and old bead sealer from the wheel’s bead seat. Use only enough abrasion to produce a clean, smooth sealing surface. Do not create grooves, low spots, sharp edges, or a changed rim profile.
Light corrosion may be repairable. Deep pitting, cracks, bent flanges, elongated bolt holes, previous heat repair, or substantial material loss can make the wheel unsafe. Replace or professionally evaluate the wheel rather than covering structural damage with sealant.
Michelin’s tire-mounting guidance recommends inspecting tire and wheel condition and using approved tire lubricant on the bead and rim flange.
Apply Bead Sealer to the Rim Edge
Bead sealer and tire mounting lubricant perform different jobs. Bead sealer fills minor imperfections after it dries or sets. Mounting lubricant temporarily reduces friction so the bead can move into position without being damaged.
- Read the bead-sealer label and safety data sheet before opening the container.
- Confirm that the wheel and bead surfaces are clean and dry.
- Brush a thin, continuous coat over the specified bead-seat area.
- Avoid puddles, thick ridges, bubbles, or excessive buildup.
- Allow the product to set for the time stated on its label.
- Apply a second coat only if the manufacturer permits it and the first leak check shows that it is necessary.
Products such as commercial tire bead sealer are designed to seal small gaps between the tire bead and wheel. They are not substitutes for repairing structural wheel damage or replacing a damaged tire.
Pro Tip: Apply only a thin coat. Excess sealer can hide defects, create an uneven mounting surface, make future service messy, and still fail if corrosion or bead damage remains underneath.
Reseat the Tire Bead and Inflate
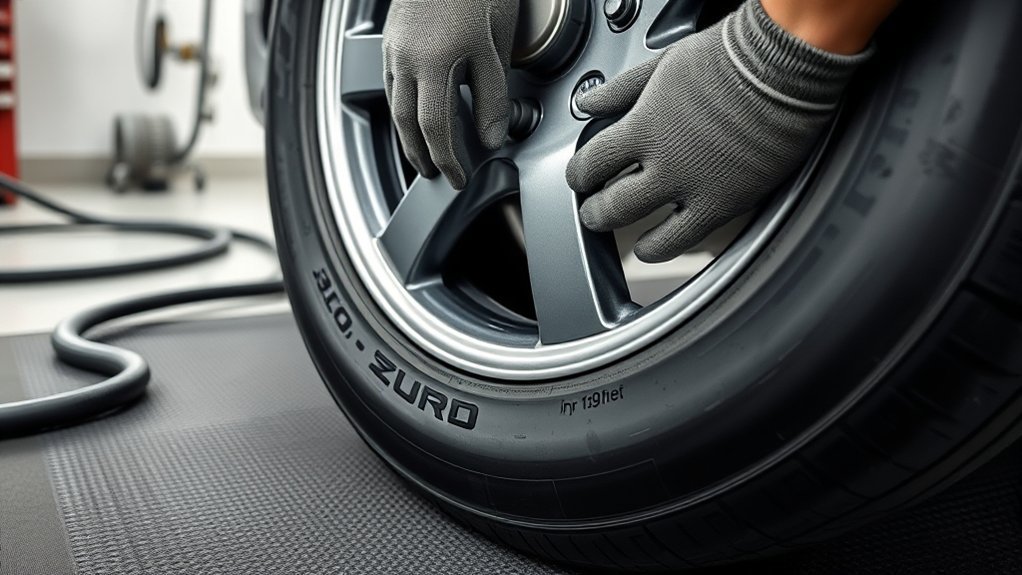
Mounting and inflation are the most hazardous parts of this repair. Use a tire changer and inflation equipment designed for the tire and wheel. Confirm that the tire’s bead diameter, wheel diameter, and wheel width are compatible before adding air.
Bead Seating Prep
Apply an even film of approved tire mounting lubricant to both tire beads and the wheel mating surfaces unless the tire or wheel manufacturer instructs otherwise. The lubricant must be nonflammable, rubber-compatible, and intended for tire mounting.
- Keep lubricant away from the tread and braking components.
- Do not use petroleum oil, grease, WD-40, fuel, solvent, or hair spray.
- Do not use plain water as the mounting lubricant.
- Avoid excessive lubricant that can pool inside the tire.
Safe Inflation Methods
| Equipment or Method | Safe Use | Key Limit |
|---|---|---|
| Tire changer | Supports and controls the assembly during mounting | Follow the machine, tire, and wheel instructions |
| Clip-on chuck and remote hose | Allows the operator to stand outside the trajectory | Use with an inline gauge, valve, or regulator |
| Inflation cage or barrier | Contains components or released energy if the assembly fails | Required for certain wheels and professional procedures |
| Bead-seating air device | Provides a controlled air burst when standard airflow cannot establish an initial seal | Trained operators only; follow the device manufacturer’s instructions |
| Fire or flammable propellant | Never acceptable | Do not use ether, starting fluid, propane, gasoline, aerosol spray, or an open flame |
Stay outside the tire’s trajectory throughout inflation. Do not lean over the sidewall, place your hands on the assembly, or position a solid object close to the sidewall. Stop immediately if the tire or wheel looks distorted, the bead does not rise evenly, or unusual noises occur.
Never exceed the maximum bead-seating pressure stated by the tire, wheel, or equipment manufacturer. After both beads are correctly seated, adjust the tire to the vehicle manufacturer’s recommended cold pressure. NHTSA advises using the Tire and Loading Information label or owner’s manual for normal vehicle pressure, not the maximum number molded onto the tire sidewall.
Seal Check Steps
- Inspect the molded bead-reference line on both sides of the tire.
- Confirm that the line is evenly spaced from the rim around the full circumference.
- Install or tighten the valve core as required.
- Set the final cold inflation pressure.
- Spray the bead, valve core, valve base, and previously marked leak areas.
- Correct any growing bubbles before returning the assembly to service.
Check for Leaks Before Reinstalling
Perform the final leak test while the wheel is still accessible. Spray the complete inner and outer bead, tread repair areas, valve core, and valve base. Watch each area long enough to identify slow bubbling.
If the assembly passes, dry the wheel and tire before reinstalling it. Tighten the wheel fasteners with the pattern and torque specified by the vehicle manufacturer. Do not guess the torque or use an impact wrench as the final measuring tool.
Check the tire pressure again when the tire is cold, preferably before the next drive or the following morning. A measurable pressure loss means the leak remains or another source was missed.
Troubleshooting a Bead Leak That Returns
Bubbles Remain After Applying Sealer
Fully deflate and demount the tire again. Check for a missed patch of corrosion, a coating ridge, old sealant, tire-bead damage, or a wheel defect. Do not keep adding thick layers of sealer over an uncorrected surface.
The Leak Returns After a Few Days
Recurring leakage often points to deeper corrosion, wheel porosity, a cracked wheel, a damaged bead, or movement between an uneven bead and rim. A tire shop can use a dunk tank, wheel inspection equipment, and controlled inflation tools to isolate the cause.
The Bead Will Not Seat Evenly
Stop adding air. Deflate the tire, verify size compatibility, inspect the bead and wheel, clean the mating surfaces, and reapply approved lubricant. Never strike, pry, heat, or force a pressurized assembly into position.
The Valve Area Is Leaking
A leaking valve core may need tightening or replacement. Leakage around the valve base may require a new snap-in valve, service kit, seal, or TPMS valve component. Bead sealer should not be used to hide a damaged valve.
The Tire Was Driven While Flat
Remove the tire from service until its innerliner and sidewalls have been inspected. Driving with very low pressure can damage cords and inner surfaces even when the outside still looks normal.
USTMA’s passenger and light-truck repair guidance also requires tire removal and internal inspection before an eligible tread puncture is repaired. Bead sealer is not a replacement for an industry-standard puncture repair.
Additional Tire Guides
The following existing resources cover tire selection, spare tires, foam filling, and wet-weather use. They address separate topics and should not be treated as bead-leak repair instructions.
- RAV4 all-terrain tire options
- Foam-filled tire benefits and limitations
- Affordable RAV4 tire options
- Spare tire kits for a Toyota RAV4
- Full-size, compact, and folding spare tire types
- RAV4 tires for wet-road traction
Frequently Asked Questions
How do you reseal a tire bead?
Confirm the leak at the bead, fully deflate and demount the tire, inspect the tire and wheel, clean light corrosion or residue, apply a thin coat of approved bead sealer, remount with approved tire lubricant, and inflate with controlled professional equipment. Replace damaged components instead of sealing them.
How do you apply tire bead sealant?
Clean and dry the bead-seat area, then brush on a thin, continuous coat according to the sealant manufacturer’s directions. Avoid puddles and excessive buildup. Allow the stated setup time before remounting the tire and testing the assembly for leaks.
Can you use WD-40 to seal a tire bead?
No. WD-40 is not tire bead sealer or approved tire mounting lubricant. Petroleum-based and unapproved products may affect rubber, interfere with sealing, or leave a slippery residue. Use a commercial bead sealer and a separate rubber-compatible tire mounting lubricant.
Can you make tire bead sealer from dish soap?
No. Water and dish soap can help reveal an air leak, but the mixture does not form a durable bead seal. Use a purpose-made tire bead sealer that is compatible with the tire and wheel, and follow its label and safety data sheet.
Can bead sealer fix a damaged tire bead?
Bead sealer can fill minor surface gaps, but it cannot restore a cut, torn, kinked, stretched, or wire-exposed tire bead. A structurally damaged bead can prevent secure mounting and normally requires tire replacement.
Can you drive immediately after resealing a tire bead?
Drive only after the sealant has completed its required setup time, both beads are seated evenly, the valve and bead pass a leak test, the tire is adjusted to the correct cold pressure, and the wheel is installed to the vehicle manufacturer’s specifications.
Conclusion
A successful bead-leak repair begins with an accurate diagnosis. Clean surfaces and commercial bead sealer may correct minor leakage caused by light corrosion or small sealing imperfections, but they cannot make a damaged tire or wheel safe.
Use approved mounting lubricant, controlled inflation equipment, proper restraints, and manufacturer-specific limits. If you cannot safely demount, inspect, mount, and inflate the assembly, have a trained tire technician complete the repair. Recheck the cold pressure after the repair and investigate any continuing pressure loss before driving normally.
Sources
- Occupational Safety and Health Administration, 29 CFR 1910.177 — rim-wheel inspection, mounting, restraint, lubrication, inflation, and equipment requirements
- U.S. Tire Manufacturers Association, TISB 41 — bead lubricants, mounting aids, bead sealers, sealants, and flammable substances
- USTMA Puncture Repair Procedures — internal inspection and repairable-area requirements for passenger and light-truck tires
- National Highway Traffic Safety Administration TireWise — correct cold inflation pressure and tire-safety guidance
- Michelin Visual Tire Inspection and Mounting Guidance — inspection, compatibility, and approved tire mounting lubricant
- Maruni Non-Flammable Bead Sealer — intended use of commercial bead sealer for minor bead-area air leaks
