
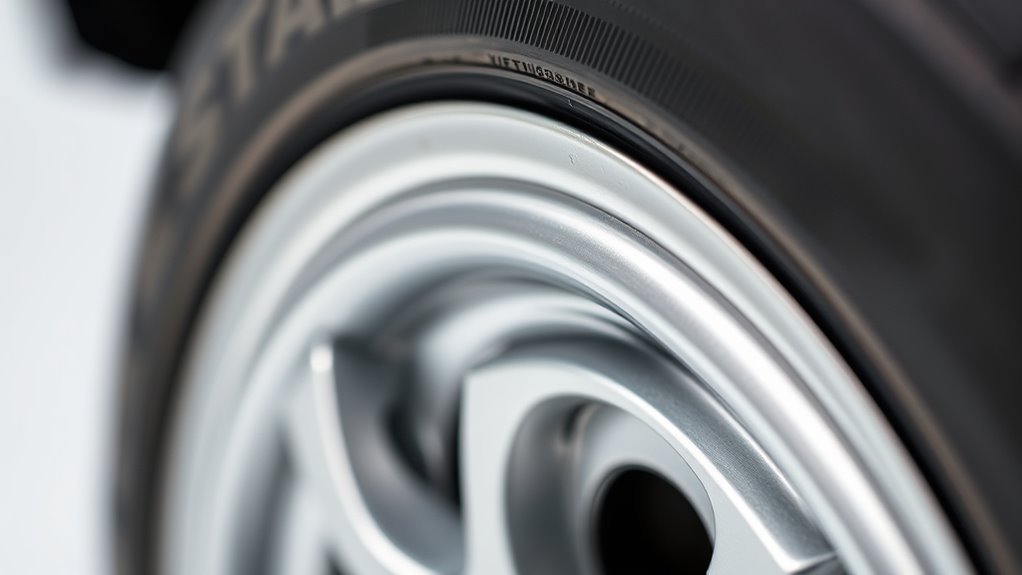
A tire bead is the reinforced inner edge of a tire that grips the wheel rim and helps create the airtight seal that keeps the tire inflated. It is built around a strong steel-wire bundle coated in rubber, and it must sit cleanly and evenly on the rim’s bead seat to work safely. If the bead is damaged, corroded, contaminated, or mounted incorrectly, the tire can leak air, vibrate, slip on the rim, or fail suddenly.
Quick Answer
A tire bead is the steel-reinforced, rubber-coated edge of the tire that locks against the rim. It holds the tire in place, helps maintain air pressure, and transfers driving, braking, and cornering forces between the tire and wheel.
Key Takeaways
- The bead is the part of the tire that grips the rim and helps form an airtight seal.
- Most tire beads use high-tensile steel wire coated in rubber for strength and sealing.
- Common bead problems include slow leaks, corrosion at the rim, exposed bead wire, vibration, and uneven seating.
- Damaged bead wire, severe distortion, or exposed reinforcement usually means the tire should be replaced, not repaired.
- Mounting and bead seating should be done with proper tools, approved lubricant, controlled inflation, and manufacturer pressure limits.
Warning: Do not use starter fluid, ether, gasoline, aerosol inflators, or any flammable shortcut to seat a tire bead. Tire inflation can release explosive force if a bead, rim, or wheel component fails. Use professional equipment and follow the tire and wheel manufacturer’s service limits.
What a Tire Bead Is and Where It Sits on the Rim
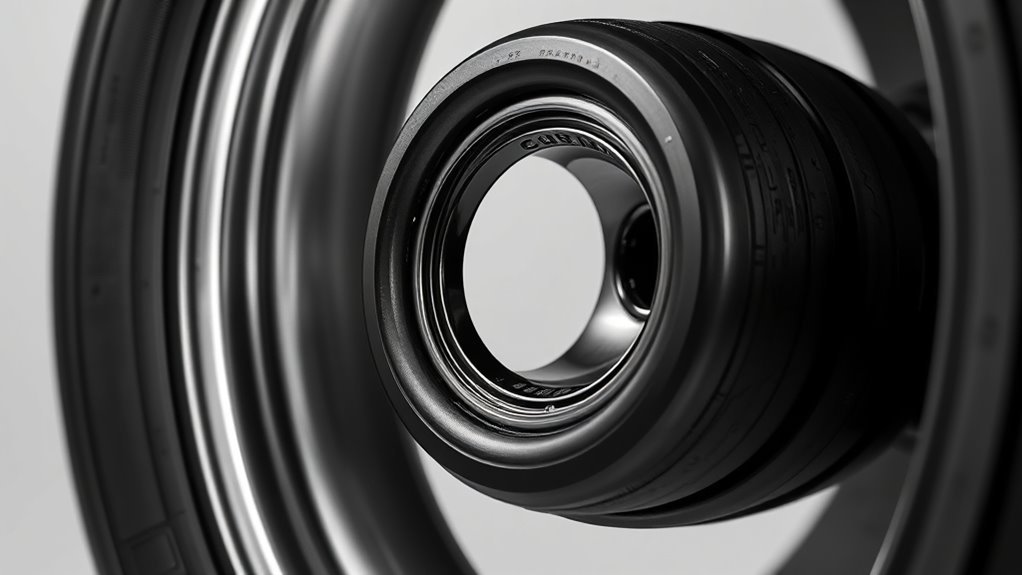
Think of the tire bead as the tire’s reinforced mounting edge. It sits at the inner edge of each sidewall, where the tire meets the wheel. When the tire is mounted, each bead rests against the rim’s bead seat, the shaped surface that supports the tire and helps it seal.
According to Bridgestone’s tire structure guide, the bead is designed to grip the wheel firmly and contains a steel loop made from bundled fine steel wire. Goodyear also describes the bead as high-tensile wire coated with rubber and wound to a specified inside diameter to hold the tire to the wheel.
When everything is correct, the bead:
- Locks the tire onto the rim.
- Helps create and maintain the airtight seal.
- Prevents the tire from rotating on the wheel under normal acceleration and braking.
- Helps transfer steering, braking, cornering, and load forces.
Before mounting a tire, inspect the bead area for cuts, distortion, rust stains, exposed wire, rubber separation, or contamination. Also inspect the rim’s bead seat for corrosion, old sealant, bends, cracks, or debris. A clean tire bead and clean wheel seat are both required for a reliable seal.
How a Tire Bead Creates an Airtight Seal
A tire bead seals by combining shape, pressure, and clean contact. The bead is slightly smaller and stronger than the rim area it locks against, so when the tire is inflated, air pressure pushes the rubber-coated bead outward into the rim seat. That pressure creates a tight mechanical fit.
Bead-to-Rim Contact
Correct bead-to-rim contact depends on the bead sitting evenly around the wheel. The bead must not be twisted, pinched, folded, or hung up on the rim flange. If one section is not seated correctly, the tire can lose air, wobble, or fail to balance.
During inspection, check for:
- A uniform bead line around both sides of the tire.
- No visible gap between the bead and rim flange.
- No rust, mud, old sealant, or corrosion flakes trapped between the tire and wheel.
- No exposed bead wire or torn rubber at the bead edge.
Pro Tip: If a tire keeps losing air but no nail or puncture is visible, spray soapy water around the bead area. Bubbles at the rim edge often point to a bead-seat leak or rim corrosion.
Seal Formation Mechanics
The bead seal works because the rubber-coated bead conforms to the wheel’s bead seat. The tire’s internal air pressure presses the bead outward, while the wheel shape keeps it locked in place. That contact must be continuous. Even a small gap from corrosion, sand, old bead sealer, torn rubber, or a bent rim can cause a slow leak.
| Checkpoint | What to Do | Why It Matters |
|---|---|---|
| Rim seat | Clean rust, dirt, and old sealant | Prevents leak paths |
| Bead edge | Inspect for cuts, cracks, or exposed wire | Confirms the bead can seal safely |
| Lubrication | Use approved tire mounting lubricant | Reduces bead damage during mounting |
| Inflation | Inflate in controlled steps | Allows even seating |
| Leak test | Use soapy water or a leak-check tank | Confirms the seal before driving |
Pressure-Assisted Seating
Inflation pressure helps move the tire beads outward until they sit fully against the rim. This is called bead seating. It should be done carefully because a tire and wheel assembly can release dangerous force if a tire bead, rim, or wheel component fails.
The U.S. Tire Manufacturers Association safety guidance says to follow the tire manufacturer’s maximum bead-seating pressure and, if no manufacturer limit is given, not to exceed 40 psi while seating beads. The same guidance warns against petroleum-based lubricants, flammable substances, aerosol inflators, and damaged rims.
Note: OSHA rim-wheel rules apply mainly to large vehicles such as trucks, tractors, trailers, buses, and off-road machines, but their safety principles are useful reminders for any tire work: use proper tools, stand clear of the trajectory path, and never overinflate to force a bead to seat.
Tire Bead Materials and Construction
A tire bead is not just rubber. It is a reinforced structure built to stay strong under load, heat, steering force, and repeated flexing. Common bead construction includes:
| Component | Purpose | What Can Go Wrong |
|---|---|---|
| Steel bead wire | Gives the bead strength and shape | Can bend, break, corrode, or become exposed after damage |
| Rubber coating | Protects wire and helps seal against the rim | Can tear, crack, harden, or separate |
| Chafer area | Protects the bead from rim abrasion | Can wear from poor mounting or wheel movement |
| Bead filler | Supports lower sidewall stiffness and steering response | Can be affected by heat, overload, or impact damage |
Goodyear’s tire manufacturing overview explains that the bead is made from high-tensile wire coated in rubber and wound to a specific diameter and number of turns. That precise shape is important because the bead must match the wheel size exactly. A tire marked for a 17-inch wheel, for example, must never be forced onto a different rim diameter.
Why the Tire Bead Matters for Safety and Handling
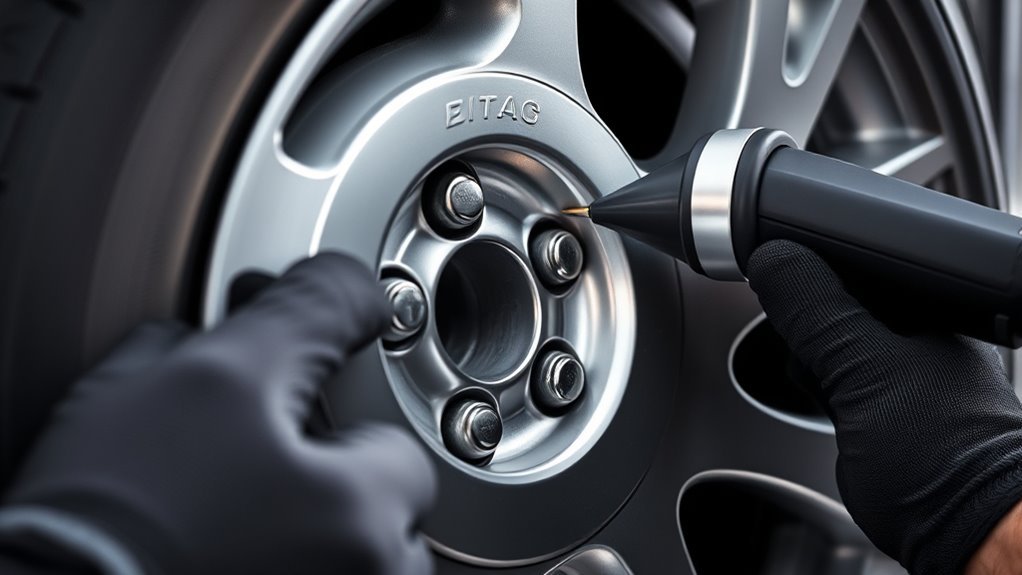
The bead affects more than air pressure. It also helps keep the tire centered, stable, and securely attached to the wheel. When the bead is seated properly, the tire’s shape stays consistent and the tread contacts the road evenly. That supports predictable braking, steering, cornering, and ride quality.
If the bead is damaged or not seated correctly, you may notice:
- Slow air loss.
- Steering vibration or wheel wobble.
- Uneven tread wear.
- A tire that will not balance correctly.
- Air bubbles around the rim during a leak test.
- Visible separation between tire and rim.
A tire bead problem is not cosmetic if it affects sealing, seating, or bead-wire integrity. Those issues can lead to pressure loss, poor handling, or sudden tire failure.
Signs of a Failing Tire Bead
A bad tire bead is not always obvious at first. Some bead problems show up as a slow leak, while others appear after impact damage, poor mounting, corrosion, or driving while underinflated.
Visible Bead Exposure
If you can see bead wire, torn rubber, or a section of the bead pulled away from the rim, stop using the tire until it has been inspected. Exposed steel wire, bead cracking, heavy distortion, or separation means the bead structure may no longer be safe.
Check for:
- Metal bead wire showing through the rubber.
- Cracks or splits at the bead edge.
- Rust stains coming from the bead area.
- Rubber chunks missing near the rim.
- A bead that does not sit evenly all the way around the wheel.
Slow Pressure Loss
Slow pressure loss often points to a leak at the bead seat, especially when no puncture is visible in the tread. Use a calibrated tire pressure gauge, record the pressure, and recheck it after 24 hours. Then inspect the rim edge and bead area with soapy water.
Common causes include:
- Corrosion on steel wheels.
- Aluminum oxide buildup on alloy wheels.
- Old bead sealer or dirt trapped under the bead.
- A bent rim flange.
- Small cuts or scuffs in the bead rubber.
- Improper mounting lubricant or dry mounting damage.
If the tire itself is structurally sound, a technician may be able to fix a bead-seat leak by dismounting the tire, cleaning the wheel, inspecting both mating surfaces, and remounting the tire with approved lubricant. If the bead wire is exposed, broken, bent, or separated, the tire should be replaced.
Uneven Tire Wear
A bead that is not seated correctly can change how the tire rides on the wheel. That may contribute to vibration, cupping, scalloping, or tread-depth differences across the tire. However, uneven wear can also come from alignment problems, worn suspension parts, bad shocks, improper inflation, or wheel imbalance.
Use this simple check:
- Run your hand lightly across the tread to feel for cupping or scalloping.
- Measure tread depth across the inner, center, and outer tread ribs.
- Check tire pressure against the vehicle placard, not just the number on the tire sidewall.
- Inspect both bead lines to confirm they are even around the rim.
- Have the wheel checked for bends or runout if vibration remains.
What Damages Tire Beads: Impacts, Corrosion, Mounting Errors
Tire beads are strong, but they can still be damaged by impact, corrosion, poor service practices, and running on low pressure.
Impact Damage
Hard curb hits, potholes, road debris, and off-road impacts can bend the rim flange or pinch the bead area. Even if the tire does not go flat immediately, the bead may start leaking later. After a strong impact, inspect the wheel and tire before continuing long-distance driving.
Corrosion and Contamination
Rust on steel wheels and oxidation on alloy wheels can create small channels where air escapes. Salt, water, dirt, and old bead sealant can make this worse. Cleaning the bead seat properly is often the difference between a tire that seals and one that slowly leaks.
Mounting Errors
Incorrect tire mounting can tear or stretch the bead. Common mistakes include using the wrong tools, dry mounting without approved lubricant, forcing a tire onto an incompatible rim, using the wrong tire size, or inflating too aggressively to force seating.
Warning: Never mount a tire on a wheel unless the tire size and rim size match exactly. Mismatched tire and rim assemblies can fail violently during inflation.
Repair vs. Replace: When a Tire Bead Can Be Fixed
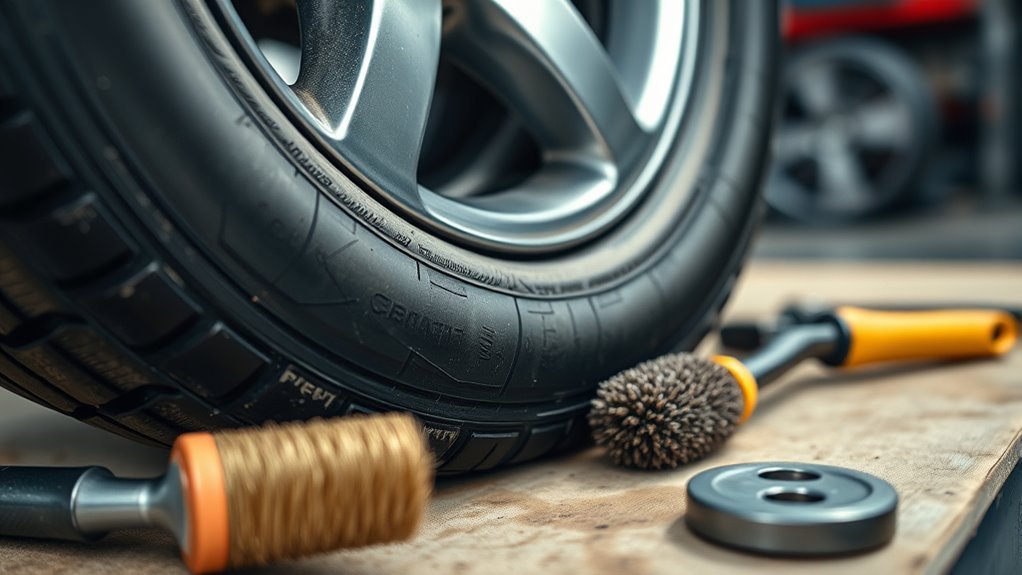
Whether a bead issue can be fixed depends on what is actually damaged: the wheel’s bead seat, the tire’s bead rubber, or the bead wire itself.
| Condition | Likely Action | Reason |
|---|---|---|
| Dirty or corroded rim seat | Clean and remount if tire is undamaged | The leak may be from the wheel surface, not the tire structure |
| Minor bead scuff with no exposed wire | Professional inspection required | Some cosmetic scuffs may still seal, but only after inspection |
| Persistent bead leak | Dismount, inspect, clean, and leak-test | The cause may be rim corrosion, bead damage, or both |
| Exposed, broken, bent, or frayed bead wire | Replace the tire | The bead structure is compromised |
| Cut into sidewall or bead area | Replace the tire in most cases | Structural sidewall and bead repairs are not the same as tread puncture repairs |
The U.S. Tire Manufacturers Association tire repair guidance explains that proper puncture repair requires removing the tire from the wheel for internal inspection and that a plug alone or patch alone is not an acceptable repair. That guidance applies to punctures in the repairable tread area, not structural bead damage. Bead-wire damage should be treated as a replacement issue.
[Products Worth Considering]

TireJect Off-Road Tire Sealant Kit provides 5-in-1 sealing to help fix tread punctures up to 3/8", sidewall punctures up to 3/8", bead leaks, slow leaks, and minor dry rot on low-speed tires. It permanently seals with liquid rubber, recycled tire particles, and Aramid fibers, making it ideal for flats caused by thorns, nails, and screws. The included dispensing cap attaches to the valve stem for a no-mess installation, along with a metal valve core remover tool and valve stem cap. This kit is for off-road use only.

Malco tire mounting and demounting lubricant is a ready-to-use tire lube formulated to reduce friction during tire installation for passenger cars, light trucks, farm tires, and heavy-duty equipment. It provides rust-inhibiting protection to help reduce corrosion on rims and wheels, and helps support proper tire bead seating during inflation to reduce air leakage. The silicone-free, soap-free formula is whitewall safe to help prevent discoloration on whitewall tires and sensitive sidewall markings.
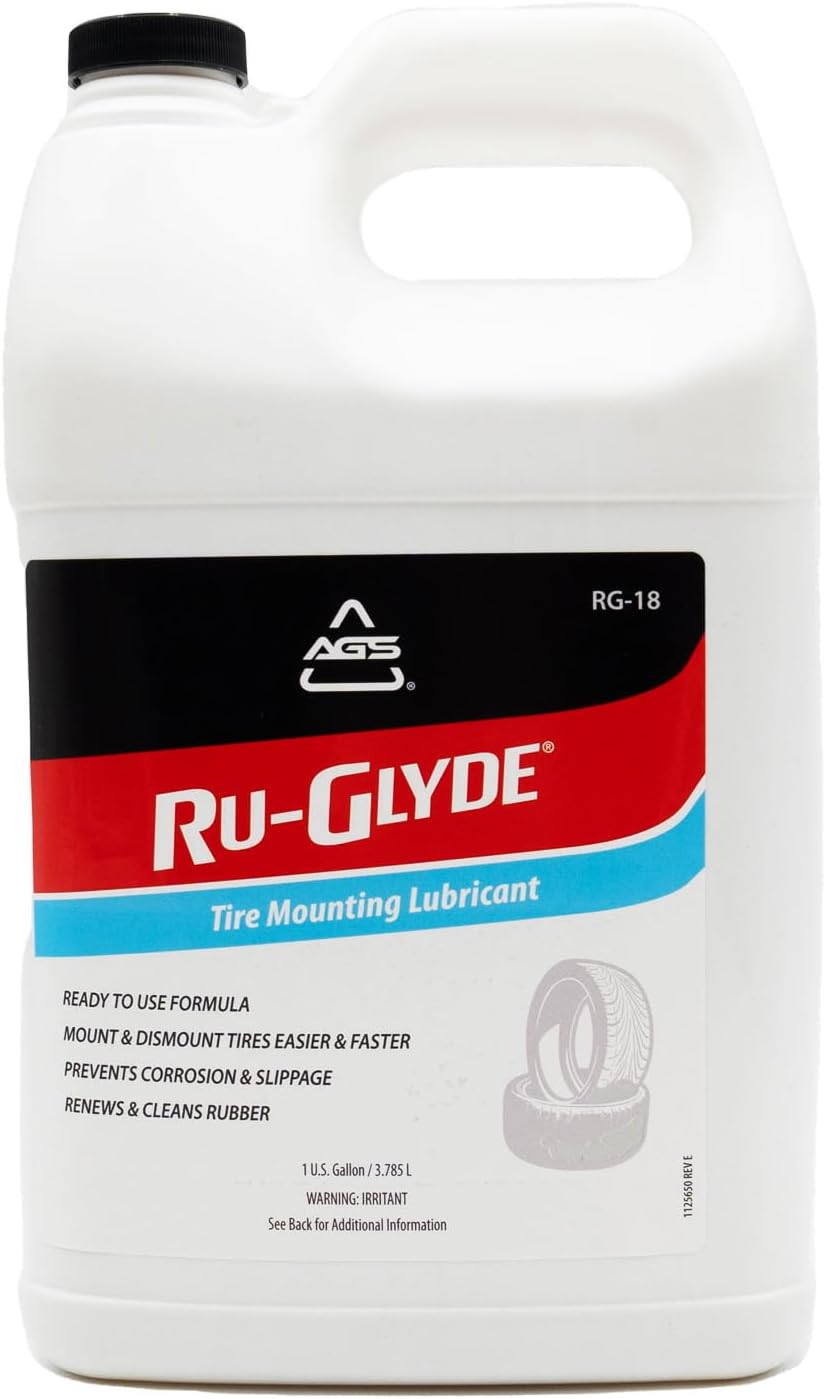
Ru-Glyde tire mounting lubricant from AGS seats tire beads smoothly on the first try with a thick, stay-put formula. It is ready to use with no mixing or dilution, helps prevent rim rust, and dries completely without causing bead slip residue. The water-based formula also conditions aged rubber, making it useful for sidewalls, gaskets, and door seals while remaining safe for tire, wheel, and technicians.
Immediate Steps and Best Practices for Mounting and Maintenance
At a Glance
| Time Required | 10–30 minutes for inspection; longer if the tire must be dismounted |
| Difficulty | Basic inspection is easy; mounting and bead seating should be done by a trained technician |
| Tools Needed | Tire pressure gauge, soapy water, valve tool, tire machine or safety equipment for service work |
| Cost | Usually low for cleaning and resealing; higher if the tire or wheel must be replaced |
For safe bead maintenance, follow a careful inspection-first process:
| Step | Action | Check |
|---|---|---|
| 1 | Check tire pressure cold | Compare with the vehicle placard |
| 2 | Inspect bead line and rim edge | Look for gaps, cracks, rust, or exposed wire |
| 3 | Leak-test the bead area | Use soapy water and watch for bubbles |
| 4 | Dismount if needed | Inspect the hidden bead and rim seat |
| 5 | Clean and lubricate properly | Use approved tire lubricant only |
| 6 | Inflate and verify seating | Follow manufacturer pressure limits |
| 7 | Balance and road-test | Recheck pressure after the test drive |
For everyday drivers, the most important maintenance step is simple: keep tires inflated to the pressure listed on the vehicle’s tire placard and inspect the bead area whenever tires are rotated, replaced, repaired, or losing air.
[Products Worth Considering]

Monitor tire tread wear with a smart, color-coded depth gauge that shows clear condition ranges at a glance. The bar is range marked for fast, easy readings, helping you maintain safer traction and performance. Each gauge is portable with a pocket clip, and the set includes 20 units for daily use and sharing.
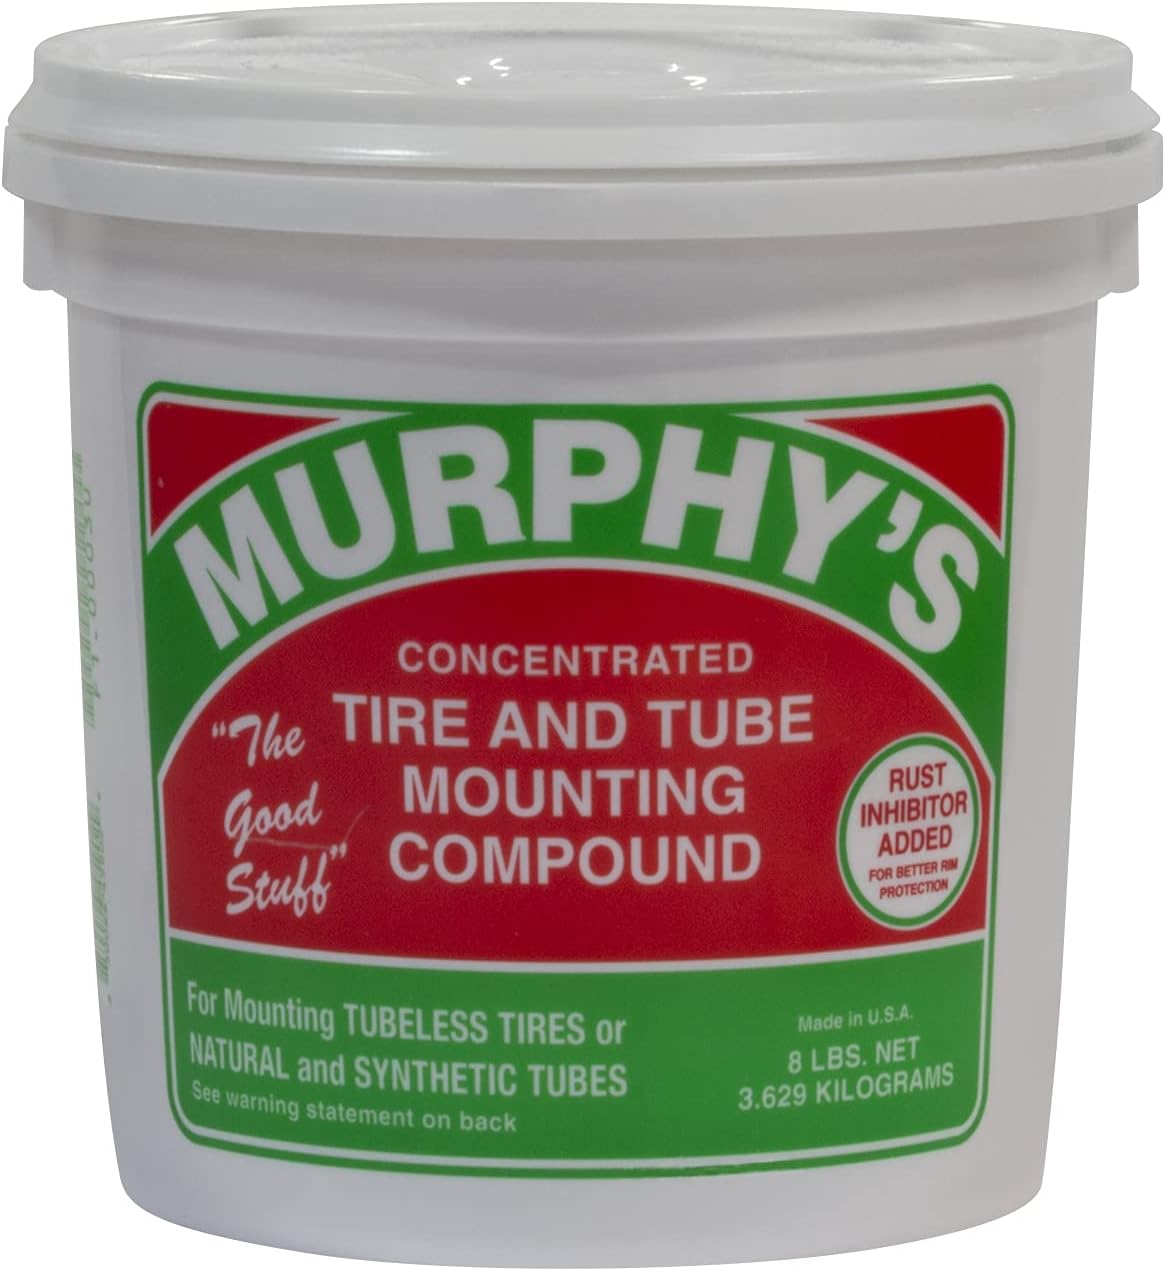
A concentrated tire and tube mounting compound designed to help simplify mounting rubber tires and tubes on passenger, semi truck, construction, and OTR applications. Its ultra-thick formula packs beads effectively and includes rust inhibitors to help protect against corrosion during use.

This professional wheel and rim cleaning brush set lifts brake dust, grime, and dirt with soft, scratch-free microfiber and synthetic wool fibers. The rim brush bends up to 360 degrees for easy access to hard-to-reach areas around spokes, lips, and faces. Ideal for thorough cleaning of car, truck, motorcycle, bicycle, RV, and more wheel and tire surfaces.
Special Cases: Off-Road, Beadlocks, and Dual-Wheel Applications
Some tire setups put extra demand on the bead. Off-road driving, beadlock wheels, heavy loads, and dual-wheel applications all require closer pressure and seating checks.
[Products Worth Considering]

Steelman white tire marking crayons provide high-contrast, semi-permanent marks for repairing and inspecting tires and equipment. They write on wet or dry, smooth or coarse surfaces including rubber, metal, glass, and wood, making them ideal for puncture location and damage outlining. The lead- and zinc-free crayons resist weather and fading yet wipe away when you no longer need the marks.

This 12-inch LUMITECO dual head tire pressure gauge features an integrated straight-on chuck and a 30° reverse chuck to reach hard-to-access dual wheel valves. Its 10–150 PSI / 1–10 BAR range with a clear, two-sided scale helps you quickly check tire pressure for safer, smoother driving. Heavy-duty construction and a simple no-battery design make it a reliable tool for trucks, cars, RVs, and motorcycles.

This tire inflator with pressure gauge delivers long-lasting performance with a durable rubber-protected gauge and sturdy build. The longer hose and 360 swivel air chuck help you seal the valve securely and keep your hands free while measuring, inflating, or deflating. It’s battery-free for reliable use and provides ±2 PSI accuracy in the mid-range for most typical tires, with universal compatibility for 1/4 NPT compressor outputs.
Off-Road Low-Pressure Use
Off-road drivers often lower tire pressure to increase traction and allow the tire to flex over rocks, sand, or mud. The risk is that low pressure also reduces the force holding the bead against the rim. If pressure gets too low or side loading is severe, the bead can unseat.
Before lowering pressure off-road, know your tire, wheel, load, and terrain limits. After returning to pavement, reinflate to the correct road pressure before driving at normal speeds.
Beadlock Wheels
Beadlock wheels mechanically clamp the tire bead to help prevent unseating at very low pressures. They are common in off-road and racing applications, but they require correct installation and routine bolt-torque checks. Follow the beadlock wheel manufacturer’s torque sequence, torque value, and recheck interval.
Note: Not every beadlock wheel is approved for highway use. Check the wheel manufacturer’s documentation and local regulations before using beadlocks on public roads.
Dual-Wheel Applications
Dual-wheel setups rely on matched tire sizes, correct spacing, and even inflation. If one tire carries more load than the other, heat and bead stress can rise quickly. Inspect both inner and outer tires, because the inside tire may hide bead damage, sidewall cuts, or pressure loss.
- Check pressure on both tires with a reliable gauge.
- Inspect for debris trapped between dual tires.
- Confirm the tires are matched in size, load rating, and wear condition.
- Look for rim damage or bead-seat corrosion during service.
Frequently Asked Questions
What is the function of the tire bead?
The tire bead holds the tire on the wheel, helps create the airtight seal at the rim, and transfers load, braking, steering, and cornering forces between the tire and wheel.
How do I tell if a tire bead is bad?
Look for slow pressure loss, bubbles at the rim during a soapy-water test, visible bead cracks, exposed wire, rust at the bead area, vibration, uneven seating, or a tire that will not balance correctly.
Can a leaking tire bead be repaired?
Sometimes. If the leak comes from dirt, corrosion, or old sealant on the rim, a technician may be able to dismount the tire, clean the bead seat, remount it, and leak-test it. If the tire bead wire is exposed, broken, bent, or separated, the tire should be replaced.
Is it safe to drive with a bead leak?
No, not for normal driving. A bead leak can lower tire pressure, create heat buildup, damage the sidewall, and reduce control. Inflate only as needed to move the vehicle safely to service, or use roadside assistance if the tire is losing air quickly.
Why does a tire bead leak after new tires are installed?
Common reasons include corrosion on the wheel bead seat, old sealant that was not removed, damaged bead rubber, improper lubrication, a bent rim, or the bead not fully seating during inflation.
Can tire bead sealer fix every bead leak?
No. Bead sealer may help with minor surface imperfections, but it should not be used to hide structural tire damage, severe rim corrosion, exposed bead wire, or a mismatched tire and wheel problem.
Conclusion
The tire bead is small compared with the rest of the tire, but it does a critical job. It grips the rim, helps hold air, keeps the tire seated, and supports stable handling. Clean bead seats, correct tire size, proper lubricant, controlled inflation, and routine inspection all help prevent bead leaks and mounting failures.
If you see exposed wire, bead distortion, severe cracks, or repeated pressure loss, do not ignore it. Have the tire dismounted and inspected by a qualified technician. A rim-seat leak may be serviceable, but structural bead damage is a safety issue and usually means the tire needs replacement.
Sources
- Bridgestone: Tire Structure — supports bead construction and the bead’s role in gripping the wheel.
- Goodyear: How Tires Are Made — supports the description of bead wire, rubber coating, and tire construction.
- U.S. Tire Manufacturers Association: Tire Mounting Safety Bulletin — supports bead-seating pressure, mounting lubricant, and safety warnings.
- U.S. Tire Manufacturers Association: Tire Repair Basics — supports proper puncture repair limits and inspection requirements.
- OSHA 29 CFR 1910.177: Servicing Multi-Piece and Single Piece Rim Wheels — supports professional rim-wheel servicing safety principles for large vehicle wheels.
- Michelin: Can My Tire Be Repaired? — supports tire inspection and repair-versus-replacement safety guidance.

