
Do Tire Liners Work? Types, Benefits, and Installation
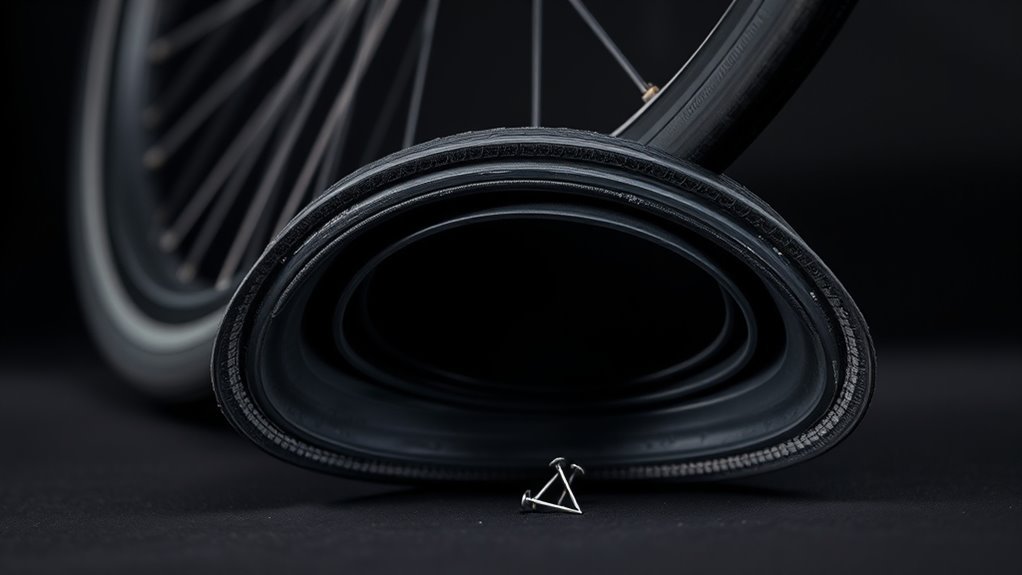
A tire liner is a thin, tough barrier you slip between tube and tire to block most small tread punctures without converting to tubeless. It’s typically Kevlar, rubber, or foam and trades added protection for a bit more weight and rolling resistance. Liners help prevent flats from thorns and glass but won’t stop sidewall cuts or big gashes. You’ll still need to inspect tires and maintain pressure. Below you’ll find how to pick, fit, and compare your options.
Quick Verdict: Should You Use a Tire Liner?
Tire liners work by adding a thick, flexible barrier between your tube and the tread. This blocks most sharp objects before they can cause a flat. If you ride on debris-heavy routes or just want fewer roadside stops, liners are a cost-effective option. Brands like Mr. Tuffy and Slime’s Flat Protector are reusable across multiple tubes and tires, which stretches their value over time.
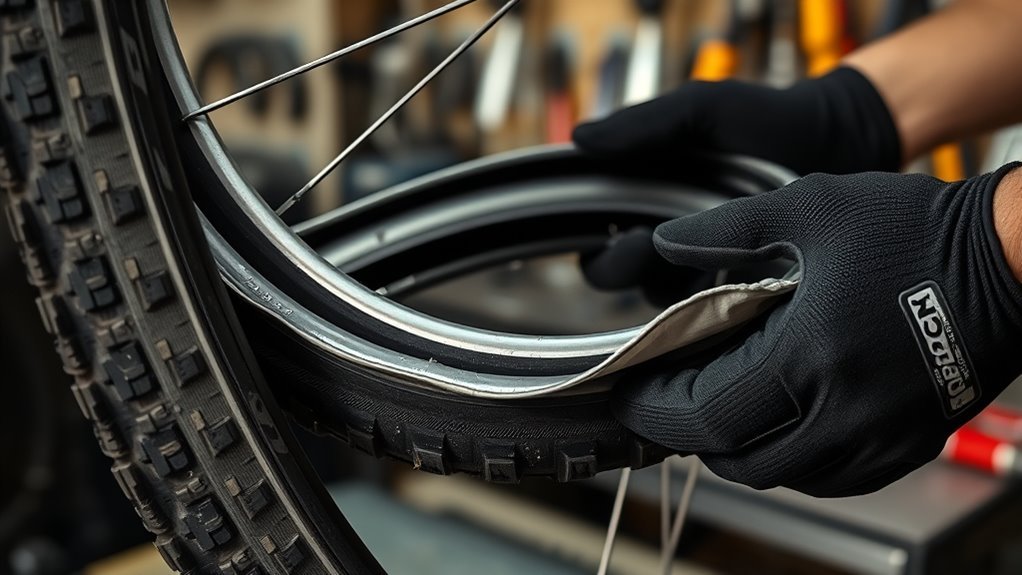
That said, liners won’t stop sidewall cuts or large gashes, and they’re not a guarantee against every flat. Installation is simple: remove the tire, center the liner over the rim bed, and reinstall the tube. Overlapping the ends is fine for extra coverage. To avoid pinch flats, match the liner length to your tire, keep it twist-free, and double-check that the tube is seated properly.
What Is a Tire Liner and How It Works
A tire liner is a thick, flexible strip that sits between your inner tube and the tire tread. It blocks sharp objects like nails and glass before they can reach the tube. You place it against the tread area, so the sidewalls stay unprotected. To install one, remove the tire, center the liner, and put the tube back in. Overlapping the liner ends is fine for complete coverage.
Liners are reusable across different tubes and tires, and you can still patch a punctured tube after using one. They improve puncture resistance, but they won’t stop large gashes.
- They add a durable barrier that reduces flats and showcases tire liner benefits.
- They’re simple to install and reusable.
- They focus on puncture prevention in tread zones.
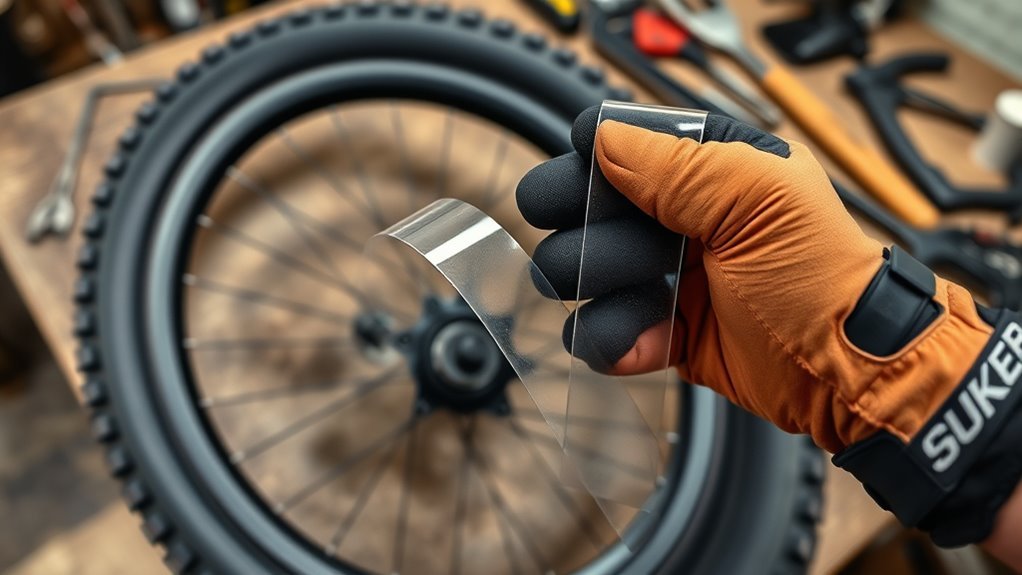
Tire Liner Materials: Kevlar, Rubber, Foam
When choosing a liner, consider Kevlar for its high strength-to-weight ratio and solid cut protection without adding much mass. Compare foam and rubber by weighing their trade-offs: foam gives better shock absorption and works well at lower pressures, while rubber offers durable, flexible puncture resistance but adds weight and stiffness. Make sure sizing and installation match your tire and rim so the material can do its job.
Kevlar: Lightweight Cut Protection
Kevlar offers high tensile strength in a lightweight package. You get solid cut and puncture protection without adding bulk to your wheelset. The thin profile keeps ride quality intact, and the low weight means acceleration isn’t noticeably affected. Kevlar liners are also durable enough to reuse across multiple tubes and tires, so they hold up well over time.
- Protective barrier: blocks sharp objects before they reach the tube, lowering flat risk.
- Low weight: maintains climbing and acceleration performance compared with rubber or foam alternatives.
- Transferable design: you can move the liner between wheels, extending service life.
Use Kevlar when you want efficient protection with minimal performance compromise.
Foam vs Rubber: Trade-Offs
Foam and rubber liners both reduce flats, but they make different trade-offs. Foam is lighter and absorbs impacts better, which gives a smoother feel over rough pavement. It’s also easier to install. Rubber offers tougher puncture resistance and lasts longer, but it adds weight and can make tires feel stiffer, which may affect handling.
Choose foam if you want to keep rotating weight low and preserve ride compliance. Go with rubber if durability and protection matter more than weight. Either way, you’re accepting some comfort-versus-protection trade-off based on your priorities.
What Tire Liners Stop and What They Won’t
Tire liners add a dense layer under the tread, which stops most punctures from small, sharp objects like nails and glass. The liner spreads the force across a wider area so the sharp object can’t pierce through to the tube. But liners don’t cover the sidewalls, and they can’t prevent structural failures. They reduce the most common types of flats, but they won’t eliminate every risk.
- Tread punctures: effective against small sharp objects; performance varies by liner design and coverage.
- Structural failures: won’t prevent pinch flats, bead failures, or large gashes from impact or rough terrain.
- Ride and maintenance issues: sealant migration at speed can cause vibration; liners don’t replace inspection, proper inflation, or tire selection.
Use liners as one layer in a broader maintenance strategy, not a standalone fix.
Choosing the Right Tire Liner for Your Bike
Focus on fit, coverage, and material thickness. Start by checking compatibility with your wheel diameter, tire width, and rim profile. A mismatch will cause bunching or leave gaps in coverage. Brands like Mr. Tuffy and Slime’s Flat Protector offer different protection levels. Thicker, denser liners block more but may slightly change how the ride feels.
Aim for full-coverage strips centered under the tread. Overlapping the ends is fine to close any gaps. Good liners can last for years, but check them periodically and replace any that are deformed or cut.
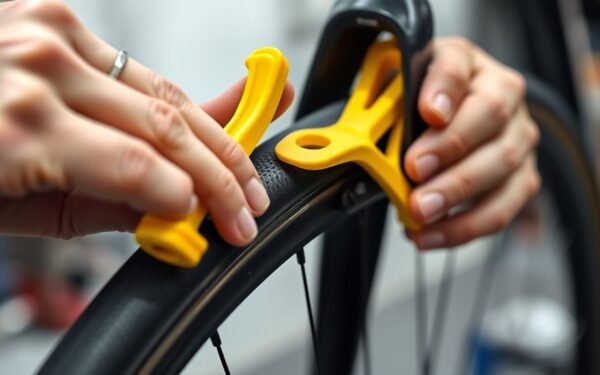
Installing a Tire Liner (Step-by-Step)
Start by removing the tire from the rim and taking out the inner tube. This gives you clear access to work. Center the liner between the tread and where the tube will sit, making sure it covers the main puncture zone. Overlapping is fine for complete coverage. When you put the tube and tire back on, check that neither the liner nor the tube is pinched at the bead. Inflate to the recommended pressure and inspect for leaks or uneven seating before you ride.
- Prepare: tire off rim, tube removed, clean bead area.
- Position: center liner under tread, overlap if needed for coverage.
- Finalize: reinstall tube and tire, check for pinches, inflate, verify.
Following these steps consistently is the best way to get reliable puncture protection from your liner.
Trade-Offs and Alternatives: Weight, Rolling Resistance, Thicker Tires, Tubeless, Sealant
Weigh the protection benefits of liners against their added mass and the effect on acceleration and climbing. Thicker liners raise rolling resistance compared with lighter setups or wider tires tuned for low drag. Tubeless tires with sealant are an alternative that reduces pinch flats and self-seals small punctures, but they require compatible rims and periodic maintenance.
Weight Versus Protection
Weight and puncture protection are always in tension. Liners typically add around 100 to 200 grams per wheel, which can slow acceleration and make climbing a bit harder. Thicker casings or Kevlar belts offer more durability with less effect on rolling resistance. For commuting and touring, the extra weight is usually worth it. For racing, it rarely is.
- Thicker tires/Kevlar: increase puncture resistance with moderate weight gain and minimal handling penalty.
- Tubeless + sealant: can reduce rotating mass and self-seal small cuts, but needs compatible rims and maintenance.
- Liners + sealant: offer layered defense; liners stop large shards, sealant closes micro-holes but adds some mess and weight.
Choose based on your route, riding style, and how much maintenance you’re willing to do.
Rolling Resistance Tradeoffs
Thicker casings and liners protect against punctures, but they also raise rolling resistance and can cost you speed. Extra mass increases rotational inertia, meaning more effort to accelerate. Stiffer construction also raises hysteretic losses (energy lost as the tire flexes with each rotation), which slows you on flat roads.
High-TPI, flexible casings roll faster but offer less puncture protection. Choose based on where you ride. Rough, debris-covered roads favor protection. Smooth, clean surfaces favor lower resistance. Some riders use a lighter tire up front and a more protective one on the rear, or skip liners entirely for short, fast rides. Test different setups to find what works for you.
Tubeless and Sealant
Tubeless systems with sealant are another option worth considering. Going tubeless eliminates the inner tube, cuts pinch-flat risk, and lets sealant seal small holes on its own. When set up correctly, it can also lower rolling resistance. The catch is that tubeless requires compatible rims and regular upkeep. Sealant needs refreshing every 6 to 12 months, and you’ll need to check bead integrity periodically.
- Use tubeless + sealant to cut rolling resistance and auto-seal small punctures for daily puncture prevention.
- Weigh thicker tires or tubes plus liners when you prioritize durability over marginal speed; expect added weight.
- Prepare for messy failures and routine sealant top-ups; carry plugs for larger breaches, and practice tubeless repairs before you need them on the road.
Frequently Asked Questions
What Are the Layers of a Run Flat Tire?
Run-flat tires have three primary layers: an outer tread for traction, reinforced sidewalls for load support, and an inner liner for air retention. Some designs also include foam inserts or bead support rings to keep the tire rideable after a puncture.
What Is the Purpose of the Tire’s Inner Liner?
The inner liner holds air, adds durability, seals minor punctures, and maintains pressure so you get consistent performance. Without it, air would seep through the tire casing and you’d lose pressure quickly.
Conclusion
Use a tire liner if you ride rough roads, commute daily, or compete in events where a flat costs you time. It’s cheap insurance against the most common type of flat. A liner is a thin, abrasion-resistant belt, made from Kevlar, rubber, or foam, that sits between the tire and tube to stop thorns and sharp debris. It won’t help with large gashes or sidewall cuts. Pick your material based on puncture risk versus weight and rolling drag, install it carefully, and keep tubeless or sealant in mind as alternatives.
Related Articles
Easy Tire Levers Guide: Avoid Pinching Tubes
Gentle leverage, valve alignment, and a second lever keep your tube safe—learn the simple tricks to avoid pinches and what to do if it won’t budge.
Read More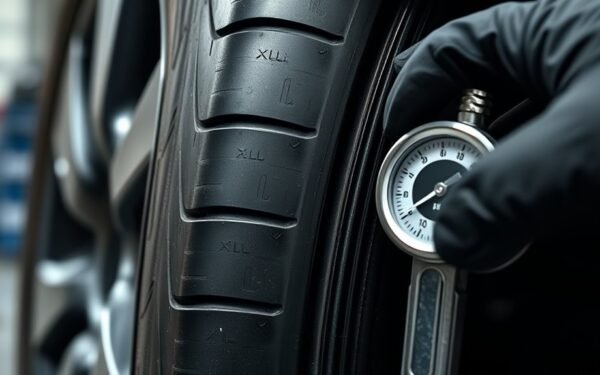
XL Tire Meaning Explained: Extra Load Guide
Curious what XL means on a tire and how Extra Load affects pressure, capacity, and safety—discover why proper inflation matters and what to check next.
Read More
Tire Load Range Explained: B-F Letters Guide
Just what do tire load range letters B through F mean for your vehicle’s payload and towing—discover how to choose the right tire for your needs.
Read More