
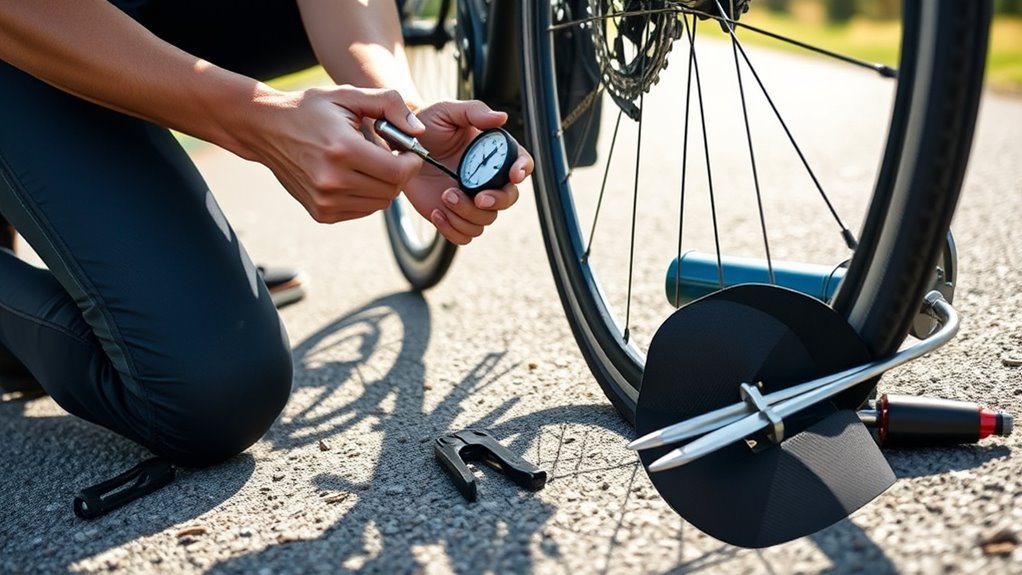
What’s in This Article
- Quick Wins to Stop Flat Tires Now
- Prevent Flats: Set the Right Tire Pressure
- Choose Puncture-Resistant Tires: Models and When to Upgrade
- Prevent Flats: Go Tubeless or Use Sealant
- Add Liners, Inserts, or Tannus for Extra Protection
- Dust and Store Spare Tubes Correctly
- Inspect Tires: Step-by-Step Maintenance Checklist
- Ride Smarter: Lines, Hazards, and Seasonal Tips
- Fix the Root Cause: When to Replace Tires, Rims, or Setup
- Frequently Asked Questions
- Conclusion
Flat tires turn a good ride into a slow walk home. Most flats start with low pressure, worn parts, sharp debris, or a setup that doesn’t match your route. You can stop many flats by checking tire pressure before each ride, inspecting the tread, and choosing the right puncture protection for your bike.
Quick Answer
To prevent flat bike tires, keep each tire within the pressure range printed on its sidewall. Check for glass, thorns, cuts, worn rim tape, and bad tube fit before those problems cause a puncture. For more protection, use puncture-resistant tires, tire liners, inserts, or a tubeless setup with sealant.
Key Takeaways
- Check tire pressure before each ride and keep it within the tire’s marked range.
- Inspect tread, sidewalls, valves, rim tape, and rims to catch damage early.
- Use puncture-resistant tires, liners, inserts, or tubeless sealant for rough routes.
- Ride away from gutters, puddles, and debris piles when you can do so safely.
- Replace worn tires, cracked tubes, damaged rim tape, or rough rims before flats repeat.
Quick Wins to Stop Flat Tires Now
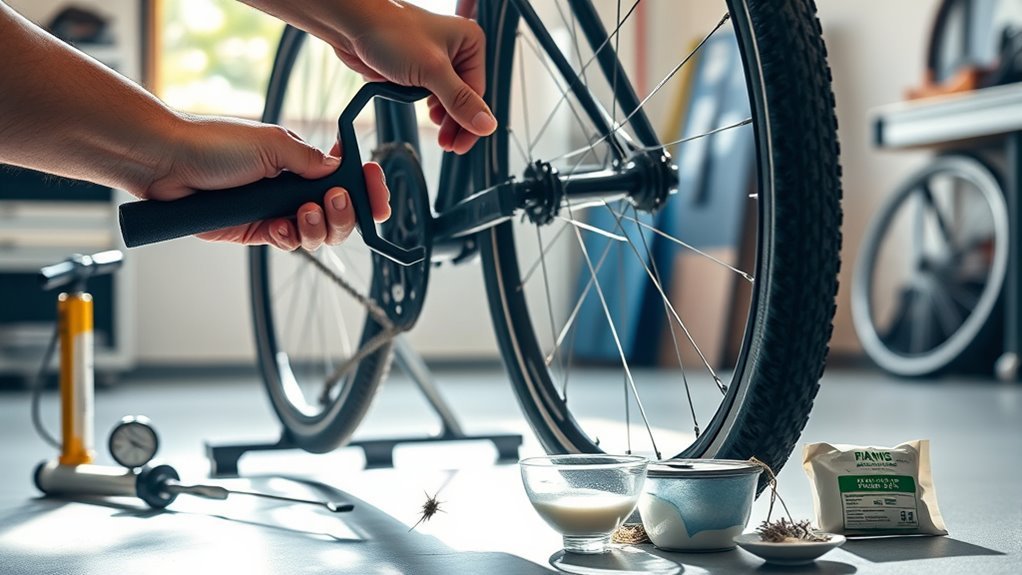
Start with pressure. Keep tires within the manufacturer’s pressure range because both low and high pressure can raise flat risk. Low pressure can cause pinch flats when the tire and tube hit the rim during an impact.
Choose puncture-resistant tires if you ride near glass, thorns, staples, or rough shoulders. Kevlar or aramid-belted casings add protection, though they may weigh more than standard tires.
Consider tubeless setups if your rims and tires support them. Sealant can close many small holes, and tubeless systems remove tube pinch flats. Tire liners or inserts can also add a protective layer between road debris and the tube.
Check tires before every ride. Scan the tread for embedded shards, check sidewalls for cuts or bulges, and flex the tire to reveal hidden damage. Fix small issues early so they don’t become roadside repairs.
Prevent Flats: Set the Right Tire Pressure
Check the tire sidewall for the manufacturer’s pressure range, measured in pounds per square inch (PSI). Use that range as your starting point. Adjust pressure within the marked range based on your weight, tire width, terrain, and ride feel.
Check Manufacturer PSI
The correct pressure range appears on your tire sidewall. Set your pump to that range and top up before you ride. This habit helps reduce pinch flats and keeps your bike rolling predictably.
Use a reliable gauge because a quick squeeze won’t tell you enough. Match pressure to terrain within the printed range: softer for rough surfaces and firmer for smooth roads. Too much pressure can reduce grip, while too little pressure raises pinch-flat risk.
| Metric | Action | Target |
|---|---|---|
| PSI range | Set pump | Sidewall value |
| Check cadence | Record inflation frequency | Daily or weekly |
Adjust For Rider Weight
Match tire pressure to your total load, including you, bags, bottles, and cargo. Heavier riders often need pressure near the higher end of the tire’s marked range to stop the tire from folding during impacts.
Use the sidewall range as your limit. Don’t exceed it to chase speed or drop below it for comfort. The right balance protects the tube, keeps grip, and reduces harsh road buzz.
Recheck pressure after long storage, major weight changes, or a switch to wider tires. A small adjustment can stop repeat flats and improve handling.
Monitor Pressure Regularly
Measure pressure before each ride so you can spot slow leaks early. Use a pump with a gauge or a separate digital gauge. Visual checks alone can’t show small pressure loss.
Temperature also changes tire pressure. Cold conditions can lower PSI, while heat can raise it. Check more often during big weather swings and before long rides.
| Task | Tool | Frequency |
|---|---|---|
| Measure PSI | Digital gauge | Every ride |
| Top up air | Pump with gauge | As needed |
| Record readings | Logbook or app | Weekly |
| Check temperature | Thermometer | When weather shifts |
| Test gauge | Known accurate gauge | Monthly |
Pro tip: Write your preferred front and rear tire pressures on a note in your repair kit.
Choose Puncture-Resistant Tires: Models and When to Upgrade
One clear upgrade can cut many flats: switch to puncture-resistant tires. These tires use Kevlar or aramid belts, thicker tread, or reinforced sidewalls to resist glass, thorns, wire, and rough urban debris.
Choose tires that match your wheel size, rim width, route, and riding style. Brands such as Specialized, Continental, and Schwalbe offer puncture-resistant models for commuting, road riding, touring, and mixed terrain. Ask a local bike shop to confirm tire clearance and rim fit before you buy.
Upgrade when you see deep cuts, exposed casing threads, flat spots, cracking, or frequent punctures. Also replace tires when the tread wears thin enough that small debris reaches the casing fast. New tires won’t fix every flat, but they remove one common weak point.
[Products Worth Considering]

Ride with added confidence using Blackburn inner tubes featuring anti-puncture technology and a 20% thicker tube to help prevent flats. Each set includes two tire levers to make removal and installation easier. Designed for compatible mountain and cruiser bikes with Presta valves.

TireJect Off-Road Tire Sealant Kit provides 5-in-1 sealing to help fix tread punctures up to 3/8", sidewall punctures up to 3/8", bead leaks, slow leaks, and minor dry rot on low-speed tires. It permanently seals with liquid rubber, recycled tire particles, and Aramid fibers, making it ideal for flats caused by thorns, nails, and screws. The included dispensing cap attaches to the valve stem for a no-mess installation, along with a metal valve core remover tool and valve stem cap. This kit is for off-road use only.

This heavy-duty bicycle rim liner provides complete tube protection by shielding the inner tube from rim spoke holes and sharp metal burrs that can cause flats. Made from premium, wear-resistant PVC, it lays flat with optimized 18 mm width and 0.50 mm thickness for edge-to-edge coverage. Installation is quick with flexible stretch placement and a secure, non-slip fit.
Prevent Flats: Go Tubeless or Use Sealant
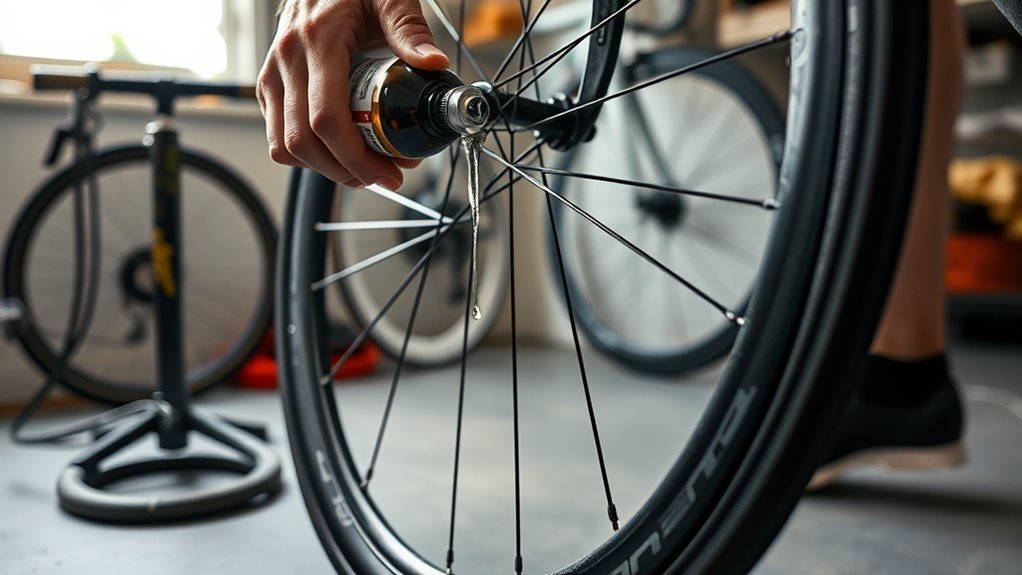
Switching to tubeless can cut pinch flats and let you run lower pressures for better grip and comfort. You need compatible rims, compatible tires, tubeless valves, rim tape, and sealant. Setup takes more care than a standard tube, but the payoff can be strong for rough roads and trails.
Choose sealants based on temperature range, service life, and the size of punctures they can seal. Some sealants work in tubes if the tube has a removable valve core. Tire inserts can add more protection if you ride hard or hit rocks often.
[Products Worth Considering]

The TOOLITIN floor bike pump delivers high pressure performance with an easy-to-read gauge so you can dial in the right tire pressure for safer rides. It is compatible with both Presta and Schrader valves and features a stable, durable design for efficient pumping. Suitable for road, MTB, and hybrid tires as well as inflating sports balls and other inflatables, it also includes ball and bladder needles and convenient accessory storage.

Ultraverse 700c inner tubes are built for 700x28C to 32C tires and feature a 48mm Presta valve for accurate, secure inflation. The high-elasticity butyl rubber construction helps seal air tightly, resist pressure loss, and absorb road vibrations for a smoother ride. A reinforced valve base and thick walls add durability and puncture resistance for reliable everyday performance on road, gravel, and city routes.

Switch to tubeless with this Muc-Off rim tape designed to create an airtight seal for smooth-running setups. The pressure-sensitive adhesive offers the right stretch for strength and durability, while the semi-transparent material helps you locate the valve hole quickly. It includes four seal patches for a secure finishing seal after wrapping.
Tubeless Conversion Benefits
A tubeless tire has no inner tube to pinch against the rim. That setup removes tube pinch flats and lets you use lower pressure on rough ground.
You may notice better traction, smoother handling, and fewer stops for small punctures. Sealant can plug many small holes while you keep riding. You still need to check sealant, valves, tire beads, and rim tape.
Follow the tire, rim, and sealant instructions during setup. Seat the tire bead fully and check for slow leaks before your first ride.
Sealant Types Explained
Sealant choice affects how fast a tire seals and how often you need to refill it. Latex-based sealants often seal small holes quickly. Thicker particulate formulas may add bulk protection, but they can make cleanup harder.
- Choose latex liquid for fast sealing and regular maintenance.
- Choose particulate sealant when you want more bulk protection.
- Choose hybrid sealant when you want a balance of speed and durability.
- Add inserts when you want mechanical protection plus liquid backup.
Maintenance And Refill
Keep sealant effective by checking and topping it up on a regular schedule. Many riders inspect sealant every two to six months, but heat, dry air, and heavy mileage can shorten that window.
Don’t keep adding fresh sealant to a tire full of dried clumps. Remove the valve core, check the fluid, refresh the sealant, then rotate the wheel to spread it. Inspect the bead and valve area for slow leaks before you ride.
Warning: Never exceed the tire or rim pressure limit when seating a tubeless tire.
Add Liners, Inserts, or Tannus for Extra Protection
If you still use tubes, add a protective layer between the tire and tube. Liners, inserts, and Tannus Armour can block sharp objects or absorb impacts before they reach the tube.
Match the protection to your route and tire size. Thin liners work well for thorns and glass. Foam inserts help with impacts and rough terrain. Tannus Armour adds a thicker shield that can reduce pinch flats and punctures.
- Choose a liner for light, low-profile puncture protection.
- Fit an insert for rough terrain and impact absorption.
- Install Tannus Armour when you want a thicker tube shield.
- Combine protection with sealant when your setup supports it.
Install any insert with care. Center it inside the tire, avoid twists, and check that the tire bead seats evenly. Poor fit can cause rubbing, bulges, or hard-to-fix flats.
[Products Worth Considering]

Orange Seal regular formula tubeless sealant quickly seals punctures and forms a durable bond inside your tire to help reduce flats. Made with natural latex, it adheres effectively to rubber and seals from the inside out, including the critical bead-to-rim interface for a reliable ride. It seals punctures up to 1/4 inch, slices up to 3/4 inch, and performs in temperatures as low as 11°F across MTB, road, cyclocross, gravel, and e-bike applications.

Upgrade your ride with a 2-pack set of 26x1.95 folding mountain bike tires built for dependable traction on mud, rocks, and trail surfaces. A reinforced puncture-resistant layer helps protect against sharp debris, while included butyl inner tubes provide strong sealing and shock absorption. Ready for fast swaps with included tire levers and universal sizing for most bikes.
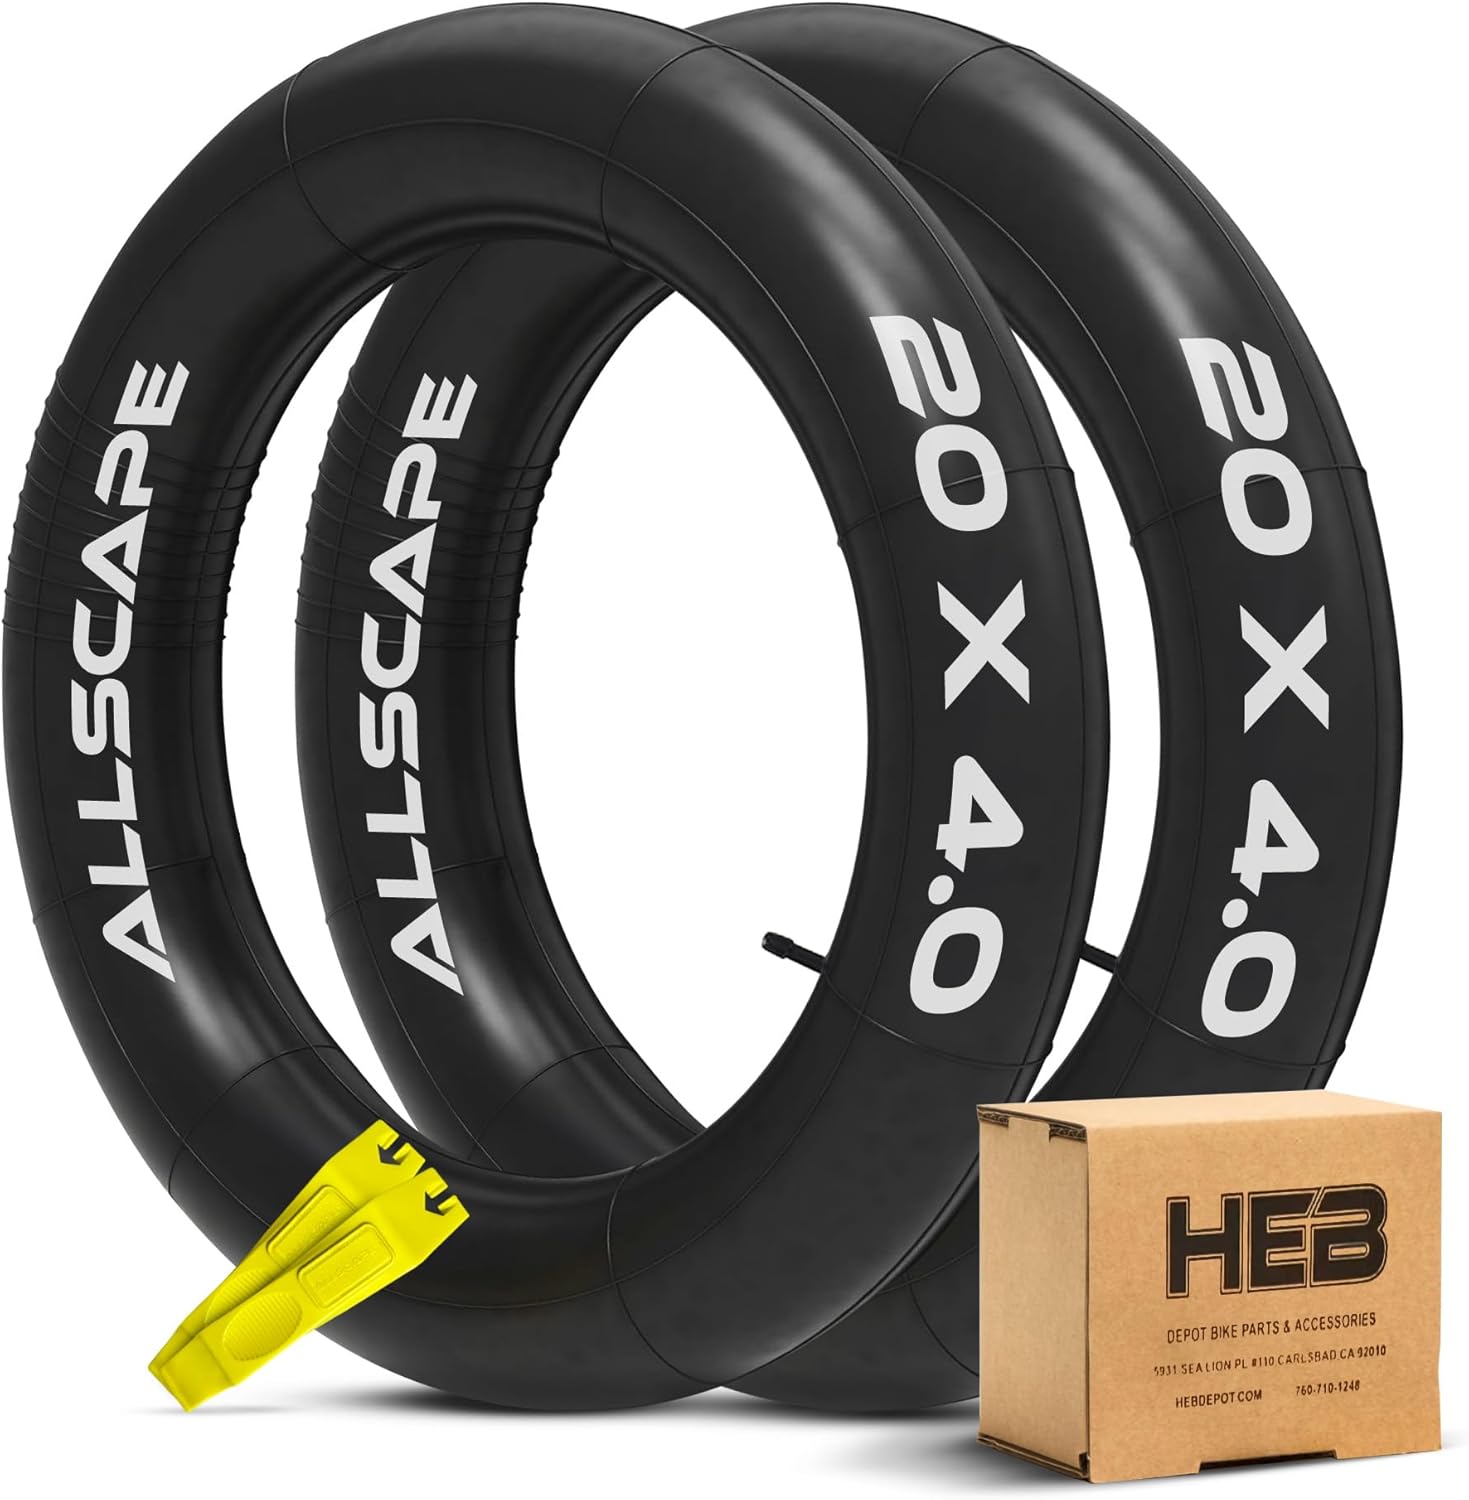
HEB heavy duty inner tubes deliver reliable puncture resistance for fat tire electric bikes and mountain bikes running 20x4 or 26x4 tires. Built for rugged backcountry trails, they help prevent flats from rocks and thorns while providing stability and traction. Choose a single tube or multi-packs for better value and keep your ride running smoothly in all seasons.
Dust and Store Spare Tubes Correctly
Even a strong tire setup needs a good spare tube. Dust spare tubes with talcum powder to reduce sticking and chafing inside the tire. Fit valve caps to protect valve stems from grit and impact.
Don’t wrap tubes with tight rubber bands for long storage. Store each tube in a small sealed bag to keep it clean and reduce abrasion. Keep spares in a cool, dry place away from direct heat and sunlight.
Before long rides, inspect stored tubes for cracks, brittleness, or valve damage. Replace any spare that looks worn before you need it on the road.
| Action | Benefit |
|---|---|
| Talcum powder | Reduces chafing |
| Valve caps | Protects stems |
| Sealed bag | Keeps tubes clean |
| Cool storage | Helps preserve rubber |
Inspect Tires: Step-by-Step Maintenance Checklist
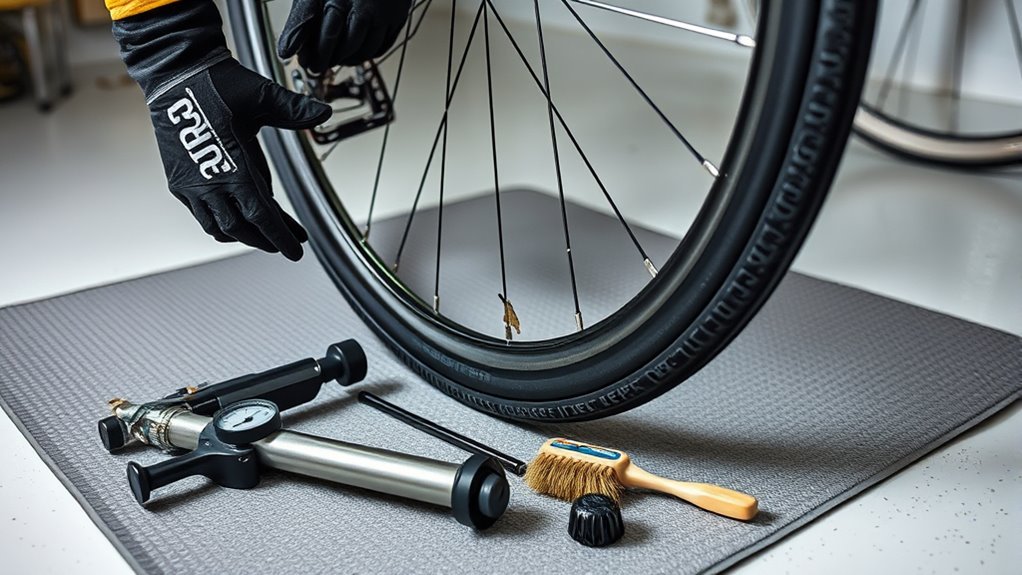
Start each ride with a quick, repeatable tire check. You want to catch cuts, embedded debris, pressure loss, and rim problems before they cause flats.
- Scan the tire: Check sidewalls and tread for cuts, cracking, glass, nails, wire, and worn spots.
- Remove debris: Pull out embedded shards with pliers before they work deeper into the tire.
- Check pressure: Confirm PSI with a reliable gauge and adjust it within the sidewall range.
- Inspect the bead: Make sure the tire sits evenly around the rim before full inflation.
- Check tube position: If you use tubes, make sure the tube does not sit under the bead.
- Inspect rim tape: Replace tape with holes, gaps, wrinkles, or exposed spoke holes.
Note: Repeat flats in the same spot often point to rim tape, a spoke end, or debris still inside the tire.
Ride Smarter: Lines, Hazards, and Seasonal Tips
Most roadside debris gathers near gutters, shoulders, and the edges of bike lanes. Puddles can also hide potholes, glass, and sharp metal. Choose a clean, predictable line when traffic and road rules allow it.
Scan ahead and avoid debris fields, loose gravel, trail-side rocks, and standing water. Signal early if you need to change lines. Slow down before rough patches so impacts don’t pinch the tube or damage the rim.
Adjust habits with the weather. Cold air can lower tire pressure, so check PSI more often during cold spells. After wet rides, wipe the tread and remove small stones or glass before they dig deeper.
Fix the Root Cause: When to Replace Tires, Rims, or Setup
Recurring flats usually have a cause you can find. Inspect the tire casing, tread, tube, rim tape, valve hole, spoke ends, and rim bed. Then match the fix to the failure pattern.
- Replace worn tires: Install new tires when you see cracks, exposed casing, flat spots, or repeated punctures.
- Fix rim problems: Replace torn rim tape and smooth rough valve holes or spoke areas.
- Review the setup: Confirm tube size, tire fit, bead seating, and pressure before blaming the route.
- Upgrade protection: Move to stronger tires, liners, inserts, or tubeless when flats continue.
Check where the hole appears in the tube. A pair of matching slits often points to a pinch flat. A hole on the rim side points to rim tape, spoke ends, or a sharp edge inside the rim.
Frequently Asked Questions
What Can I Put in Bicycle Tires to Keep From Going Flat?
You can use sealant, puncture-resistant tires, tire liners, inserts, or Tannus Armour to reduce flats. Tubeless sealant works without an inner tube, while some tube sealants work only with removable valve cores.
How to Avoid a Flat Tire?
Keep tires within the marked pressure range, inspect them often, and remove debris before it cuts deeper. Ride away from gutters and debris when safe, and replace worn tires or damaged rim tape promptly.
Why Do I Always Get Flat Tires on My Bike?
Repeat flats often come from low pressure, sharp debris, poor tire choice, damaged rim tape, pinched tubes, or worn tires. Check the tube hole location to narrow the cause before you replace parts.
Do Puncture-Resistant Tires Feel Slower?
Some puncture-resistant tires feel heavier or less supple than lightweight race tires. For commuting, touring, and rough routes, fewer flats often matter more than a small weight change.
Can I Use Sealant With Inner Tubes?
You can use some sealants with inner tubes if the tube has a removable valve core. Always check the sealant label because not every formula works well inside tubes.
Conclusion
You stop most bike flats by matching pressure, tire choice, and protection to your route. Don’t assume higher pressure solves every puncture. It can reduce pinch flats, but it may also reduce grip and comfort.
Start with a pressure check, a tire inspection, and a look at your rim tape. If flats keep coming back, upgrade the tire, add protection, or switch to a tubeless setup. A few steady habits can keep your rides smooth and far less stressful.

