
What Is a Tubeless Tire? How It Works & Key Benefits
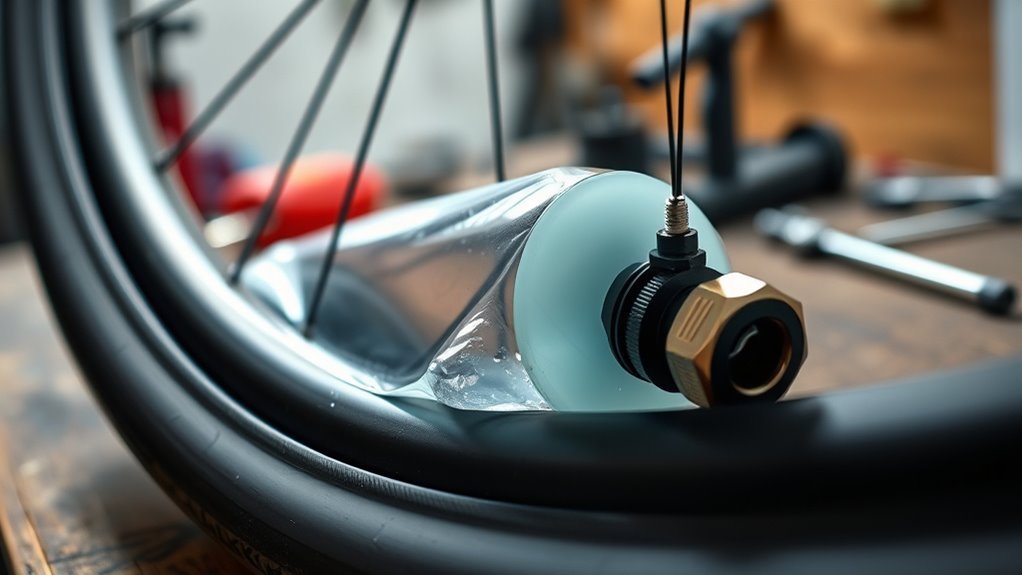
A tubeless tire is a tire-and-rim system that holds air without an inner tube. Instead, the tire bead seals against a compatible rim, rim tape seals the spoke holes on bicycle wheels, and a tubeless valve provides the airtight inflation point. On many bike setups, liquid sealant inside the tire helps close small punctures as you ride.
Quick Answer
Tubeless tires work by sealing the tire directly to a compatible rim, removing the need for an inner tube. Bike setups usually use rim tape, a tubeless valve, and sealant. The main benefits are fewer pinch flats, better comfort and grip at sensible pressures, and automatic sealing of many small punctures.
Key Takeaways
- A tubeless system needs a compatible tire and rim; do not assume any tire can safely be mounted tubeless.
- Sealant helps with small punctures, but it will not fix large cuts, damaged sidewalls, badly torn beads, or unsafe rims.
- For bicycles, check sealant about every 2–6 months, or more often in hot, dry conditions.
- For cars and motorcycles, tubeless tires are common, but most do not use liquid sealant as a normal maintenance item.
- Never exceed the pressure limit printed on the tire, rim, wheel, or vehicle placard; use the lowest maximum limit in the system.
What Tubeless Tires Are and Why They Matter
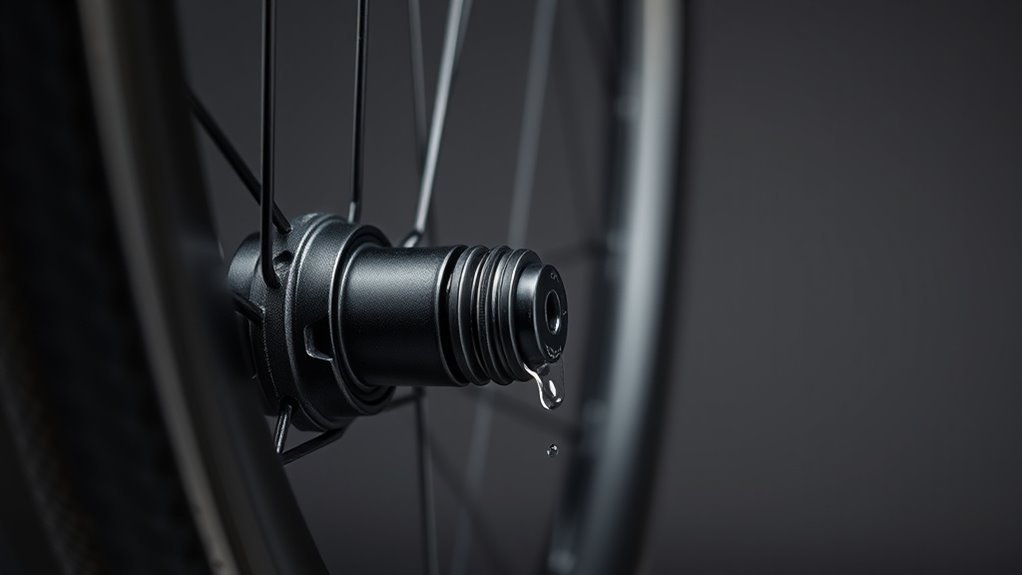
Although they look similar to standard tires, tubeless tires do not rely on a separate inner tube to hold air. The airtight seal comes from the tire bead, rim bed, valve, and, on most bicycle tubeless systems, rim tape and sealant. That design reduces the friction and failure points that come with a tube.
For bikes, the biggest everyday benefits are fewer pinch flats, improved traction, better comfort, and the ability to keep rolling after many small punctures. For cars and motorcycles, tubeless tires are already the standard in many modern applications because the tire can hold air directly on the wheel and often loses pressure more slowly after a small puncture than a tube-type tire.
The tradeoff is that tubeless systems are more compatibility-sensitive. A safe setup depends on matching the tire, rim, valve, tape, sealant, and pressure range correctly. Tire and rim makers such as Continental warn that tire/rim guidelines, maximum pressure, and inner rim width are especially important when using modern hookless bicycle rims.
[Products Worth Considering]

This tire repair patch tool kit helps you quickly seal small punctures using upgraded mushroom plugs and a built-in roller system that presses for even penetration. The tungsten buffing wheel and HSS twist drill bits prepare the damaged surface for stronger adhesion, while the crown-angle friendly plugs are designed to keep water and debris out. Ideal for puncture repairs on many vehicle types, from cars and trucks to bikes and scooters.

This compact capsule-style tire repair kit helps you quickly fix punctures and plug flats with minimal effort. The rugged stainless steel shell protects the contents for reliable roadside use, while the simple plug assembly makes repairs fast and tool-free. Suitable for motorcycles, cars, ATVs, UTVs, and even mountain bikes.

Wykodra tire plugs provide quick vulcanizing repairs for tubeless tires, helping you seal punctures and get back on the road. The industrial-strength rubber creates a long-lasting, leak-resistant bond and is designed for emergency fixes without removing the tire. Choose between two standard plug sizes with color-matched options for small to larger damage across many vehicles and off-road uses.
How Tubeless Systems Work
A tubeless system works by creating an airtight joint between the tire and rim. On a bicycle, the tire bead seats against the rim’s bead shelf, tubeless rim tape seals the spoke holes, and a tubeless valve seals the valve opening. Once inflated, the air pressure pushes the bead firmly into place.
Liquid sealant is added inside many bicycle tubeless tires. As the wheel spins, the sealant coats the inside of the casing. When a thorn, staple, or small piece of glass makes a tiny hole, escaping air carries sealant into the gap, where it can clot and slow or stop the leak.
Tubeless setups remove the inner tube, but they do not remove maintenance. The system only works well when the bead, rim tape, valve, sealant, and pressure are all correct.
- Seal the rim: Use airtight tubeless tape on bicycle rims with spoke holes, and press it firmly into the rim bed.
- Install the valve: Fit the tubeless valve snugly without crushing the rubber base or damaging the tape.
- Seat the bead: Inflate quickly enough for the tire beads to pop into place evenly around the rim.
- Add sealant: Use the sealant volume recommended by the tire or sealant maker.
- Check for leaks: Listen for air, rotate and shake the wheel, then recheck pressure before riding.
Warning: Do not mount a tire tubeless unless the tire and rim are approved for that use. An incompatible tire/rim combination can burp air, unseat, or fail suddenly.
Tubeless Tires: Benefits for Cars and Bikes
Tubeless tires give cars, motorcycles, and bicycles a practical performance and safety advantage, but the details are different for each use.
| Benefit | Bicycles | Cars and motorcycles |
|---|---|---|
| Fewer pinch flats | Yes. No tube means there is no tube to pinch between the rim and tire. | Less relevant because automotive tires are already designed differently from bicycle tube systems. |
| Small puncture sealing | Often yes, when fresh sealant is installed. | Usually not part of normal setup unless a temporary emergency sealant is used. |
| Ride comfort and grip | Often better because you can use appropriate lower pressures without pinch-flat risk. | Depends on tire construction, vehicle load, and the manufacturer’s pressure recommendation. |
| Efficiency | Can improve when tire choice and pressure are optimized. | Proper inflation supports fuel economy and tire life. |
On bicycles, tubeless tires can reduce rolling losses by removing tube friction and allowing pressure to be tuned for the rider, tire size, rim width, and surface. Brands such as Schwalbe describe speed, comfort, grip, and puncture protection as the main advantages of tubeless bicycle systems.
For vehicles, the most important maintenance point is still proper inflation. The National Highway Traffic Safety Administration recommends checking tire pressure, tread, rotation, recalls, and visible damage as part of basic tire safety.
What to Buy: Tires, Rims, Valves and Sealant
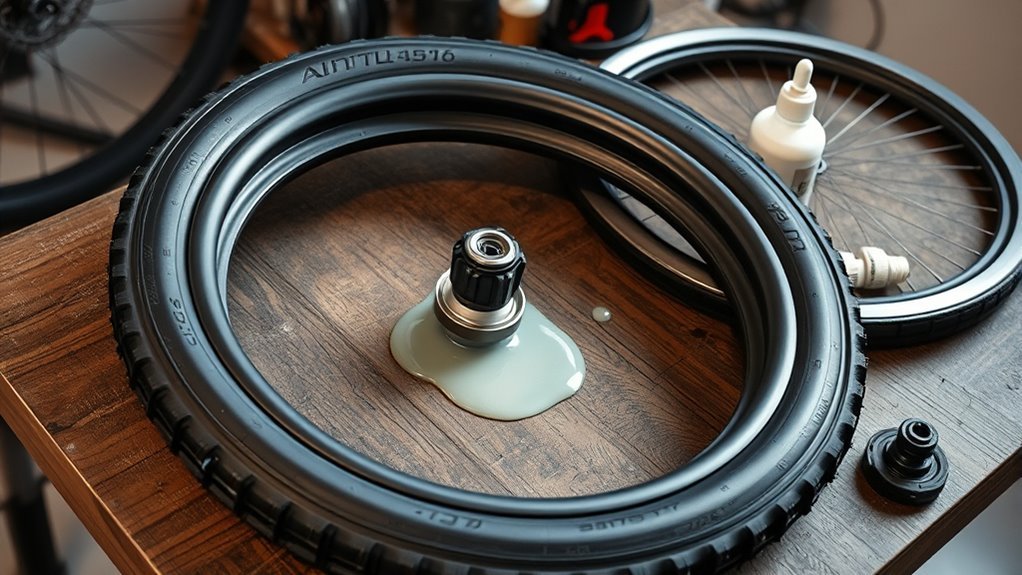
When you shop for a tubeless setup, start with compatibility rather than price. A good tire cannot make an unsafe rim safe, and good sealant cannot fix poor bead fit or damaged tape.
- Tires: Choose tires marked tubeless-ready, tubeless-easy, TLR, TR, TLE, or the exact wording used by the manufacturer. Match the tire size to the rim diameter and rim-width range.
- Rims or wheels: Use tubeless-compatible rims. Bicycle rims may be hooked or hookless, and hookless rims require stricter tire approval and pressure limits.
- Rim tape: Use proper tubeless tape that covers the spoke holes completely. Tape width should match the rim bed closely.
- Valves: Pick valves long enough for your rim depth. The valve base should match the rim shape and seal without overtightening.
- Sealant: Use sealant compatible with your tire type and riding conditions. Check the maker’s guidance for volume, lifespan, and temperature range.
Note: Hookless bicycle rims need extra care. SRAM/Zipp advises riders to use approved tires and never exceed the wheel system’s maximum pressure rating.
Step-by-Step Tubeless Tire Setup Checklist
Use this checklist for a bicycle tubeless setup. Automotive and motorcycle tubeless tire mounting should be done with proper shop equipment and the vehicle or tire manufacturer’s service procedure.
At a Glance
| Time Required | 30–60 minutes for one bicycle wheel, longer if old tape or dried sealant must be removed |
| Difficulty | Moderate for a first setup; easier after you learn the bead and tape fit |
| Tools Needed | Tubeless tire, compatible rim, rim tape, tubeless valve, sealant, valve-core tool, pump or compressor, tire levers, clean rag, soapy water |
| Cost | Usually low to moderate if your wheels and tires are already tubeless-ready; higher if you need new tires or wheels |
- Confirm compatibility. Check the tire label, rim/wheel manual, and maximum pressure limits before you begin.
- Remove the old tire and tube. Clean the rim bed. Remove old adhesive, dried sealant, and dirt so the tape can bond.
- Tape the rim. Start a few inches before the valve hole, pull the tape tight, press it into the center channel, and overlap past the valve hole. Many rims need one full layer, but follow the rim maker’s instructions.
- Install the valve. Make a small, clean opening at the valve hole. Push the valve through, fit the nut by hand, and tighten only enough to seal.
- Mount the tire. Install one bead, then most of the second bead. Keep the beads in the rim’s center channel to make the last section easier.
- Add sealant. Pour sealant into the tire before closing the final bead, or inject it through the valve after removing the valve core.
- Inflate quickly. Use a high-volume floor pump, tubeless inflator, or compressor if needed. Stop if the bead is not rising evenly.
- Check the bead line. Make sure the molded line on the tire sits evenly around both sides of the rim.
- Distribute sealant. Shake and rotate the wheel so sealant coats the bead and casing.
- Set final pressure. Use a pressure suited to your tire width, rider weight, rim type, terrain, and the maximum limits printed on the tire and rim.
Pro Tip: If the tire will not seat, remove the valve core for faster airflow, wet the bead with soapy water or approved mounting fluid, and make sure both beads are sitting in the center channel before inflating again.
Troubleshooting Common Tubeless Problems
Most tubeless problems come from tape leaks, valve leaks, dry sealant, poor bead seating, or incompatible parts. Work through the issue in order instead of adding more pressure blindly.
| Problem | Likely cause | Fix |
|---|---|---|
| Air bubbles from spoke holes | Rim tape leak | Remove tire, clean rim, retape carefully, and reinstall the valve. |
| Air leaks around valve | Valve base not sealing, damaged tape, or loose valve nut | Reseat the valve, inspect the tape hole, and hand-tighten the nut. Do not overtighten with pliers. |
| Tire loses air overnight | Small casing leak, bead leak, or low sealant | Add sealant if needed, shake the wheel, and check with soapy water. |
| Bead will not seat | Slow airflow, loose tire fit, dry bead, or poor tape fit | Remove valve core, use a burst of air, lubricate the bead, or verify tire/rim compatibility. |
| Sealant sprays but hole stays open | Puncture is too large or sealant is dried out | Use a plug, boot the tire if needed, or install a tube to get home. |
[Products Worth Considering]
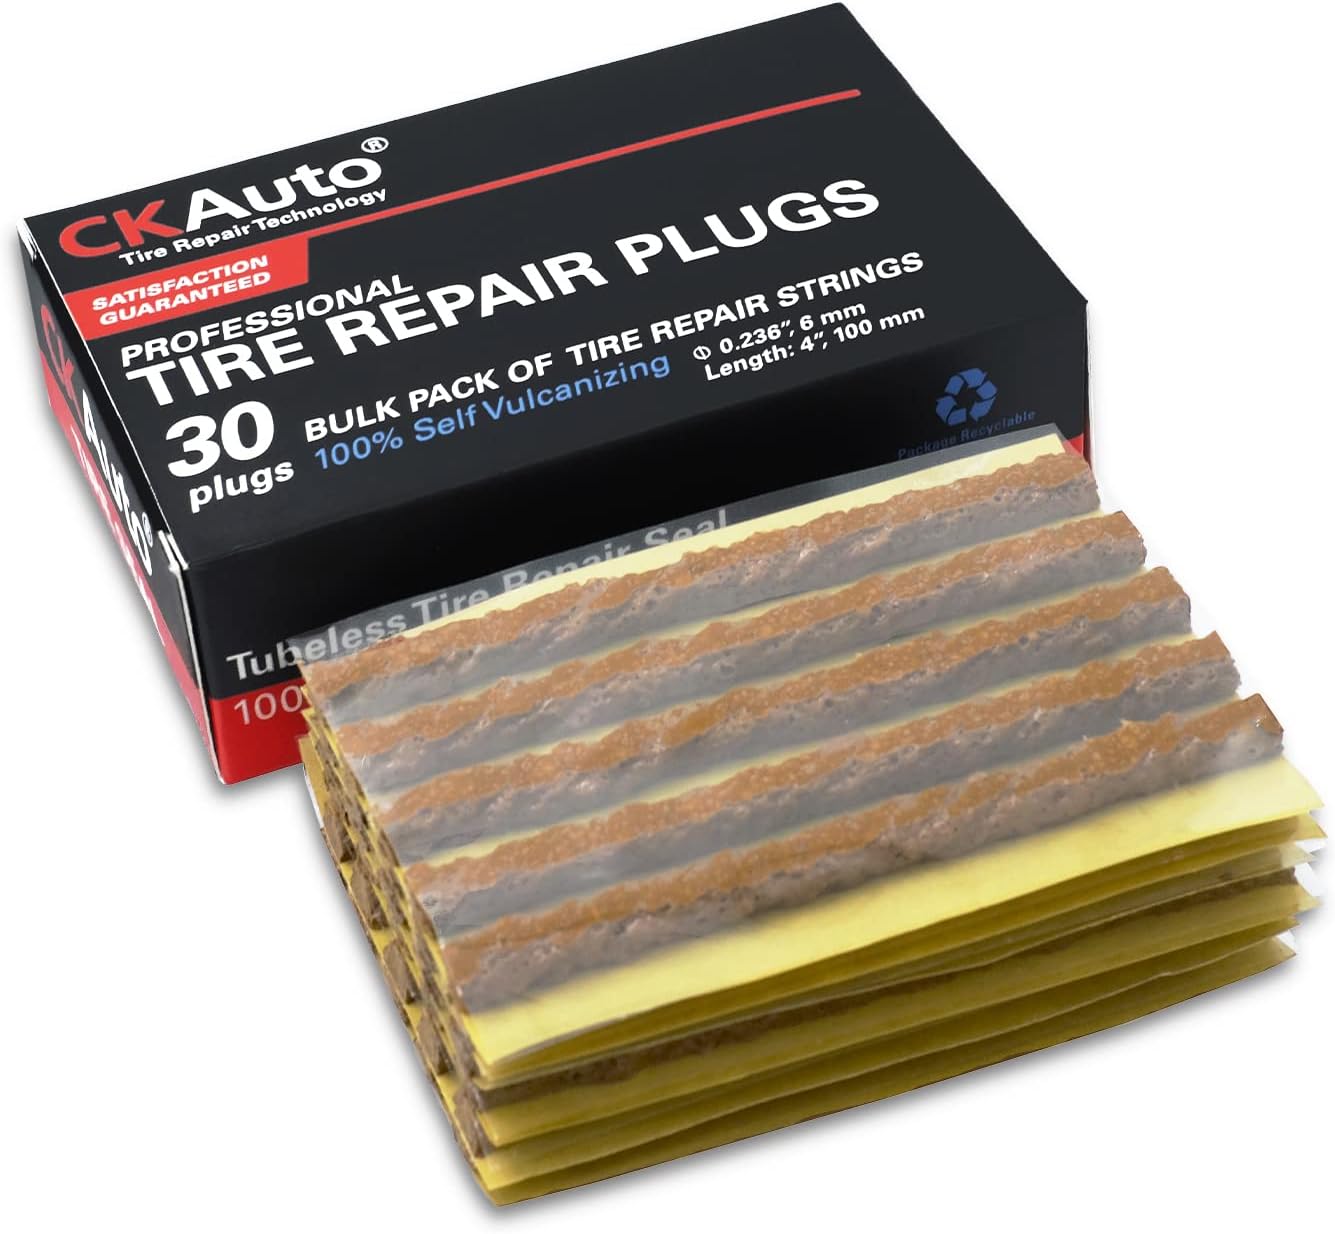
CKAuto tire repair strings provide a fast, reliable way to seal punctures in tubeless off-road tires without removing the tire from the rim. The rubber repair plugs are designed for quick roadside fixes and work across many vehicle types including cars, bikes, ATVs/UTVs, wheelbarrows, and mowers.
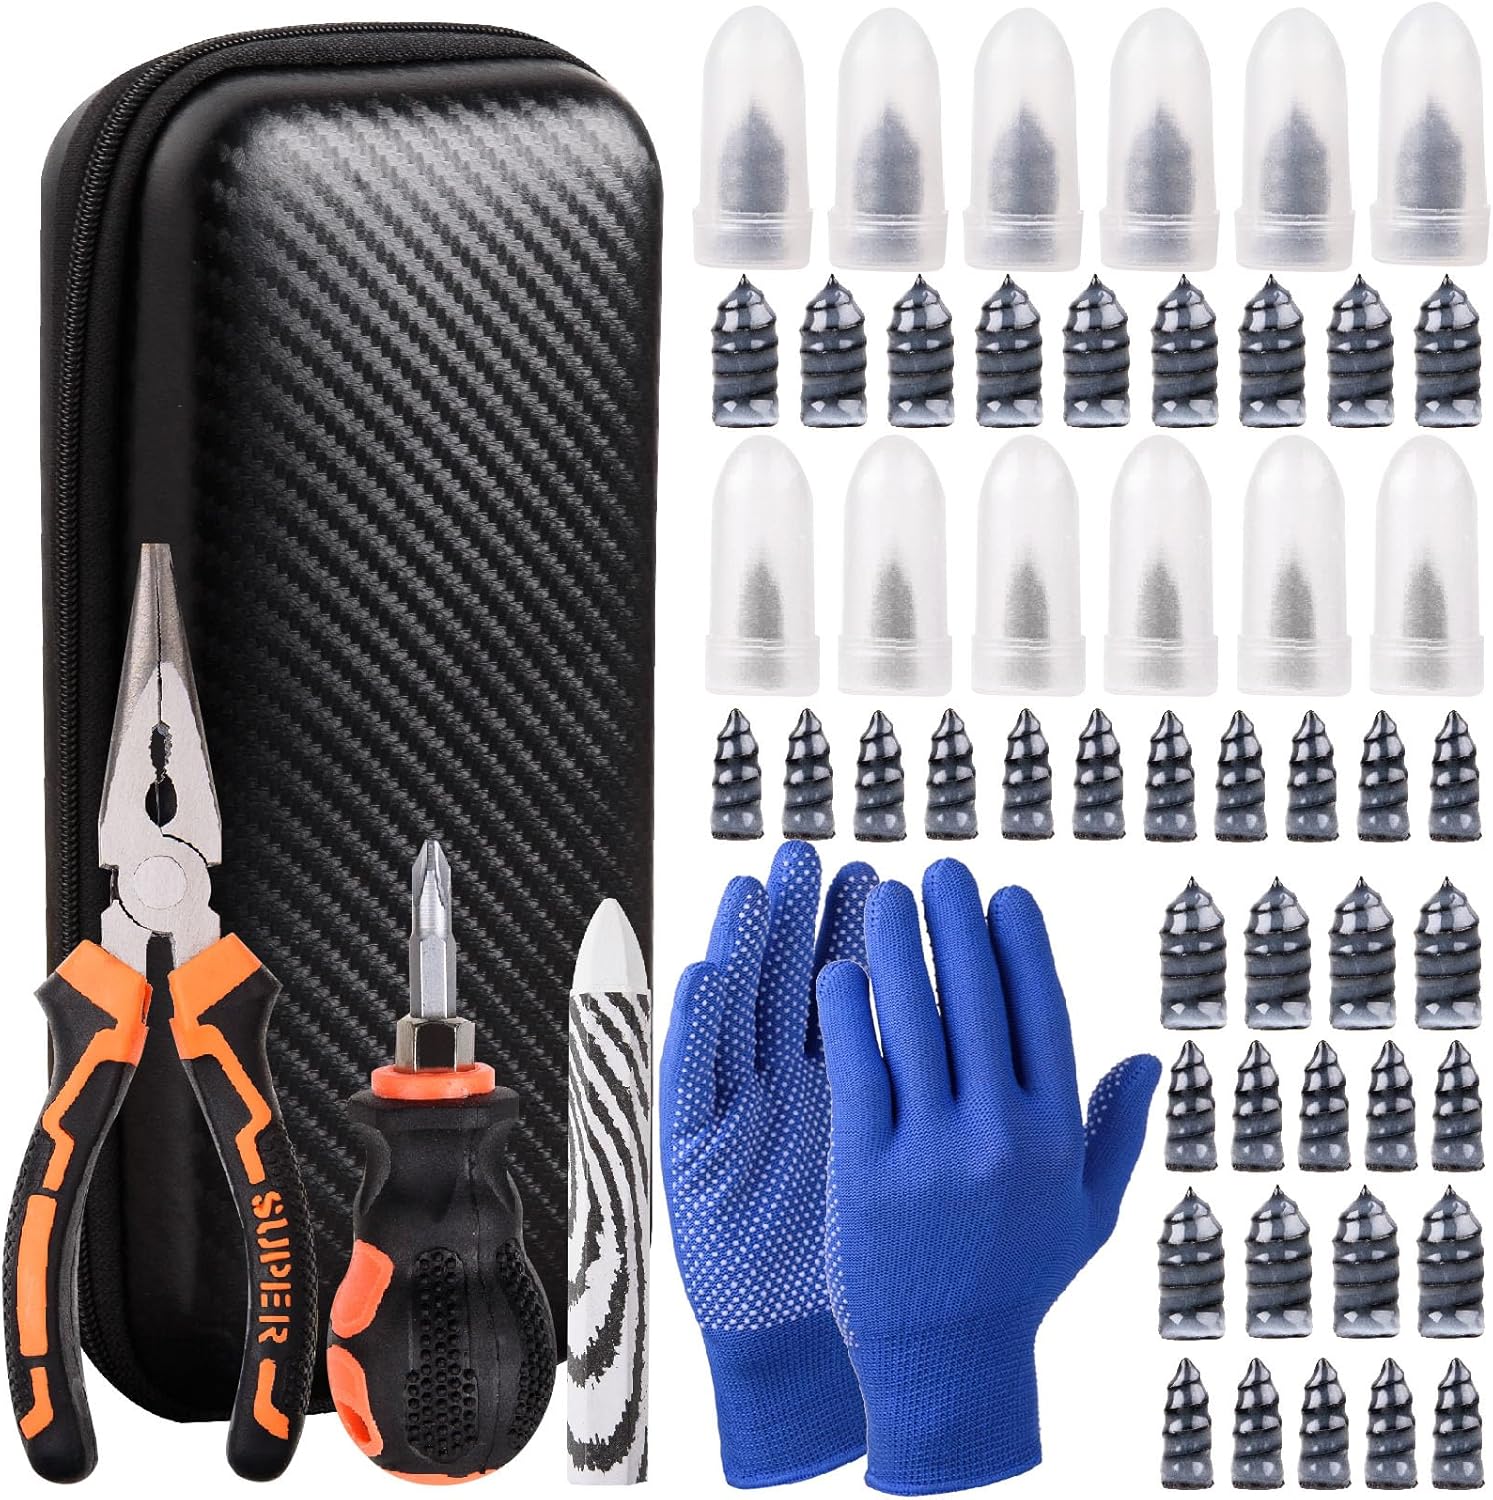
This tire sidewall puncture repair kit fixes flats fast without removing the tire, helping you get back on the road in minutes. It includes self-tapping repair nails, essential tools, gloves, and a portable storage bag for convenient roadside use. Designed for tubeless tires, it helps create a tight, leak-resistant seal for cars, motorcycles, trucks, SUVs, and ATVs.
Fix Flats: Sealant, Plugs, and Emergency Repairs
Sealant is your first line of defense, but it is not magic. It works best on small punctures in the tread area. Larger cuts, sidewall damage, torn beads, and rim damage need a stronger repair or replacement.
Sealant Maintenance Routine
For bicycle tubeless systems, check sealant regularly. Stan’s says sealant life averages about 2–6 months depending on heat, humidity, storage, tire casing, riding frequency, and how many punctures it has already sealed. A quarterly check is a good baseline for most riders.
- Check the level: Remove the valve core and use a dipstick, injector, or careful tire opening to see whether liquid sealant remains.
- Look for dried clumps: If the sealant has become rubbery, chunky, or separated, clean it out and refill.
- Top up as needed: Use the volume recommended by the sealant or tire maker. For example, Schwalbe lists typical bicycle fill amounts of 60–90 ml for many 23–60 mm tires on its sealant guidance.
- Recheck pressure: Tubeless tires still lose air over time, so check pressure before rides.
Plug and Patch Techniques
For a puncture that sealant will not close, use a tubeless plug. Keep the wheel on the bike if possible, find the hole, remove the object, insert the plug with the tool, trim excess if needed, and reinflate. Spin the wheel so sealant reaches the repair.
If the tire has a large cut, add a tire boot inside the casing and install a spare tube as a get-home repair. Before installing a tube, remove the tubeless valve and check the inside of the tire for thorns, glass, or sharp plugs that could puncture the tube.
Warning: Do not continue riding or driving on a fully flat tire unless you are only moving a vehicle a very short distance to a safe stopping place. A flat tire can damage the rim, destroy the tire, and reduce control.
Maintain Tubeless Tires and Cost Considerations
Maintaining tubeless tires means checking pressure, inspecting the tread and sidewalls, keeping sealant fresh on bicycle setups, and replacing worn or damaged parts before they fail. Tubeless can reduce flat-tire downtime, but it is not maintenance-free.
- Check pressure often: For bicycles, check before important rides. For vehicles, follow the pressure listed on the door placard or owner’s manual, not the tire sidewall maximum.
- Inspect for damage: Look for cuts, embedded glass, sidewall bubbles, cracked rubber, bent rims, and leaking valves.
- Refresh bicycle sealant: Check about every 2–6 months, with shorter intervals in hot or dry climates.
- Clean during remounting: Remove dried sealant from the bead and rim bed so the next setup seals correctly.
- Track wear and rotation: Rotate vehicle tires as recommended by the vehicle maker, and replace bike tires when tread, casing, or puncture protection is worn out.
The upfront cost of a bicycle tubeless setup can include rim tape, valves, sealant, plugs, and sometimes new tires or wheels. The payoff is fewer tube replacements, fewer pinch flats, better ride quality, and less time stopped on the side of the road or trail.
Tubeless Tire Safety Checks Before You Ride or Drive
Use these checks whenever you install, repair, or reinflate a tubeless tire:
- Confirm the pressure limit: Use the lowest maximum pressure listed by the tire, rim, wheel, or vehicle manufacturer.
- Check bead seating: The tire’s bead line should be even on both sides all the way around.
- Watch for bulges: A sidewall bubble, casing distortion, or torn bead means the tire should not be used.
- Check for air leaks: Use soapy water around the bead, valve, tread, and spoke holes.
- Carry repair gear: Bike riders should carry plugs, a pump or CO₂ inflator, a spare tube, tire levers, and a small boot for larger cuts.
Frequently Asked Questions
Can I drive a tubeless tire without air?
No. You should not drive on a tubeless tire with no air except to move a vehicle a very short distance out of danger. Driving flat can damage the rim, destroy the tire, and reduce steering and braking control. Stop safely, inflate if possible, install the spare, or call roadside help.
How often do you need to change sealant in tubeless tires?
For bicycle tubeless tires, check sealant about every 2–6 months. Hot, dry climates, porous casings, frequent riding, and repeated punctures can dry sealant faster. Automotive tubeless tires normally do not use liquid sealant as routine maintenance.
Can any bike tire be converted to tubeless?
No. The safest choice is a tire and rim that are both labeled tubeless-compatible. Some older conversions can work, but non-approved combinations may leak, burp air, or unseat under load. Always follow the tire and rim manufacturer’s compatibility guidance.
Do tubeless tires still need air?
Yes. Tubeless tires still rely on air pressure. They simply hold that air without an inner tube. Check pressure regularly because all pneumatic tires lose air over time, and low pressure can damage tires, rims, handling, and efficiency.
Are tubeless tires worth it for beginners?
They can be worth it if you ride often, get flats, ride gravel or mountain-bike trails, or want better comfort and traction. Beginners should use tubeless-ready parts, follow a checklist, and carry a tube and plug kit until they are comfortable with roadside repairs.
Conclusion
Tubeless tires are a smart upgrade when the tire, rim, valve, tape, sealant, and pressure are all matched correctly. For bikes, they reduce pinch flats, improve grip and comfort, and seal many small punctures automatically. For cars and motorcycles, tubeless construction is common, but safe inflation, tread inspection, and proper repair still matter most.
The best approach is simple: buy compatible parts, install them carefully, check pressure often, keep bicycle sealant fresh, and carry a plug kit plus a spare tube for emergencies. Tubeless is not maintenance-free, but with routine checks it can be reliable, efficient, and easier to live with than tube-based setups.
Sources
- Park Tool: Tubeless Tire Conversion — bicycle tubeless rim tape, valve, and setup process
- Stan’s: Sealant Support — sealant lifespan and maintenance interval guidance
- Schwalbe: Tubeless Technology FAQ — tubeless bicycle benefits and setup requirements
- Schwalbe: Sealants and Mounting Fluids — typical sealant volumes and sealant use notes
- NHTSA TireWise — vehicle tire pressure, inspection, rotation, and safety guidance
- SRAM/Zipp Hookless Tire Compatibility — hookless rim compatibility and maximum pressure safety guidance

Related Articles
Are Premium Tires Worth the Extra Money?
Worth the extra money? Premium tires promise more grip, comfort, and longevity—but the real tradeoff may surprise you.
Read More
What Are OE Tires? Original Equipment Explained
Discover what OE tires really mean and why choosing the right replacement could change everything for your car’s ride, handling, and safety.
Read More
305 Tire Size Explained: How Big Is It?
I explain how big a 305 tire really is—and why the exact fit can surprise you.
Read More