
Self-Sealing Tubes vs Regular Tubes: 2026 Guide
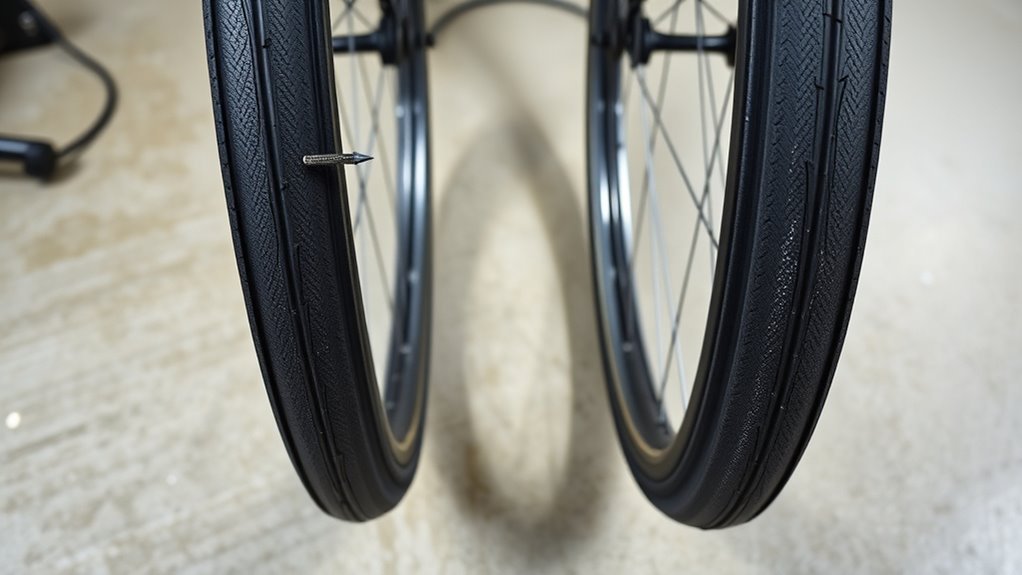
Self-Sealing Tubes vs Regular Tubes: Quick Answer
Self-sealing tubes are better if your rides often include thorns, glass, wire, or construction debris and you mainly want fewer stops from tiny tread punctures. Regular tubes are better if you want lower weight, cleaner roadside repairs, and predictable patching. Neither option makes a bike flat-proof, so the best setup still starts with a tire in good condition, correct pressure, and a spare tube or patch kit.
Manufacturer limits are product-specific, not universal. Slime lists up to 1/8 inch (3 mm) for one of its self-sealing bicycle-tube lines, while Muc-Off lists 3–4 mm for its inner-tube sealant. Treat those as maker claims for those products, not a guarantee that every self-sealing tube will close the same hole.
By: [VERIFY: add real author/byline] · Last updated: August 18, 2026 · Reviewed for: puncture-protection accuracy, repair practicality, and schema compliance.
What’s in This Article
- Quick Verdict: Self-Sealing Tubes vs Regular Tubes
- Comparison Criteria: Tires, Terrain, and Puncture Scenarios
- How Self-Sealing Tubes Work
- Sealing Success and Common Failure Modes
- What Regular Tubes Offer: Repairability and Risks
- What Usually Happens on the Road: Sealing, Valves, and Mess
- Maintenance, Costs, and Long-Term Trade-Offs
- How to Layer Protection: Liners, Sealant, and Puncture-Resistant Tires
- Recommendations by Rider Type: Commuters, Long Rides, and Winter
- Buy and Fit Self-Sealing Tubes Without the Mess
- Research Notes and Sources Checked
- Frequently Asked Questions
- Conclusion
Quick Answer
Choose self-sealing tubes for debris-heavy commuting, utility bikes, and short rides where avoiding small puncture stops matters more than weight. Choose regular tubes for road rides, long-distance trips, and riders who prefer fast, clean roadside repairs. For either setup, carry a spare tube, pump, tire levers, and a patch kit.
Key Takeaways
- Choose self-sealing tubes if small tread punctures cause most of your flats.
- Choose regular tubes if you want lighter wheels and cleaner patching.
- Use puncture-resistant tires before you rely on sealant alone.
- Carry a spare tube, pump, tire levers, and patch kit with either setup.
- Inspect the valve if inflation becomes slow or restricted, and follow the tube or sealant maker’s valve-care instructions.
| Riding Priority | Better Choice | Why It Fits | Main Trade-Off |
|---|---|---|---|
| Daily debris-heavy commute | Self-sealing tube | Helps seal many tiny tread punctures before you stop | More weight and mess |
| Fast road riding | Regular tube, latex tube, or TPU tube | Keeps rotating mass lower and repairs simple | No automatic sealing |
| Long rides or touring | Reinforced regular tube plus tire liner | Easier to patch and replace far from home | Still needs repair gear |
| Thorn-heavy paths | Durable tire plus self-sealing tube | Layers protection against repeated small punctures | Valve checks become more important |
Quick Verdict: Self-Sealing Tubes vs Regular Tubes
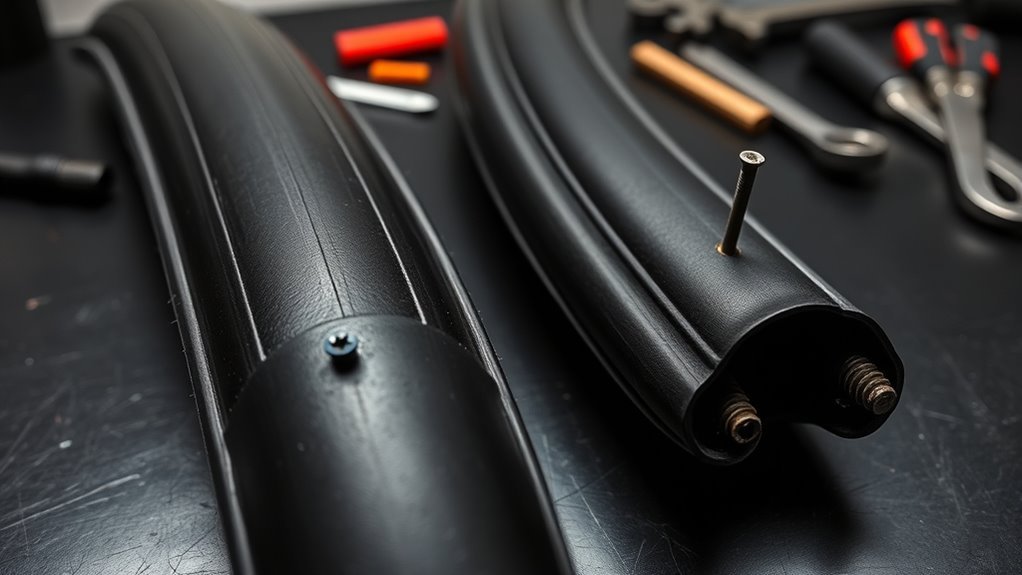
Use self-sealing tubes when puncture prevention matters more than weight, clean repairs, or perfect valve behavior. Their internal sealant can plug many small tread-area holes as you ride, which cuts interruptions on debris-heavy streets and paths.
Use regular tubes when you want a lighter setup that you can patch with basic tools. Regular butyl tubes also stay widely available, affordable, and easy to replace in most bike shops.
For cargo bikes, trikes, e-bikes, and daily commuters, self-sealing tubes can reduce stops caused by some small tread punctures. For road riders, touring cyclists, or anyone who values simple field repairs, regular tubes often make more sense. In either case, start with correct tire pressure for your tire, load, and riding surface.
Comparison Criteria: Tires, Terrain, and Puncture Scenarios
Compare tube types by the flats you actually get. A rider who mostly hits tiny thorns needs a different setup from a rider who gets pinch flats from low pressure or sidewall cuts from rough curbs.
Judge each option by five factors: puncture type, air loss, repair time, valve behavior, and weight. This gives you a practical choice without pretending one tube can solve every flat.
Tire and Tube Selection
Terrain and debris shape the right tube choice. On coarse gravel or thorny trails, start with durable tires and puncture-resistant casings before you decide on the tube.
Balance protection with tube weight. Self-sealing tubes are typically heavier than basic tubes because they add sealant and may use heavier-duty construction. If low rotating mass matters, compare the listed tube weights before you buy.
Use the same tire model and pressure range when you compare setups. That helps you judge the real trade-off between protection, mass, and ride feel.
Puncture Scenarios to Consider
A useful comparison should separate small thorns, thin wire, glass chips, sidewall cuts, and pinch flats. Sealant usually has the best chance on small tread punctures, not long cuts or impact damage.
Track time-to-seal, air loss, pressure drop, ride feel, and repair difficulty. Also note whether a valve gets sticky or hard to inflate after repeated use.
This decision framework helps you weigh freedom from small flats against added weight and service work. It also shows why no tube choice can replace good tires.
Which Punctures Can Self-Sealing Tubes Handle?
| Flat Cause | Self-Sealing Tube Help? | Better Response |
|---|---|---|
| Small tread pinhole or thorn | Best-case scenario; product limits vary | Let the sealant work, then restore pressure and monitor |
| Pinch flat / snakebite | Usually poor | Correct pressure and impact avoidance matter more |
| Sidewall cut or long tear | Poor | Use a tire boot for an emergency exit, then repair or replace the tire |
| Valve or rim-side leak | Unreliable | Find and fix the valve, rim, or installation problem |
Schwalbe notes that low pressure increases susceptibility to pinch flats, so pressure management addresses a failure mode that sealant is not designed to solve.
How Self-Sealing Tubes Work
When a puncture lets air escape, sealant inside a self-sealing tube moves toward the leak. The escaping air helps carry suspended sealing material into the opening, where the formula is intended to slow or stop air loss.
Formulas differ by brand. Some use water-based sealants with suspended particles or fibers, while other sealant systems use latex-based chemistry. That is why puncture-size limits, temperature ranges, service life, and tube-material compatibility must be checked product by product.
Self-sealing tubes can reduce immediate stops from some small tread punctures, but they do not remove the need for a spare tube or patch kit. Sealant residue can also make later inspection, valve service, or patching less clean.
Pre-Filled Tubes vs Sealant Added Later
A pre-filled self-sealing tube arrives with sealant already inside. Adding sealant to a standard tube is different: the sealant maker must approve inner-tube use, and the valve must allow the product to be installed correctly. Muc-Off, for example, lists compatibility with Schrader valves and Presta valves that have a removable core.
Note: Sealant performance depends on the specific formula, puncture size and location, tire pressure, temperature, tube material, and product age. Follow the manufacturer’s stated limits instead of assuming one sealant behaves like another.
Sealing Success and Common Failure Modes
If you rely on self-sealing tubes, small tread punctures are the main problem they are designed to address. The exact puncture size a product claims to seal varies by formula and tube design, so do not apply one brand’s limit to another.
Larger tears, sidewall cuts, pinch flats, and rim-side damage are poor candidates for automatic sealing. Those failures can still leave you with a flat, even if sealant briefly slows the air loss.
Also expect mess during some repairs and possible valve-service issues if residue reaches the core. On cargo-bike routes, thorn-heavy paths, or debris-heavy commutes, the main benefit is fewer stops from the small punctures the product can actually seal; carry tools and a backup tube for everything else.
Warning: Don’t keep riding on a tube that continues to lose pressure. Stop, inspect the tire and tube, and restore pressure only if the tire and rim are undamaged and the repair is holding.
What Regular Tubes Offer: Repairability and Risks
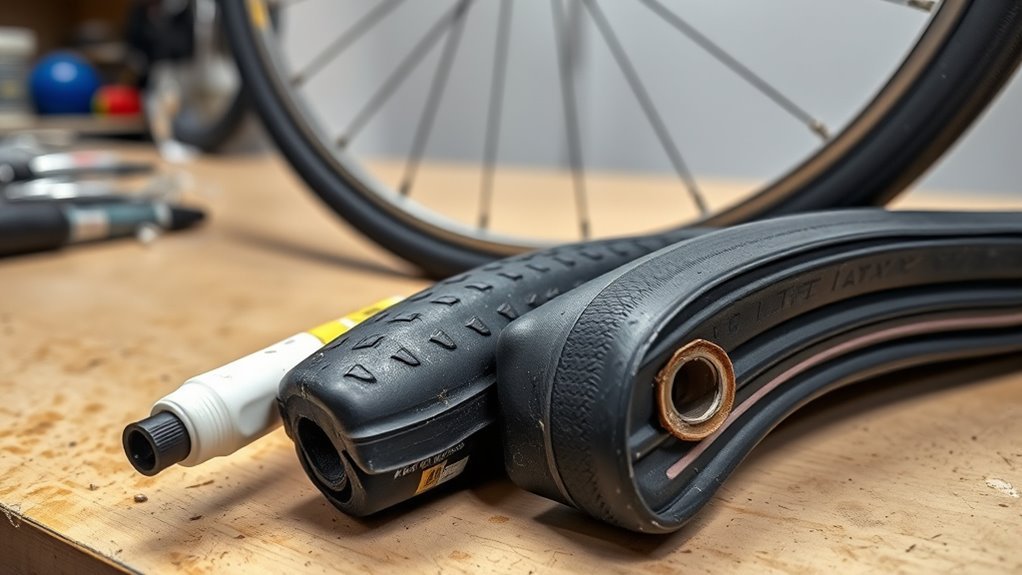
A standard butyl tube is straightforward to repair with a compatible patch kit. Without sealant inside the tube, you can clean and prepare the puncture area without first dealing with liquid residue.
The trade-off is simple: regular tubes don’t stop punctures for you. You gain lower weight and easier service, but you need to carry repair gear and watch tire pressure.
Easy Field Repairs
For a butyl tube, a typical field repair is to remove the wheel, inspect the tire, find and mark the puncture, prepare the rubber as the patch maker directs, and apply the patch. Park Tool’s tube-repair guidance follows this clean-and-prepare approach.
You won’t need to clean sealant from the tube or valve first. That can make puncture location and surface preparation easier.
This straightforward repairability helps you regain mobility with fewer cleanup steps and keeps valve service simple.
Patchability and Longevity
A sound butyl tube can often be patched instead of discarded when the damage is small and the patch kit is compatible. Replace the tube if the damage is too large, sits in a difficult area, or previous repairs no longer hold pressure reliably.
Do not assume every patch works on every tube material. Latex and TPU tubes may require material-specific patches or manufacturer instructions, while sealant-filled tubes can require extra cleanup before a patch will bond.
| Feature | Regular Tubes | Self-Sealing Tubes |
|---|---|---|
| Ease of patching | High | Lower after sealant spreads |
| Repair cleanliness | Clean | Messy |
| Maintenance need | Active pressure checks | Valve and sealant checks |
| Weight | Lower | Higher |
| Best use | Easy service | Small puncture protection |
What Usually Happens on the Road: Sealing, Valves, and Mess
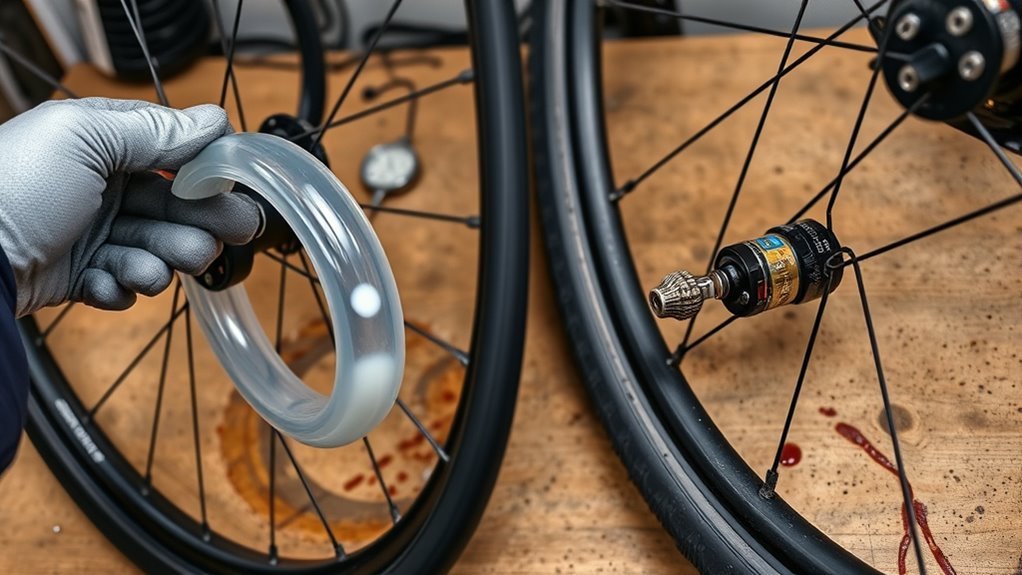
Self-sealing tubes are most useful when the puncture is within the specific product’s sealing range and sits in the tread area. Slime and Muc-Off publish different puncture-size claims for their bicycle-tube products, which is a practical reminder that performance is formula-specific rather than universal.
Use self-sealing tubes as protection against some small tread punctures, not as a promise that every flat will seal. Keep repair gear for cuts, pinch flats, valve problems, and leaks that continue.
- Sealing result: Check whether air loss stops, then restore pressure to the tire maker’s recommended range.
- Valve service: If inflation becomes slow or restricted, inspect the valve core and follow the sealant maker’s cleaning or replacement guidance.
- Repair cleanup: If the tube still needs a patch, clean and dry the repair area as the patch maker requires before applying adhesive.
Automatic sealing is best treated as a first layer of roadside protection. If the tire keeps losing pressure, stop and repair or replace the damaged part instead of continuing to ride on a soft tire.
Maintenance, Costs, and Long-Term Trade-Offs
Self-sealing tubes are usually heavier and more expensive than basic butyl tubes, but the exact difference depends on size and brand. Compare listed weight and price for the specific tubes that fit your wheel rather than assuming one fixed penalty.
Maintenance also depends on the sealant formula. Slime markets some pre-filled bicycle tubes around a two-year protection period, while Muc-Off says its inner-tube sealant does not dry out and lasts for the life of the tube. Those claims are not interchangeable, so follow the product you actually use.
Regular butyl tubes stay simple to inspect and patch because they do not contain sealant. If you ride through glass, thorns, or construction debris often, the extra weight and cost of a self-sealing tube may be worth it if small tread punctures are the flats you most often get.
How to Layer Protection: Liners, Sealant, and Puncture-Resistant Tires
If you want stronger flat protection, layer defenses instead of relying on one product. Start with a puncture-resistant tire as the main barrier, then add a liner or reinforced tube if your route needs more protection.
Sealant helps with small holes, but it works best as backup protection. It can’t replace good tire condition, correct pressure, and routine inspection.
- Fit: Install a puncture-resistant tire, then add a liner between tire and tube if needed.
- Choose: Use thorn-proof or reinforced tubes when debris causes frequent flats.
- Maintain: Check pressure, valve function, tire cuts, and liner wear on a set schedule.
This layered strategy gives you better puncture prevention and more confidence on rough routes.
Pro tip: Check the inside of the tire after every flat, because hidden glass or wire can puncture the new tube.
[Products Worth Considering]

This compact capsule-style tire repair kit helps you quickly fix punctures and plug flats with minimal effort. The rugged stainless steel shell protects the contents for reliable roadside use, while the simple plug assembly makes repairs fast and tool-free. Suitable for motorcycles, cars, ATVs, UTVs, and even mountain bikes.

Wykodra tire plugs provide quick vulcanizing repairs for tubeless tires, helping you seal punctures and get back on the road. The industrial-strength rubber creates a long-lasting, leak-resistant bond and is designed for emergency fixes without removing the tire. Choose between two standard plug sizes with color-matched options for small to larger damage across many vehicles and off-road uses.
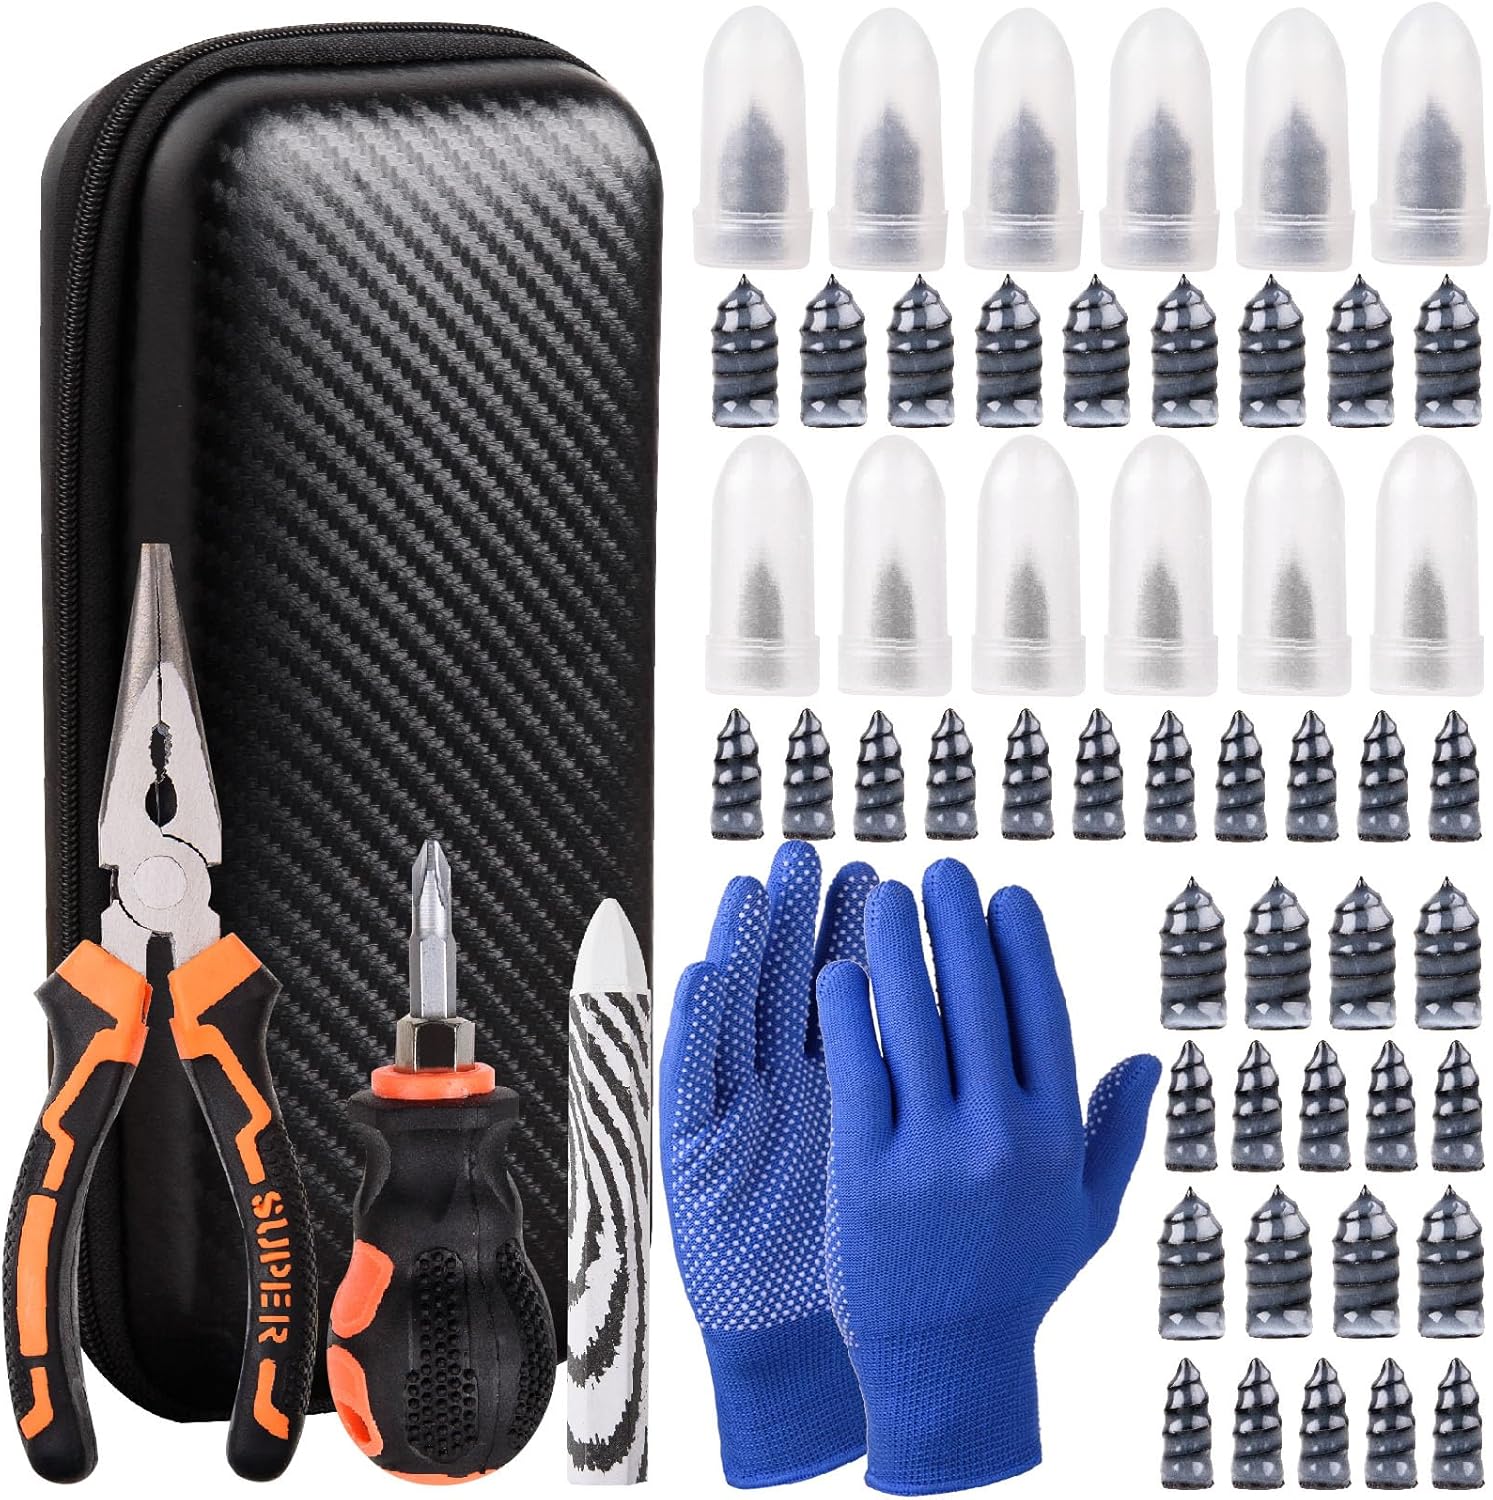
This tire sidewall puncture repair kit fixes flats fast without removing the tire, helping you get back on the road in minutes. It includes self-tapping repair nails, essential tools, gloves, and a portable storage bag for convenient roadside use. Designed for tubeless tires, it helps create a tight, leak-resistant seal for cars, motorcycles, trucks, SUVs, and ATVs.
Recommendations by Rider Type: Commuters, Long Rides, and Winter
Your riding goals should guide the tube choice. Commuters need reliability, long-distance riders need serviceability, and winter riders need grip plus protection.
For daily urban rides, self-sealing tubes can help with small debris. Pair them with durable tires if you value convenience more than low weight.
For long rides, prioritize a durable tire and a tube setup you know how to repair. In winter, choose a tire appropriate for the surface and traction conditions first; add puncture protection only if your route also has a debris or thorn problem.
| Rider Type | Recommended Solution |
|---|---|
| Commuter | Self-sealing tube plus durable tire |
| Long rides | Liner plus reinforced tube |
| Winter | Winter-appropriate tire first; add liner only if puncture risk warrants it |
| Lightweight riding | Regular tube plus compact repair kit |
[Products Worth Considering]
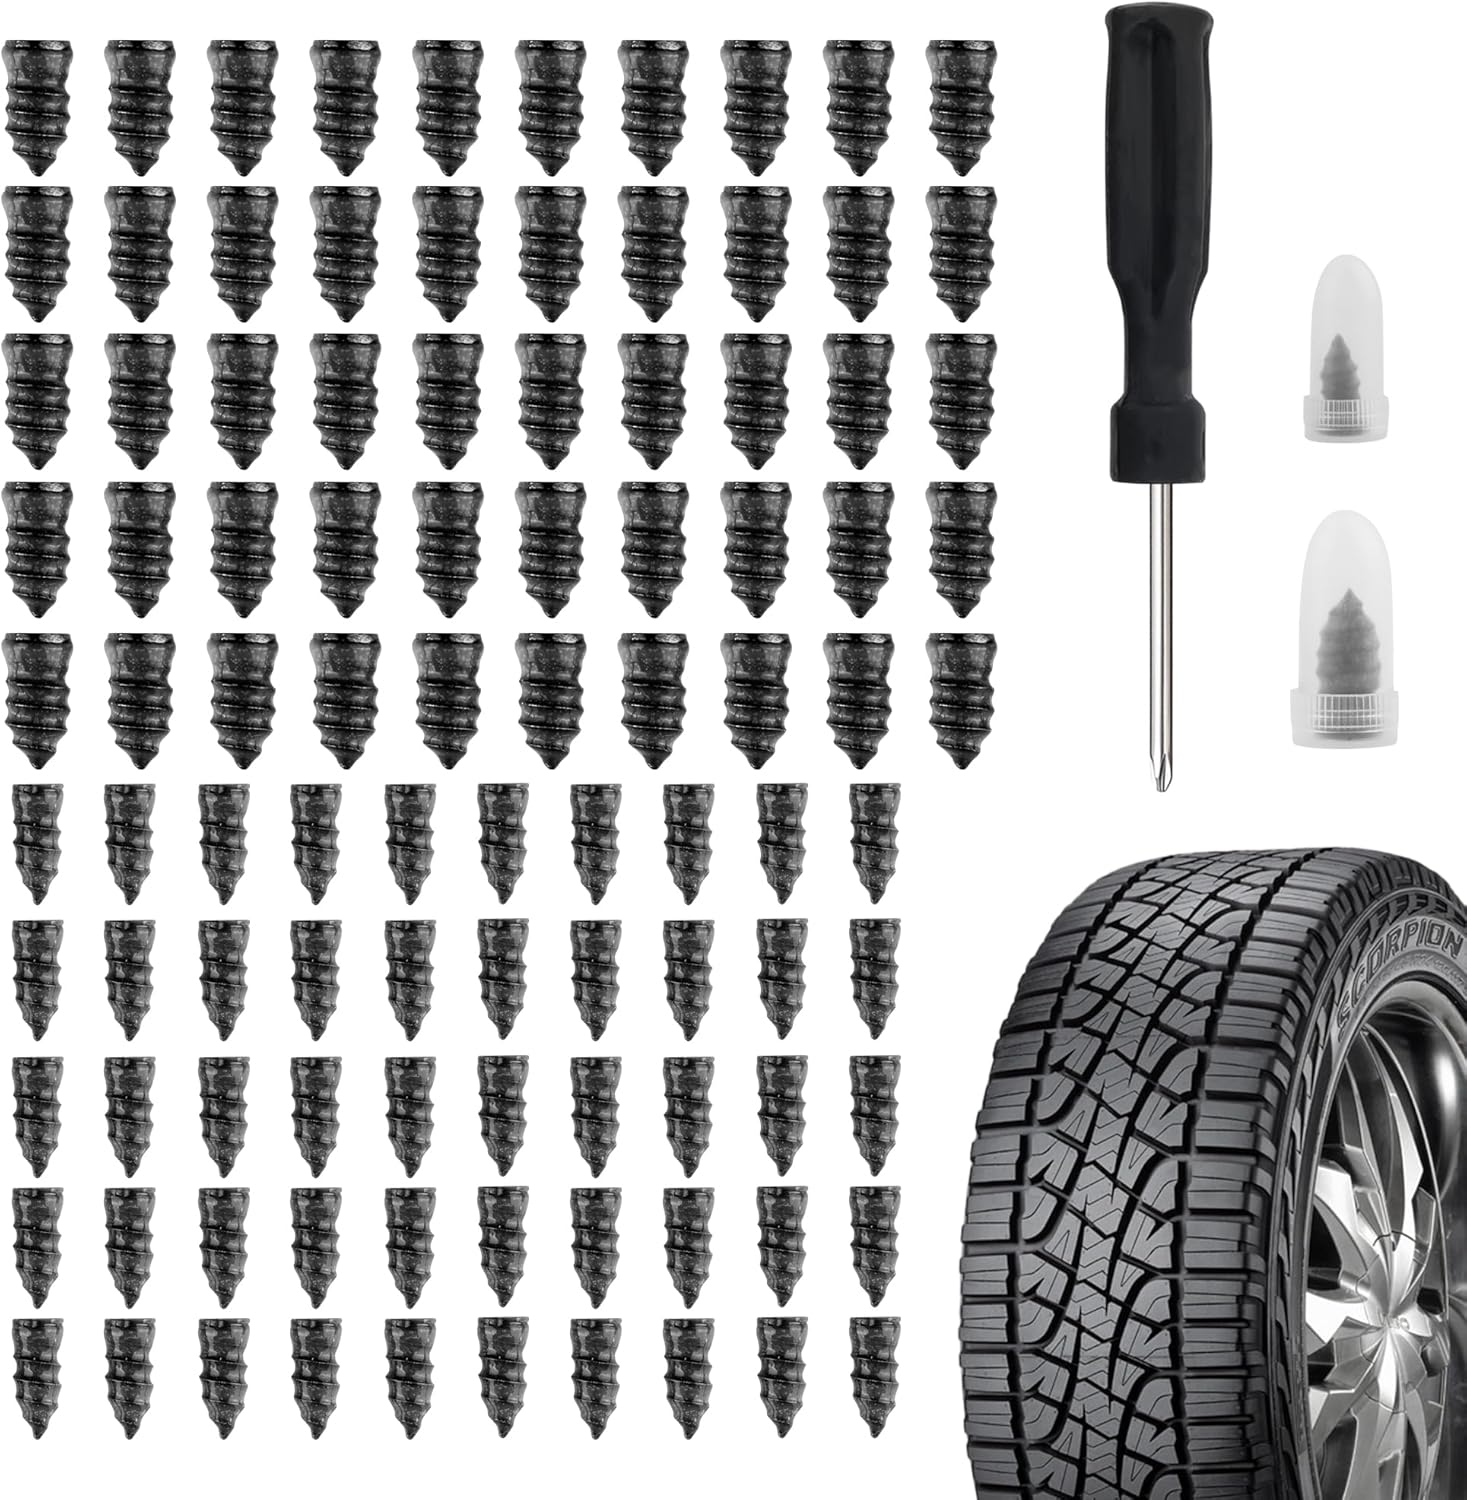
Salior’s tire plug kit provides a fast, reliable self-service fix for punctured or leaking tires without the need for flaring tools. Choose the correct plug size, then screw the nail into the puncture using the included screwdriver for an enhanced seal. The set is durable and convenient for on-the-go maintenance across multiple vehicle types.

This tire repair kit provides fast emergency puncture repair without removing the tire from the rim, helping you get back on the road quickly. Its screw plug system is designed for punctures in both tread and sidewall and includes a complete patch plug tool set with essential accessories. A portable storage bag makes it easy to carry for cars, trucks, SUVs, motorcycles, and heavy-duty applications.
Buy and Fit Self-Sealing Tubes Without the Mess
When you buy self-sealing tubes, match the tube size, valve type, and valve length to your wheel. Gather gloves, a pump, tire levers, and a valve-core tool if your tube uses a removable core.
During fitment, keep the valve area clean and seat the tire bead with care. Rotate the wheel after inflation so the sealant spreads around the tube.
Follow the tube maker’s pressure and care instructions. This helps reduce valve clogs and keeps the ride more predictable.
Tools and Supplies
Start with tire levers, a compatible pump, and a valve-core tool only if your tube or sealant instructions call for one. These items help you install self-sealing tubes while keeping the bead and valve area under control.
Clean the tire interior before installation and remove any glass, wire, thorns, or sharp rim debris that could puncture the new tube.
Keep a repair kit, tire boot, and spare tube with you. Sealant may reduce small stops, but it can’t fix every puncture.
- Tire levers and a compatible pump handle removal, seating, and inflation.
- A valve-core tool is useful only when the valve design and sealant instructions require core removal.
- A patch kit, spare tube, and tire boot help you handle failures that will not self-seal.
Mess-Free Installation Tips
Use clean tools and work slowly. Remove the valve core with a valve core removal tool only if your tube design allows sealant access through the valve.
Dry and clean the tire before you install the tube. Moisture, grit, and old debris can reduce sealing performance or damage the new tube.
Lightly inflate the self-sealing tube before inserting it. Seat the bead in small sections so you don’t pinch the tube.
After installation, check the valve and wipe away any residue. If inflation later becomes restricted, inspect the core and follow the maker’s valve-care instructions.
What Should You Do After a Puncture Seals?
- Stop safely and inspect: Look for the puncturing object and remove it if the tire or sealant maker instructs you to do so.
- Restore pressure: Inflate the tire to the pressure recommended for your tire, rim, load, and riding conditions.
- Monitor the repair: If pressure keeps dropping, do not rely on the sealant. Repair or replace the tube and inspect the tire for a larger cut or embedded debris.
Research Notes and Sources Checked
This article is a sourced decision guide, not a claim of original lab testing. The update separates manufacturer-specific sealing claims from general advice and uses dedicated inner-tube sources instead of treating tubeless-sealant test results as direct evidence for self-sealing tubes.
- Bicycling’s bike tube comparison guide was checked for butyl, latex, and TPU tube trade-offs.
- Slime’s self-sealing bicycle-tube page was checked for its product-specific 3 mm tread-puncture claim and stated protection period.
- Muc-Off’s inner-tube sealant page was checked for its 3–4 mm claim, valve compatibility, and stated service-life guidance.
- Park Tool’s inner-tube repair guide was checked for patch preparation and repair steps.
- Schwalbe’s tire-pressure guidance was checked for the relationship between low pressure and pinch-flat risk.
- Bicycling’s valve guide was checked for Presta, Schrader, valve length, and removable-core considerations.
Frequently Asked Questions
Are Self-Sealing Inner Tubes Worth It?
Self-sealing tubes can be worth it if you ride through thorns, glass, wire, or other small debris often. They make less sense if you value low weight, clean repairs, or the easiest roadside service.
Do Self-Sealing Tires Really Work?
This article focuses on self-sealing inner tubes. They can work on small tread punctures within the product’s stated limits, but they do not stop every leak. Larger cuts, sidewall damage, pinch flats, valve problems, and punctures outside the product’s sealing range can still leave you with a flat.
Are Self-Sealing Tubes Better Than Tubeless?
Self-sealing tubes are simpler to fit on standard clincher wheels, but tubeless setups can reduce pinch flats because they remove the inner tube. Tubeless also needs compatible rims, tires, valves, and sealant, so it is not the easiest upgrade for every bike.
Can You Put Sealant in a Regular Bike Tube?
You can add sealant to some regular tubes only when the valve core is removable and the sealant maker allows tube use. Check the tube and sealant instructions first, because some valves and tube materials are not suitable.
Do Pro Cyclists Use Tubes or Tubeless Tires?
Professional riders use both tubeless and tube-based systems. The choice varies by team, event, tire and rim system, sponsor, road surface, and rider preference, so pro use is not a simple reason to choose one setup for everyday riding.
Can You Patch a Self-Sealing Tube?
You can patch some self-sealing tubes, but cleanup matters. Wipe the area clean, let it dry, and follow the patch-kit instructions so the adhesive can bond to the rubber.
How Often Should You Check Self-Sealing Tubes?
Check tire pressure before rides and inspect the valve if inflation feels slow or restricted. For sealant age or replacement timing, follow the specific tube or sealant maker because service-life claims vary by product. Replace or repair the tube if leaks continue.
Conclusion
The best tube choice depends on the flats you actually get. Choose self-sealing tubes when small tread punctures from thorns, wire, or similar debris are the recurring problem and you accept extra weight and mess for a chance to avoid some stops.
Choose regular tubes when clean patching, low weight, and simple roadside service matter more. In either case, pair the tube with a sound tire, correct pressure, and a compact repair kit.
Before buying, match the tube size and valve to your wheel, then check the specific maker’s puncture limit, compatibility, and maintenance instructions instead of relying on generic sealant claims.

Related Articles

Are Premium Tires Worth the Extra Money?
Worth the extra money? Premium tires promise more grip, comfort, and longevity—but the real tradeoff may surprise you.
Read More
What Are OE Tires? Original Equipment Explained
Discover what OE tires really mean and why choosing the right replacement could change everything for your car’s ride, handling, and safety.
Read More
305 Tire Size Explained: How Big Is It?
I explain how big a 305 tire really is—and why the exact fit can surprise you.
Read More