
Bike Tire Pressure by Weight: PSI Chart & 2-4 PSI Rule
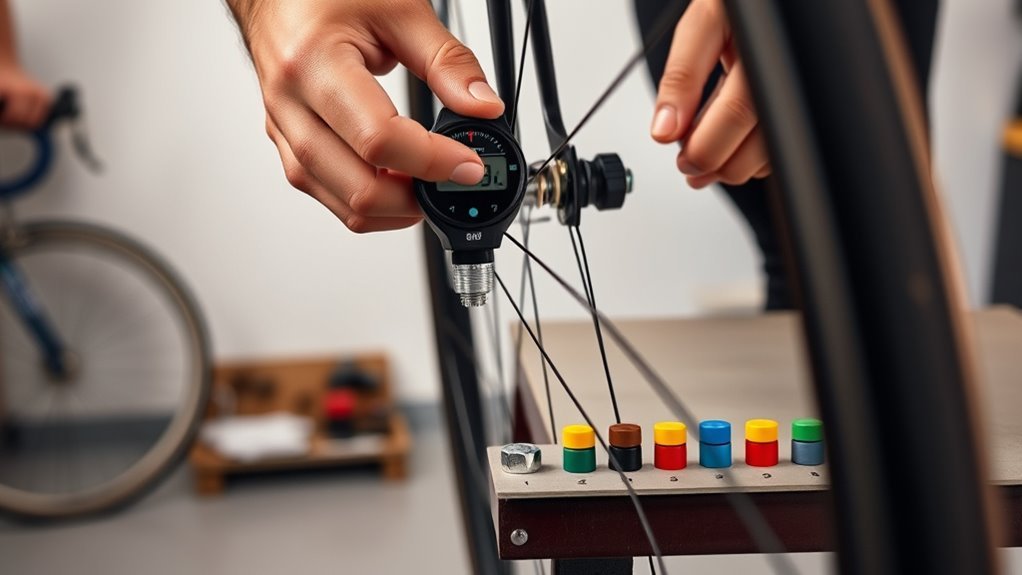
The right bike tire pressure can make your ride feel smooth, fast, and stable. The wrong pressure can cause harsh handling, poor grip, pinch flats, or rim strikes. Use your rider weight, tire width, wheel size, terrain, and setup style to set a smart starting pressure, then fine-tune in small pressure per square inch (PSI) steps.
Quick Answer
Start with your bike category’s baseline pressure, then adjust for your weight. Riders under 60 kg can lower pressure by about 2 PSI, riders from 60 to 75 kg can stay near baseline, riders from 75 to 90 kg can add about 2 PSI, and riders over 90 kg can add about 3 to 4 PSI. Run the rear tire about 2 to 4 PSI higher than the front because it usually carries more load.
Key Takeaways
- Use rider weight, tire width, wheel size, and terrain to choose your starting PSI.
- Lower pressure can improve comfort and grip, but too little pressure raises flat and rim-strike risk.
- Set the rear tire about 2 to 4 PSI higher than the front for better load balance.
- Adjust pressure in 1 to 2 PSI steps after short test rides.
- Check tire pressure cold with a reliable gauge before you ride.
Quick PSI Guide by Rider Weight
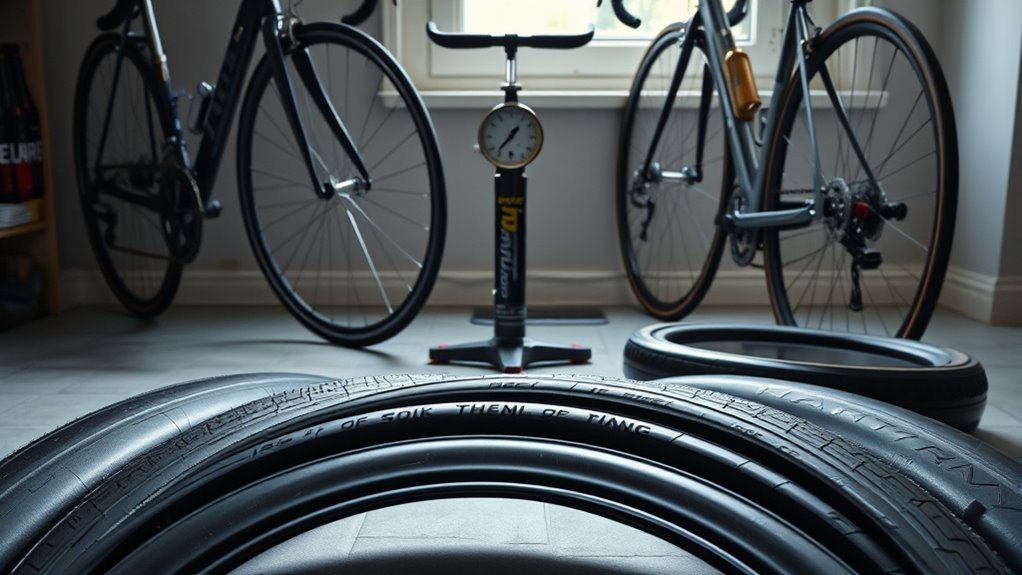
Start with the baseline pressure for your bike category, then adjust for rider weight. If you weigh under 60 kg, drop about 2 PSI from baseline to improve tire pressure compliance and rider comfort. If you weigh 60 to 75 kg, stay close to baseline for balanced grip and comfort.
If you weigh 75 to 90 kg, add about 2 PSI to support more load and preserve handling stability. If you weigh over 90 kg, add about 3 to 4 PSI to lower your risk of pinch flats and rim strikes. Make these changes to both tires, but keep the rear tire slightly firmer because your bike usually carries more weight at the back.
Check pressure when the tires are cold, then test the setup on a short ride. If the ride feels harsh or skittish, lower pressure by 1 to 2 PSI. If the tire squirms, bottoms out, or flats often, raise pressure by 1 to 2 PSI.
How Weight, Tire Width, and Wheel Size Set Your Starting PSI
Your starting PSI depends on three main factors: your weight, tire width, and wheel size. Each one changes how much air the tire needs to support you, grip the surface, and protect the rim. Use these factors as a starting point, then test how the bike feels.
Lighter riders can often run slightly lower pressure. Heavier riders usually need more pressure to stop the tire from folding, bottoming out, or striking the rim. Apply changes evenly to both tires, then keep the rear slightly higher for load balance.
Wider tires, such as 2.4 to 2.5 inch mountain bike tires, can run lower pressure than narrow tires because they hold more air volume. Larger 29 inch wheels can also feel stable at slightly lower pressure. Smaller 27.5 inch wheels may need a little more PSI for the same level of support.
| Factor | Effect on Starting PSI |
|---|---|
| Rider weight | Lighter riders can reduce pressure; heavier riders usually add pressure |
| Tire width | Wider tires can usually run lower PSI |
| Wheel size | 29 inch wheels can often run lower; 27.5 inch wheels may need more |
Use tire-pressure charts as a guide, not a final rule. Your best pressure depends on how your tire, rim, terrain, and riding style work together.
Road, Gravel, and MTB PSI Chart: Baseline Pressures
Use these baseline pressures as a starting range: road tires often run about 80 to 130 PSI, gravel tires about 30 to 60 PSI, and mountain bike (MTB) tires about 16 to 30 PSI. Your exact number depends on tire size, system weight, rim width, terrain, and whether you use tubes or tubeless tires.
Choose the lower end of the range when you want more comfort and traction. Choose the higher end when you need more support, ride smoother surfaces, or want to reduce bottom-out risk. Avoid the idea that more PSI always means more speed, since excess pressure can reduce grip and make the bike bounce over rough ground.
| Bike Type | Typical Starting Range | Best Use |
|---|---|---|
| Road | 80 to 130 PSI | Smooth pavement, narrow tires, higher speed |
| Gravel | 30 to 60 PSI | Mixed surfaces, dirt roads, hardpack |
| MTB | 16 to 30 PSI | Trails, roots, rocks, loose surfaces |
For road tires, narrower widths and heavier riders often push pressure toward the higher end. For gravel tires, 30 to 45 PSI can suit mixed surfaces, while firmer hardpack or heavier loads may need more. For MTB tires, 16 to 22 PSI can suit loose technical trails, while 22 to 30 PSI can give more support on rocky ground.
[Products Worth Considering]

Tiakia’s mini high-pressure frame pump delivers up to 260 PSI for faster, more efficient inflations with an optimized intake volume. It features a double-head valve design compatible with Schrader and Presta, plus a conversion for Donlop, making it versatile for bikes and many inflatables. The lightweight anodized aluminum build includes a mounting bracket for convenient carry, while the flexible high-pressure hose and IPX4 waterproof body support outdoor use.

This 4-pack kit converts Presta bike valves to standard Schrader valves so you can inflate with any regular pump or air compressor. The solid brass adapters include an O-ring for a tight, leak-proof seal and provide a simple screw-on setup. Compatible with road bikes, mountain bikes, e-bikes, and e-scooters, it’s designed for convenient, everyday carry readiness.

Convert Presta bicycle valves to accept standard Schrader pump nozzles for fast, hassle-free inflation. This kit includes durable brass adapters with leak-resistant connections, plus sports inflation needles and protective valve caps for convenient use on bikes and ball sports equipment.
Measure System Weight and Set Front vs Rear PSI
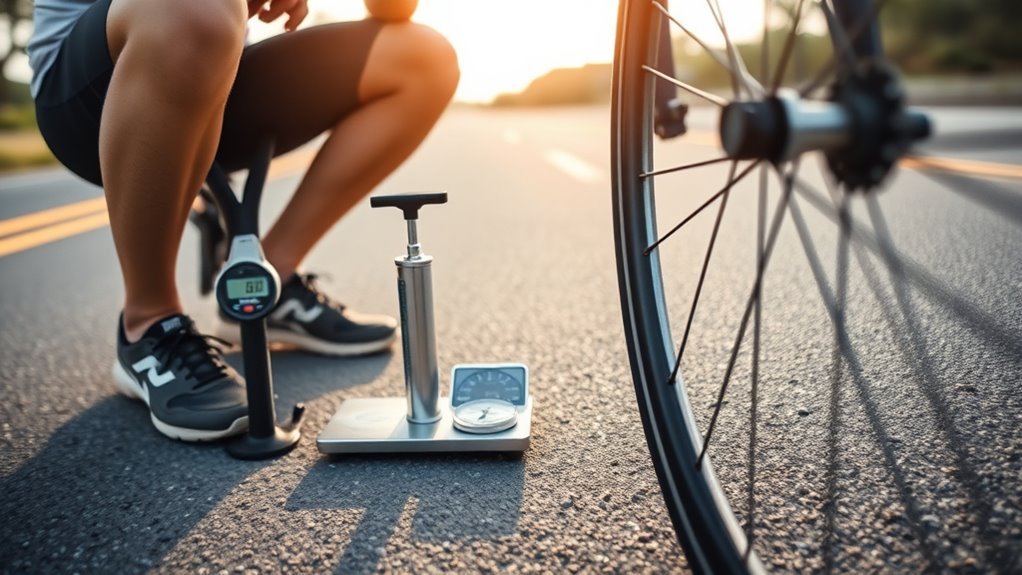
Because tire feel depends on the whole bike-and-rider system, measure your total system weight before you set pressures. System weight means rider, bike, bottles, tools, bags, and typical riding gear. This number helps you make a more accurate tire adjustment than body weight alone.
- Record your full system weight before choosing a baseline PSI.
- Check the suggested range for your tire volume and riding discipline.
- Set the front tire slightly lower than the rear for better grip and steering feel.
- Increase rear PSI about 2 to 4 PSI above the front to support rear load.
- Adjust in small steps until handling, comfort, and puncture resistance feel balanced.
Check pressure often because temperature, gear, and riding surface can change how the tire feels. If you add bags, tools, or water, raise pressure slightly. If you ride without extra load, you may not need the same rear pressure.
Tuning PSI for Terrain, Riding Style, and Tubeless Setups
After you set a front and rear baseline, tune pressures for terrain, riding style, and tire setup. Loose, wet, or bumpy surfaces usually benefit from lower pressure because the tire can conform to the ground. Smooth pavement and hardpack often work better with slightly higher pressure.
Tubeless setups let many riders use lower pressure than tubes because they remove pinch-flat risk from the inner tube. They do not remove every risk, though. Very low pressure can still cause burping, rim strikes, tire squirm, or sidewall damage.
Match PSI to how you ride. Aggressive riders often need slightly higher pressure for cornering support and impact protection. Smooth riders can often use lower pressure for more grip and comfort.
Pro tip: Keep a simple tire-pressure log with terrain, weather, tire model, and front and rear PSI.
Use 1 to 2 PSI changes during test rides. Small pressure changes can create a clear difference in comfort, grip, and confidence. Carry a reliable gauge so your settings stay consistent.
[Products Worth Considering]

The AstroAI 2 pack air chucks provide a heavy-duty, closed-flow locking design that helps keep air flowing during inflation while securely attaching to the valve stem. Built with 250 PSI rated brass components and compatible with Schrader valves, they feature 1/4" female NPT threads for a wide fit with common inflators. The straight tip and locking clip make filling tires and monitoring pressure more convenient.

This EVOULTES 2-way air chuck set includes a dual head closed flow air chuck and a ball head chuck for versatile tire inflation. It connects easily to air lines, inflator gauges, and compressors using 1/4" NPT threads and includes two 1/4" male quick plugs for fast coupling. Built with durable metal construction and sealed threads using Teflon tape to help prevent air leaks, it’s ideal for inflating Schrader valve tires across cars, bikes, and motorcycles.
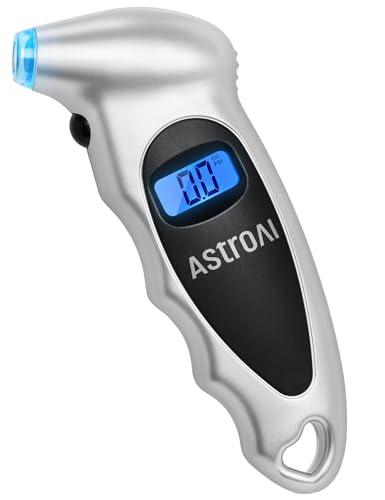
Accurate, Dependable Readings: Factory‑calibrated to ±1 PSI, so you can confidently match your vehicle’s recommended PSI (check the door jamb sticker). Ideal for monthly checks and road trips — consistent results every time, cold or warm.
Troubleshoot Flats, Rim Strikes, and Poor Traction
If you deal with recurring flats, rim strikes, or poor traction, start with tire pressure. Too little pressure raises pinch-flat and rim-strike risk. Too much pressure reduces grip and can make the bike feel harsh or unstable.
- Check pressures before each ride: Match the range to your weight, tire size, and terrain.
- Keep the rear slightly higher: Add 2 to 4 PSI to support the rear load and reduce rim strikes.
- Make small changes: Adjust 1 to 2 PSI at a time so you can feel what changed.
- Use tubeless with inserts when needed: Inserts can protect rims and support lower pressure on rough trails.
- Inspect your tires: Check sidewalls, tread cuts, bead seating, and sealant level after hard rides.
Warning: Never ride below the tire or rim maker’s safe pressure limit, especially on road tires.
If traction feels poor, lower pressure slightly and test again. If the tire folds in corners, strikes the rim, or feels vague, add pressure. Your goal is enough support without giving up grip.
[Products Worth Considering]
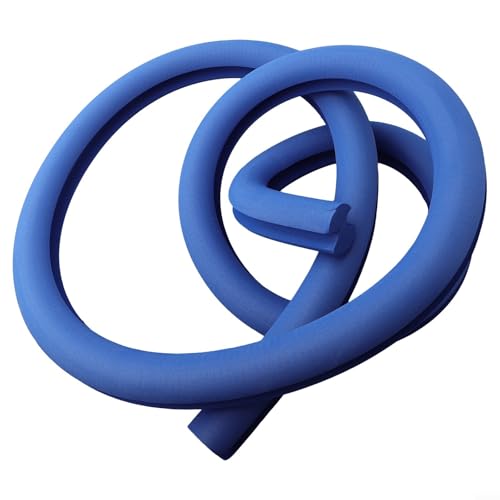
【Compatibility】These tire liners are compatible with wheels with a diameter of up to 29 inches (700C) and suitable for tire widths ranging from 9" to 2.25" (approximately 48-57cm).
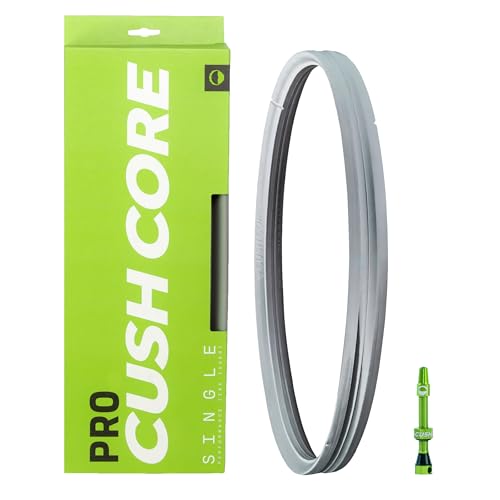
SIMPLE INSTALLATION: This set is easy to install for any rider. Included in this set is everything you’ll need to get started, follow the instructions included in the package & you’ll be back on the trails in no time. Fits a 2.1"-2.6" tire.

【Enhanced Rim Protection】 liners offer superior protection for your bike wheels against rim dents, punctures, and damage caused by terrain. Enjoy worry-free off-road adventures.
Common Bike Tire Pressure Mistakes
Many riders copy a friend’s PSI or use the maximum number printed on the tire sidewall. That number often shows a safety limit, not your ideal riding pressure. Your best setting depends on your own weight, tire size, rim width, and terrain.
Another common mistake is using the same pressure for every ride. A smooth road, a wet gravel route, and a rocky trail all need different support and grip. Treat PSI as a setting you tune, not a fixed number.
Don’t guess by squeezing the tire with your fingers. A small hand test can’t show the difference between 22 and 26 PSI. Use a gauge, write down what works, and change one thing at a time.
Frequently Asked Questions
What PSI should bike tires be for weight?
Use your bike type’s baseline, then adjust for your weight. Drop about 2 PSI if you weigh under 60 kg, stay near baseline from 60 to 75 kg, add about 2 PSI from 75 to 90 kg, and add about 3 to 4 PSI if you weigh over 90 kg.
How do you calculate tire pressure based on weight?
Add your body weight, bike weight, and normal riding gear to get total system weight. Choose a baseline for your tire size and riding type, then adjust up or down based on weight, terrain, and ride feel.
Does rider weight affect MTB tire pressure?
Yes, rider weight affects MTB tire pressure because the tire must support the rider through impacts, turns, and braking. Heavier riders usually need more PSI, while lighter riders can often run slightly less for grip and comfort.
Should front and rear bike tires have the same PSI?
Most riders should run the rear tire slightly higher than the front. The rear tire usually carries more weight, so 2 to 4 PSI more in the rear helps prevent squirm, rim strikes, and flats.
Is lower bike tire pressure always better?
No, lower pressure can improve grip and comfort, but too little pressure can damage rims, cause tire squirm, and increase flat risk. Lower pressure only works well when the tire still has enough support for your weight, terrain, and riding style.
Conclusion
The best bike tire pressure starts with a baseline, but your final setting comes from smart testing. Use rider weight, system weight, tire width, wheel size, and terrain to choose your starting PSI. Then adjust in 1 to 2 PSI steps until the bike feels controlled, comfortable, and stable. When grip, support, and flat protection line up, every ride feels more predictable.

Related Articles
How to Choose Tires for 20×10 Wheels
Just how wide should your tires be for 20x10 wheels, and which size best balances fitment, grip, and clearance?
Read More
Q vs T Speed Rating: Which Do You Need?
How do Q vs T speed ratings affect safety and performance, and which one is right for your vehicle?
Read More
12 Ply Vs 14 Ply Tires: What’s the Difference?
What’s the real difference between 12-ply and 14-ply tires, and which one could change your towing performance?
Read More