
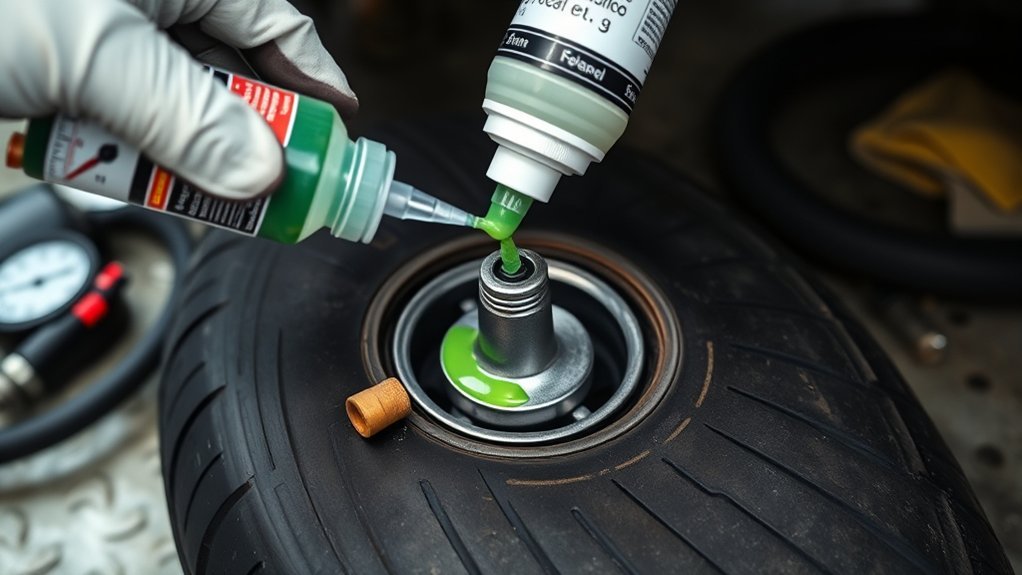
Slime tire sealant can be a fast way to deal with a small tread puncture, but the details matter. The right product, the right amount, and the right follow-up can make the difference between a useful temporary fix and a tire that still leaks.
Quick Answer
To put Slime in a tire, choose the correct Slime formula, position the valve stem in the upper half of the tire, remove the valve core unless using a thru-core product, deflate the tire, inject the label-recommended amount, reinstall the core, inflate to the vehicle or tire maker’s recommended pressure, then rotate or drive about 0.2 miles and recheck for leaks.
Key Takeaways
- Use tube sealant for inner tubes and tire sealant for tubeless tires; yellow-label emergency sealant is for temporary highway-vehicle repairs.
- Do not guess the amount. Use the chart on the bottle or the official Slime calculator.
- Most Slime bottles install through the valve stem after the valve core is removed; Slime Thru-Core products are the exception.
- Inflate to the recommended cold pressure from the vehicle placard or owner’s manual, not a random PSI number.
- Do not use sealant as a permanent repair for highway tires; have the tire inspected and repaired by a professional as soon as possible.
At a Glance
| Time Required | 10–20 minutes, plus a short rotation or 0.2-mile drive to distribute the sealant. |
| Difficulty | Easy, as long as the puncture is small and in the tread area. |
| Tools Needed | Correct Slime bottle, valve-core tool or Slime cap tool, tire inflator, tire-pressure gauge, rag, and soapy water for leak checking. |
| Cost | Usually the cost of the sealant bottle and air source; final professional repair costs vary by tire and shop. |
Warning: Do not use Slime as a fix for sidewall damage, shoulder damage, a blowout, a cracked tire, a cut, exposed cords, bead leaks, or a puncture larger than the product’s stated limit. Industry tire-repair guidance limits proper repairs to the tread area and requires professional inspection for highway tires.
Which Slime Product Should You Use?
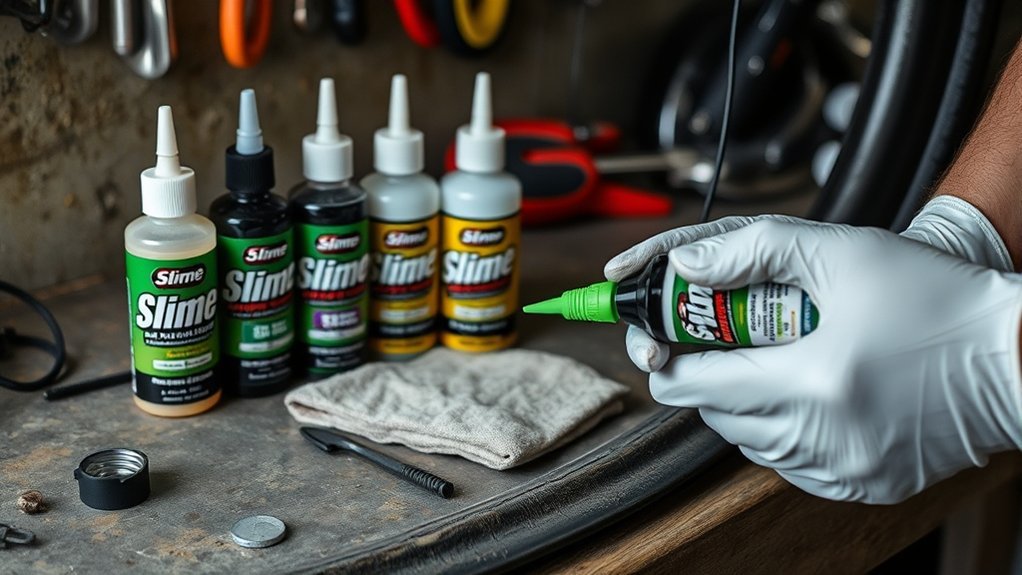
Choose the Slime product that matches your tire type and how you plan to use it. The easiest mistake is putting the right brand in the wrong tire.
- Red label tube sealant: Use this for tires with inner tubes, such as many bicycles, hand trucks, wheelbarrows, jogging strollers, and some dirt bikes.
- Blue label tubeless tire sealant: Use this for many tubeless off-highway tires, such as ATVs, lawn equipment, trailers, and similar non-highway uses.
- Black label 2-in-1 sealant: Use this when you need one off-highway formula that works in both tubes and tubeless tires.
- Yellow label emergency tire sealant: Use this for emergency flat repairs in highway vehicles such as cars, trucks, SUVs, RVs, trailers, and motorcycles. It is temporary and should be removed within the product’s stated service window.
Slime’s own product guide explains that red-label sealant is for tubes, blue-label sealant is for tubeless off-highway tires, black-label 2-in-1 sealant is for off-highway tires and tubes, and yellow-label sealant is for emergency highway-vehicle use. You can confirm the current product match on Slime’s sealant selection guide.
Note: Most Slime bottles require valve-core removal before installation. Slime Thru-Core emergency products are different because they are designed to install without removing the valve core. Always follow the exact label on the bottle in your hand.
[Products Worth Considering]

LiQuiTube Premium Heavy Duty Tire Sealant provides permanent flat tire protection to help maintain proper air pressure while sealing punctures and leaks. It seals bead, rim, and porosity weathering leaks and helps prevent flats in heavy ply industrial tires. Designed for versatile use on trailers and off-road equipment, it can be installed in tubeless tires and also inside tubes.

This tire repair kit provides fast emergency puncture repair without removing the tire from the rim, helping you get back on the road quickly. Its screw plug system is designed for punctures in both tread and sidewall and includes a complete patch plug tool set with essential accessories. A portable storage bag makes it easy to carry for cars, trucks, SUVs, motorcycles, and heavy-duty applications.

TireJect Off-Road Tire Sealant Kit provides 5-in-1 sealing to help fix tread punctures up to 3/8", sidewall punctures up to 3/8", bead leaks, slow leaks, and minor dry rot on low-speed tires. It permanently seals with liquid rubber, recycled tire particles, and Aramid fibers, making it ideal for flats caused by thorns, nails, and screws. The included dispensing cap attaches to the valve stem for a no-mess installation, along with a metal valve core remover tool and valve stem cap. This kit is for off-road use only.
Gather Your Tools and Prepare the Tire
Before adding sealant, park in a safe place, set the parking brake if you are working on a vehicle, and inspect the tire. Slime can help with small tread-area punctures, but it cannot make a damaged tire safe.
You will need:
- The correct Slime formula for your tire.
- A valve-core removal tool, often built into the black cap of many Slime bottles.
- A tire inflator or air compressor.
- A reliable pressure gauge.
- A rag or towel for cleanup.
- Soapy water to check for leaks after inflation.
Position the valve stem in the upper half of the tire. Slime says sealant can be inserted with the valve stem in any position, but it works best when the valve stem sits in the upper half of the tire. Remove any visible nail, screw, thorn, or puncturing object if you can do so safely.
[Products Worth Considering]

Mosconly tire repair glue and nail kit delivers an elastic, waterproof bond for quick sidewall puncture repairs. The adhesive cures securely to help prevent peeling, flaking, and tearing, while the included nails support a strong, seamless repair. Designed for easy roadside use, it works on car, motorcycle, bike, and other tire types, with full curing within 24 hours.

Orange Seal regular formula tubeless sealant quickly seals punctures and forms a durable bond inside your tire to help reduce flats. Made with natural latex, it adheres effectively to rubber and seals from the inside out, including the critical bead-to-rim interface for a reliable ride. It seals punctures up to 1/4 inch, slices up to 3/4 inch, and performs in temperatures as low as 11°F across MTB, road, cyclocross, gravel, and e-bike applications.
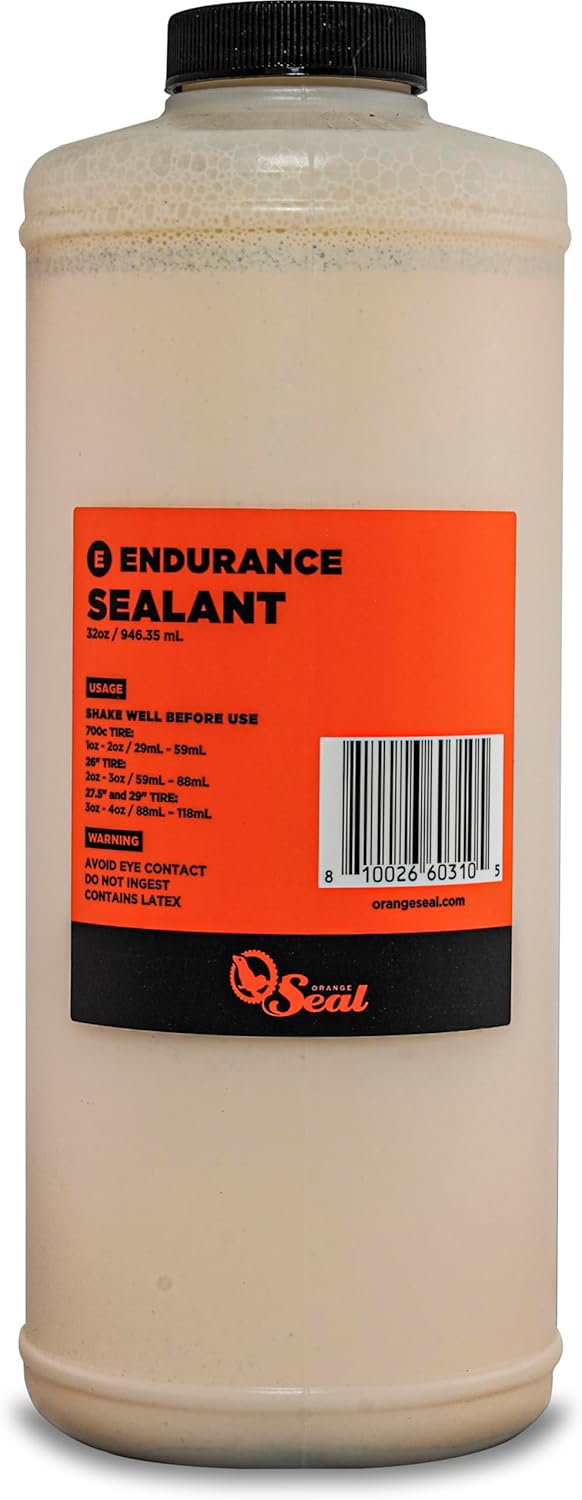
Orange Seal Endurance Formula delivers long-lasting latex protection with a durable sealant that can stay effective for 60–120 days between top-offs. It uses nanite particles to rapidly seal punctures up to 1/4" and slices up to 1/2", helping maintain reliable tubeless performance across MTB, road, CX, and gravel conditions. The biodegradable formula is engineered to work across major tubeless-ready and UST brands and a wide range of rubber compounds.
How Do You Remove the Valve Core?
Most Slime installations start by removing the valve core so the tire can deflate and the sealant can flow through the valve stem. Remove the valve cap, place the Slime cap tool or a valve-core tool over the core, and turn counter-clockwise slowly. You should hear air hissing out as the core loosens.
Once the air starts escaping, keep control of the small valve core and set it somewhere clean. You will need it again after the sealant goes in.
Schrader Valves
Schrader valves are the common wider valves found on most cars, trucks, motorcycles, strollers, wheelbarrows, and many bicycles. Look inside the stem for the small center pin and metal core. Use the valve-core tool to turn the core counter-clockwise until it comes free.
Presta Valves
Presta valves are narrower and are common on many road and mountain bikes. Not every Presta tube has a removable core. If the core is removable, open the small knurled nut at the top first, then remove the core with the correct tool. If your Presta core is not removable, use a Slime-compatible tube or product made for that setup.
How to Put Slime in a Tire
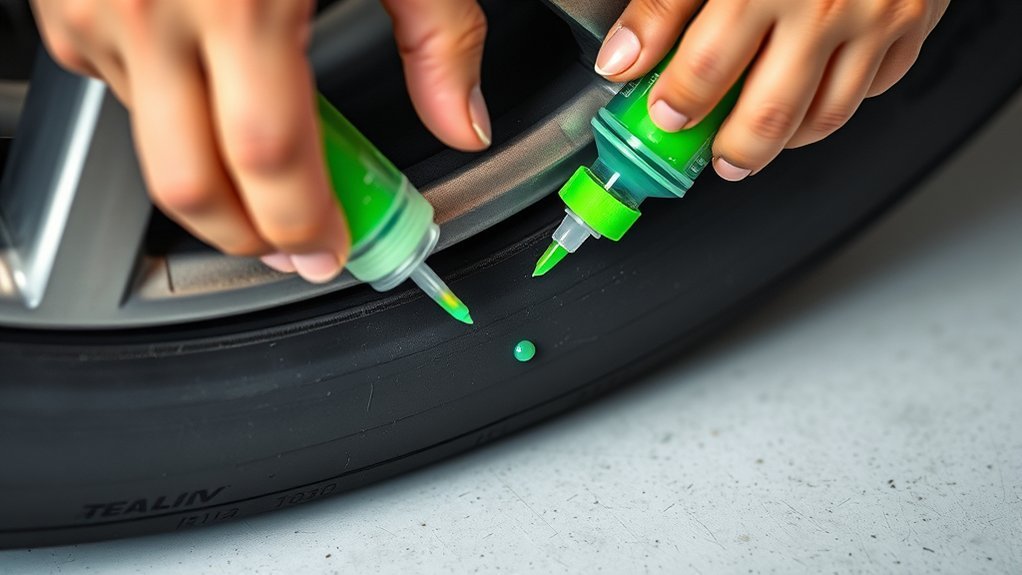
Once the tire is flat and the valve core is out, you can add the sealant. Shake the bottle well first so the sealing fibers and liquid are evenly mixed.
[Products Worth Considering]

This tire inflator with pressure gauge delivers long-lasting performance with a durable rubber-protected gauge and sturdy build. The longer hose and 360 swivel air chuck help you seal the valve securely and keep your hands free while measuring, inflating, or deflating. It’s battery-free for reliable use and provides ±2 PSI accuracy in the mid-range for most typical tires, with universal compatibility for 1/4 NPT compressor outputs.

Keep your tires performing with these valve core removal tools designed to quickly disassemble and reinstall standard valve cores. The compact, portable design makes it easy to carry for bicycle, motorcycle, car, or truck repairs. Durable stainless steel construction helps you handle routine tire maintenance with less hassle.

AstroAI AIRUN H is a compact 12V tire inflator designed for fast, convenient inflation with an easy-to-read digital pressure gauge. Set your target pressure with programmable controls and let the auto shut-off turn off the pump when the preset is reached. It also includes a backlit screen and LED flashlight for nighttime use, with a ToughUltra durability design for longer service life.
Step 1: Check the Correct Amount
Do not use one amount for every tire. Use the chart on the bottle or the Slime calculator to match the dose to your tire size and application. Small bicycle tubes may need only a few ounces, while larger tubeless vehicle or equipment tires can require much more.
Step 2: Attach the Hose
Remove the seal from the bottle if your bottle has one. Attach the clear hose to the bottle cap and connect the other end to the valve stem. Make sure the hose is seated firmly so sealant does not leak around the connection.
Step 3: Squeeze in the Sealant
Squeeze the bottle slowly and steadily. If the sealant does not flow, stop and check whether the valve core is fully removed, the stem is clogged, the tire is flat enough, or the hose is kinked.
Pro Tip: Keep the valve stem above the centerline of the tire while you inject the sealant. This reduces backflow and gives the liquid a cleaner path into the tire or tube.
Reinstall the Valve Core and Inflate the Tire
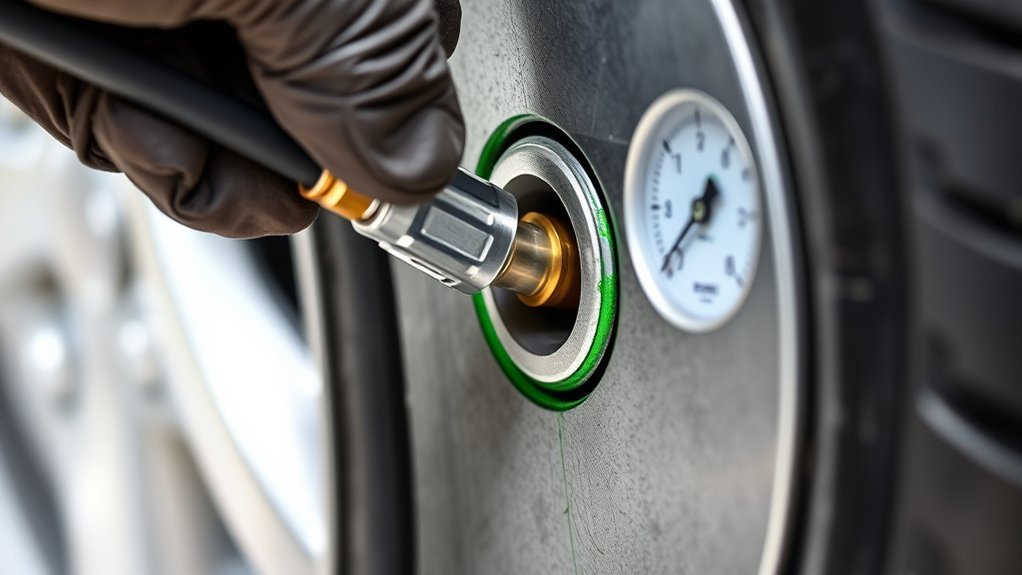
Thread the valve core back into the valve stem and turn it clockwise until it is snug. Do not over-tighten it. Wipe away extra sealant around the valve area so you can spot any new leaks.
Inflate the tire to the correct pressure. For cars, trucks, SUVs, and many trailers, use the vehicle manufacturer’s recommended cold tire pressure from the driver-door placard, certification label, or owner’s manual. The National Highway Traffic Safety Administration warns that the pressure printed on the tire sidewall is not the vehicle’s recommended everyday pressure.
If you are working on a bicycle, mower, wheelbarrow, ATV, or other equipment tire, use the pressure range recommended by the tire or equipment manufacturer.
Spin the Tire and Check for Leaks
After inflation, rotate the tire to spread the sealant across the inside tread area. For a car, truck, SUV, or trailer, Slime recommends driving about 0.2 miles, then stopping to verify that the puncture is sealed and the tire is holding pressure. For a bicycle or loose wheel, spin the wheel by hand several times.
Check the tread and valve area with soapy water. Bubbles show that air is still escaping. If bubbles appear at the valve, tighten the core slightly and recheck. If the tread still leaks, the puncture may be too large, in the wrong location, or not suitable for sealant.
Sealant is a roadside or preventive tool, not a substitute for a proper internal tire inspection and repair on highway tires.
When Not to Use Slime
Do not use Slime and continue driving if the tire has structural damage. Stop and replace the tire or call roadside help if you see any of these problems:
- Sidewall puncture, bulge, slice, or abrasion.
- Shoulder damage near the edge of the tread.
- A blowout or rapid air loss.
- Exposed cords or steel belts.
- A puncture larger than the product’s stated sealing limit.
- A tire worn to the treadwear indicators or badly cracked from age.
- Repeated leaks after the sealant has been installed.
The U.S. Tire Manufacturers Association says proper puncture repairs are limited to the tread area and require the tire to be removed from the wheel for internal inspection. The Tire Industry Association also warns that sealants and emergency inflators are not long-term flat-tire solutions.
What to Do After Using Slime in a Car Tire
If you used yellow-label emergency Slime in a highway vehicle, treat it as a temporary repair. Slime states that its emergency formula must be removed within 3 days or 100 miles, whichever comes first. Drive cautiously, avoid long trips, and schedule a professional tire inspection as soon as possible.
Tell the tire shop that sealant was used. That helps the technician clean the tire and wheel properly and check any tire-pressure monitoring system sensor.
Troubleshooting Common Slime Problems
Slime Will Not Go Into the Tire
Check that the valve core is fully removed, the tire is mostly deflated, and the hose is not kinked. A clogged valve stem can also block the flow. Remove the hose, wipe the stem, and try again slowly.
The Tire Still Leaks After Installation
Spin or drive the tire as directed, then recheck pressure. If it still leaks, inspect the tread and valve with soapy water. Sealant may not work if the puncture is too large, the puncturing object is still moving inside the hole, the damage is outside the tread area, or the tire has internal damage.
The Valve Leaks After Reinstalling the Core
The core may be loose, dirty, damaged, or cross-threaded. Remove it carefully, wipe it clean, reinstall it straight, and tighten it gently. Replace the valve core if it still leaks.
The Tire Vibrates After Adding Sealant
Highway tires are sensitive to balance. If you used emergency sealant in a car, truck, SUV, or motorcycle tire and notice vibration, slow down and have the tire serviced. Emergency sealant should not stay in highway tires long-term.
Frequently Asked Questions
Why won’t Slime go into my tire?
Slime usually will not flow if the valve core is still installed, the valve stem is clogged, the hose is kinked, or the tire is not deflated enough. Remove the core, keep the valve stem in the upper half of the tire, shake the bottle, and squeeze slowly.
How much Slime should I put in my tire?
Use the amount listed on the Slime bottle chart or the official Slime calculator. Do not rely on a universal dose. Bicycle tubes, tubeless off-highway tires, and highway-vehicle emergency products can require different amounts.
How far should I drive after putting Slime in a tire?
Slime recommends driving about 0.2 miles after installation to distribute the sealant, then stopping to check that the tire is holding air. For a bicycle or loose wheel, spin the tire by hand instead.
How long does it take tire Slime to harden?
Slime does not fully harden inside the tire. The liquid carries sealing fibers and particles to the puncture, where they form a flexible plug. Slime says its sealant remains liquid for up to 2 years in many preventive-use applications.
Can I use Slime on a sidewall puncture?
No. Slime is meant for tread-area punctures within the product’s stated limits. Sidewall and shoulder damage are unsafe and generally not repairable. Replace the tire or have it inspected by a qualified tire professional.
Is Slime a permanent tire repair?
For highway vehicles, emergency Slime is temporary. Have the tire professionally inspected and repaired as soon as possible. Slime’s yellow-label emergency formula must be removed within 3 days or 100 miles, whichever comes first.
Conclusion
Putting Slime in a tire is simple when the damage is small, the sealant matches the tire, and you follow the label. Position the valve stem, remove the valve core when required, deflate the tire, add the correct amount, reinstall the core, inflate to the correct pressure, rotate the tire, and check for leaks.
The most important part is knowing the limit of the repair. Slime can help you seal a small tread puncture or prevent flats in the right off-highway setup, but it should not be used to hide serious tire damage. For highway vehicles, treat emergency sealant as a short-term fix and get the tire inspected quickly.
Sources
- Slime: How to Install Slime Tire Sealant — backs up valve position, valve-core removal, injection, inflation, and 0.2-mile distribution steps.
- Slime: Which Slime Sealant Do I Need? — backs up red, blue, black, and yellow label product selection.
- Slime Calculator — backs up using tire size and product guidance to choose the correct amount.
- Slime Emergency Tire Sealant Product Page — backs up temporary emergency-use guidance for highway vehicles.
- NHTSA Tire Safety — backs up cold tire-pressure and vehicle placard guidance.
- U.S. Tire Manufacturers Association: Tire Repair Basics — backs up tread-area repair limits and professional inspection guidance.

