
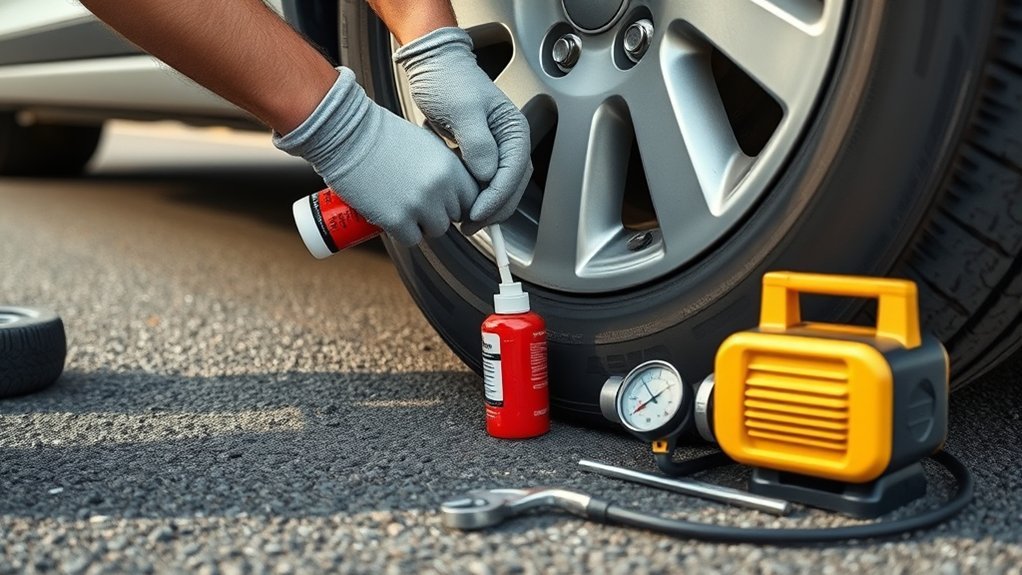
Tire sealer can restore enough air pressure to move a vehicle after a small tread puncture, but only when the product matches the tire and the damage is within its limits. Before attaching anything to the valve stem, move to a safe location, inspect the tread and sidewall, and read the instructions printed on your specific can, bottle, or mobility kit.
Quick Answer
To use tire sealer, confirm that the puncture is small and located in the tread, identify whether your product requires valve-core removal, inject the labeled amount, and inflate to the vehicle placard pressure. Drive only as the label directs, recheck the pressure, and arrange professional inspection as soon as possible.
Key Takeaways
- Use emergency sealant only for damage the product is rated to seal, normally a small puncture in the main tread area.
- Do not use sealant for sidewall cuts, shoulder damage, a separated bead, a bent wheel, a bulge, or a shredded tire.
- Some bottles require full deflation and valve-core removal, while aerosol and thru-core products may use different steps.
- Inflate to the pressure on the vehicle’s door placard or in the owner’s manual, not the maximum pressure molded on the tire.
- Treat sealant as an emergency measure and tell the tire technician that sealant is inside the tire.
At a Glance
| Time Required | Usually 10 to 20 minutes, plus the product’s required circulation drive and pressure check |
| Difficulty | Easy, provided the wheel, sidewall, bead, and valve are not damaged |
| Tools Needed | Compatible tire sealer, pressure gauge, air source if required, gloves, eye protection, and a valve-core tool only when the label requires one |
| Cost | Varies by product type and tire size; use the labeled quantity or correctly sized can rather than assuming one bottle fits every tire |
What Is Tire Sealer and How Does It Work?
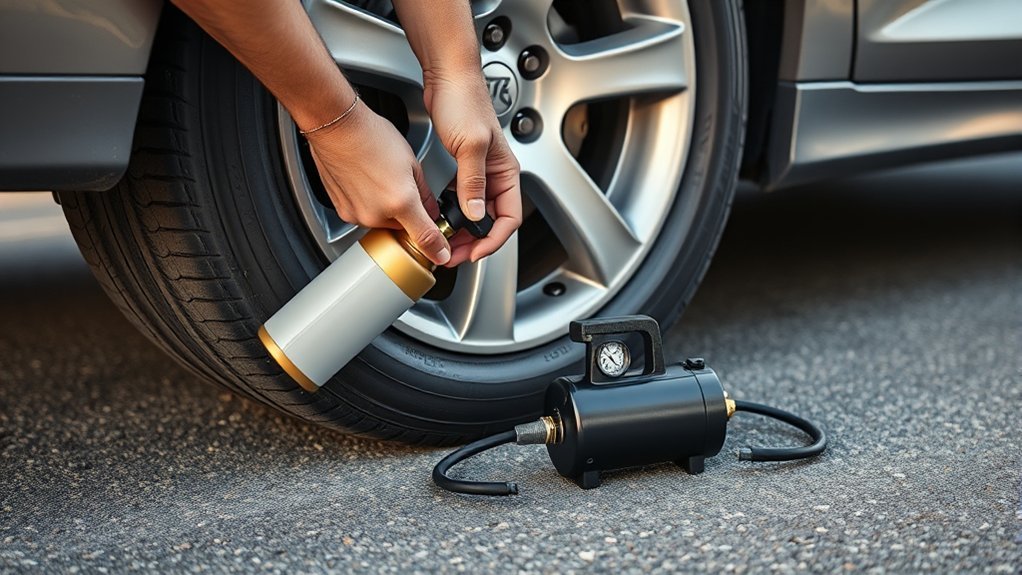
Tire sealer is a liquid or aerosol formula delivered through a tire’s valve stem. As air escapes through a suitable tread puncture, fibers, rubber particles, latex, or other sealing material collect at the opening and slow or stop the leak. The exact chemistry and installation procedure vary by product.
Emergency highway-tire formulas are designed to restore temporary mobility after a puncture. Preventive formulas, including products discussed in this guide to Orange Endurance and other tire sealants, may have different vehicle, speed, tire, and service-life restrictions. Never substitute a bicycle, tube, ATV, agricultural, or non-highway formula for an automotive emergency product unless the label specifically approves that use.
Note: Sealant may stop air loss, but it does not restore damaged cords, belts, beads, sidewalls, or wheel structure. A tire that holds pressure after treatment can still require replacement.
[Products Worth Considering]
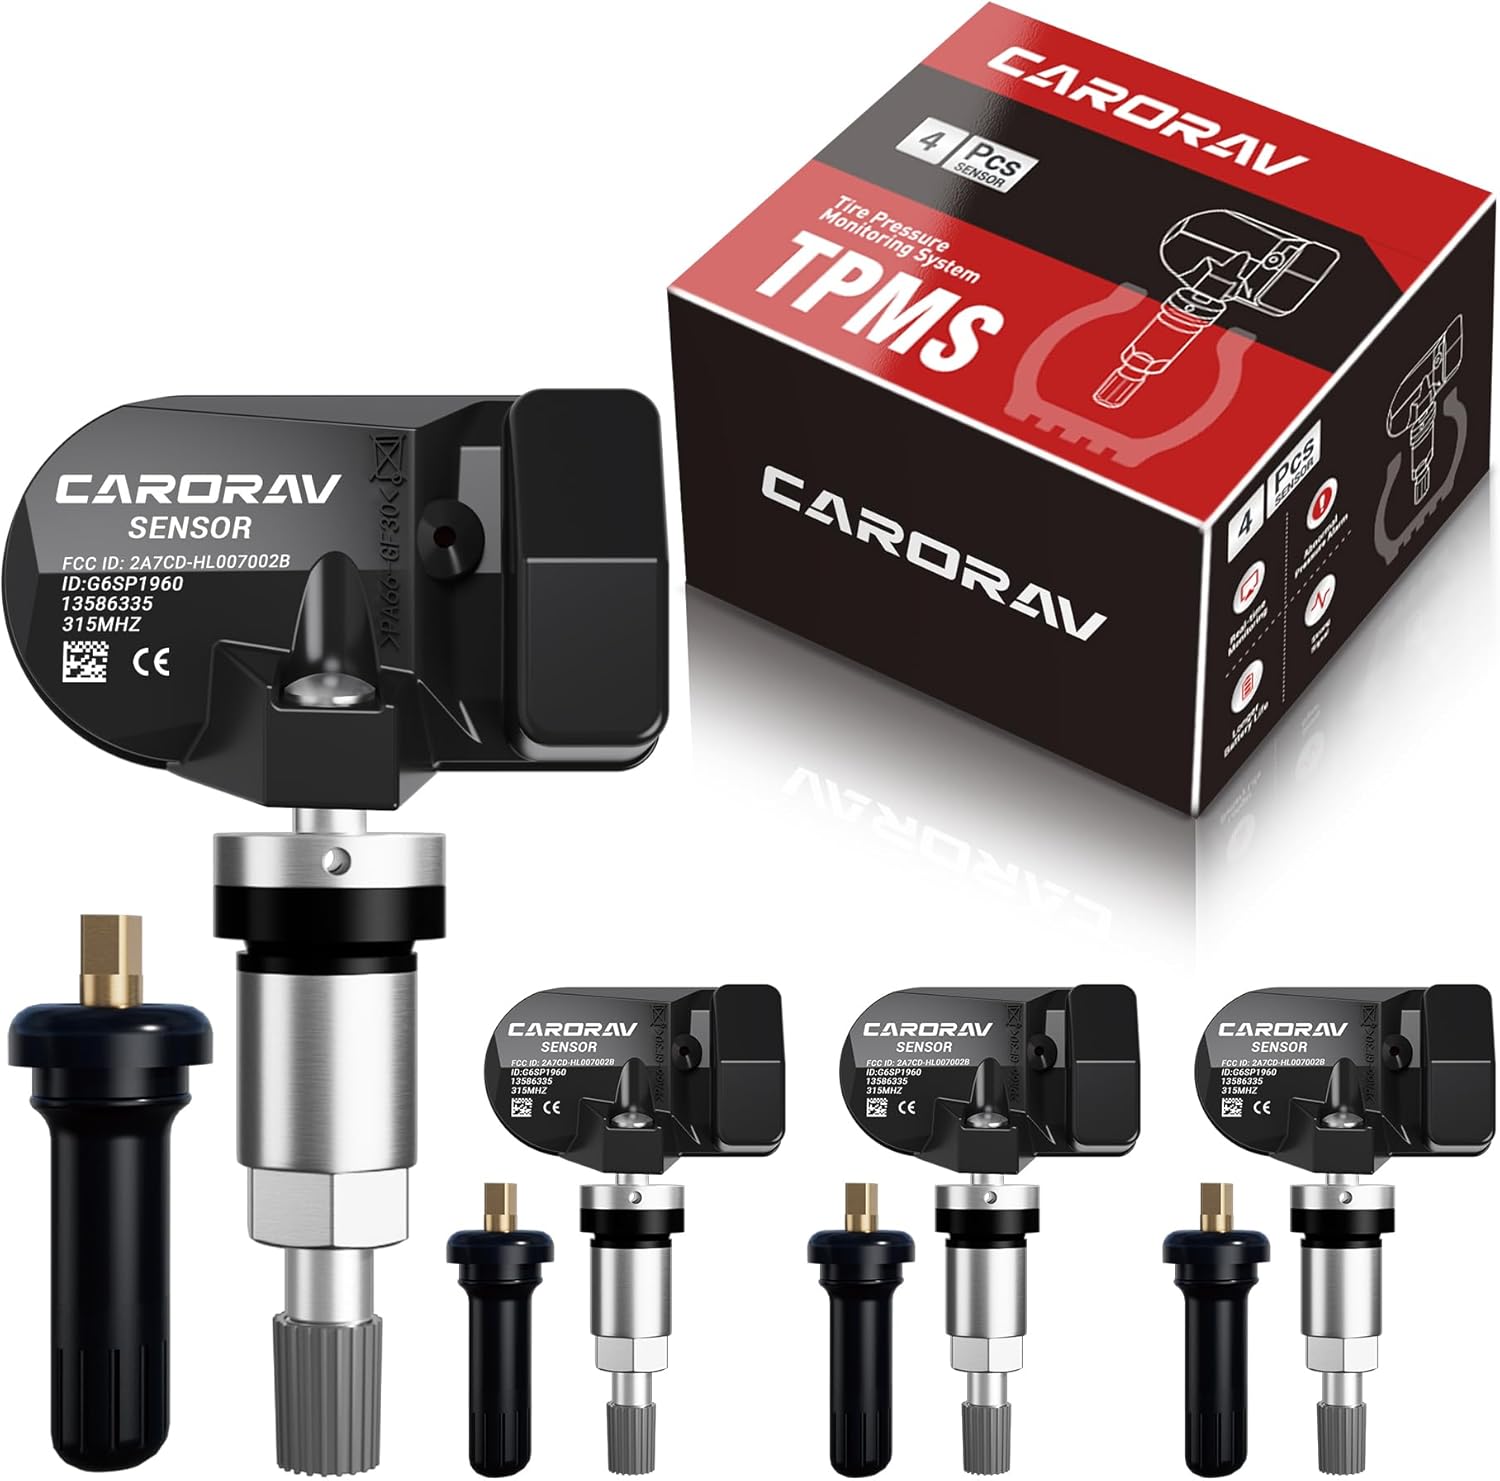
Replace worn or missing TPMS sensors with CARORAV pre-programmed GM-compatible sensors for a smoother installation experience. These 315MHz replacement sensors help monitor tire pressure in real time with long battery life, and they are designed to withstand harsh temperatures. Manual or OBDII relearn may be required to reset the system for proper recognition.

TireJect Off-Road Tire Sealant Kit provides 5-in-1 sealing to help fix tread punctures up to 3/8", sidewall punctures up to 3/8", bead leaks, slow leaks, and minor dry rot on low-speed tires. It permanently seals with liquid rubber, recycled tire particles, and Aramid fibers, making it ideal for flats caused by thorns, nails, and screws. The included dispensing cap attaches to the valve stem for a no-mess installation, along with a metal valve core remover tool and valve stem cap. This kit is for off-road use only.

Steelman white tire marking crayons provide high-contrast, semi-permanent marks for repairing and inspecting tires and equipment. They write on wet or dry, smooth or coarse surfaces including rubber, metal, glass, and wood, making them ideal for puncture location and damage outlining. The lead- and zinc-free crayons resist weather and fading yet wipe away when you no longer need the marks.
Can Tire Sealer Fix This Tire Damage?
Sealant is generally limited to small punctures in the main tread area. The U.S. Tire Manufacturers Association limits industry-standard professional repairs to tread-area punctures no larger than 1/4 inch, or 6 mm. A sealant product may have a smaller limit, so its label remains the controlling instruction.
| Damage | Use Sealant? | Safer Response |
| Small nail or screw puncture in the central tread | Possibly, when within the product’s rated size | Apply according to the label, monitor pressure, and obtain professional inspection |
| Shoulder or sidewall puncture, cut, crack, or exposed cord | No | Install a suitable spare or arrange roadside assistance |
| Bulge, blowout, shredded tread, or multiple large injuries | No | Do not drive on the tire |
| Bead leak, tire separated from the rim, or bent wheel | No reliable repair | Use a spare or tow the vehicle |
| Unknown damage after driving while flat | Not until inspected | Have the tire removed and inspected internally |
Warning: Do not rely on sealant for a sidewall or shoulder injury, visible cords, a bulge, a damaged valve, a separated bead, wheel damage, or a tire that has been driven flat. These conditions can cause sudden pressure loss or tire failure.
Puncture Size and Location Limits
A 1/4-inch limit is not permission to seal every hole of that size. The injury must also remain inside the repairable tread area and must not extend toward the shoulder or belt edge. If you cannot identify the puncture or determine its size safely, use a spare or call for assistance.
Routine maintenance and regular tire rotations can help reveal uneven wear, embedded objects, cracks, and pressure loss before a roadside emergency, but rotation cannot make a structurally damaged tire safe.
Sidewall and Shoulder Damage Rules
The sidewall flexes continuously and contains structural cords that support the vehicle. Sealant cannot rebuild those cords. Damage where the tread curves into the sidewall is also outside the normal professional repair area. Replace the tire or follow the tire manufacturer’s inspection policy.
What You Need Before Using Tire Sealer
- A highway-vehicle emergency sealant compatible with your tire and wheel
- The correct product size or labeled quantity for the tire
- A portable inflator or another approved air source when the sealant does not provide enough inflation
- A reliable tire-pressure gauge
- A valve-core tool only when the product instructions require valve-core removal
- Work gloves, eye protection, and a cloth for cleanup
- The vehicle owner’s manual or access to the Tire and Loading Information label
Check whether your vehicle has a tire-pressure monitoring system. Use only a formula clearly marked as TPMS or tire-sensor safe. Slime, for example, states that some of its formulas are sensor safe while others are not. Product families, tire types, and sensor designs should not be treated as interchangeable.
When a tire eventually needs replacement, match the original size, load capacity, and application. A tire’s load rating remains important even when the emergency puncture appears unrelated to vehicle load.
[Products Worth Considering]

The JACO FlowPro Tire Inflator measures, inflates, and airs down tires up to 100 PSI with battery-free operation and ±2% accuracy after calibration. It features a glowing pressure dial for night visibility, a heavy-duty steel build with a hybrid hose, and a precision push-to-inflate thumb trigger. The patented Lightning Air Chuck locks on for a secure seal, and the kit includes quick-connect hardware for easy inline use with your air compressor.

This Dr.Roc tire valve stem puller tools set helps install or remove snap-in tubeless valve stems safely and efficiently. It includes ozone-resistant EPDM snap-in valve stems, a valve stem installer, and a valve core remover for quick core removal or installation during tire service. Designed for reliable tubeless tire repair on motorcycles, ATVs, lawn equipment, cars, and trucks.
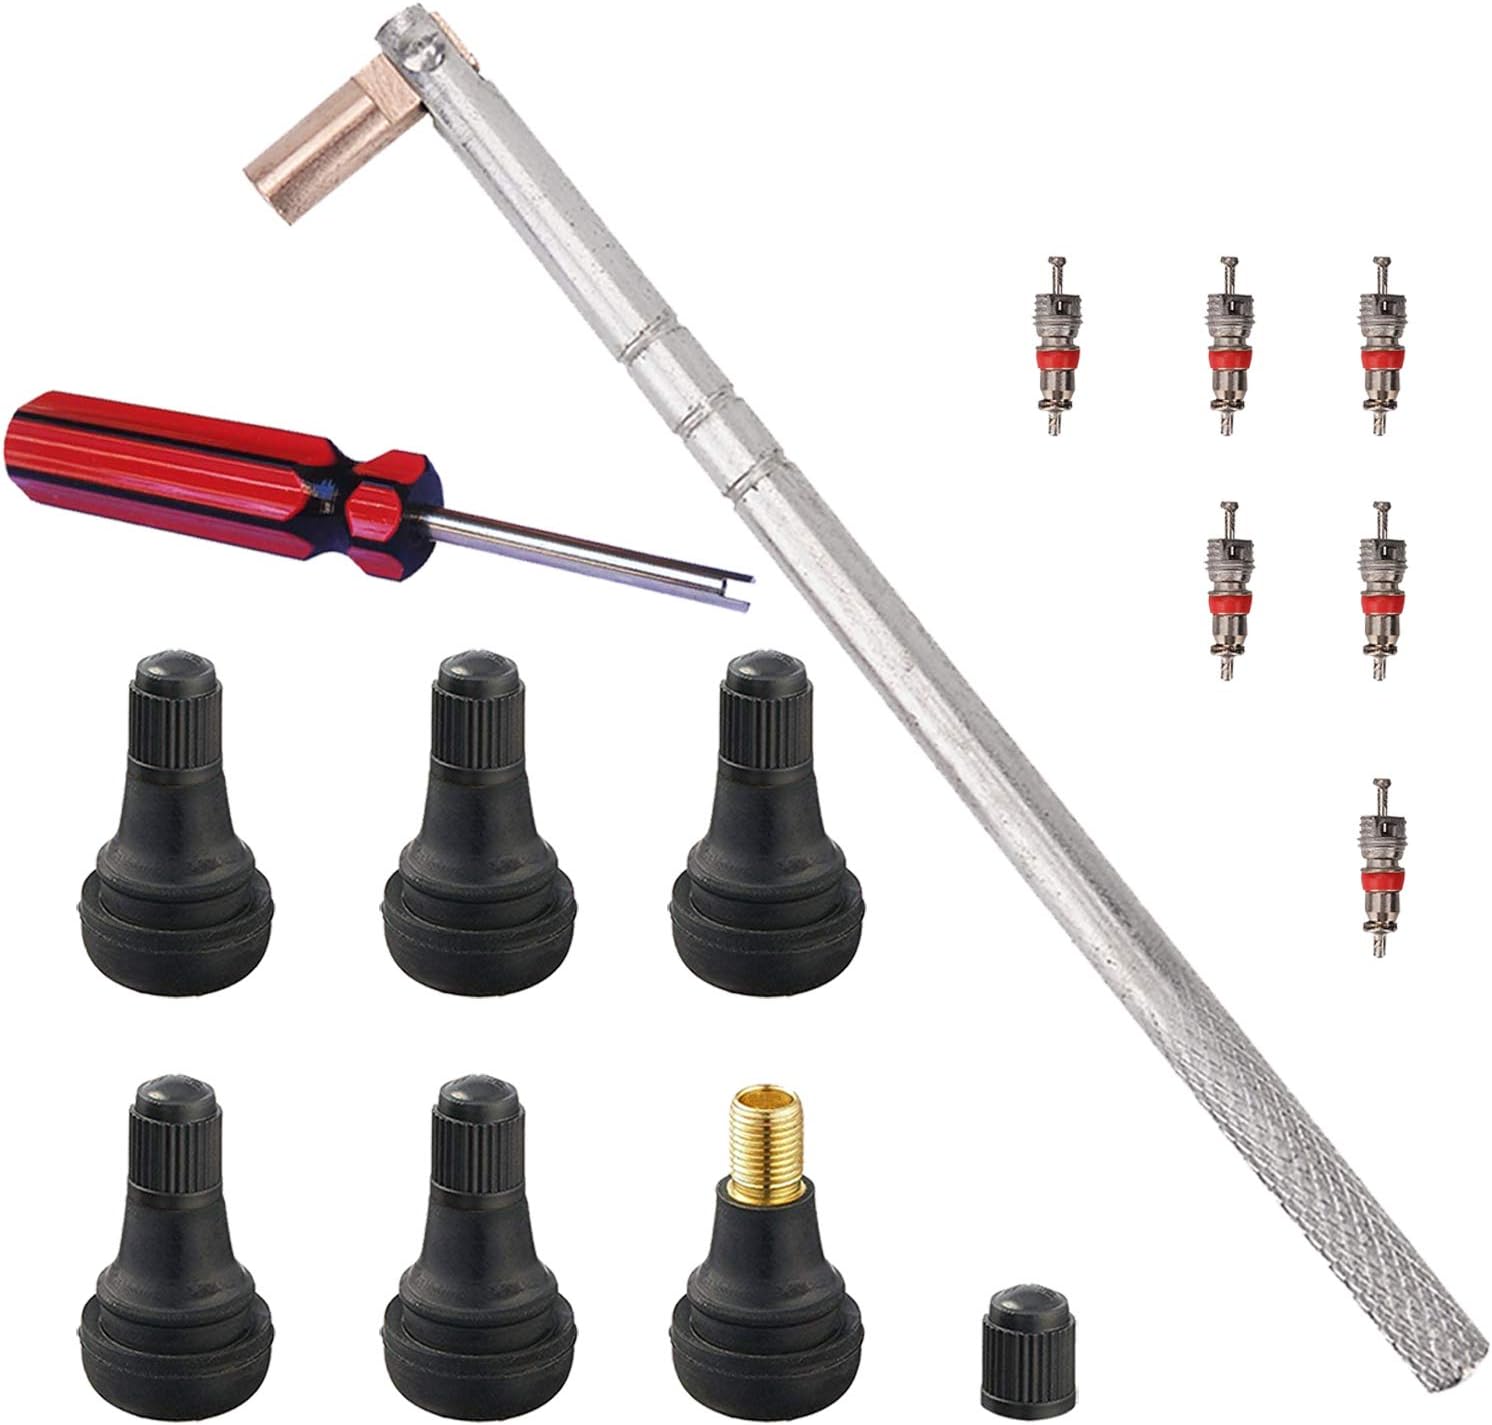
This FEBRYTOLD tire valve stem tool set makes it easy to remove and install standard 0.453 inch snap-in valve stems for tubeless tires. It includes valve stem cores and a single-head valve core remover/installer tool to help you complete repairs quickly. Designed to help avoid scratching wheels and damaging valve stems during service.
Identify Your Tire Sealer Type Before Starting
Read the entire label before releasing air or removing the valve core. Most passenger-vehicle emergency products fall into one of these general groups:
| Product Type | Typical Installation | Important Difference |
| Pressurized aerosol inflator-sealer | Hose attaches to the valve and the can releases sealant with propellant | Normally uses the valve core in place and may provide partial inflation |
| Conventional pour-in or squeeze bottle | The valve core is removed, the tire is deflated, sealant is injected, and the core is reinstalled | Requires a separate air source and careful handling of the valve core |
| Thru-core bottle, can, or mobility-kit cartridge | Sealant passes through the installed valve core, often with a separate compressor | Removing the core may prevent the product from dispensing correctly |
For example, conventional Slime emergency sealant may require removing the valve core, while Slime Thru-Core Emergency Tire Sealant is designed to install through the core. This is why generic instructions cannot replace the product label.
[Products Worth Considering]

Mosconly tire repair glue and nail kit delivers an elastic, waterproof bond for quick sidewall puncture repairs. The adhesive cures securely to help prevent peeling, flaking, and tearing, while the included nails support a strong, seamless repair. Designed for easy roadside use, it works on car, motorcycle, bike, and other tire types, with full curing within 24 hours.

Monitor tire tread wear with a smart, color-coded depth gauge that shows clear condition ranges at a glance. The bar is range marked for fast, easy readings, helping you maintain safer traction and performance. Each gauge is portable with a pocket clip, and the set includes 20 units for daily use and sharing.

This multi-function tire valve stem removal tool set makes it fast to remove, install, bleed, and clean valve cores for easier tire maintenance. It includes valve core removers, a 4-way spool tool, replacement valve caps, and spare cores to handle replacements and repairs with confidence. Universal compatibility suits cars, trucks, motorcycles, bicycles, and more for roadside convenience.
Prepare the Vehicle and Tire
- Move away from traffic. Stop on firm, level ground as far from moving vehicles as practical. Turn on the hazard lights and apply the parking brake.
- Inspect before touching the valve. Check the tread, shoulder, sidewall, wheel, and valve stem. Do not continue if you see severe damage.
- Confirm the tire is still seated on the rim. Sealant and a small inflator may not reseat a separated bead.
- Read the product warnings. Check approved tire types, operating temperature, product size, speed limit, driving distance, and time or mileage restrictions.
- Position the tire as instructed. Some aerosols direct you to place the puncture at the bottom. Some pour-in bottles direct you to position the valve in the upper half. Follow the label you are holding.
- Handle the puncturing object as directed. Some products work best after removing an accessible nail or screw, while other mobility-kit instructions tell you to leave it in place. Do not pull an object when doing so would place you near traffic or cause rapid air loss you cannot manage.
Pro Tip: Photograph the product label before starting. You can then review the driving limit, pressure-check interval, cleanup instructions, and service deadline even if the container becomes dirty or is discarded.
Apply Tire Sealer Through the Valve Stem
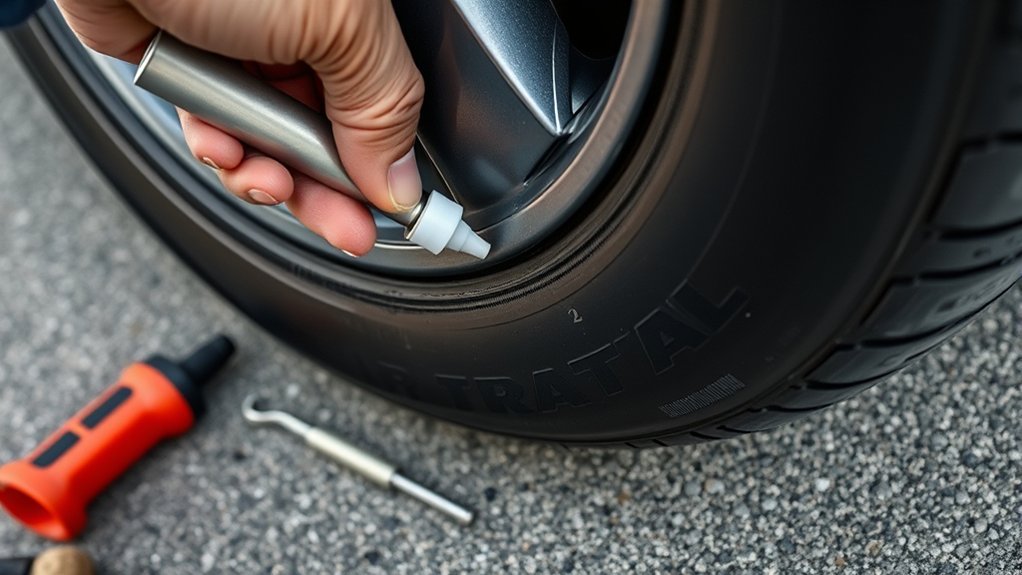
Prepare the Valve Stem
Remove the valve cap and place it somewhere clean. Wipe dirt or moisture from the outside of the valve stem. Check for cracks, corrosion, bent threads, or an obvious valve leak. Sealant cannot correct a broken valve stem.
If the label calls for valve-core removal, use the supplied tool and release the air slowly. Keep your face away from the valve and store the core where it cannot collect dirt. If the product is marked thru-core or instructs you to leave the valve core installed, do not remove it.
Attach the Applicator Nozzle
Shake or prepare the container exactly as directed. Align the hose or applicator squarely with the valve stem and tighten it by hand. Stop if it begins to cross-thread. A poor connection can release air, spray sealant, or damage the valve.
Use pressurized aerosol products outdoors or in a well-ventilated area. Keep the container away from heat, flames, and direct contact with your eyes or skin. Follow all warnings printed on the can.
Inject the Correct Amount
Dispense the amount specified for the tire size. Do not assume that one small bottle or can contains enough material for a large SUV, truck, trailer, or oversized tire. Too little sealant may not reach the puncture, while excess material may contribute to imbalance and make cleanup harder.
- Confirm the nozzle is secure.
- Hold the bottle or can in the position shown on its label.
- Dispense the specified quantity.
- Disconnect the applicator carefully.
- Reinstall the valve core if you removed it.
- Wipe sealant from the valve and wheel before it dries or collects debris.
Do not combine liquid sealant with an outside-only screw, nail, or plug and assume the result is permanent. Some emergency products, including the temporary tire repairs sold for roadside use, do not replace an internal inspection and industry-standard patch-plug repair.
Inflate the Tire to the Correct Pressure
Connect the inflator if the product requires a separate air source. Inflate to the vehicle manufacturer’s recommended pressure shown on the driver-side Tire and Loading Information label or in the owner’s manual. Front and rear pressures may differ.
Do not use the maximum pressure molded into the tire sidewall as the normal target. According to NHTSA tire-safety guidance, the vehicle placard provides the proper cold inflation pressure for the vehicle.
If the tire has been driven recently, the pressure reading will be warm. Add enough air to reach the placard value for immediate safe movement, then recheck and adjust the tire when it is cold, following the vehicle manufacturer’s guidance.
Warning: Stop if the tire will not rise off the rim, the bead is not seated, the compressor repeatedly shuts down, sealant sprays from the sidewall, or pressure immediately falls. Install a spare or arrange towing instead of repeatedly adding air.
Drive Only as the Product Directs
Many emergency sealants need controlled tire rotation to carry the material to the puncture. Begin the circulation drive immediately when the label says to do so. Accelerate gently, avoid hard cornering, and stay below the product’s stated temporary speed limit.
The required distance is product-specific. For example, written Fix-a-Flat instructions may call for a 2- to 4-mile drive. Other sealants or factory mobility kits may specify a different distance, speed, or pressure-check point. Follow the instructions supplied with your product rather than automatically driving 2 to 4 miles.
Stop in a safe place if the vehicle pulls, shakes, produces a strong vibration, or activates another tire-pressure warning. Liquid collecting in one part of the tire can cause temporary imbalance, and continued vibration may indicate that the treatment has not spread or that the tire has more serious damage.
Check Tire Pressure After Use
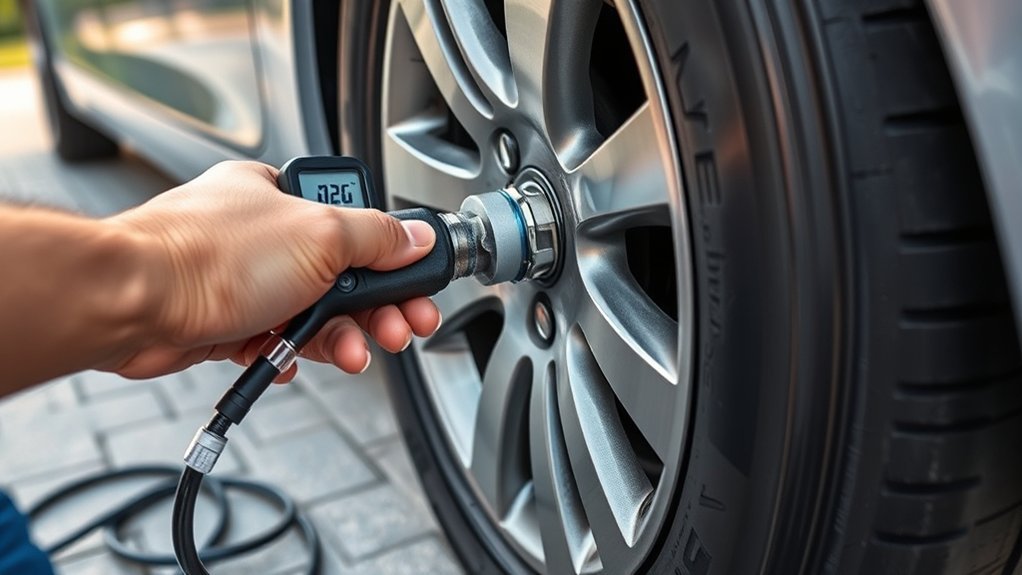
At the label-specified stopping point, measure the pressure with a reliable gauge. A gauge with dependable calibration, such as the models discussed in this guide to accurate tire-pressure gauges, is more useful than judging inflation by appearance.
- If pressure is stable, continue only within the product’s temporary distance and speed restrictions.
- If pressure is slightly low but stable, add air to the vehicle placard pressure and check again.
- If pressure drops quickly, stop driving and use a spare or roadside assistance.
- If the valve leaks, confirm that the core is installed correctly and the cap area is clean.
- If a TPMS warning remains, verify pressure with a gauge rather than relying solely on the dashboard light.
A tire that holds air after sealant application has regained temporary pressure, not confirmed structural safety.
Tire Sealer Troubleshooting
The Tire Will Not Inflate
Check that the hose is fully attached, the valve is open, the compressor has power, and the sealant container is correctly oriented. Stop if air or sealant escapes from the sidewall, bead, rim, or a large opening. A tire that has separated from the wheel may need professional equipment to reseat and inspect it.
The Pressure Keeps Dropping
A continuing pressure drop may indicate a puncture beyond the product’s limit, multiple injuries, a leaking valve, bead damage, wheel damage, or an object preventing the sealant from reaching the opening. Do not continue topping up a tire that loses substantial pressure after each short drive.
The Vehicle Vibrates After Treatment
Sealant can collect unevenly inside a tire, especially before it has circulated. If vibration continues after the labeled circulation drive, reduce speed and stop safely. Slime warns that liquid emergency sealant left in a highway tire can contribute to imbalance or vibration, which is one reason its temporary formulas have a service deadline.
The Valve Stem Is Clogged
Wipe the valve with a damp cloth. When the product instructions allow valve-core removal, the core and valve opening may be cleaned carefully before reinflation. Do not force metal objects deeply into a TPMS valve or replace a sensor-mounted valve without the correct service procedure.
The TPMS Light Stays On
Check the actual pressure in every tire. A sealant marked TPMS safe may still leave the warning active until pressure is corrected or the vehicle completes its normal relearn process. Tell the service technician which product was used so the tire, wheel, valve, and sensor can be cleaned and inspected correctly.
When to Use a Spare Tire Instead
Use a Spare for Severe Tire Damage
Choose the spare or roadside assistance when you find:
- A sidewall or shoulder puncture
- A cut, split, exposed cord, bulge, or tread separation
- A hole larger than the product’s limit
- More than one substantial puncture
- A damaged wheel, valve, or bead
- A tire that was driven while completely flat
- Pressure that falls again immediately after treatment
- A puncture you cannot locate or assess safely
A spare must match the vehicle’s application and installation requirements. Review the owner’s manual and appropriate tire fitment specifications before substituting a full-size wheel or relying on a temporary spare.
Check the Spare Before You Need It
Inspect the spare’s pressure, age, tread, and mounting hardware regularly. Temporary spares often require a higher pressure and have strict speed and distance limits printed on the tire or listed in the owner’s manual. Use the spare-tire specification, not the normal road-tire pressure.
If the vehicle has no spare, keep the factory mobility kit complete and confirm that its sealant cartridge has not expired. Store the kit within its stated temperature range.
Get the Tire Professionally Inspected Soon
Emergency sealant is a bridge to tire service. Follow the deadline printed on the product. Fix-a-Flat and several Slime emergency products specify professional attention or sealant removal within 3 days or 100 miles, whichever comes first. Another manufacturer may impose a shorter distance or different rule.
Tell the technician:
- The product name and type
- When and where it was installed
- How far and how fast the vehicle was driven
- Whether pressure dropped or vibration occurred
- The suspected puncture location
According to USTMA puncture-repair procedures, a proper repair requires removing the tire from the wheel, inspecting the interior, filling the injury channel with a rubber stem or plug, and sealing the inner liner with a patch. A plug inserted only from the outside is not considered a complete permanent repair.
A professionally installed combination patch-plug is different from an emergency roadside product. A review of mushroom plugs may help explain tool designs, but the tire still needs internal inspection before anyone decides it is safely repairable.
Prevent Problems Before the Next Flat
- Check all tires, including the spare, at least monthly when cold.
- Inspect the tread and sidewalls before long trips.
- Replace expired sealant cartridges or cans.
- Carry an inflator that can reach the vehicle’s required pressure.
- Keep the sealant and inflator where luggage cannot damage them.
- Verify that the product is approved for TPMS-equipped highway tires.
- Do not use an ATV, bicycle, or tube formula merely because the tire has a 6-ply tubeless construction.
Good tire maintenance makes it easier to detect slow leaks and aging before a sudden pressure loss. When replacing a tire, also match the required load index and speed rating.
Sources
- U.S. Tire Manufacturers Association: Tire Repair Basics — repairable tread area, puncture-size limit, internal inspection, and patch-plug requirements
- National Highway Traffic Safety Administration: TireWise — vehicle placard pressure, cold-pressure checks, tire inspection, and TPMS guidance
- Fix-a-Flat Installation Instructions — aerosol handling, ventilation, protective eyewear, installation, and circulation drive
- Fix-a-Flat Temporary-Use Guidance — professional inspection and the 3-day or 100-mile service limit
- Slime Valve-Core Installation Guidance — conventional sealant installation using valve-core removal
- Slime Thru-Core Emergency Sealant — thru-core installation, puncture limits, TPMS compatibility, and temporary-use restrictions
Frequently Asked Questions
How do you use tire sealer?
Inspect the tire, confirm that the damage is a small tread puncture, and read the product label. Remove the valve core only when instructed, inject the specified amount, reinstall the core if necessary, inflate to the vehicle placard pressure, complete the labeled circulation drive, and recheck the pressure.
Can you put air in a tire after adding sealant?
Yes. Many sealants require a separate inflator, while some aerosol products provide only enough pressure to lift the rim. Inflate to the vehicle manufacturer’s pressure on the door placard or in the owner’s manual. Do not use the tire sidewall maximum as the normal target.
What are the drawbacks of tire sealant?
Sealant works only on limited damage, can create mess or imbalance, may clog a valve, and may not be compatible with every TPMS sensor or tire type. It can also hide internal damage until the tire is removed. Emergency sealant does not replace a professional repair.
How long does tire sealant take to work?
There is no universal cure time. Many emergency products begin sealing as the tire is inflated and rotated during the first controlled drive. Follow the product’s instructions for driving distance, speed, waiting time, and pressure checks.
Can a tire be permanently repaired after sealant is used?
Possibly. The tire must be removed from the wheel, cleaned, and inspected internally. A trained technician can determine whether the puncture is within the repairable tread area and whether the tire has hidden damage from being driven while underinflated.
Will tire sealer damage a TPMS sensor?
Compatibility depends on the formula. Use a product clearly labeled TPMS or tire-sensor safe. Even with a compatible formula, tell the technician that sealant is present so the sensor, valve, wheel, and tire can be cleaned and inspected properly.
Conclusion
Tire sealer can help you leave a dangerous roadside location after a small tread puncture, but the label determines how the product must be installed. Identify the sealant type, reject damage outside the tread area, inflate to the vehicle placard pressure, and stop if pressure does not remain stable. Arrange professional inspection promptly, because restored air pressure does not prove that the tire is structurally safe.

