
Easy Tire Levers Guide: Avoid Pinching Tubes
How to Use Tire Levers Without Pinching the Tube
What’s in This Article
A pinched tube ends a repair before it starts. The lever catches the rubber, you inflate, and a fresh hiss tells you what went wrong. Learning exactly where to place your hands and how to angle the lever keeps the tube safe and the job clean.
Quick Answer
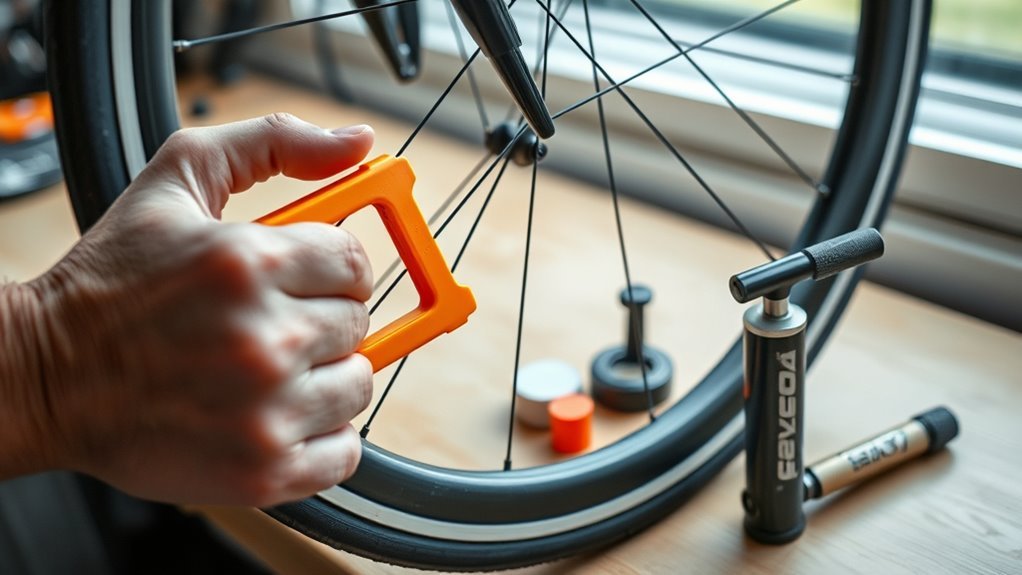
Push the tube into the rim bed with one hand and hook the lever just beneath the tire bead at a shallow angle, starting opposite the valve. Lift the bead over the rim edge with light, steady pressure and use a second lever to hold lifted sections so the tube can’t slip into the lever’s path.
Key Takeaways
- Keep the tube pushed down into the rim bed at all times — never let it ride up toward the bead.
- Hook the lever beneath the tire bead at a shallow angle to cut pinch risk.
- Start levering opposite the valve and keep the valve stem straight throughout.
- Use a second lever to hold lifted bead sections instead of forcing a single lever around the rim.
- Run a fingertip check around the full bead before you inflate to catch any trapped tube.
What You’ll Need
Estimated time: 15–20 minutes
- Two or three tire levers (plastic for carbon rims; metal only for stubborn clinchers on alloy)
- A pump or CO2 inflator
- A patch kit, in case a pinch occurs
- A clean rag to wipe the rim bed before seating the tube
If you like comparing useful repair tools before buying, you may also find these practical repair tool guides helpful for everyday home, garage, and outdoor products.
[Products Worth Considering]

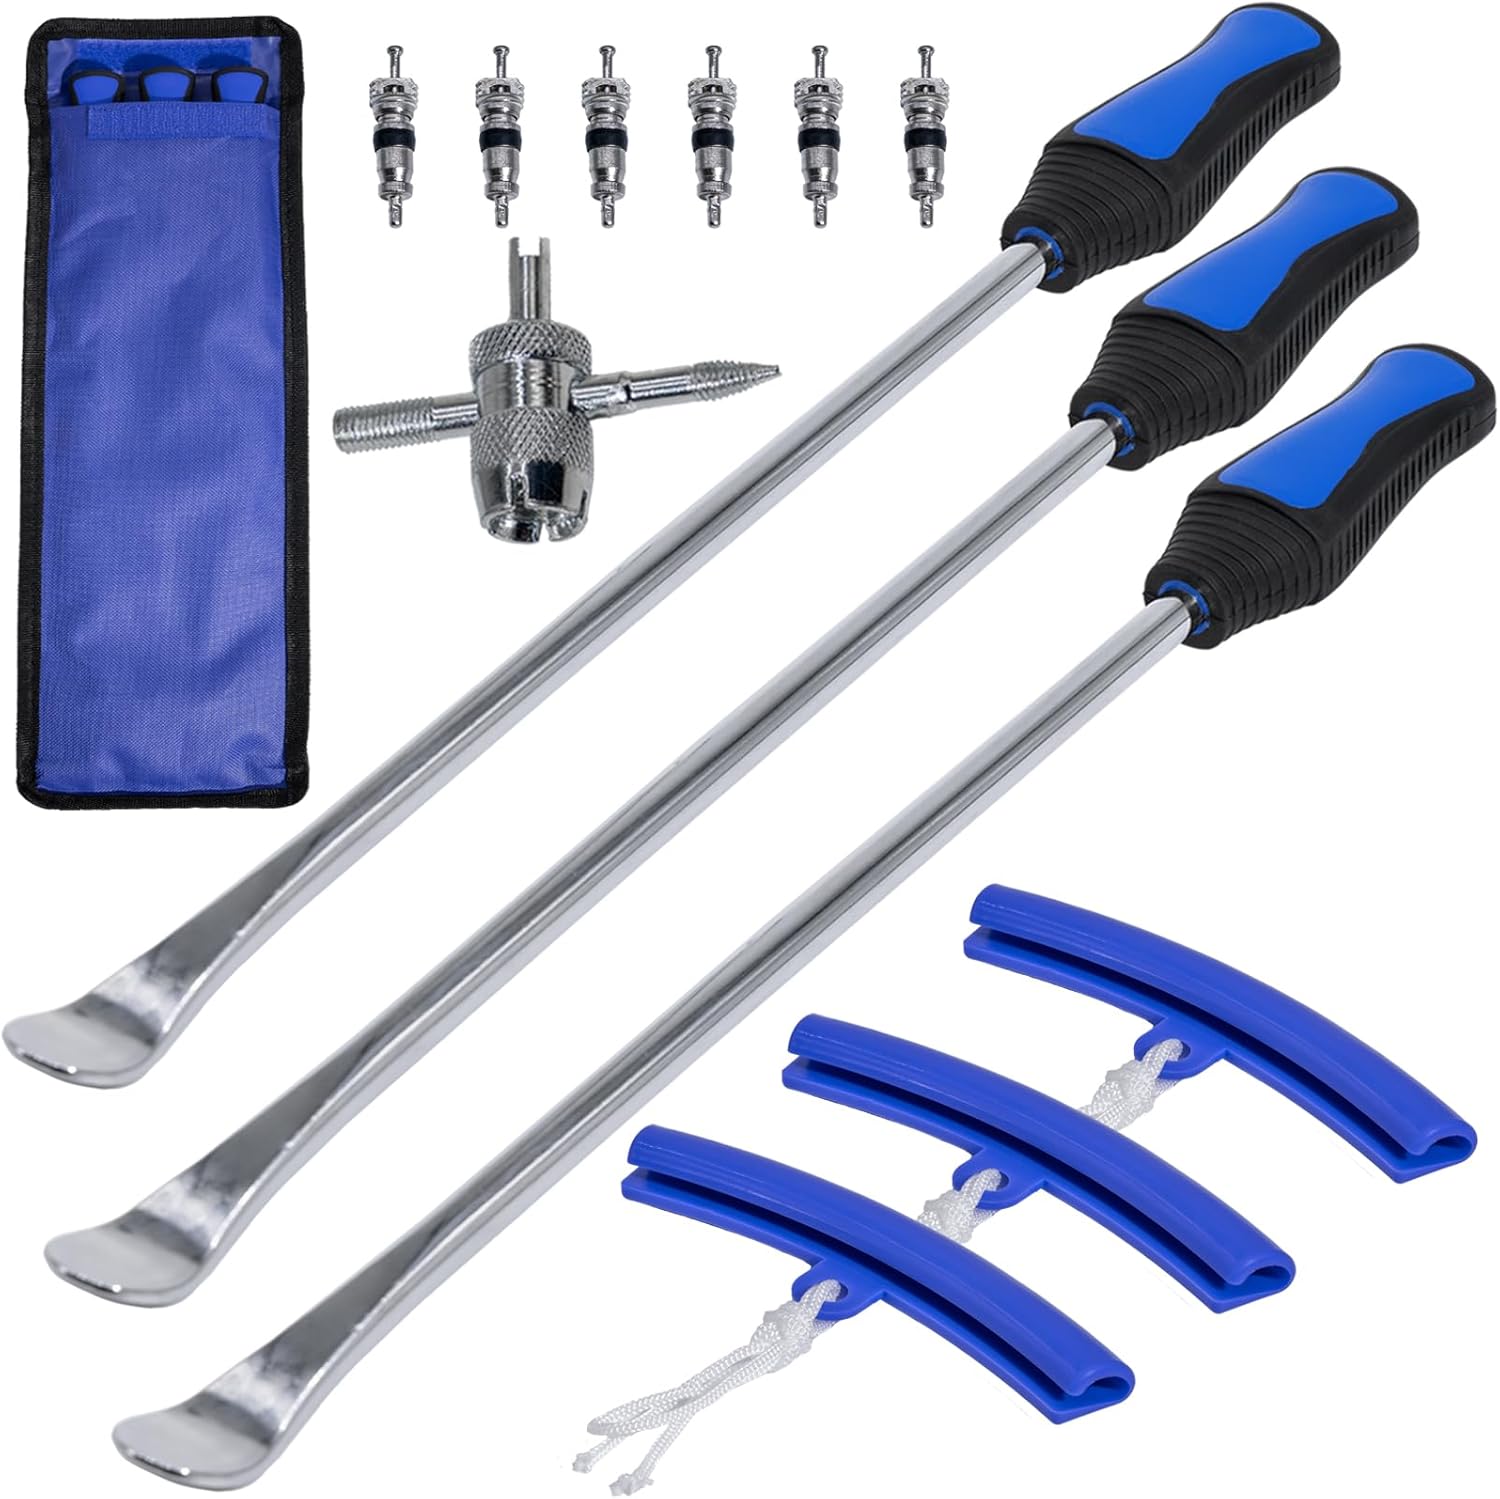
This 20-piece tire changer kit makes motorcycle and bike tire repairs easier with extended 14.5-inch spoons for leverage and access. Built from CrV steel with a corrosion-resistant chrome finish, it helps resist bending while protecting rims and tubes using smooth rounded spoons and included rim protectors. The all-in-one set includes valve removal and accessory tools for faster tire changes across motorcycles, bicycles, ATVs, and lawn equipment.

This PXZBLG bike repair kit helps you tackle common tire and on-the-ride issues with a compact, ride-ready tool collection. It includes a mini tire pump supporting both Presta and Schrader valves, a 16-in-1 bike multitool, tire levers, glueless patches with a plastic box, plus 4mm and 5mm Allen wrenches. A convenient bike bag stores everything so you can mount it on your road bike or mountain bike for lightweight, portable preparedness.
This tire spoon set helps you remove and install motorcycle, dirt bike, lawn tractor, and bicycle tires with extra leverage from a 14.5-inch spoon length. The kit includes tire removal tools, rim protectors, and a valve tool to simplify repairs and help protect rims during changing. Designed for quick, on-the-go service, it’s convenient for garage work, trails, and track-side fixes.
Step 1: Prep the Wheel and Tube
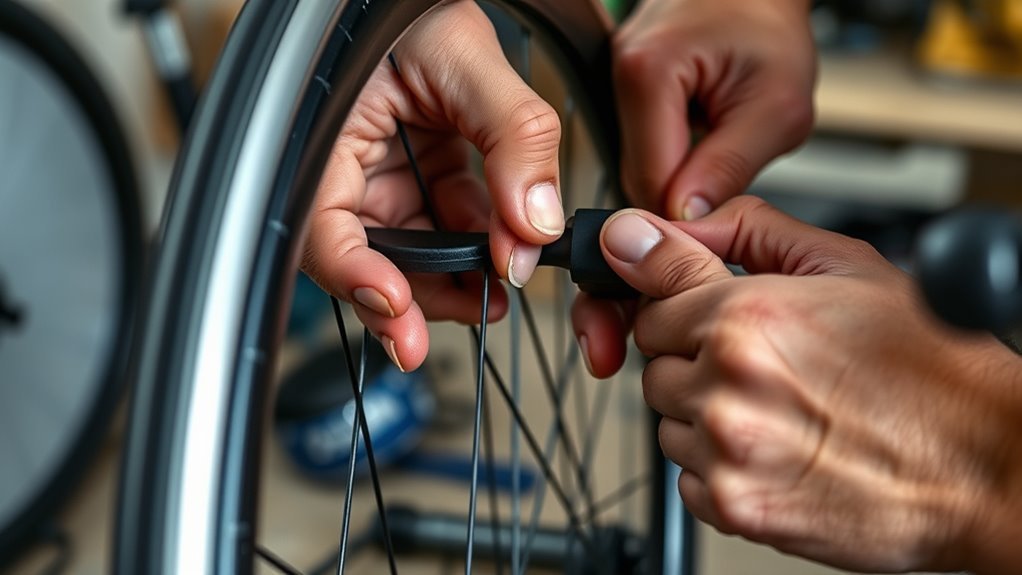
Remove the Presta valve cap and loosen the lockring, then push the valve stem through the rim hole and seat it straight. Check both the tire and tube for embedded debris or damage before you fit anything. Lay the tire flat so you can tuck the tube in without twisting it.
Run a fingertip sweep around the tire bed and bead to clear any shards that could cause a new puncture. As you fit the tube, watch its position continuously so it stays seated evenly and won’t get trapped between rim and bead.
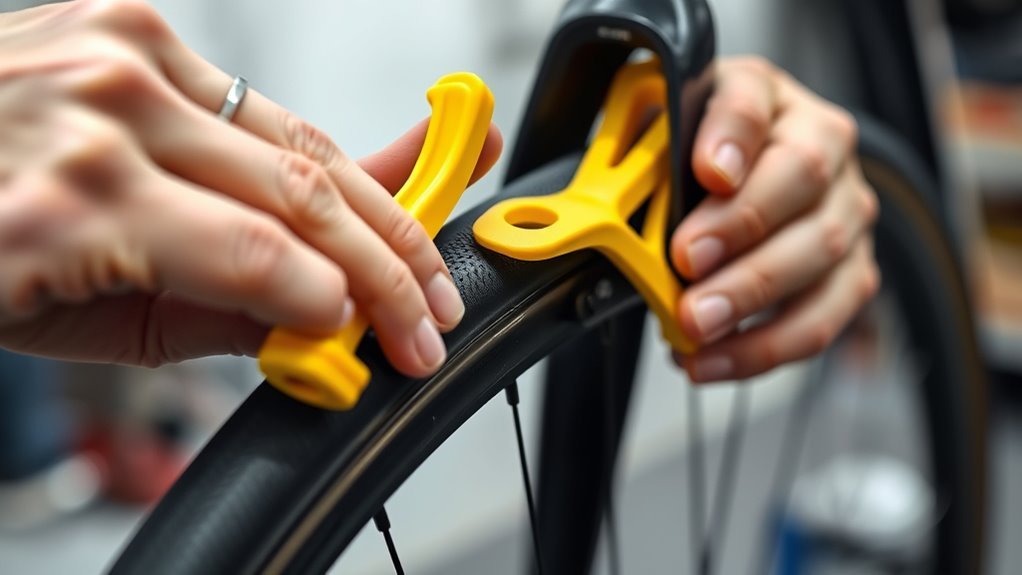
Step 2: Hook the Lever Correctly
Bring a tire lever to the rim edge and hook it just beneath the bead so the hook catches the tire without touching the tube. Keep a shallow angle between the lever and the rim for smooth insertion. Excessive angle forces the bead sideways and creates a pinch point.
Warning: Never pry at a steep angle with a single lever — this is the most common cause of tube pinching and rim edge damage.
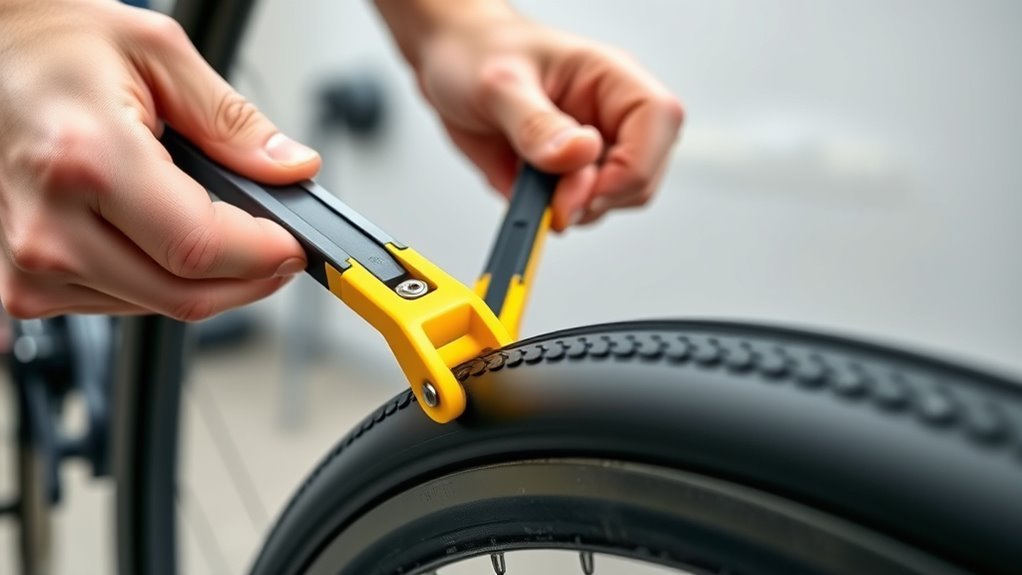
Insert the hook beneath the bead, lift gently, and maintain rim alignment as you work around the wheel. Use a second lever to hold lifted bead sections so you can progress without trapping the tube. Before fully seating the tire, run a visual and fingertip check to confirm the tube sits clear.
| Action | Purpose |
|---|---|
| Shallow lever angle | Smooth insertion, less pinch risk |
| Hook beneath bead only | Secure grip without tube contact |
| Second lever to hold sections | Maintains tension, prevents trapping |
Step 3: Keep the Tube Clear While Levering
Keep one hand on the tube and push it gently toward the rim’s center so it can’t slip between the bead and the rim. Use light, steady pressure on the lever and let the leverage do the work, not your arm strength. Keep fingers between the bead and the tube, not under the bead, and reposition them as the bead moves.
Check the tube’s seat frequently and avoid forcing the lever. Small adjustments prevent pinches far better than stopping to repair one.
- Insert the lever at a slight angle to reduce the chance of catching the tube.
- Push the tube inward with your fingertips as the bead clears the rim edge.
- Stop and re-seat the tube if it bulges toward the rim at any point.
- Check tube position after every few inches of progress before continuing.
Dealing With a Stubborn Bead Without Forcing the Lever
Start with your hands to seat the bead evenly before any lever contact. Use two levers positioned opposite each other and work small sections, rotating the tire around the rim to spread the force. When you meet resistance, stop and reposition the levers or rotate the tire — never force a single lever.
[Products Worth Considering]

This tire repair screw set includes self-tapping plugs and a screwdriver to help you quickly complete tubeless tire repairs for many vehicle types. The set provides two rubber screw diameters for different puncture needs and uses a sealant-coated screw tip to help prevent air leakage and water entry. It’s designed for secure fixing with wear-resistant metal-and-rubber construction.

This compact capsule-style tire repair kit helps you quickly fix punctures and plug flats with minimal effort. The rugged stainless steel shell protects the contents for reliable roadside use, while the simple plug assembly makes repairs fast and tool-free. Suitable for motorcycles, cars, ATVs, UTVs, and even mountain bikes.

TL-1.2 - Narrow, strong, smooth and versatile. Features a spoke hook for when multiple levers are needed.
Preserve Bead Seating
Insert levers at opposite ends of the stubborn section to spread pressure and avoid pinching the tube. Hold gentle tension on the bead while you work it into the rim valley rather than prying hard. Keep the lever close to the rim, apply steady pressure, and let the bead settle instead of forcing it.
Use your hands to guide a stiff bead down while the lever supports the edge. Check the tube’s position frequently and move gradually, re-seating small sections until the entire bead sits correctly.
- Keep levers near the rim to shorten the leverage distance.
- Apply even tension — no sudden force.
- Check tube placement after each small shift.
- Use fingers to press the bead into the rim valley.
Use Multiple Levers
Seat one lever at the bead’s starting point and place a second lever a few inches away. Work them forward in small increments, keeping even pressure between both levers to ease the bead off the rim. Keep the tube slightly inflated so it holds its shape and stays clear of the rim edge.
Pro tip: A tube inflated to just enough pressure to hold its round shape is much harder to pinch than a completely flat one.
If you hit resistance, reposition both levers slightly and try again so the bead relaxes naturally. Inspect the tube’s position as you go to catch any pinch before it worsens.
Rotate the Tire Position
Rotate the tire a few inches around the rim to find a spot where the bead relaxes and the lever works more easily. Use tire rotation to locate the least-tensioned section before applying any lever technique. Rotate, inspect, then insert the lever with a gentle rocking motion so the bead eases over the rim.
- Position the lever where bead tension is lowest to cut pinch risk.
- Use a gentle rocking insertion — no aggressive single-motion prying.
- Shift the tire further or add a second lever if resistance continues.
- Before finishing, confirm the tube sits untwisted and fully inside the tire to prevent pinch flats.
Inspect the Bead and Rim Valley Before Final Inflation
Press the sidewalls down, run your fingers around the full bead, and look for bulges, folds, or exposed tube before you pump a single stroke. Check that the valve stem is straight and the tube sits evenly inside the rim. Inflate slowly and listen for hissing so you can stop and adjust before pressure builds.
If anything feels off, deflate and reseat the bead before continuing. A few extra seconds here prevents a second flat.
| Check | What to feel or look for | Action if problem found |
|---|---|---|
| Bead seating | Smooth, even bead all around | Reseat tire, press sidewall inward |
| Valve alignment | Stem perpendicular to rim | Deflate and reposition stem |
If You Pinch the Tube: Repair and Prevention Steps
Stop and remove the tire so you can inspect the tube for cuts, nicks, or stretched areas — small tears still leak. Mark any damage, clean around the puncture, roughen the surface if your patch kit requires it, and follow the kit instructions for a secure seal. Replace the tube entirely if the damage is too large to patch reliably.
- Re-seat the tube fully into the rim without twists or folds that cause future pinches.
- Keep tension on the tire bead during mounting and use your hands rather than levers whenever the bead allows it.
- Verify tire and rim compatibility to reduce installation stress.
- Re-check bead seating before final inflation to confirm a safe repair.
[Products Worth Considering]

Slime's SKABS are a simple, one step solution to a punctured tyre and no glue or cement required, means no mess

An absolute must for any cyclist which ever discipline you ride

Repair puncture related flats on ATVs, mowers, bicycles and wheelbarrows
Frequently Asked Questions
Can tire levers damage tubeless tire beads?
Yes — incorrect lever use can damage a tubeless bead. Work slowly, avoid prying at the bead edge, use multiple levers to spread pressure, and follow the tire manufacturer’s removal guidelines to protect the bead seat.
Are plastic levers better than metal for carbon rims?
Plastic levers are the safer choice for carbon rims. Stiff plastic protects the rim’s finish while still providing enough force to seat a tight bead. Metal levers risk scratching or cracking the carbon surface if you apply too much prying force.
How do I carry levers on long rides without noise?
Store levers in a small lever pouch or inside your saddle bag. Wrap them in a cloth or use rubber bands to stop rattling, and tuck them between tubes or under straps for a secure, quiet fit before you roll.
Can tire levers be used on tight clincher road tires?
Yes — place two levers near the valve, pry one bead, then slide the second along the rim to ease the bead off gradually. Working slowly with two levers prevents pinches and protects the tube on even the tightest clincher fit.
How often should I replace worn tire levers?
Replace tire levers when the plastic deforms, the edges dull, or the clip fails to hook cleanly — don’t wait for a set schedule. Damaged levers slip and create exactly the uncontrolled force that pinches tubes.
Get It Right the First Time
Keeping the tube low in the rim bed and holding a shallow lever angle does most of the work. A second lever handles stubborn sections, and a fingertip check before inflation catches anything the levers missed. Follow those three steps and you’ll close the repair cleanly — no second puncture, no wasted tubes, just a smooth ride ahead.
References
- Flat Tire Repair for Road and Mountain Bikes — Park Tool
- Tire and Tube Installation Techniques — Sheldon Brown
Related Articles

What Does THE P Stand For on a Tire? Full Meaning Explained
I’ll explain what the “P” on a tire really means and why it could change how you choose your next set.
Read More
How to Use a Tubeless Tire Repair Kit: Complete Field Guide
Learn how to fix tubeless tire punctures fast with the right kit, because one small mistake can leave you stranded on the trail.
Read More
How to Tell a Tire’s Diameter: Easy Guide to Reading Tire Size
Want to decode tire sidewall numbers and find the right diameter, but wonder what those hidden digits really mean?
Read More