
Snake Bite Flat: How to Fix and Prevent Pinch Flats on Your Bike
A snake bite flat happens when your inner tube gets pinched between the rim and tire during a hard impact. It leaves two small “fang” holes and causes sudden pressure loss. This is common when you hit curbs, rocks, or sharp edges while running low pressure or narrow tires. You can fix it on the road with a patch or spare tube. But preventing it is far better. Proper inflation, wider or reinforced tires, tubeless setups, and smarter line choice all help. More details below.
Quick Answer
- A snakebite flat creates two small holes where the rim pinches the tube against the tire during impact. Look for paired punctures about 10 mm apart.
- The fastest roadside fix is swapping in a spare tube. Patching works too, but treat it as a temporary repair.
- Prevention beats repair: inflate tires to the recommended pressure, use wider or reinforced tires, and consider going tubeless.
- Your riding technique matters. Pick clean lines, shift your weight, and slow down before hitting obstacles.
- Before every ride, check tire pressure, inspect rims and rim strips, and carry a basic repair kit.
What Is a Snakebite (Pinch) Flat and How to Spot One
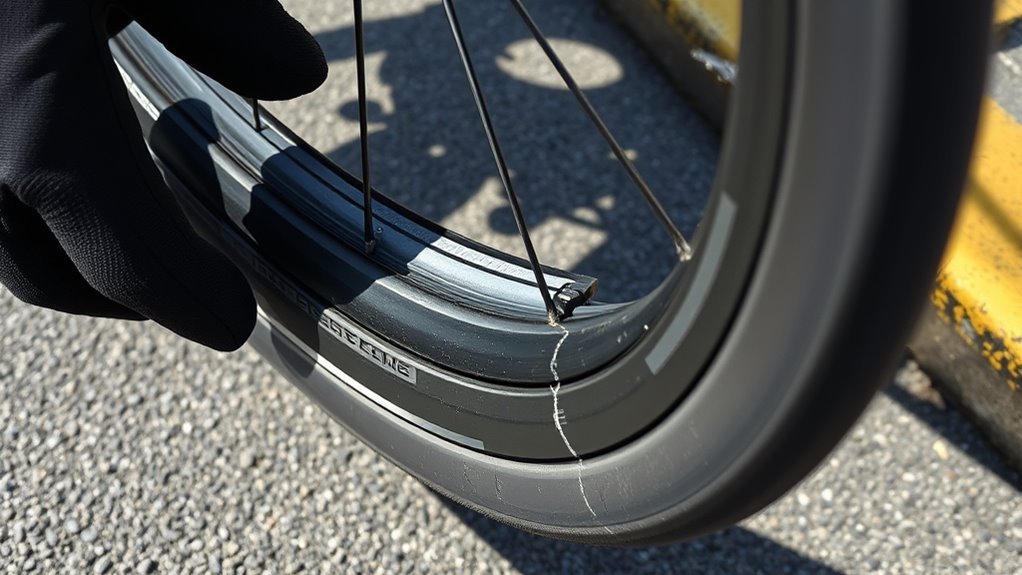
A snakebite flat (also called a pinch flat) happens when your inner tube gets pinched between the tire and the rim. This creates two small punctures about half an inch apart that look like snake fangs. You’ll often see diagonal cord marks on the tube where the rim compressed it.
The telltale sign is a sudden loss of pressure right after hitting a curb, rock, or pothole. Under-inflated tires and rough terrain make this much more likely. To confirm, remove the tube and look for paired punctures along with rim-impression marks.
On low-pressure mountain bike setups, underside snakebites can also happen when the tire rolls and fails on impact. For pinch flat prevention, keep your tires at the correct pressure, use wider or reinforced tires, and avoid aggressive impacts.
Quick Ride-Time Fixes for a Snakebite
When you hit a curb or rock and feel a sudden loss of pressure, stop right away. Remove the wheel and inspect the tube for two fang-like holes about 10 mm apart.
If you have a patch kit, clean the area thoroughly and apply the patch per the kit’s instructions. But the fastest and most reliable fix is swapping in a properly inflated spare tube after checking the tire and rim for debris or damage. For a step-by-step guide on patching, see Park Tool’s inner tube repair guide.
Here’s the process:
- Locate the paired punctures and confirm they’re snakebite-style.
- For a quick patch, roughen and clean the area, apply glue and a patch, then let it set. Treat this as temporary.
- Better yet, fit a spare tube, inflate to the recommended pressure, and re-seat the tire.
- Recheck the tire and rim for sharp objects or deformation before riding.
How Tyre Pressure, Width and Construction Change Your Risk
Once you’ve patched or swapped a tube, it’s worth understanding how pressure, tire width, and construction affect your chances of another snakebite. Following inflation guidelines and building good pressure monitoring habits will go a long way toward reducing pinch-flat risk.
Make sure your tire width matches your rim so the casing can support the load without bottoming out. If you ride aggressively or carry extra weight, look for tires with tire reinforcement like multi-layer plies or Kevlar sidewalls.
- Low pressure increases pinch risk. Check your pressure regularly and inflate to the recommended values.
- Wider tires let you run lower pressures safely, which improves comfort and reduces snakebites.
- Reinforced tires handle impacts better than standard casings.
- Narrow rims paired with narrow tires make bottoming out more likely. Consider wider rims for tougher terrain.
For a deeper look at how tire pressure and width interact, Sheldon Brown’s guide to bicycle tires and tubes is an excellent resource.
[Products Worth Considering]

The GERCHWAY Presta Valve Adaptor Pump offers a versatile dual‑head chuck that fits both Presta and Schrader valves, eliminating the need for extra adapters. Its precision gauge accurately reads 5–100 PSI with ±2 PSI tolerance, ensuring safe and optimal tire inflation for bikes, motorcycles, SUVs, and cars. The 18‑inch hose provides flexible reach, while the 3‑in‑1 design lets you check pressure, release air, or inflate directly from an air compressor.

The AZUNO digital tire inflator gauge offers precise pressure readings for both Presta and Schrader bike valves, eliminating the need for separate adapters. Its bright LCD backlight and automatic shut‑off conserve battery life, while the included 18‑inch hose and accessories make setup quick and hassle‑free. Built with durable steel and brass components, it provides reliable performance for bicycles, motorcycles, and other vehicles.

The CO2 Inflator Kit provides rapid tire inflation for road and mountain bikes, delivering up to 100 psi in seconds with threaded 16 g cartridges. Its compact design fits easily in a saddle bag, and the included insulated sleeve protects hands from the cold discharge. Compatible with both Presta and Schrader valves, it offers a lightweight alternative to hand pumps for quick repairs on the trail.
Common Scenarios and Road Features That Cause Snakebites
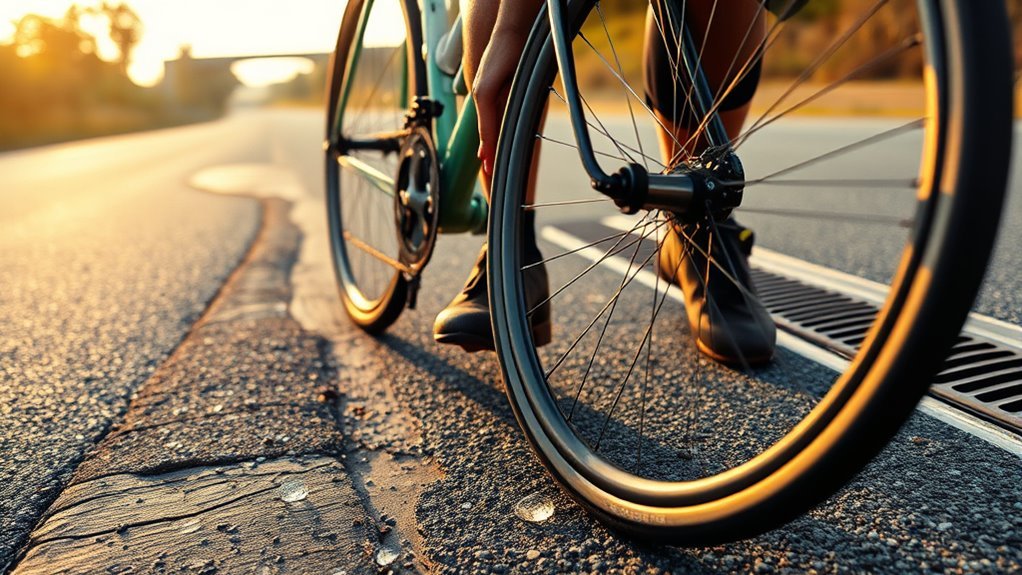
Most snakebites come from impacts that compress the tire against the rim. Watch out for sudden drops and hard edges. Railroad tracks, raised driveway lips, and curb hits are common culprits.
When you cross railroad tracks or ride over raised driveway lips, the abrupt gap can bottom the tire and pinch the tube. Uneven surfaces, potholes, ruts, and rocks cause the same problem on rough roads, especially at low pressure.
In urban riding, potholes and edges are frequent and unforgiving. Aggressive riding, like fast hits, hard cornering over obstacles, or launching off curbs, increases impact forces and the chance of pinch flats. Scan ahead, slow for edges, and choose lines that smooth out transitions.
Tube Types That Resist Pinch Flats
You can limit snakebites not just by changing how you ride, but by picking tubes and tires that handle impacts better. Choose components that match your terrain and preferred tire materials, and always keep the right air pressure to minimize deformation on impact.
- Latex tubes: more stretchable than butyl, offering better lateral support in tubulars and reducing pinch risk.
- Thicker, thorn-resistant butyl tubes: added durability for rough roads and occasional impacts.
- Tubeless setups with sealant: remove the tube entirely so the tire deforms without pinching. Sealants also plug small punctures instantly.
- Reinforced tires (Kevlar sidewalls) plus appropriate air pressure: combine a tougher casing with correct inflation for the greatest resistance to pinch flats.
Each option trades off puncture protection, weight, and maintenance. Pick what suits your riding style and conditions.
[Products Worth Considering]

The CO2 Bike Tire Inflator provides fast, precise inflation for road and mountain bikes with a CNC‑machined aluminum body and brass internals. Its control lever lets you regulate gas flow, preventing freezing and ensuring safe, leak‑free connections to both Presta and Schrader valves. Compact and lightweight, it’s ideal for race, group rides, and timed events, delivering reliable performance with premium threaded CO2 cartridges.

The GIYO mini bike pump offers a secure all‑metal valve lock and telescopic barrel for high‑volume, low‑pressure mountain bike tires. Its dual Presta and Schrader compatibility and durable aluminum alloy construction ensure reliable, leak‑free inflation on the trail. The portable design makes it easy to carry, while the hammered finish adds a touch of style.
Common Installation Mistakes That Cause Snakebites
When you don’t seat the tube properly, it can bunch at the bead and create pinch points that lead to snakebite flats. Using tire levers too aggressively also risks nipping or tearing the tube during installation. Both errors are common, avoidable, and frequently behind post-installation punctures.
Improper Tube Seating
One common mistake is pinching the inner tube between the tire bead and rim while mounting or inflating. Check tube alignment as you work. Inflate the tube slightly to give it shape, then seat the tire fully while making sure the tube isn’t twisted or bunched.
Do a rim inspection before mounting. Confirm the rim strip is centered and undamaged so it won’t create pinch points. Work your way around the wheel, pushing the bead into the rim with your thumbs rather than forcing tools. If you spot a bulge or uneven pressure, deflate and reseat.
- Partially inflate the tube to check fit
- Smooth the tube to avoid folds or twists
- Verify rim strip placement and integrity
- Seat the bead gradually and evenly
Overuse Of Tire Levers
Avoid forcing the tire on with too many levers. Doing so greatly increases the chance of pinching the tube and creating a snakebite. Limit lever use and finish the last section by hand, following tire lever techniques that minimize pinch points.
Inflate the tube slightly before fully seating the tire so you can adjust without levering aggressively. Check that the rim strip is centered. An off-center strip creates hidden pinch hazards even if your technique is otherwise good.
When you do use levers, position them carefully and avoid catching the tube between the lever and the bead. Small tears from a lever can turn into flats on the road. These steps keep your installs reliable and reduce snakebite risk.
Upgrades: Tyres, Tubes, Rim Strips and Tubeless Options
The right upgrades can change how your bike handles punctures. Focus on tyres, tubes, rim strips, and tubeless conversions to lower snakebite risk and improve durability.
Start with tire construction and tire selection. Multi-layer touring tyres boost sidewall strength and flat prevention while keeping a comfortable ride. Pressure management matters too. Wider tyres let you run lower pressures without pinch flats.
Choose tubes and sealants for extra puncture protection. Thicker thorn-resistant tubes or Slime sealant reduce failure chances. Rim compatibility is key for tubeless conversions. Going tubeless removes the tube altogether, cutting snakebite risk because the tyre can flex without pinching. A rim strip or liner adds another barrier.
Upgrade tyres, tubes, rim strips or go tubeless—stronger casings, wider tyres and sealants cut snakebites and improve durability.
- Multi-layer tyres (e.g., Schwalbe Marathon) for durability
- Thorn-resistant tubes or liquid sealant
- Tubeless setup for pinch-flat reduction
- Tire liners like Mr. Tuffy for extra protection
Riding Technique and Terrain Tactics to Avoid Rim Strikes
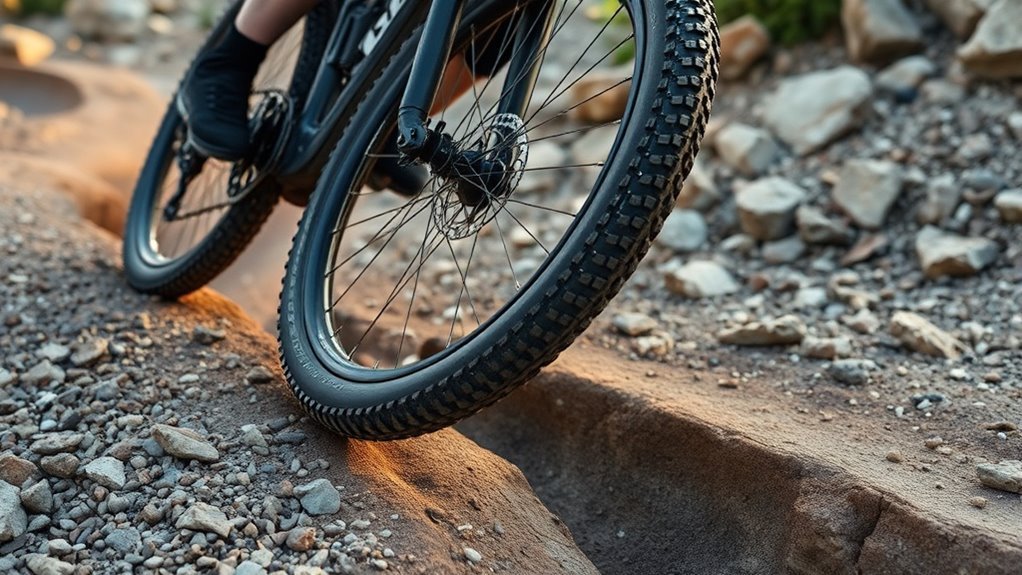
When approaching obstacles, pick a clean line that lets you roll over or around hazards instead of smashing into them. Shift your weight back and lift the bike slightly so your tires meet impacts at reduced force. Keep your arms and legs soft to absorb shocks. Control your speed and steer at an angle that presents the smallest contact patch to edges. This greatly lowers the chance of a rim strike.
Line Choice Over Obstacles
Picking your line carefully over curbs, rocks, and sharp edges will dramatically cut the risk of a snakebite flat. Use line selection and obstacle navigation to read the terrain, choose smoother passages, and approach hazards at an angle that keeps momentum and reduces impact.
Ride smoothly rather than bouncing, and keep tire pressure in the recommended range so the tire can absorb shocks. Scan ahead, adjust speed, and pick routes that avoid sharp contacts.
- Approach obstacles diagonally to lessen force on the tire and rim.
- Aim for rounded or sloped sections instead of edges.
- Maintain steady speed to roll over rough spots.
- Keep tire pressure ideal for shock absorption.
Weight Distribution Control
Good line choice sets you up, but how you shift your weight over that line determines whether the tire kisses the rim or keeps rolling. You’ll reduce pinch-flat risk by making deliberate weight shifts: move rearward over obstacles, stand slightly on the pedals, and keep light contact with the bars.
Scan the trail to approach holes at an angle and avoid direct impacts. Practice smooth body positioning to absorb shocks rather than letting the tire compress fully. Regularly read the terrain and adjust your line to bypass sharp edges.
Below is a simple posture-action guide.
| Situation | Body positioning | Action |
|---|---|---|
| Pothole | Rearward, slight stand | Shift weight back, pedal neutral |
| Rut | Balanced, relaxed arms | Angle approach, finesse line |
| Drop | Back and low | Lift hips, absorb impact |
Speed And Wheel Angle
Speed and wheel angle directly change how your tire meets obstacles. Dialing both in will cut pinch-flat risk and improve control.
Use speed management to carry just enough momentum to roll over edges rather than strike them. Adjust your wheel positioning to meet terrain at a forgiving angle. Lean slightly forward to shift weight and maintain traction without bottoming the rim.
Practice smooth, controlled lines on rough ground so you avoid sudden compression that causes snakebite flats. Choose wider tires when appropriate to allow lower pressures and better shock absorption.
- Approach curbs and ruts with controlled speed, not sudden bursts.
- Angle the wheel to navigate smoothly over obstacles.
- Keep a forward, balanced posture to manage weight transfer.
- Use tire width and pressure to complement your technique.
Maintenance Checklist and Pre-Ride Routine to Prevent Pinch Flats
A quick maintenance checklist before each ride goes a long way toward preventing snake bite flats. Check tire pressure with a reliable gauge and inflate to the manufacturer’s recommended range, adjusting for load and temperature.
Do a visual tire inspection for cuts, bulges, or embedded debris that make flats more likely. Inspect the rim and clean the rim strips so they sit flat and won’t expose the tube to holes or pinch points. Run your fingers along the bead seating to confirm even contact.
Carry a compact repair kit with tire levers, a spare tube, and a pump so you can handle roadside repairs quickly. These routine steps are simple, fast, and greatly reduce the chance of pinch flats during your ride.
Frequently Asked Questions
Can a Snake Bite Through a Tire?
No, an actual snake can’t bite through a properly inflated bike tire. The term “snake bite” here refers to the two fang-like punctures from a pinch flat, not a literal snake. You’ll prevent these by keeping pressure up, inspecting tires regularly, and avoiding hard impacts.
What Not to Do After a Snake Bite?
Don’t panic, and don’t just keep riding on a flat. Avoid reusing a damaged tube without proper inspection and repair. Don’t cut the tire or trust common myths about quick fixes. Stop, assess the damage, patch or replace the tube, and check the tire and rim before you get back on.
Conclusion
You’ve seen what causes a snakebite flat and why it happens: the sudden double-pinch, the sickening hiss. You can’t erase every hazard, but you can stack the odds in your favor. Proper pressure, wider or tougher tyres, quality tubes or a tubeless setup, careful installs, and smoother line choices all make a real difference. Before you roll, check rims, strips, and pressures. Ride with intent. Do that, and the next sharp edge won’t get the last word.
Related Articles
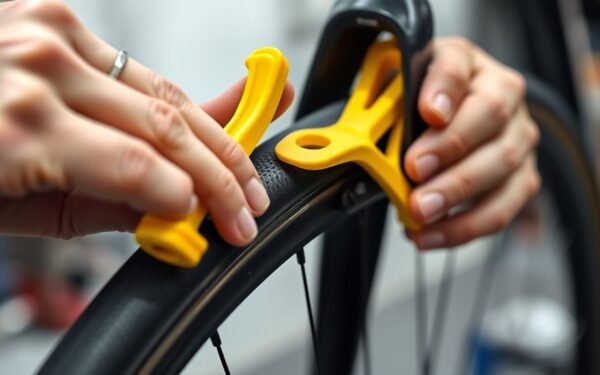
Easy Tire Levers Guide: Avoid Pinching Tubes
Gentle leverage, valve alignment, and a second lever keep your tube safe—learn the simple tricks to avoid pinches and what to do if it won’t budge.
Read More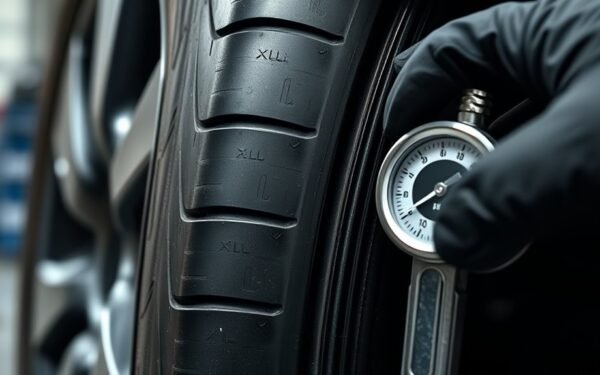
XL Tire Meaning Explained: Extra Load Guide
Curious what XL means on a tire and how Extra Load affects pressure, capacity, and safety—discover why proper inflation matters and what to check next.
Read More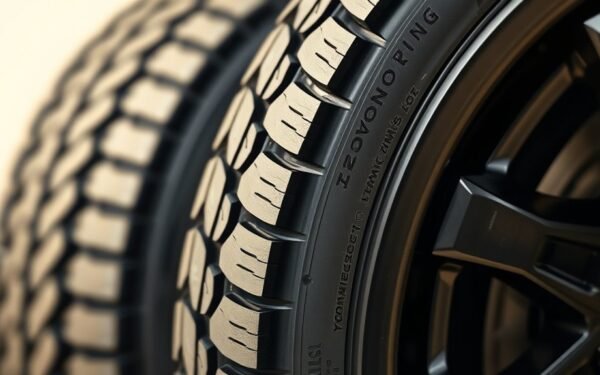
Tire Load Range Explained: B-F Letters Guide
Just what do tire load range letters B through F mean for your vehicle’s payload and towing—discover how to choose the right tire for your needs.
Read More
One Comment