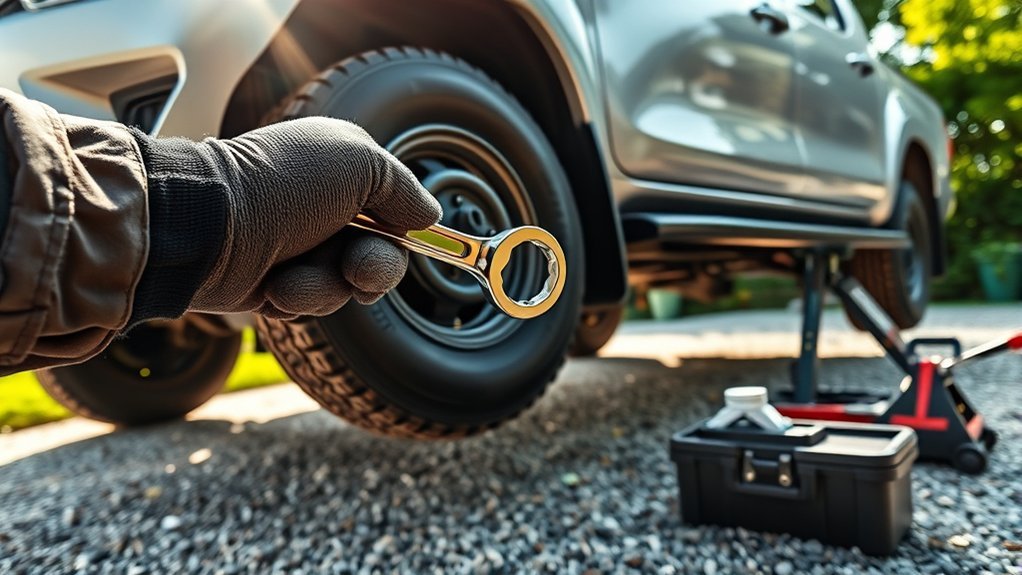
Replacing lug nuts on your Toyota Hilux is a simple job, but the details matter. The lug nut must match the stud thread, wheel-seat style, and Toyota torque specification for your exact Hilux and wheel type. Work on level ground, support the vehicle safely, start every nut by hand, and finish with a calibrated torque wrench.
Quick Answer
To replace Toyota Hilux lug nuts safely, confirm the correct thread and seat style first, hand-start each new nut, tighten in a criss-cross pattern, and finish with a torque wrench. Many 2015+ Hilux 4×4 models use 105 N·m, while 4×2 torque can vary by wheel type.
Key Takeaways
- Do not use one universal torque number for every Hilux. Toyota lists different torque values by model and wheel type.
- Match the lug nut thread, seat style, shank length, and hex size before installing new nuts.
- Keep lug nut threads and seats clean and dry unless the vehicle or wheel maker gives different instructions.
- Use a criss-cross pattern and finish with a calibrated torque wrench, not an impact wrench.
- Recheck torque after a short drive, especially after wheel removal, tire service, or new wheel installation.
At a Glance
| Time Required | 20 to 45 minutes for one wheel, longer if nuts are rusty or damaged |
| Difficulty | Beginner to moderate, depending on corrosion and access |
| Tools Needed | Wheel chocks, lug wrench or breaker bar, correct socket, jack, jack stand, torque wrench, gloves, eye protection, and replacement lug nuts |
| Cost | Usually low for lug nuts only; higher if a wheel stud, wheel lock key, or damaged wheel seat needs repair |
Warning: Never put any part of your body under a Hilux supported only by a jack. Park on level ground, chock the wheels that stay on the ground, use the correct jacking point, and support the vehicle with a properly rated jack stand before working near a raised wheel.
Confirm the Correct Toyota Hilux Lug Nut Torque
Before you loosen anything, confirm the torque for your exact Hilux. Toyota’s current wheel torque table lists different values for 2015+ Hilux models, and wheel type can change the spec. Use the owner’s manual, dealer parts catalog, wheel manufacturer instructions, or the latest Toyota wheel torque values when the information applies to your market and model.
| Hilux Application | Toyota Listed Torque | Approx. ft-lb |
|---|---|---|
| Hilux 4×4, 2015/04 onward | 105 N·m | 77 ft-lb |
| Hilux 4×2, 2015/04 onward, alloy wheels | 121 N·m | 89 ft-lb |
| Hilux 4×2, 2015/04 onward, steel wheels | 152 N·m | 112 ft-lb |
| Older Hilux or aftermarket wheels | Check manual, wheel maker, or dealer by VIN | Do not guess |
Wheel torque specs usually assume clean, dry threads. Lubricating the stud, nut threads, or lug seat can change clamping force and make the torque reading misleading.
[Products Worth Considering]

Upgrade your wheels with MIKKUPPA closed-end lug nuts designed for reliable fit and corrosion resistance. The one-piece, cold-forged and heat-treated steel construction helps resist rust and stripping, while the integrated finish delivers a durable black appearance. Built to OEM standards with a conical 60-degree seat, these nuts provide a secure solution for compatible Ford, Honda, Jeep, and Chevrolet models.

These M14x1.5 closed-end chrome lug nuts are a one-piece replacement designed for secure fitment on compatible GM, Ford, and select Chrysler/Dodge models. Featuring a 60-degree conical seat and anti-rust chrome plating, they help resist corrosion and maintain a bright look for everyday driving. Built for long-term durability, they include OEM-style part references and are backed by 12 months of support.

Upgrade your wheels with MIKKUPPA M12x1.5 mag seat lug nuts built for secure, corrosion-resistant performance. These closed-end chrome lug nuts are a direct replacement for select Toyota models, including Camry, Corolla, RAV4, Sienna, Avalon, Highlander, Matrix, Venza, and Prius. Triple-chromium plating and cold-forged, heat-treated steel help deliver strength for daily driving and replacement needs.
Why You Should Replace Lug Nuts Regularly

You do not need to replace lug nuts at every tire rotation, but you should replace them when they no longer clamp the wheel correctly. Watch for rounded hex edges, cracked seats, damaged washers, swollen chrome caps, rusted threads, missing wheel-lock keys, or nuts that do not spin on by hand.
A damaged lug nut can give you a false sense of tightness. It may bind before it fully seats, damage the stud, or fail to hold the wheel evenly against the hub. That can lead to vibration, broken studs, damaged wheels, or a loose wheel.
Use OEM lug nuts or high-quality replacements that match the Hilux’s thread, seat shape, shank length, and hex size. Do not choose a lug nut by brand, color, or thread size alone.
Essential Tools for Lug Nut Replacement
Gather your tools before you start so the Hilux is not sitting raised while you search for parts. You need the correct size socket for the lug nuts currently on the vehicle, not just the size listed for a different trim or wheel set.
- Lug wrench or breaker bar: Use this to loosen tight nuts while the tire is still touching the ground.
- Correct socket: Many Toyota lug nuts use a 21 mm hex, but aftermarket or damaged capped nuts may differ. Use the socket that fits snugly.
- Torque wrench: Use a calibrated torque wrench for the final tightening step.
- Jack and jack stand: Lift at the correct jacking point and support the Hilux securely before removing the wheel.
- Wheel chocks: Chock the wheels that remain on the ground.
- Gloves and eye protection: Rust, metal burrs, and stuck hardware can injure your hands or eyes.
- Replacement lug nuts: Confirm thread, seat style, length, and finish before you begin.
Note: If a lug nut does not turn on by hand for several full turns, stop. You may have the wrong thread pitch, a cross-threaded nut, or a damaged stud.
[Products Worth Considering]

This 1/2-inch drive breaker bar delivers powerful leverage for loosening and tightening stubborn lug nuts and automotive fasteners. The 180-degree flex head helps you reach tight spaces at the angle you need, making tire and brake jobs easier. A spring-loaded ball detent design holds 1/2-inch sockets securely while the chrome-moly head provides durable strength for everyday use.

This car D-wheel lock nut key provides an anti-theft solution for D-shaped wheel lock bolts, helping keep your wheels secure. It features a flower-shaped internal pattern that resists micro-adjustment theft while allowing removal and mounting of compatible locking nuts. Made for reliable performance under high torque, it’s easy to use with standard socket wrench turning for quick tire maintenance and emergency repairs.

The 22800 wheel stud installer makes replacing wheel studs quick and secure, saving time and effort during tire service. It uses a ratchet or impact wrench to pull new studs firmly into place, helping when existing studs are too long. Compatible with most automotive wheels and light-duty truck wheel studs, it’s designed for easy, tool-assisted installation.
Choose the Right Lug Nut Type and Seat
Thread size is only one part of fitment. Many Hilux applications use M12x1.5 lug hardware, but you should confirm this against your existing stud, parts catalog, owner’s manual, or dealer. The lug nut seat matters just as much.
Factory Toyota alloy wheels often use a washer or mag-style nut, while many aftermarket wheels use a tapered cone seat. Installing the wrong seat can stop the nut from clamping the wheel correctly, even if the threads fit.
| Lug Nut Type | Where You May See It | What to Check |
|---|---|---|
| Washer or mag seat | Many factory Toyota alloy wheels | Washer condition, shank length, and correct Toyota-style seating |
| Tapered or conical seat | Many aftermarket wheels | Cone angle and wheel maker’s torque instructions |
| Spline-drive nut | Narrow aftermarket wheel pockets | Correct key, full thread engagement, and correct seat style |
| Locking lug nut | Theft-deterrent sets | Key condition, seat match, and whether the key slips under load |
[Products Worth Considering]

The Trivd Frol 1/2" air impact wrench delivers high performance torque up to 1500 ft-lbs with a twin hammer impact mechanism for strong, balanced blows. It features an ergonomic grip, compact lightweight design, and quick-stop control with 3 forward speeds up to 8000 RPM plus a reverse speed. Built for demanding automotive repair and tire shop work, the rear exhaust helps keep debris away from the surface.

This spare tire tool kit is designed for the 2004 to 2018 Ford F-150 to help you loosen and tighten wheel lug nuts and manage the spare tire and provided jack functions from underneath the vehicle. It includes the lug nut wrench and extension pieces plus a convenient storage carrying case for organized transport. The jack itself is not included.

The SEESII cordless impact wrench delivers high tightening and loosening power for fast wheel bolt and industrial bolt work. Its brushless motor and variable-speed 3 forward/2 reverse modes help you control precision installs and stubborn nut removal. A dual-battery system with rapid charging and an included storage case make it ready for home, car, and jobsite use.
Preparing Your Hilux for Lug Nut Change
Park your Hilux on a flat, solid surface. Shift to Park for an automatic transmission or first gear for a manual transmission, engage the parking brake, and place chocks around the wheels that stay on the ground.
Check that the replacement lug nuts match the wheel and the studs. Compare the new nut to a known correct nut before installing it. The seat shape, washer, thread depth, and overall length should match the application.
Break each lug nut loose about a quarter to a half turn while the tire still touches the ground. Do not remove the nuts yet. This keeps the wheel from spinning while you apply the first loosening force.
How to Remove Old Lug Nuts Easily
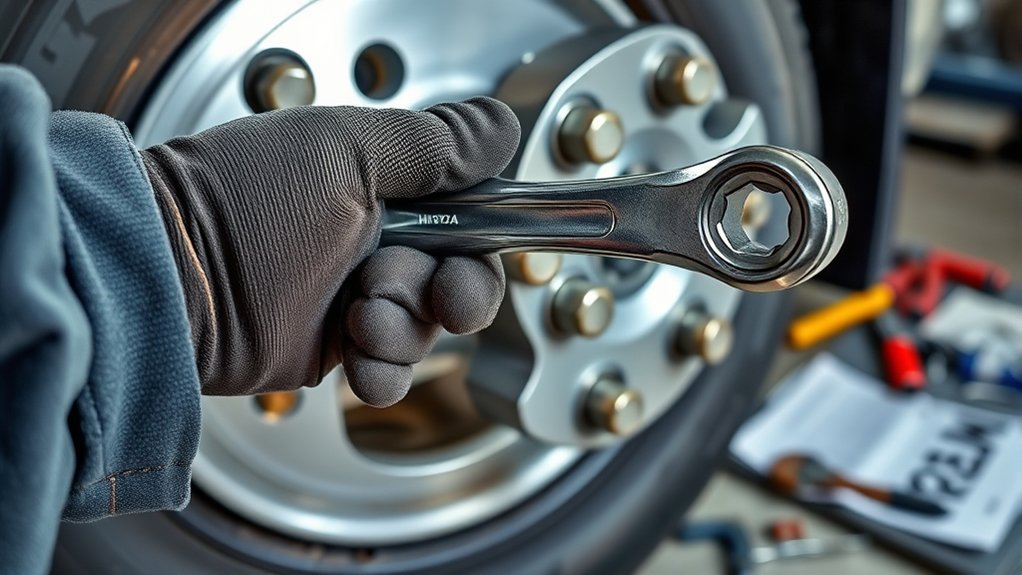
Use steady pressure and the correct socket. A loose socket can round the hex, especially on capped or corroded nuts.
- Seat the socket fully: Push the socket straight onto the lug nut before applying force.
- Loosen counterclockwise: Crack each nut loose while the tire lightly contacts the ground.
- Use a criss-cross pattern: Loosen opposite nuts in sequence to avoid loading one side of the wheel unevenly.
- Raise and support the Hilux: Lift only at the correct jacking point, then set the vehicle on a properly rated jack stand.
- Remove nuts by hand: Once loose, spin each lug nut off by hand and place it in a tray so it does not roll away.
Pro Tip: If a nut squeaks, binds, or gets harder to turn after it starts moving, stop and inspect the stud. Forcing a cross-threaded or seized nut can break the stud and turn a small job into a hub repair.
How to Install New Lug Nuts the Right Way
Install new lug nuts carefully. Fastening by feel alone is not enough because under-tightening and over-tightening can both create safety problems.
- Clean the mating surfaces: Remove loose rust and dirt from the wheel mounting face and hub. Do not grind away metal or leave debris between the wheel and hub.
- Inspect each stud: Look for stretched threads, cracks, flattened peaks, rust pitting, or a stud that wobbles.
- Keep threads and seats dry: Tire Rack explains that torque specifications are for dry threads, and Toyota owner manual warnings also caution against oil or grease on wheel bolts or nuts. If the wheel maker gives a special instruction, follow that instruction.
- Start every nut by hand: Turn each lug nut several full turns by hand before using a wrench. If it will not start smoothly, remove it and find the cause.
- Snug in a criss-cross pattern: Bring the wheel in evenly against the hub. Do not fully tighten one nut before the others are seated.
- Lower slightly for final torque: Lower the Hilux until the tire contacts the ground enough to stop rotation, but do not place full vehicle weight on an untorqued wheel.
- Torque in stages: Tighten to about half the final value, then finish at the correct torque in the same criss-cross pattern.
- Make one final pass: Recheck every nut at the final torque setting. Stop when the torque wrench clicks or reaches the set value.
Warning: Do not use an impact wrench for final tightening. An impact can over-tighten lug nuts, stretch studs, damage threads, or leave uneven clamp force. Use the impact only for removal or light snugging if you already know how to control it, then finish with a torque wrench.
What to Do After Installing New Lug Nuts?
After installation, drive gently at first and listen for clicking, rubbing, or vibration. If the steering wheel shakes, the wheel does not sit flush, or you hear movement from the wheel area, stop driving and inspect the installation.
Continental recommends checking and retorquing lug nuts after about 50 km when new or replacement wheels are mounted. Many shops use a similar short-distance recheck after tire service. Follow the wheel installer, wheel maker, or owner’s manual if they give a different interval.
- Recheck torque with the same dry-thread setting.
- Inspect each nut for movement, paint marks shifting, or washer damage.
- Look around the wheel studs for rust dust or shiny movement marks.
- Recheck again if you drive off-road, tow, haul heavy loads, or change wheels seasonally.
Troubleshooting Common Lug Nut Issues
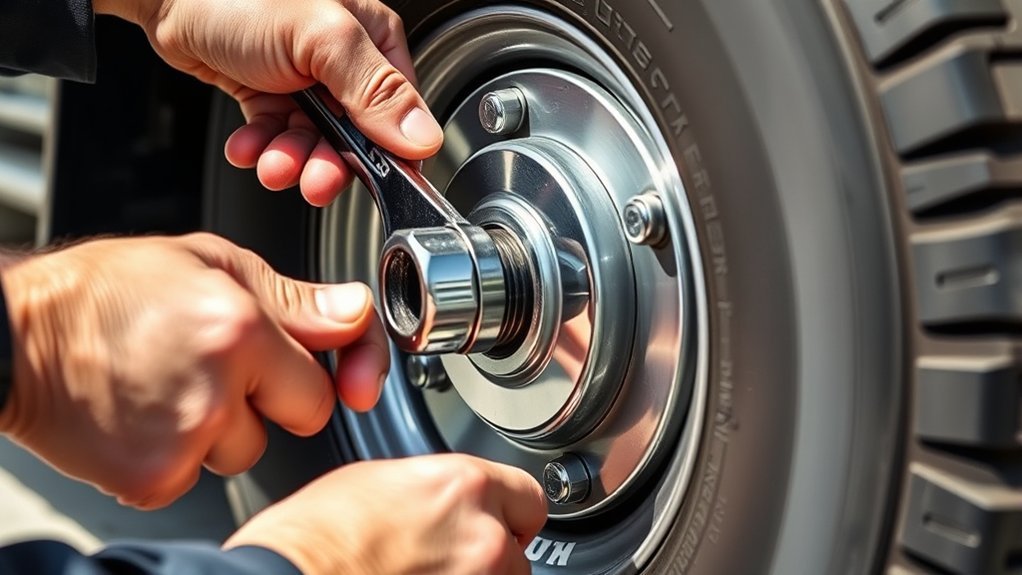
Lug nut problems usually come from wrong parts, over-tightening, corrosion, impact-tool damage, or dirty threads. Do not ignore a nut that feels different from the others. That one nut may point to a damaged stud or mismatched hardware.
Stripped Threads Resolution
If a lug nut spins without tightening, binds halfway on, or removes metal from the stud, stop using that stud. Replace the damaged lug nut, and have the stud inspected. Severe stud damage usually requires stud replacement, not a thread repair shortcut.
- Do not chase damaged wheel-stud threads just to make the old nut fit.
- Replace any nut that cross-threaded, cracked, or lost its seat shape.
- Use only the correct thread pitch and seat style.
- Have a professional replace the stud if you are not equipped to press or service it correctly.
Corrosion Prevention Tips
Rust can make lug nuts hard to remove and can hide thread damage. Clean loose rust from the wheel face, hub face, and visible threads with a suitable brush. Keep the lug nut threads and seating surfaces dry unless Toyota or the wheel maker specifically says otherwise.
If the wheel sticks to the hub, clean the hub pilot and mating face before reinstalling. Avoid heavy coatings near the lug seats because buildup can affect how the wheel clamps.
Stuck, Rounded, or Swollen Lug Nuts
Some capped lug nuts swell when corrosion forms under the cap. A socket that used to fit may no longer seat fully. Do not keep forcing the wrong socket because it can round the nut.
- Try the correct next-fit socket only if it seats fully and squarely.
- Use a six-point socket rather than a twelve-point socket for stubborn nuts.
- Use controlled breaker-bar pressure instead of jumping on the wrench.
- Call a tire shop or mechanic if the nut is already rounded or the wheel lock key slips.
Vibration After Lug Nut Replacement
If the Hilux vibrates after you replace lug nuts, do not assume the problem is wheel balance. Check that the wheel sits flush on the hub, the lug nuts match the wheel seat, and every nut reaches the correct torque in a criss-cross pattern.
Also inspect for trapped rust, dirt, or paint between the hub and wheel. A small amount of debris can stop the wheel from sitting flat and can make torque readings unreliable.
Frequently Asked Questions
Can I use 7/8 instead of 22 mm on Toyota Hilux lug nuts?
Use the socket that fits the lug nut snugly. A 7/8-inch socket is close to 22 mm, but many Toyota-style lug nuts are closer to 21 mm. If the socket feels loose, do not use it because it can round the nut. A six-point metric socket is the safer choice.
Are Toyota Hilux lug nuts M12x1.5?
Many Hilux applications use M12x1.5 lug hardware, but you should confirm before buying replacements. Check your owner’s manual, existing nut and stud, dealer parts catalog, or wheel manufacturer instructions. Also confirm the seat style, not just the thread size.
What torque should I use for Toyota Hilux lug nuts?
Use the torque for your exact model and wheel type. Toyota lists 105 N·m for many 2015+ Hilux 4×4 models, 121 N·m for 2015+ Hilux 4×2 alloy wheels, and 152 N·m for 2015+ Hilux 4×2 steel wheels. Older models and aftermarket wheels may differ.
Should I put anti-seize on Hilux lug nuts?
Do not apply anti-seize, oil, or grease to the lug nut threads or seats unless Toyota or the wheel maker specifically instructs you to do so. Lubrication can change the clamping force at a given torque setting and can lead to over-tightening or loosening.
Can I tighten Hilux lug nuts with an impact wrench?
You should not use an impact wrench for final tightening. Start the nuts by hand, snug them evenly, then use a calibrated torque wrench for the final pass. An impact wrench can over-tighten the nuts or create uneven clamp force.
When should I replace a wheel stud instead of just the lug nut?
Replace or professionally inspect the stud if the threads are stripped, stretched, cracked, badly rusted, or if a correct lug nut will not turn on smoothly by hand. A new lug nut cannot make a damaged stud safe.
Conclusion
Replacing Toyota Hilux lug nuts is not just a cosmetic refresh. Each nut must match the wheel, stud, and torque specification so the wheel clamps evenly against the hub. Confirm the correct torque, keep the threads clean and dry, tighten in stages with a criss-cross pattern, and recheck after a short drive.
If a lug nut binds, a stud looks damaged, or you cannot confirm the correct seat style, stop and get professional help. Wheel hardware is small, but it carries a major safety job every time you drive.
Sources
- Toyota Techdoc Wheel Torque Values PDF — Hilux torque values and compatibility guidance
- Toyota Owner’s Manual PDF — warning not to use oil or grease on wheel bolts or nuts
- Tire Rack: How to Properly Torque Wheel Lug Nuts — dry-thread torque and torque wrench guidance
- NHTSA-hosted Wheel Installation Service Bulletin — criss-cross pattern and torque wrench procedure
- Continental Tires: Retorquing Wheels — recheck after approximately 50 km
- Product Safety Australia: Vehicle Jacks Guide — jack safety and support warning