
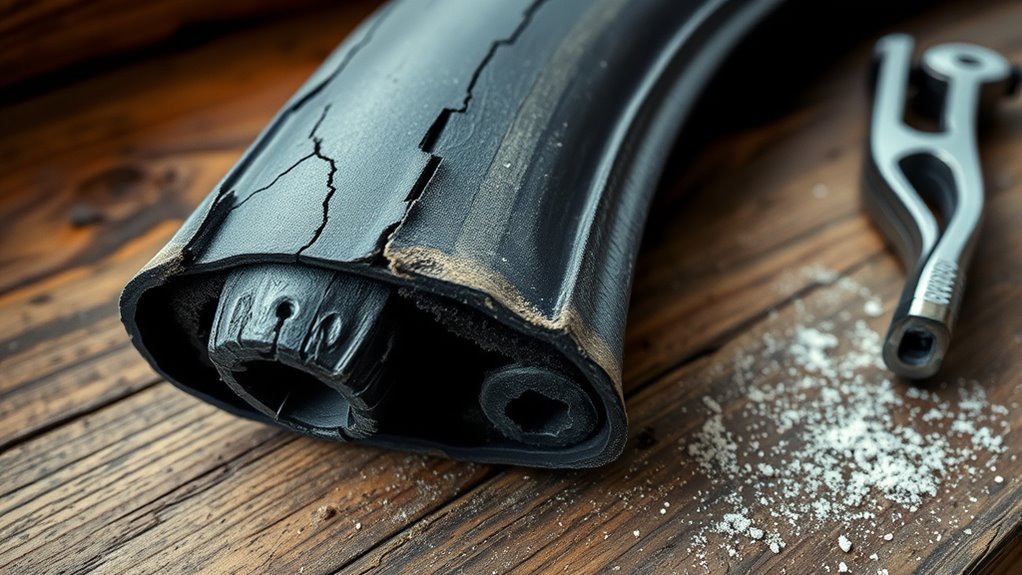
You should replace a bicycle inner tube when the damage is structural, the rubber is degraded, or a careful patch still will not hold air. Patch only small, clean punctures in flexible rubber, away from the valve, seam, and any stretched or cracked area. Before you decide, inspect the tube, tire, rim tape, valve, and the shape of the hole so you fix the real cause of the flat.
Quick Answer
Replace an inner tube if it has a split seam, valve-base leak, bulge, brittle rubber, long or ragged cut, repeated leaks, or several old/lifting patches. Patch it only when the puncture is small, round, clean, and the tube is otherwise flexible and undamaged.
Key Takeaways
- Patch small, clean holes; replace tubes with valve damage, seam splits, bulges, cracks, or long cuts.
- A patch fails most often because the surface was dirty, unscuffed, wet, over-glued, under-pressed, or tested at full pressure too soon.
- Always find the cause of the flat before reinstalling the tube: check the tire, rim tape, spoke holes, and valve angle.
- Use the right repair method for the tube material. Butyl, TPU, and latex tubes do not always use the same patch system.
- Carry both a spare tube and a patch kit. The spare is faster roadside; the patch kit is useful at home or as a backup.
At a Glance
| Time Required | 10–20 minutes for a tube swap; 20 minutes plus overnight air-hold testing for the most reliable patch check |
| Difficulty | Easy to moderate |
| Tools Needed | Patch kit, tire levers, pump, marker, clean cloth, water bowl or sink, and a correctly sized spare tube |
| Cost | Low: usually a few dollars for a patch kit or a modest cost for a new tube |
Should You Repair or Replace the Inner Tube?
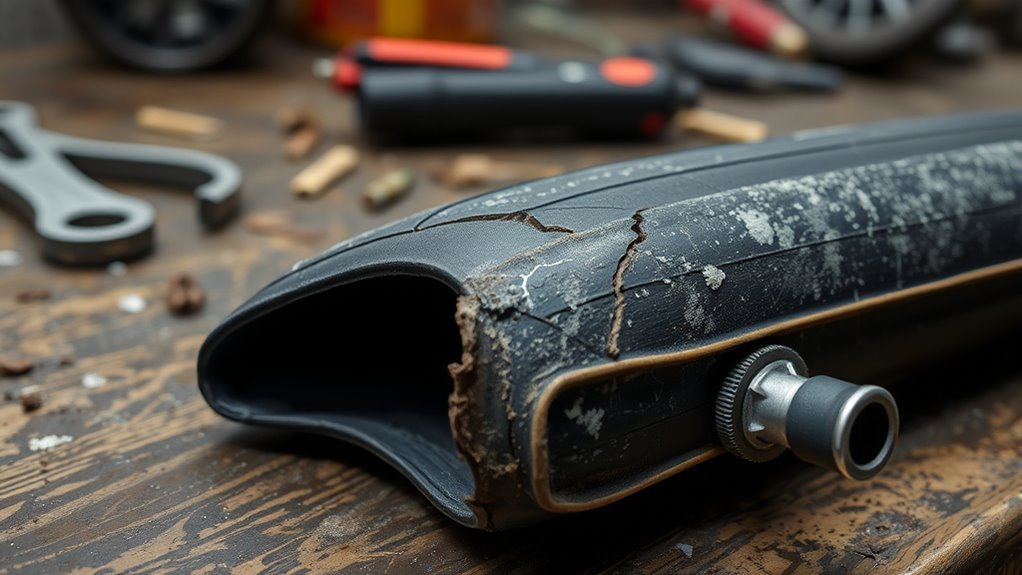
Repair the tube when the hole is small, round, easy to clean, and located on a smooth part of the tube body. Replace it when the damage affects the valve, seam, tube shape, or the rubber itself. A new tube is also the better roadside choice when you need the fastest reliable fix.
For a traditional butyl tube, a glue-on vulcanizing patch can be a long-lasting repair when applied correctly. Park Tool’s tube repair guide and REI’s patching guide both stress the same basics: find the leak, clean and roughen the area, apply the adhesive properly, press the patch firmly, and check for leaks before reinstalling.
| Situation | Best Choice | Why |
|---|---|---|
| Tiny thorn or glass puncture on smooth tube body | Patch | The rubber can bond well if clean, dry, and flexible. |
| Valve stem leaks, wobbles, tears, or separates at the base | Replace | Valve-base damage is not a reliable patch area. |
| Split seam, bulge, blister, or stretched patch area | Replace | The tube structure is compromised. |
| Long, ragged, or pinch-slit damage | Usually replace | Slits and stretched cuts are harder to seal evenly. |
| Several old patches, clustered patches, or patches that keep lifting | Replace | The repair history suggests weak rubber or poor bonding. |
| Cracked, sticky, brittle, sun-baked, or very old tube | Replace | Old rubber may not flex or bond well under pressure. |
Warning: Do not ride on a tube with valve-base damage, a split seam, a visible bulge, or a tire casing cut that lets the tube push outward. Replace the tube, inspect the tire, and fix the cause before riding.
[Products Worth Considering]

Replace worn tubes with this FANSPRO 2-pack of 26-inch butyl inner tubes designed for road and mountain bikes. Sized for tire widths from 1.75 to 2.125 inches, these tubes feature a 48mm Schrader valve for reliable everyday use. The set includes two tire levers to make flat repairs and tube installation faster and easier.

FANSPRO’s 2-pack 26-inch bicycle inner tubes are built for reliable performance on road and mountain bikes. They fit tire widths from 2.125 to 2.40 inches and use a 48mm Schrader valve for convenient inflation. The set includes two durable tire levers to help you remove and install tubes quickly after a flat.

This heavy-duty fat bike inner tube is built for secure fit on 20-inch wheels with 3.5 to 4.0 inch wide tires, including e-bikes and mountain bikes. It uses thick butyl rubber for improved durability, air tightness, and a smoother, more comfortable ride. A standard Schrader valve makes inflation easy and helps keep pressure stable for safer rides, with tire levers included for simpler installation.
Visible Damage That Means Replace the Tube
You do not need to guess when the damage is obvious. Replace the inner tube if you see multiple cuts, deep cracks, a split seam, a blister, a bulge, or a stretched area that no longer lies flat. Replace it if the valve stem is damaged, loose at the base, bent sharply, or leaking where it joins the tube.
| Sign | Action |
|---|---|
| Multiple punctures, clustered holes, or repeat leaks | Replace |
| Visible bulges, blisters, or deformities | Replace |
| Cracks, dry rot, sticky rubber, or worn surface | Replace |
| Damaged, loose, bent, or leaking valve base | Replace |
| Patch edges lifting or same area leaking again | Replace |
A patched tube can work well, but only when the tube is still sound. If the tube looks tired before you even start the repair, the safer answer is a new tube.
[Products Worth Considering]

This Hycline 2-pack mountain bike tire set delivers durable, puncture-resistant performance with a high-grip, aggressive tread designed for traction on hard surfaces and confident handling through mud and soil. Includes matching inner tubes and tire levers for easier everyday maintenance and quicker installation after folding storage. Built for a range of riding conditions with reinforced rubber and nylon cord for wear-resistant reliability.

This 2-pack bicycle inner tube set is designed for kids, road, and MTB bikes with 20-inch tires in the 1.75 to 2.125 width range, using a 32mm AV Schrader valve. Each tube includes two tire levers for easier installation and safer handling while swapping tubes. Butyl rubber delivers reliable air retention, elasticity, and comfort for everyday rides.

This chemical vulcanizing cement promotes rubber vulcanization at room temperature, helping create durable tire repairs without heat. The included brush makes application easy, and the quick-drying formula with accelerators helps the repair cure faster for reliable patch or plug sealing. It’s suitable for cars, motorcycles, and bikes, supporting repairs for both inner tubes and outer tires.
What the Puncture Pattern Tells You
Before patching or installing a spare, find out why the tube failed. If you miss the thorn, glass shard, sharp rim edge, or bad rim tape, the next tube can go flat in the same place.
| Tube Damage | Likely Cause | What to Check |
|---|---|---|
| Single tiny hole on the tire side | Thorn, wire, glass, or sharp debris | Inspect the tire tread and inside casing; remove the object. |
| Two short parallel slits | Pinch flat from low pressure or impact | Check tire pressure, rim dents, and whether the tube was pinched during install. |
| Hole on the rim-facing side | Exposed spoke hole, spoke end, burr, or shifted rim tape | Make sure rim tape fully covers all spoke holes. |
| Tear at the valve base | Crooked valve, tire creep, low pressure, or rough pump handling | Replace the tube and reinstall with the valve straight. |
| Leak from a patch edge | Poor bonding, dirt, water, old cement, or patch tested too soon | Replace or re-patch only if the tube is still clean, flexible, and undamaged. |
Pro Tip: When you remove the tube, keep the valve aligned with the tire logo or mark the tire position. Once you find the hole in the tube, you can match it to the exact spot on the tire or rim.
Why Patches Fail (Common Causes & Quick Checks)
Most patch failures come from poor prep, rushed adhesive work, or damage that should not have been patched in the first place. A patch needs clean rubber, a roughened surface, the right adhesive, firm pressure, and fully bonded edges.
A good patch is mostly preparation: clean the tube, dry it, scuff the area, apply a thin even coat of vulcanizing fluid, wait until it is ready, then press the patch firmly—especially around the edges.
- Poor scuffing: smooth rubber gives the adhesive less grip.
- Dirty or oily surface: dust, chain lube, water, talc, or old glue can block bonding.
- Too much or too little adhesive: a thick blob can dry poorly; a thin missed spot can leak.
- Patch moved too soon: lifting an edge to “check it” can break the seal.
- Wrong patch for the material: TPU and latex tubes may need a different repair kit than standard butyl tubes.
- Unrepairable damage: valve-base tears, seam splits, bulges, and ragged cuts are replacement problems.
Warning: Vulcanizing fluid is flammable and can give off strong vapors. Use it in a well-ventilated area, keep it away from flame, sparks, and heat, and follow the patch kit’s safety instructions.
When Age or Tube Material Makes Repair Worthless
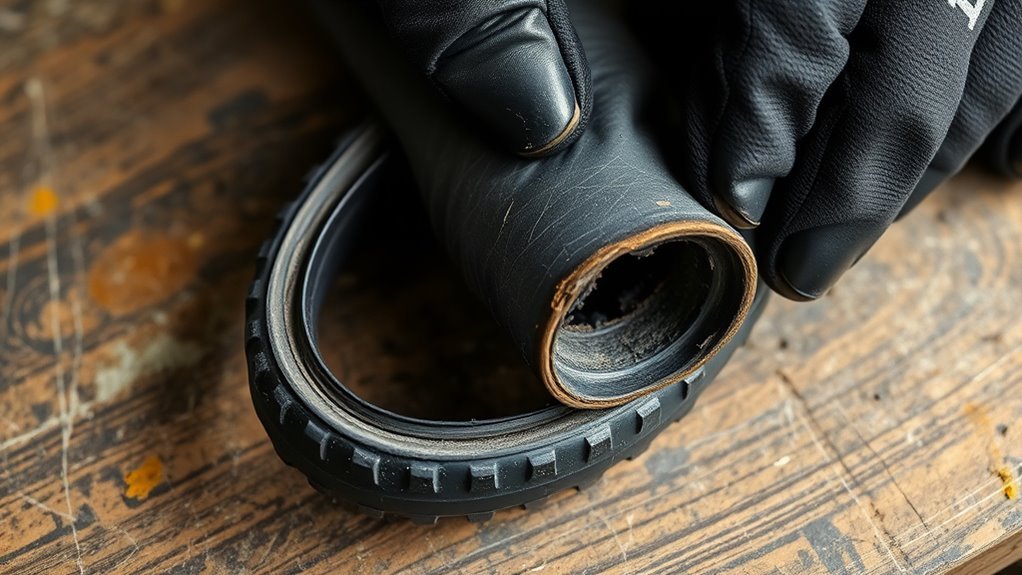
After you check scuffing, cleanliness, adhesive quality, and patch placement, look at the tube material itself. A tube that has lost elasticity, gone brittle, cracked, become sticky, or been stored in heat and sunlight is a poor repair candidate. Even a perfect patch cannot make weak rubber strong again.
Note: Some tire manufacturers are conservative about age. Continental’s mounting and care instructions advise replacing tires, inner tubes, and rim strips after three years regardless of mileage, and also warn against storing tires in blazing sun or near heat.
Butyl Tubes
Most common bicycle inner tubes are butyl rubber. These are usually the easiest to patch with a standard vulcanizing patch kit, as long as the hole is small and the tube is still flexible.
TPU Tubes
TPU tubes are light and compact, but they normally need a TPU-compatible repair kit. Do not assume a standard butyl patch will work unless the tube or patch manufacturer says it is compatible. Tubolito, for example, sells a dedicated TPU patch kit for its tubes.
Latex Tubes
Latex tubes are flexible and can be repairable, but they need extra care because the material stretches easily. Use a patch method recommended for latex tubes, avoid aggressive sanding, and replace the tube if the damaged area is stretched, thin, or hard to keep flat.
Proper valve alignment is also crucial during installation. If the valve is angled after inflation, deflate the tire, reseat the tube, and correct the valve before riding.
How to Test a Patched Tube Safely Before Riding
Before you ride, verify the repair without overstressing the fresh patch. Follow the patch kit instructions first, because drying times and methods vary by kit.
- Let the adhesive reach the correct tack or dry stage. With glue-on patches, do not press the patch onto wet, puddled cement unless your kit specifically instructs that.
- Press firmly. Push from the center outward and pay close attention to the patch edges.
- Inspect the bond. The edges should lie flat with no bubbles, wrinkles, or lifted corners.
- Add only a little air at first. Do not stretch the tube to full size immediately after applying a fresh patch.
- Soak-test the repair. Submerge the patched area in water and watch for bubbles. A steady stream of bubbles means the repair failed.
- Let it sit if possible. For the most reliable home check, leave the tube lightly inflated overnight and check again the next day.
- Reinstall carefully. Inflate to riding pressure only after the tube is inside the tire, the tire bead is seated, and the valve is straight.
If the tube loses air after a careful patch and overnight check, replace it. Re-patching the same failed spot is rarely worth it unless the problem was obvious and easy to correct, such as a patch edge that was contaminated during the first attempt.
Patch Kit vs Spare Tube: How to Choose
When you’re deciding between a patch kit and a spare tube, weigh the damage, conditions, and your tolerance for time and risk. Choose a patch kit for a small, clean puncture when you have time to prep the surface properly. Choose a spare tube when you are roadside, riding in bad weather, repairing a high-pressure tire, or dealing with a hole that looks ragged, stretched, or close to the valve.
A spare tube is faster. A patch kit is lighter and useful for backup. The most reliable setup is to carry both: one correctly sized spare tube for the quick fix, plus a small patch kit in case you flat again or want to repair the punctured tube later at home.
| Choose | Best For | Avoid When |
|---|---|---|
| Patch kit | Small clean punctures, home repairs, backup repairs, saving money and waste | The tube is wet, dirty, old, brittle, or damaged near the valve/seam |
| Spare tube | Fast roadside fixes, bad weather, group rides, racing, commuting, high-pressure tires | You have not removed the thorn, glass, rim-tape problem, or other cause of the flat |
[Products Worth Considering]

Replace worn tires quickly with this universal 4.80/4.00-8 tire and inner tube set designed for wheelbarrows and outdoor utility carts. The ribbed tread helps reduce turf damage while the natural rubber construction supports longer service life. Compatible with 15.5-inch outer diameter, 4-inch width, and 8-inch rim diameter wheels, it uses a straight TR-13 valve stem for easy installation. For best results, inflate with a manual pump and do not exceed 25 PSI.

This heavy-duty bicycle rim liner provides complete tube protection by shielding the inner tube from rim spoke holes and sharp metal burrs that can cause flats. Made from premium, wear-resistant PVC, it lays flat with optimized 18 mm width and 0.50 mm thickness for edge-to-edge coverage. Installation is quick with flexible stretch placement and a secure, non-slip fit.

Two-pack 26" bicycle inner tubes for tires sized 1.75 to 2.125, built with a 35mm AV Schrader valve for easy compatibility. The thicker inner wall and premium butyl rubber help absorb bumps and vibrations while improving durability and air retention. Includes two upgraded tire levers for simpler installation and reduced risk of breakage.
Check the Tire and Rim Before Reinstalling
A new tube will fail quickly if the tire or rim still has the original problem. Before reinstalling, do these checks:
- Inspect the tire tread and sidewall. Remove thorns, wire, glass, metal shards, or sharp grit.
- Feel inside the tire carefully. Use a cloth if needed so you do not cut your finger on hidden glass or wire.
- Check rim tape. It must fully and securely cover every spoke hole. Schwalbe explains that rim tape must cover the entire rim base and protect the tube from spoke holes and mechanical damage.
- Look for burrs or rough metal. A sharp rim edge can puncture the tube from the inside.
- Inflate the tube slightly before fitting. A lightly rounded tube is easier to install without twisting or pinching.
- Keep the valve straight. Schwalbe’s tire fitting guidance says the valve should sit at a right angle and the tire should be centered before inflation.
- Use the pressure printed on the tire sidewall. Set pressure with a gauge and stay within the tire’s marked range.
Preventive Steps to Avoid Repeat Failures
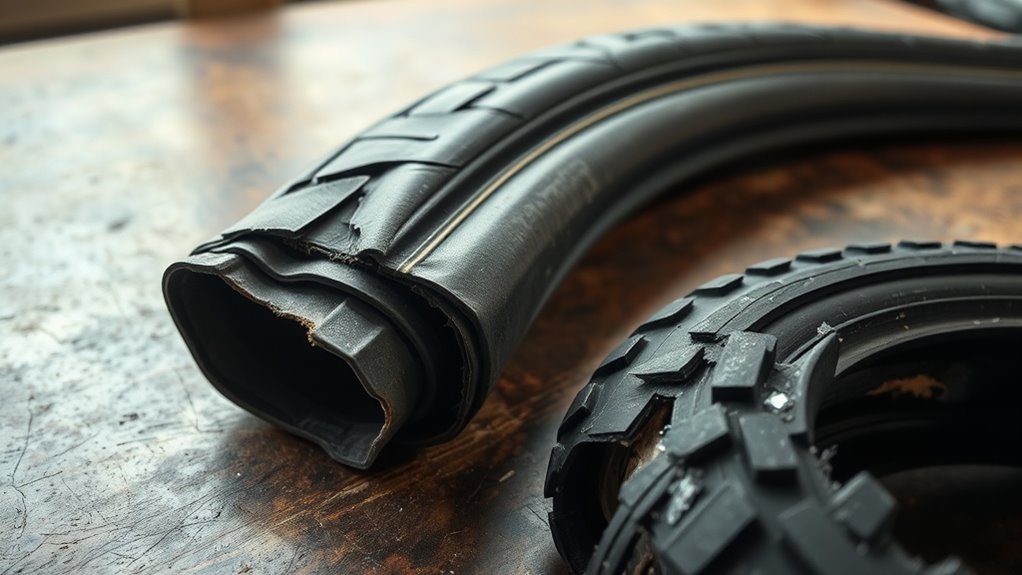
If you want to stop repeat failures, use a simple routine: inspect, store, install, inflate, and repair the tube correctly. Small habits prevent most repeat flats.
- Inspect before and after rides. Look for cracks, bulges, thinning, cuts, and valve lean.
- Use correct pressure. Underinflation increases pinch flats; overinflation can stress the tire and tube. Use the tire sidewall range and a gauge.
- Keep rim tape in good shape. Replace tape that slips, wrinkles, cracks, or exposes spoke holes.
- Install without pinching. Avoid sharp tools, inflate the tube slightly before fitting, and check that it is not trapped under the tire bead.
- Store tubes properly. Keep spare tubes cool, dry, dark, and away from solvents, oil, direct sunlight, and heat.
- Use fresh repair supplies. Replace dried-out vulcanizing fluid and do not rely on a patch kit that has been sitting open for years.
- Use the right tube size. Match the tube to the tire size and valve type so it is not overstretched or folded inside the tire.
Additionally, using proper installation techniques helps protect tube integrity and reduces pinch flats.
Frequently Asked Questions
How do I know if an inner tube is bad?
An inner tube is bad if it has a split seam, valve-base leak, bulge, cracks, sticky or brittle rubber, several failed patches, or a leak that returns after a careful repair. Replace it instead of patching it again.
Why is my new inner tube not pumping up?
A new tube may not pump up because the valve core is loose, the valve is not seated correctly in the pump head, the tube is pinched under the tire bead, the wrong tube size was installed, rim tape exposed a spoke hole, or a sharp object is still inside the tire.
Is it worth repairing an inner tube?
Yes, it is worth repairing an inner tube when the puncture is small, clean, and away from the valve or seam, and the tube is still flexible. Replace the tube if the cut is ragged, the patch area is stretched, the valve is damaged, or the rubber is old and cracked.
How many patches are too many on a bicycle tube?
There is no universal number. Replace the tube when patches are clustered close together, edges are lifting, the same area leaks again, the tube is several years old, or you no longer trust it for the riding you do.
Can you patch a tube near the valve?
Usually no. Damage at or near the valve base is difficult to seal because the area flexes, curves, and carries extra stress during inflation. Replace the tube and check that the valve sits straight when installed.
Can TPU and latex tubes be patched like butyl tubes?
Not always. Standard patch kits are mainly for butyl tubes. TPU tubes usually need TPU-compatible patches, and latex tubes need a method that works with very flexible rubber. Check the tube manufacturer’s repair instructions before using a patch kit.
Conclusion
Replace the inner tube when the damage is structural: split seams, valve-base leaks, bulges, brittle rubber, ragged cuts, or repeat leaks after a careful repair. Patch only small, clean punctures in sound rubber, then test the repair before trusting it on the road. The best habit is simple: carry a spare tube for quick swaps, keep a patch kit as backup, inspect the tire and rim tape every time, and inflate to the pressure range printed on the tire.
Sources
- Park Tool — How to Patch a Tire and Tube — patching process, leak finding, and repair basics
- Park Tool — VP-1 Vulcanizing Patch Kit — vulcanizing patch application and bond inspection
- REI Co-op — How to Patch a Bike Tube — repair vs replace guidance, water testing, and patch checking
- Schwalbe — Bike Tire Fitting — valve alignment, tire seating, and pressure gauge guidance
- Schwalbe — Rim Tape — rim tape coverage and spoke-hole protection
- Continental — Mounting and Care Instructions for Clincher and Folding Tyres — storage, pressure checks, heat/sun caution, and conservative age guidance
