
Vulcanizing Patch Kit: Step-by-Step Tube Repair
By: [VERIFY: add real author/byline] · Last updated: July 7, 2026
To patch a bike tube with a vulcanizing kit, fully deflate and remove the tube, find the puncture, lightly scuff the rubber, apply a thin coat of vulcanizing glue, wait until it turns dull, then press the patch firmly over the hole. Partially inflate the tube before reinstalling it so you can confirm the seal. Replace the tube instead if the valve is damaged, the hole is a long split, or the tube already has several repairs.
Quick answer: The glue must dry before the patch goes on. Wet glue can slide, trap air, and cause edge lift. A good repair depends more on clean prep and firm pressure than on using extra glue.
Quick Step-by-Step: Patch a Tube With a Vulcanizing Kit

Start by fully deflating the tube. Remove it from the tire and inflate it just enough to hold its shape. Find the puncture by listening for air, feeling for airflow, or submerging the tube in water and watching for bubbles. Mark the hole clearly.
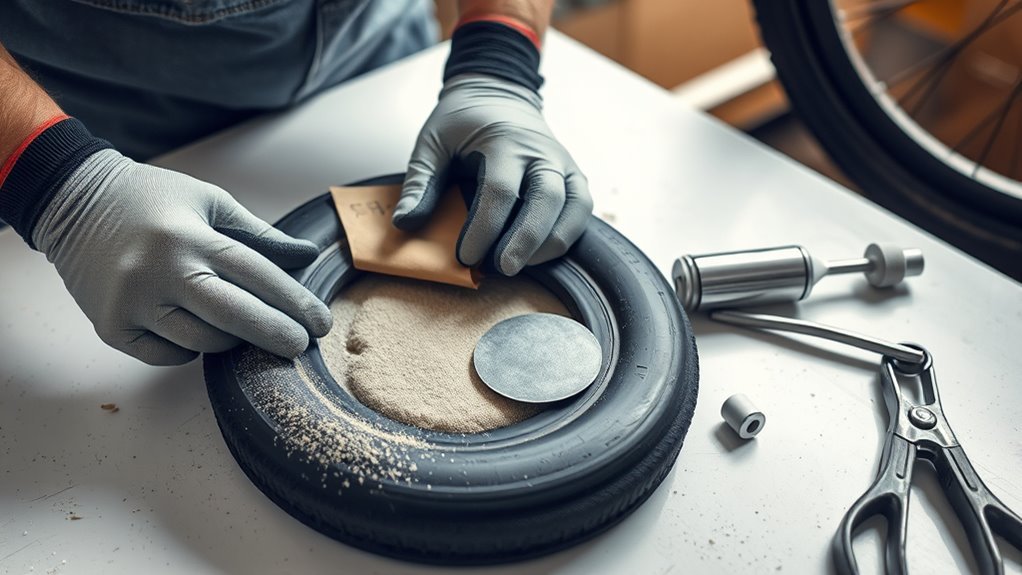
- Lightly scuff an area larger than the patch with sandpaper or the metal scuffer from your kit.
- Wipe away dust so the rubber is clean and dry.
- Spread a thin, even coat of self-vulcanizing glue beyond the patch edges.
- Wait until the glue changes from glossy to dull and no longer feels wet.
- Center the patch over the hole, press firmly, and work pressure toward the edges.
- Partially inflate the tube off the wheel and check for bubbles, hissing, or lifted edges.
You can reinstall the tube after the patch is flat, firmly bonded, and leak-free. Avoid common mistakes like using too much glue, skipping the scuffing step, touching the prepared rubber with greasy fingers, or applying the patch while the glue is still wet.
[Products Worth Considering]

The GERCHWAY Presta Valve Adaptor Pump offers a versatile dual‑head chuck that fits both Presta and Schrader valves, eliminating the need for extra adapters. Its precision gauge accurately reads 5–100 PSI with ±2 PSI tolerance, ensuring safe and optimal tire inflation for bikes, motorcycles, SUVs, and cars. The 18‑inch hose provides flexible reach, while the 3‑in‑1 design lets you check pressure, release air, or inflate directly from an air compressor.

The AstroAI L10 Mini Bike Pump delivers rapid inflation for tires, bikes, and sports balls with its powerful 150PSI capability and 5 preset modes. Its compact palm-sized design and 360° rotating hose make it easy to use in any situation, while the automatic shutoff and built‑in LED flashlight add safety and convenience for on‑the‑go drivers and outdoor enthusiasts.
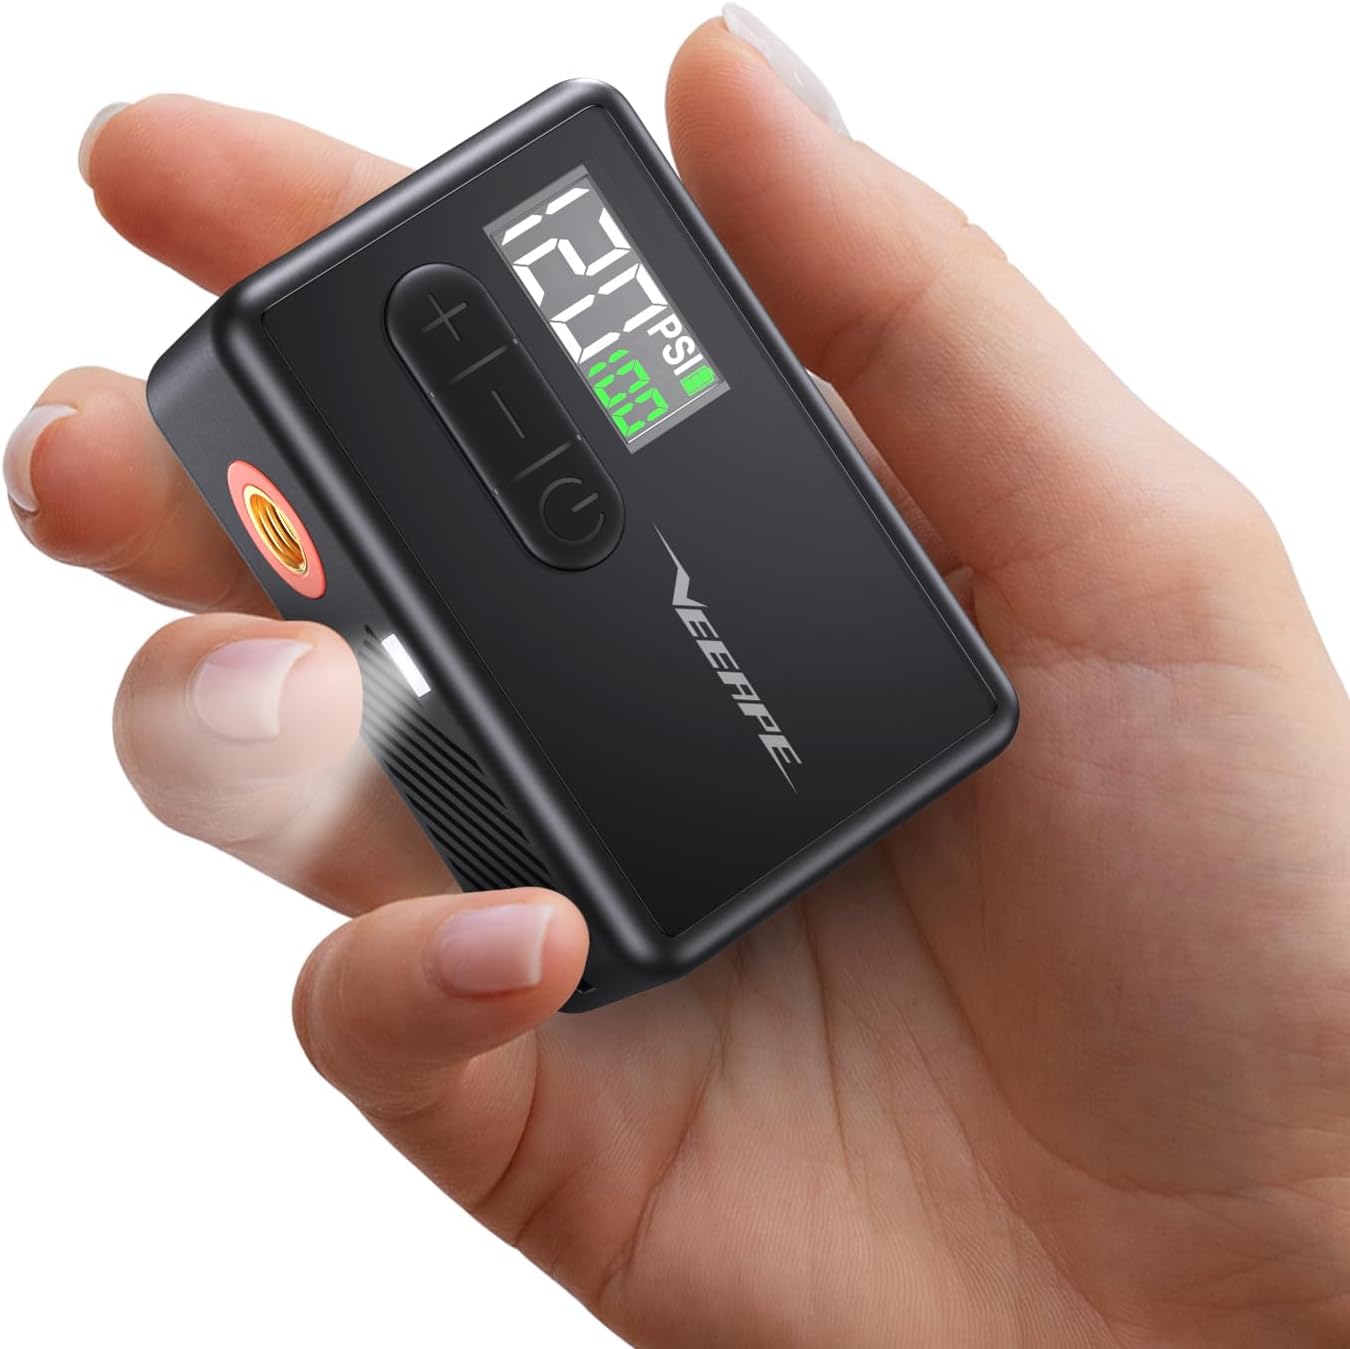
The Tiny Pump Mini Bike Tire Pump delivers rapid inflation up to 120 PSI with a compact, lightweight design that fits in any pocket or backpack. Its digital screen and auto‑stop function ensure precise pressure control, while the 4000mAh battery provides long‑lasting power and quick charging via Type‑C. Includes multiple valve adapters and accessories for bicycles, e‑bikes, and sports balls, making it a versatile tool for every cyclist.
Prep & Safety: Tools, Wheel Removal, and Locating the Puncture
Get your workspace and bike ready before you open the patch kit. Gather a patch kit, tire levers, a pump, a rag, and a marker. Deflate the tube completely before removing it. Start tire levers opposite the valve and avoid forcing the lever near the valve stem.
| Tool | Purpose | Tip |
|---|---|---|
| Tire levers | Remove tire | Start opposite valve |
| Marker | Mark puncture | Draw a circle or X around the leak |
| Pump | Inflate tube | Use slight inflation for testing |
| Rag | Clean tube and tire | Remove grit before patching |
After you find the leak, inspect the inside of the tire before reinstalling the tube. Remove glass, thorns, wire, or sharp debris. If you skip this step, the same object can puncture the repaired tube again.
[Products Worth Considering]

The ROCKBROS Mini Bike Pump delivers fast, high‑pressure inflation up to 100 PSI in a compact, lightweight design that fits easily in a pocket or backpack. Its rechargeable Type‑C battery and interchangeable Presta and Schrader nozzles make it versatile for road, mountain, and inner‑tube tires, while the LED indicator keeps you informed of battery status. Ideal for cyclists on the go, it inflates two 700×25C road tires on a single charge and charges fully in just 25 minutes.

The CO2 Bike Tire Inflator provides fast, precise inflation for road and mountain bikes with a CNC‑machined aluminum body and brass internals. Its control lever lets you regulate gas flow, preventing freezing and ensuring safe, leak‑free connections to both Presta and Schrader valves. Compact and lightweight, it’s ideal for race, group rides, and timed events, delivering reliable performance with premium threaded CO2 cartridges.

Designed for Bicycle Tire – fits closely to the contours of Bicycle Tires and is easy to remove for repair and replacement.
How Do You Find a Hidden Tube Puncture?
Some punctures are too small to hear. If you do not have water nearby, inflate the tube slightly and move it slowly past your cheek or damp fingers. You are feeling for a cool stream of escaping air. Keep the tube away from your mouth, then mark the spot as soon as you find it.
If bubbles appear from the valve base, seam, or a long tear instead of a small round hole, replace the tube. Those failures usually do not hold a standard patch well.
[Products Worth Considering]

EFFICIENT LEAK DETECTION: TECH CHEK Tire Leak Detector uses a concentrated formula to swiftly coat tire and tube surfaces, making it easy to spot hard-to-find leaks. This formula ensures fast, precise leak detection, offering confidence on the road.

Leading Manufacturer Of High-Quality Products

How Should You Scuff, Apply Vulcanizing Glue, and Wait?
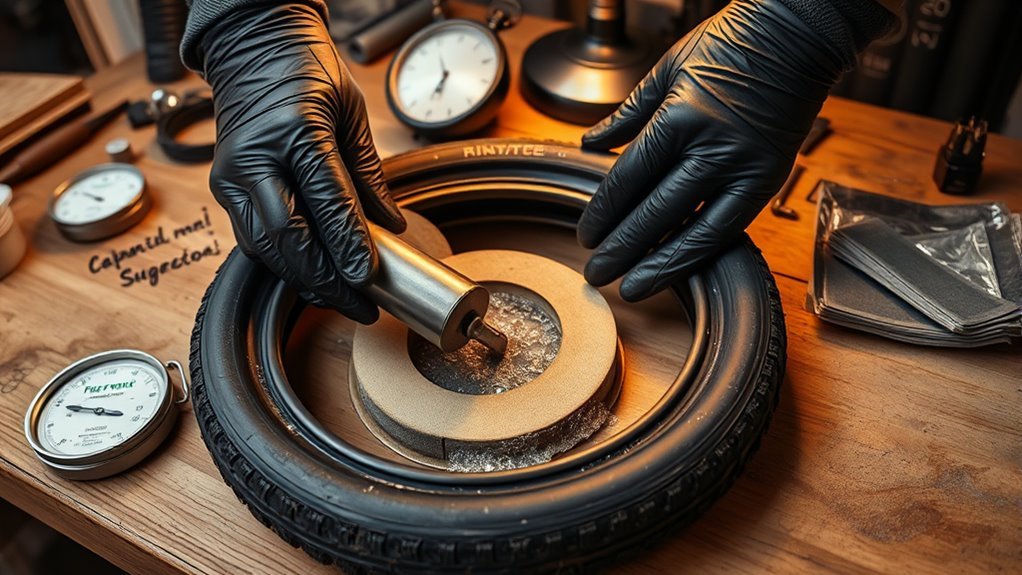
Lightly scuff the area around the puncture with fine sandpaper or an emery cloth. Roughen an area slightly larger than the patch. Do not dig grooves or remove chunks of rubber. Use gentle, even strokes, then wipe away the dust.
Apply a thin, even coat of self-vulcanizing glue around the hole. Extend it beyond the patch size so the adhesive covers the patch edges. Spread it smoothly and avoid a gloppy layer that can trap air under the patch.
Wait until the glue is dull, dry-looking, and no longer wet before placing the patch. For many kits, this takes a few minutes, but temperature, humidity, and glue thickness change the timing. Follow the instructions printed on your specific kit when they differ.
Press, Cure, and Test the Patch (Plus Troubleshooting)
With the glue dry-looking and the patch positioned, press firmly over the repair for a minute or two. Push from the center toward the edges so trapped air can escape. Keep steady pressure rather than tapping or rubbing. After pressing, inspect for loose edges, bubbles, or gaps.
- Check that the area was properly scuffed and cleaned.
- Press the patch again if an edge starts to lift.
- Start over with a new patch if bubbles or gaps remain.
- Inflate the tube slightly and monitor the repair before reinstalling it.
If problems persist, remove the failed patch, clean the area, and repeat the repair with correct surface preparation. Do not stack a new patch over a loose patch.
Reinstall the Tube, Final Inflation, and When to Replace a Tire
Partially inflate the tube to check that the repair holds before you put it back into the tire. Push the valve stem through the rim hole and tuck the tube evenly inside the tire. Next, reseat the bead by hand. Avoid using tire levers for this step because they can pinch the tube or damage the new patch.
Inflate to the manufacturer’s recommended PSI printed on the tire sidewall. Watch the bead as it seats and listen for leaks. Replace the tire if you see significant tread wear, cracks, exposed casing, sidewall damage, or repeated punctures in the same area.
Repair note: Glued vulcanizing patches usually hold better than glueless patches when the tube is clean, scuffed, and pressure-tested. Glueless patches are convenient for roadside use, but a glue-on patch is the better choice when you want the strongest repair. Cycling Weekly’s 2026 puncture-repair testing also emphasizes preparation, adhesion, and inflation retention.
Frequently Asked Questions
How Long Should You Leave Rubber Cement Before Applying a Tube Patch?
Wait until the cement looks dull and dry rather than glossy or wet. Many kits are ready after a few minutes, but timing varies by glue amount, temperature, and humidity. Follow your kit’s instructions if they give a specific wait time.
Can You Patch a Bike Tube Without Vulcanizing Glue?
Yes, but only with a glueless patch made for inner tubes. Do not use ordinary tape or household glue for a lasting repair. Glueless patches can get you home, while a properly applied vulcanizing patch is usually the stronger long-term fix.
Can You Ride Right After Patching a Tube?
You can ride after the patch is firmly pressed, the edges are flat, and the tube passes a partial-inflation leak check. If the patch lifts, bubbles, or leaks during testing, redo the repair before reinstalling the tube.
Why Did My Tube Patch Fail?
Most failed patches come from wet glue, poor scuffing, dirt on the tube, too much glue, trapped air, or a patch that is too small for the damage. A valve leak, seam split, or long cut usually means the tube should be replaced.
When Should You Replace the Tube Instead of Patching It?
Replace the tube if the valve stem leaks, the hole is near the valve base, the tube has a long tear, or several old patches sit close together. Also replace it when the rubber feels brittle or cracked.
Conclusion
A reliable vulcanizing patch starts with clean prep. Find and mark the puncture, scuff the rubber, apply a thin glue layer, wait for a dull finish, press the patch firmly, and test the tube before reinstalling it. Replace the tube or tire when the damage is too large, too close to the valve, or caused by worn casing. That keeps the repair safe instead of turning one flat into a repeat problem.
Related Articles

What Does THE P Stand For on a Tire? Full Meaning Explained
I’ll explain what the “P” on a tire really means and why it could change how you choose your next set.
Read More
How to Use a Tubeless Tire Repair Kit: Complete Field Guide
Learn how to fix tubeless tire punctures fast with the right kit, because one small mistake can leave you stranded on the trail.
Read More
How to Tell a Tire’s Diameter: Easy Guide to Reading Tire Size
Want to decode tire sidewall numbers and find the right diameter, but wonder what those hidden digits really mean?
Read More