
Glueless Patch Guide: Fix Bike Tube Flats in 10–30 Min
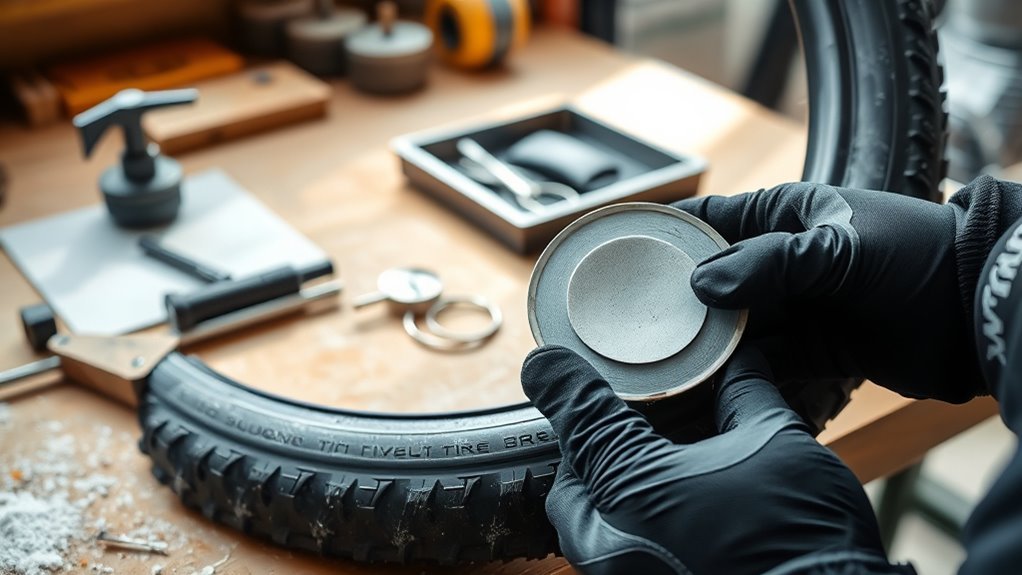
A small tube puncture can ruin a ride fast, but a glueless patch can get you moving again. Use it for a clean, pinhole-size leak when you need a short-term roadside repair, not a permanent fix. This guide shows you how to find the leak, prepare the tube, apply the patch, test the repair, and know when to replace the tube instead.
What’s in This Article
- Quick Answer: When to Use a Glueless Patch, and When Not To
- Pack a Glueless Patch Kit
- How to Find the Puncture Fast
- Prepare the Tube Surface for Adhesion
- Step by Step: Apply a Glueless Patch Correctly
- Testing Glueless Patches: Wait Times and Checks
- Why Glueless Patches Fail, and How to Stop It
- When to Replace the Tube Instead of Patching
- Using a Tire Boot for Torn Casings (Temporary Fix)
- Pack and Maintain Glueless Patches for Rides
- Frequently Asked Questions
Quick Answer: When to Use a Glueless Patch, and When Not To
Quick Answer
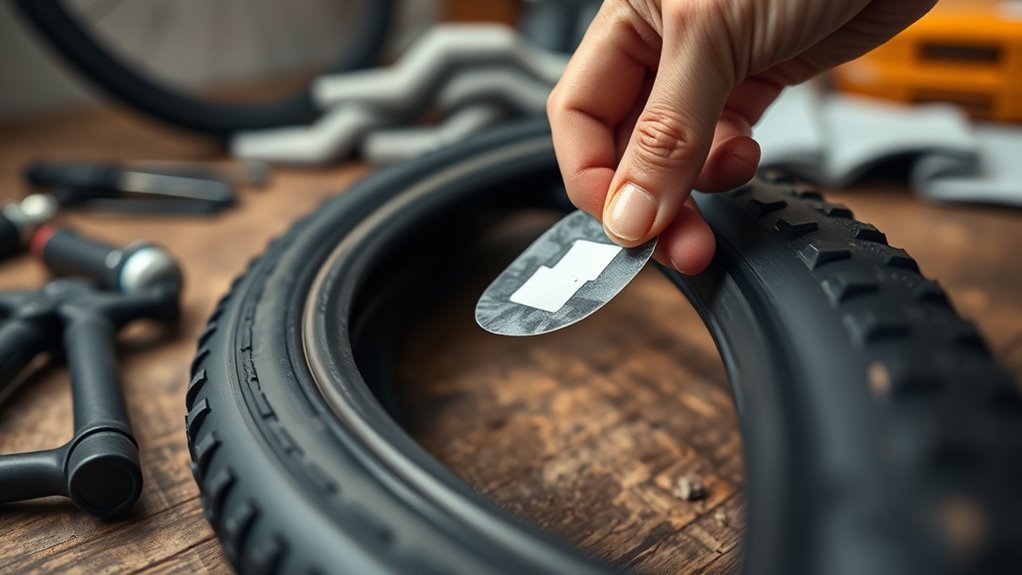
Use a glueless patch when you have a small, clean puncture and need a fast temporary repair. Inflate the tube enough to find the leak, scuff and clean the area, press the self-adhesive patch firmly, then wait 10 to 30 minutes before inflating the tube inside the tire. Replace the tube for large cuts, valve damage, clustered punctures, or repeated leaks.
Key Takeaways
- Use glueless patches for small tube punctures when you need a short-term roadside fix.
- Clean, dry, and lightly scuff the tube before you apply the patch.
- Press from the center outward so you remove bubbles and seal the edges.
- Inflate the tube only after you reinstall it inside the tire.
- Replace the tube if the damage is large, repeated, or close to the valve.
When you need a fast emergency fix for a small puncture, use a glueless patch, but don’t treat it as permanent. You’ll use these in emergency situations when speed and simplicity matter more than durability. Clean the puncture area, lightly scuff the tube, then place the patch so it makes full contact.
Expect reduced adhesion compared with vulcanizing patches. Glueless patches can fail under sustained pressure, heat, moisture, or repeated flexing. Don’t rely on them for long-term reliability or large tears.
After you install a glueless patch, check the pressure often and replace the tube or use a vulcanizing patch as soon as practical. For long rides, carry a spare tube. Glueless patches work best as a last-resort stopgap, not a durable repair method.
Warning: Don’t ride far or fast on a patched tube that keeps losing pressure.
Pack a Glueless Patch Kit
Pack a compact glueless patch kit that fits your pack or saddlebag without adding bulk. Include spare tubes for quick swaps when a patch won’t give you enough confidence.
Choose self-adhesive patches in more than one size, plus sandpaper and clear instructions. Check patch condition and expiry dates often so weak adhesive doesn’t leave you stuck.
[Products Worth Considering]

This PXZBLG bike repair kit helps you tackle common tire and on-the-ride issues with a compact, ride-ready tool collection. It includes a mini tire pump supporting both Presta and Schrader valves, a 16-in-1 bike multitool, tire levers, glueless patches with a plastic box, plus 4mm and 5mm Allen wrenches. A convenient bike bag stores everything so you can mount it on your road bike or mountain bike for lightweight, portable preparedness.

Convert Presta bicycle valves to accept standard Schrader pump nozzles for fast, hassle-free inflation. This kit includes durable brass adapters with leak-resistant connections, plus sports inflation needles and protective valve caps for convenient use on bikes and ball sports equipment.

Tiakia’s mini high-pressure frame pump delivers up to 260 PSI for faster, more efficient inflations with an optimized intake volume. It features a double-head valve design compatible with Schrader and Presta, plus a conversion for Donlop, making it versatile for bikes and many inflatables. The lightweight anodized aluminum build includes a mounting bracket for convenient carry, while the flexible high-pressure hose and IPX4 waterproof body support outdoor use.
Choose a Compact Kit
A compact glueless patch kit gives you a lightweight, easy-to-use solution for roadside tube repairs. Store it where you can reach it fast.
Choose a kit with low weight, a small footprint, and organized compartments for patches and instructions. Make sure it includes several self-adhesive patches sized for common punctures.
Treat the patches as temporary fixes. They’ll help you reach home or a repair shop, but they don’t guarantee a long-term seal under steady pressure. Inspect the patch backing before each ride and replace expired or damaged kits.
Include Spare Tubes
If you’re heading out for a long ride, pack at least one properly sized spare tube plus a compact glueless patch kit. A fresh tube gives you a more reliable repair when speed matters.
Check that the spare tube fits your tire size and uses a valve that matches your rim. Confirm the valve length before departure, especially if you use deep-section rims.
Use the glueless patch kit as a backup. Keep multiple patch sizes, sandpaper, and an alcohol wipe in a waterproof bag to protect the adhesive and tube. Inspect the spare tube for folds, nicks, and air leaks so it stays ready.
How to Find the Puncture Fast
To find a puncture fast, inflate the inner tube enough to widen the hole and make the leak easier to detect. Use a slow, methodical sweep: listen, look, then submerge the tube if needed.
Inflate the tube, listen closely, inspect the surface, and submerge it to mark the leak.
- Listen: Hold the tube near your ear or lips and move slowly along the rubber until you hear or feel escaping air.
- Inspect visually: Scan the whole tube, including the sidewall area, and don’t assume the hole sits only under the tread.
- Submerge: Place the inflated tube in water and watch for bubbles, then mark the hole with four pen dots.
Before you patch the tube, also check the tire. Run your fingers carefully inside the casing and remove glass, wire, thorns, or grit that caused the flat.
[Products Worth Considering]

This 20-piece tire changer kit makes motorcycle and bike tire repairs easier with extended 14.5-inch spoons for leverage and access. Built from CrV steel with a corrosion-resistant chrome finish, it helps resist bending while protecting rims and tubes using smooth rounded spoons and included rim protectors. The all-in-one set includes valve removal and accessory tools for faster tire changes across motorcycles, bicycles, ATVs, and lawn equipment.
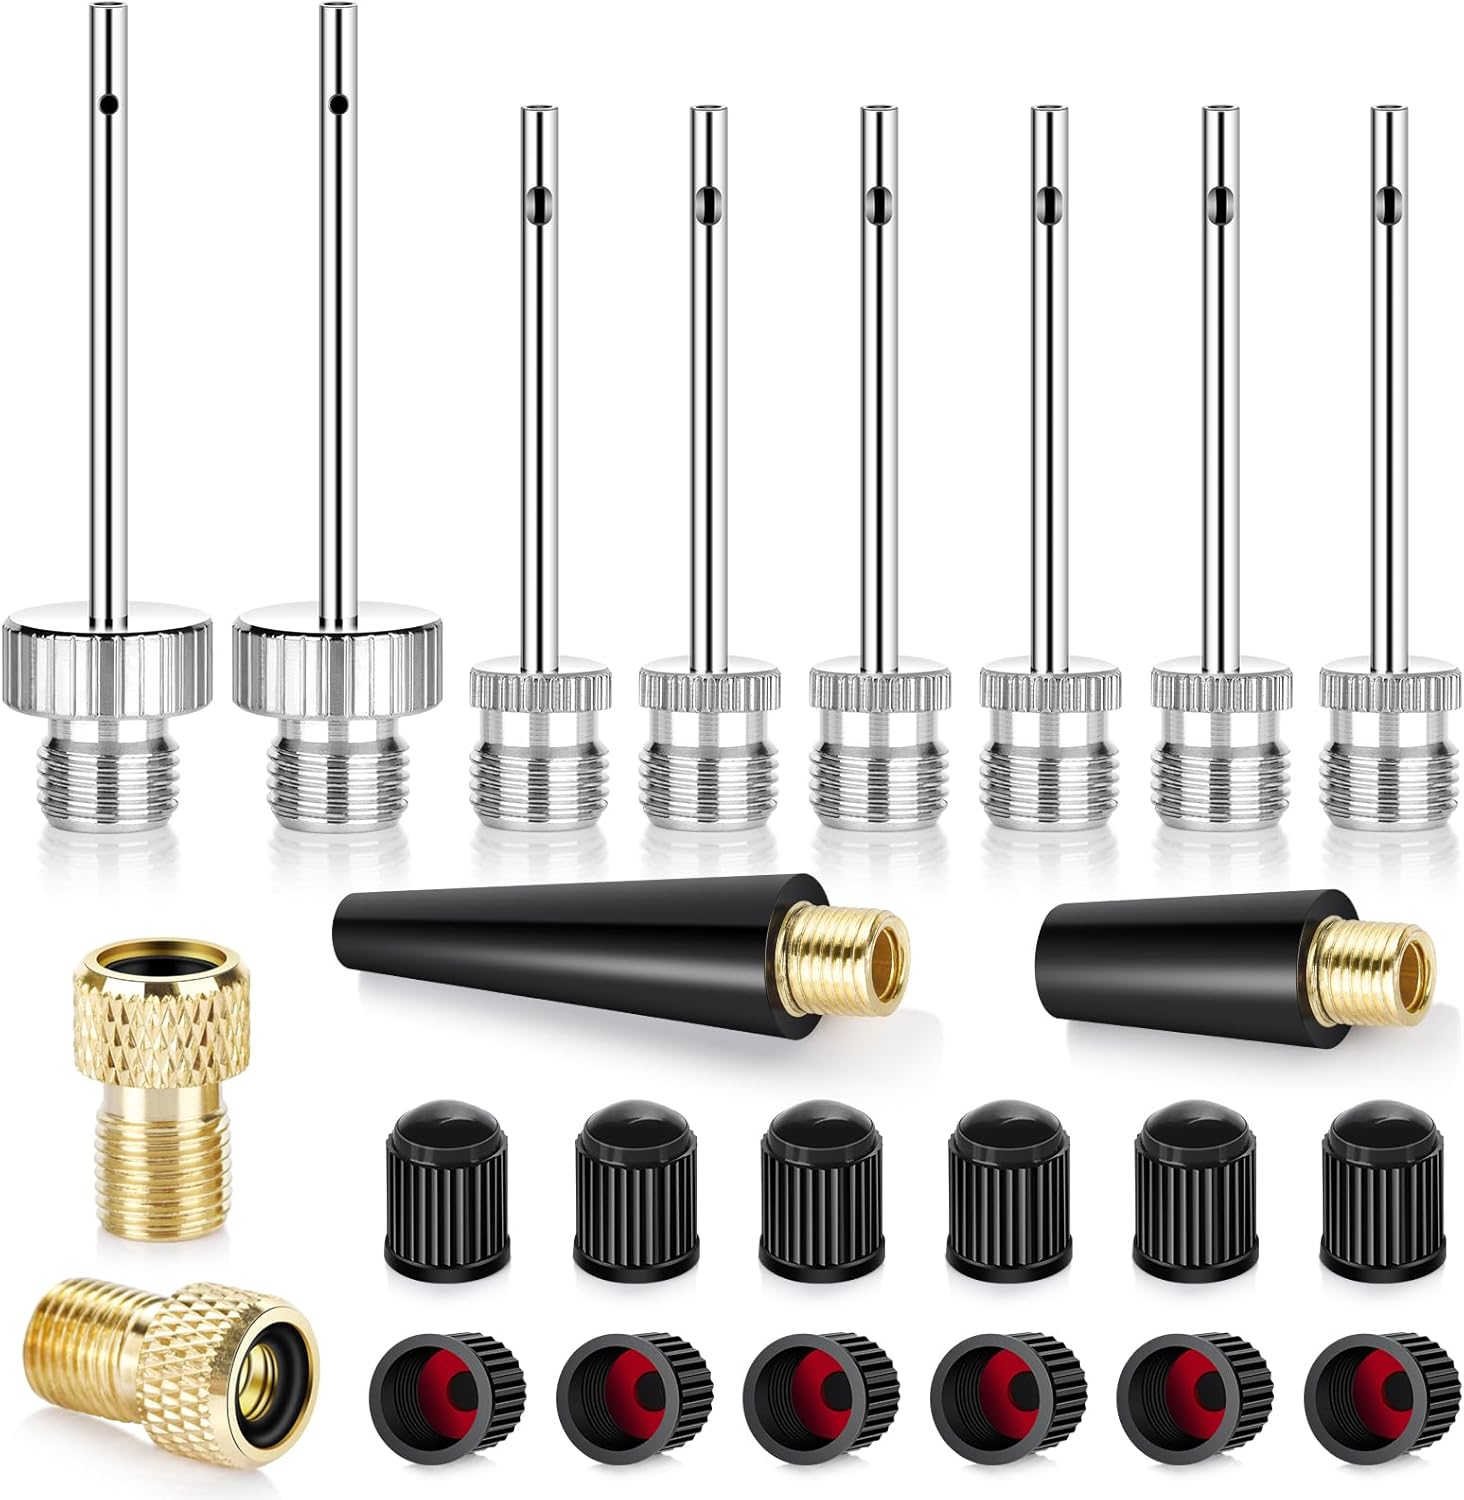
This ball pump needles kit includes brass ball needles for inflating footballs, soccer balls, basketballs, and volleyballs, plus conical nozzles for air mattresses, exercise balls, balloons, and swim rings. It also offers Presta to Schrader valve adapters for easy use with compatible bikes and rideables. The set includes sealed valve caps and a storage case, helping keep your equipment organized and ready to inflate quickly.
Prepare the Tube Surface for Adhesion
Scuff the tube surface lightly with sandpaper or an abraider, then clean and dry the area before you apply the glueless patch. Inflate the tube enough to make the puncture visible and easy to reach.
Locate the hole, mark it with a pen, then scuff a circular area around the mark. This removes the glossy finish and creates tiny scratches that help the adhesive grip.
Clean the surface with a rag and an alcohol wipe to remove grease, dirt, and talc. Let the tube dry fully because moisture weakens the bond. Keep the marked spot centered and clear before you place the patch.
Pro tip: Use a larger patch than the hole needs so the adhesive grips clean rubber around the puncture.
Step by Step: Apply a Glueless Patch Correctly
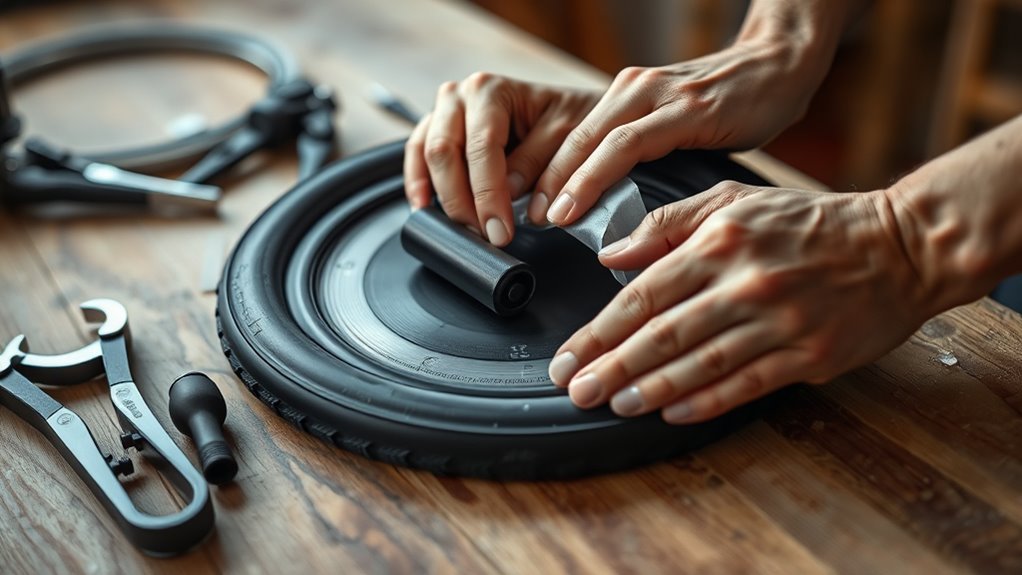
Estimated total time: About 15 to 40 minutes, including leak checks and wait time.
What You’ll Need
- Glueless patch kit with the right patch size
- Sandpaper or tube abraider
- Alcohol wipe or clean rag
- Pen or marker
- Pump or carbon dioxide (CO2) inflator
- Tire levers, if needed
Before you start, confirm the tube holds enough air to find the leak. Work with clean hands so dirt and oil don’t touch the adhesive.
- Inflate the tube enough to make the puncture easy to see, then mark the hole clearly.
- Abrade the marked area with light, even strokes until the glossy surface turns dull.
- Clean the scuffed area with alcohol, then let it dry fully before you touch the patch.
- Peel the backing carefully and touch only the patch edges.
- Center the patch over the hole so the puncture sits under the middle of the adhesive.
- Press firmly from the center outward with your thumbs to remove air and seal the edges.
- Reinstall the tube inside the tire before you inflate it to riding pressure.
Work slowly and keep the patch clean. Dirt, oil, creases, or poor alignment can weaken the repair.
Testing Glueless Patches: Wait Times and Checks
After you press the patch and reinstall the tube, wait before you inflate. Give the adhesive 10 to 30 minutes to bond better.
Check the patch before you ride. Look for gaps, feel for air pockets, and avoid inflating the repaired tube outside the tire. For a stronger leak check, submerge the patched area in water and watch for bubbles.
| Step | Action | Criteria |
|---|---|---|
| 1 | Wait | 10 to 30 minutes |
| 2 | Look | No gaps |
| 3 | Feel | No air pockets |
| 4 | Inflate | Mounted tire only |
| 5 | Water test | No bubbles |
If bubbles appear or the patch lifts, replace the tube. A second patch over a failed glueless patch rarely gives a reliable seal.
Why Glueless Patches Fail, and How to Stop It
Most glueless patch failures come from three causes: poor surface preparation, adhesive aging, and improper application technique. Clean, lightly scuffed rubber gives the patch a better chance to bond under pressure and flex.
Use fresh patches, apply firm pressure, and avoid stretching or wrinkling the adhesive. Replace old patch stock before the backing dries out or the adhesive loses tack.
Poor Surface Preparation
When glueless patches fail, poor surface preparation often causes the leak. Scuff the tube with fine sandpaper, wipe away grease or talc, and keep the rubber clean before you apply the patch.
- Scuff a 1 to 2 cm area around the hole so the patch grips a dull, textured surface.
- Clean oils, talc, and debris from the rubber, then let the area dry with no residue.
- Seat the patch with firm pressure so the adhesive contacts the tube without air pockets.
Skip any step and you raise the risk of small leaks along the adhesive layer.
Adhesive Aging Effects
Pressure, heat, moisture, sunlight, and repeated flexing can weaken glueless patch adhesive. Over time, the patch may lose tack, creep at the edges, or soften.
Inspect patches for lifting, darkened edges, or a gummy surface. These signs can appear before the tube loses air again.
Store spare patches in a dry, shaded place and use them within the kit maker’s listed life. Apply patches only to dry tubes and treat the repair as short term.
Improper Application Technique
If you rush a glueless patch, leaks can return quickly. The patch needs clean rubber, steady pressure, and smooth contact across the full adhesive surface.
- Scuff, clean, and dry the tube before the patch touches it.
- Inflate the tube enough to match its in-tire shape, then place the patch.
- Smooth from the center outward and remove bubbles before you reinstall the tube.
Follow the kit instructions because patch materials and wait times can vary.
When to Replace the Tube Instead of Patching
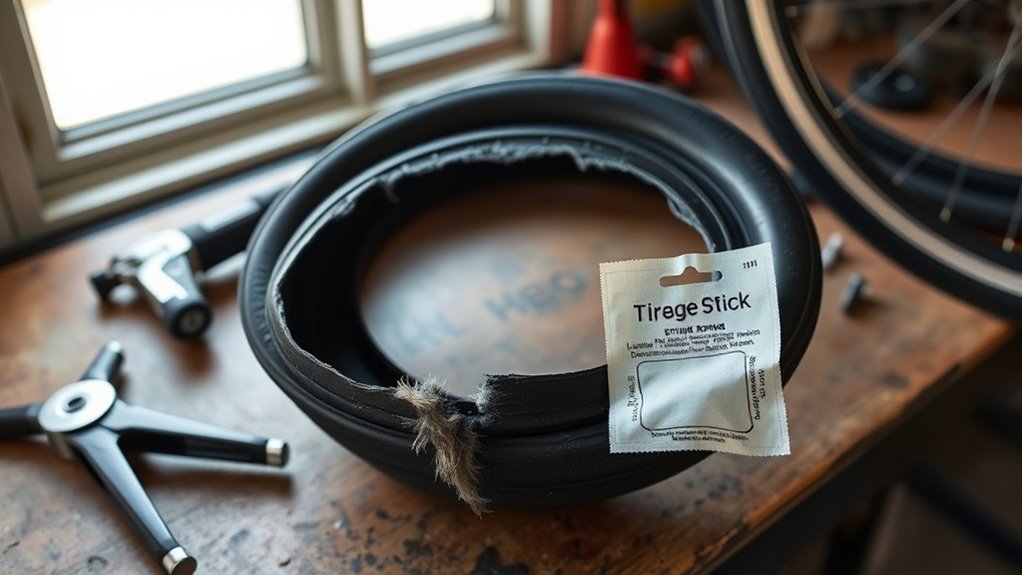
Replace the tube when the damage exceeds what a glueless patch can seal with confidence. That includes holes larger than about a quarter inch, multiple punctures, clustered punctures, visible cuts, tears, valve damage, or heavy wear.
During your puncture check, measure the hole, count the punctures, and note how close they sit to each other. Clustered or repeated repairs reduce tube reliability and raise the chance of another roadside failure.
Replace any tube that already has several self-adhesive patches. For commuting or long rides, use a fresh spare tube instead of a patched one when you can. When the damage looks borderline, choose replacement.
Using a Tire Boot for Torn Casings (Temporary Fix)
If you tear the tire casing, use a tire boot to protect the tube from the damaged tire interior. A boot adds temporary structural support, but it does not restore full tire strength.
Clean the inside of the tire around the rip, center the boot over the damage, peel the backing, and press firmly. Inspect the boot often and replace the tire as soon as possible.
Inside Tire Protection
When a tire casing rips, use a tire boot as a temporary inside patch. First, find the tear and choose a boot size that covers the damage with extra margin.
- Inspect the rip size and choose a boot that covers the damaged casing.
- Clean and dry the inside surface so grit and residue don’t weaken the bond.
- Align, apply, and press the boot until it sits flat with no bubbles.
This method supports the casing only for a short time. Replace the tire promptly to restore full structural safety.
Temporary Safety Measure
A tire boot can help you finish a short ride after a casing tear. It should not become your regular repair.
After you apply the boot, inflate the tire to a safe pressure within the tire’s listed range. Ride carefully, check the booted area before each trip, and replace the tire soon.
| Step | Action | Note |
|---|---|---|
| 1 | Locate rip | Verify size |
| 2 | Clean area | Remove debris |
| 3 | Apply boot | Center and press |
| 4 | Re-inflate | Use correct PSI |
| 5 | Replace tire | Permanent repair needed |
Pack and Maintain Glueless Patches for Rides
Pack a few glueless patches in your repair kit and check them before every ride. Good storage helps the adhesive work when you need a fast roadside fix.
Store patches in a cool, dry pocket away from sunlight and heat. Check expiration dates and discard old patches that no longer feel sealed or clean.
Pack glueless patches, store them cool and dry, check expiration dates, and practice repairs before a ride.
- Inspect the pouch for moisture, dirt, damaged backing, and a visible expiration date.
- Practice one repair at home so you can work faster during a roadside flat.
- Maintain tire pressure within the listed range to reduce pinch flats and puncture risk.
This routine helps patches perform more predictably when you need them.
Common Mistakes to Avoid
Most failed glueless repairs come from small mistakes that you can prevent. Avoid touching the adhesive, patching a wet tube, skipping the scuffing step, or inflating the tube outside the tire.
Don’t patch over a tear, a valve leak, or a hole that keeps widening. In those cases, save time and install a fresh tube.
Note: Carbon dioxide can leak from tubes faster than air, so top up with a pump after the ride when possible.
Frequently Asked Questions
How Long Do You Let Tire Patch Glue Dry?
For a traditional glue-on patch, let the rubber cement dry until tacky, which often takes about 5 to 10 minutes. After you apply the patch, wait at least 30 minutes before riding when you can. Temperature and humidity can change the drying time.
How long should you wait after applying a glueless patch?
Wait 10 to 30 minutes before you inflate the tube inside the tire. This gives the adhesive more time to grip the scuffed rubber.
Can a glueless patch be a permanent repair?
You should treat a glueless patch as a temporary repair. It can hold well enough for a short ride, but heat, pressure, moisture, and flexing can weaken the bond.
Can you put a glueless patch over an old patch?
Don’t place a glueless patch over an old patch. The new adhesive needs clean tube rubber, so stacked patches often seal poorly.
What should you do if the patch leaks during testing?
If you see bubbles or feel air escaping, remove the tube and replace it. A leaking glueless patch usually means the surface prep, patch age, or tube damage prevents a safe seal.
Conclusion
A glueless patch works best when the puncture is small, clean, and easy to seal. Find the leak, prep the rubber well, press the patch firmly, and test it before you ride. If the cut is large, the valve leaks, or the tire casing has torn, replace the tube or tire instead. Pack a patch kit and a spare tube so one flat doesn’t end your ride.

Related Articles

Are Premium Tires Worth the Extra Money?
Worth the extra money? Premium tires promise more grip, comfort, and longevity—but the real tradeoff may surprise you.
Read More
What Are OE Tires? Original Equipment Explained
Discover what OE tires really mean and why choosing the right replacement could change everything for your car’s ride, handling, and safety.
Read More
305 Tire Size Explained: How Big Is It?
I explain how big a 305 tire really is—and why the exact fit can surprise you.
Read More